Oh my goodness, this little guy might just be the cutest Halloween decoration you will ever make. This Highland Cow Amigurumi combines everything I love about autumn crafting. You get a chunky, huggable body, a classic witch hat, wild purple curly hair, and the sweetest little pumpkin clutched in those tiny hooves. If you can crochet a basic circle and know how to increase and decrease, you absolutely can make this.
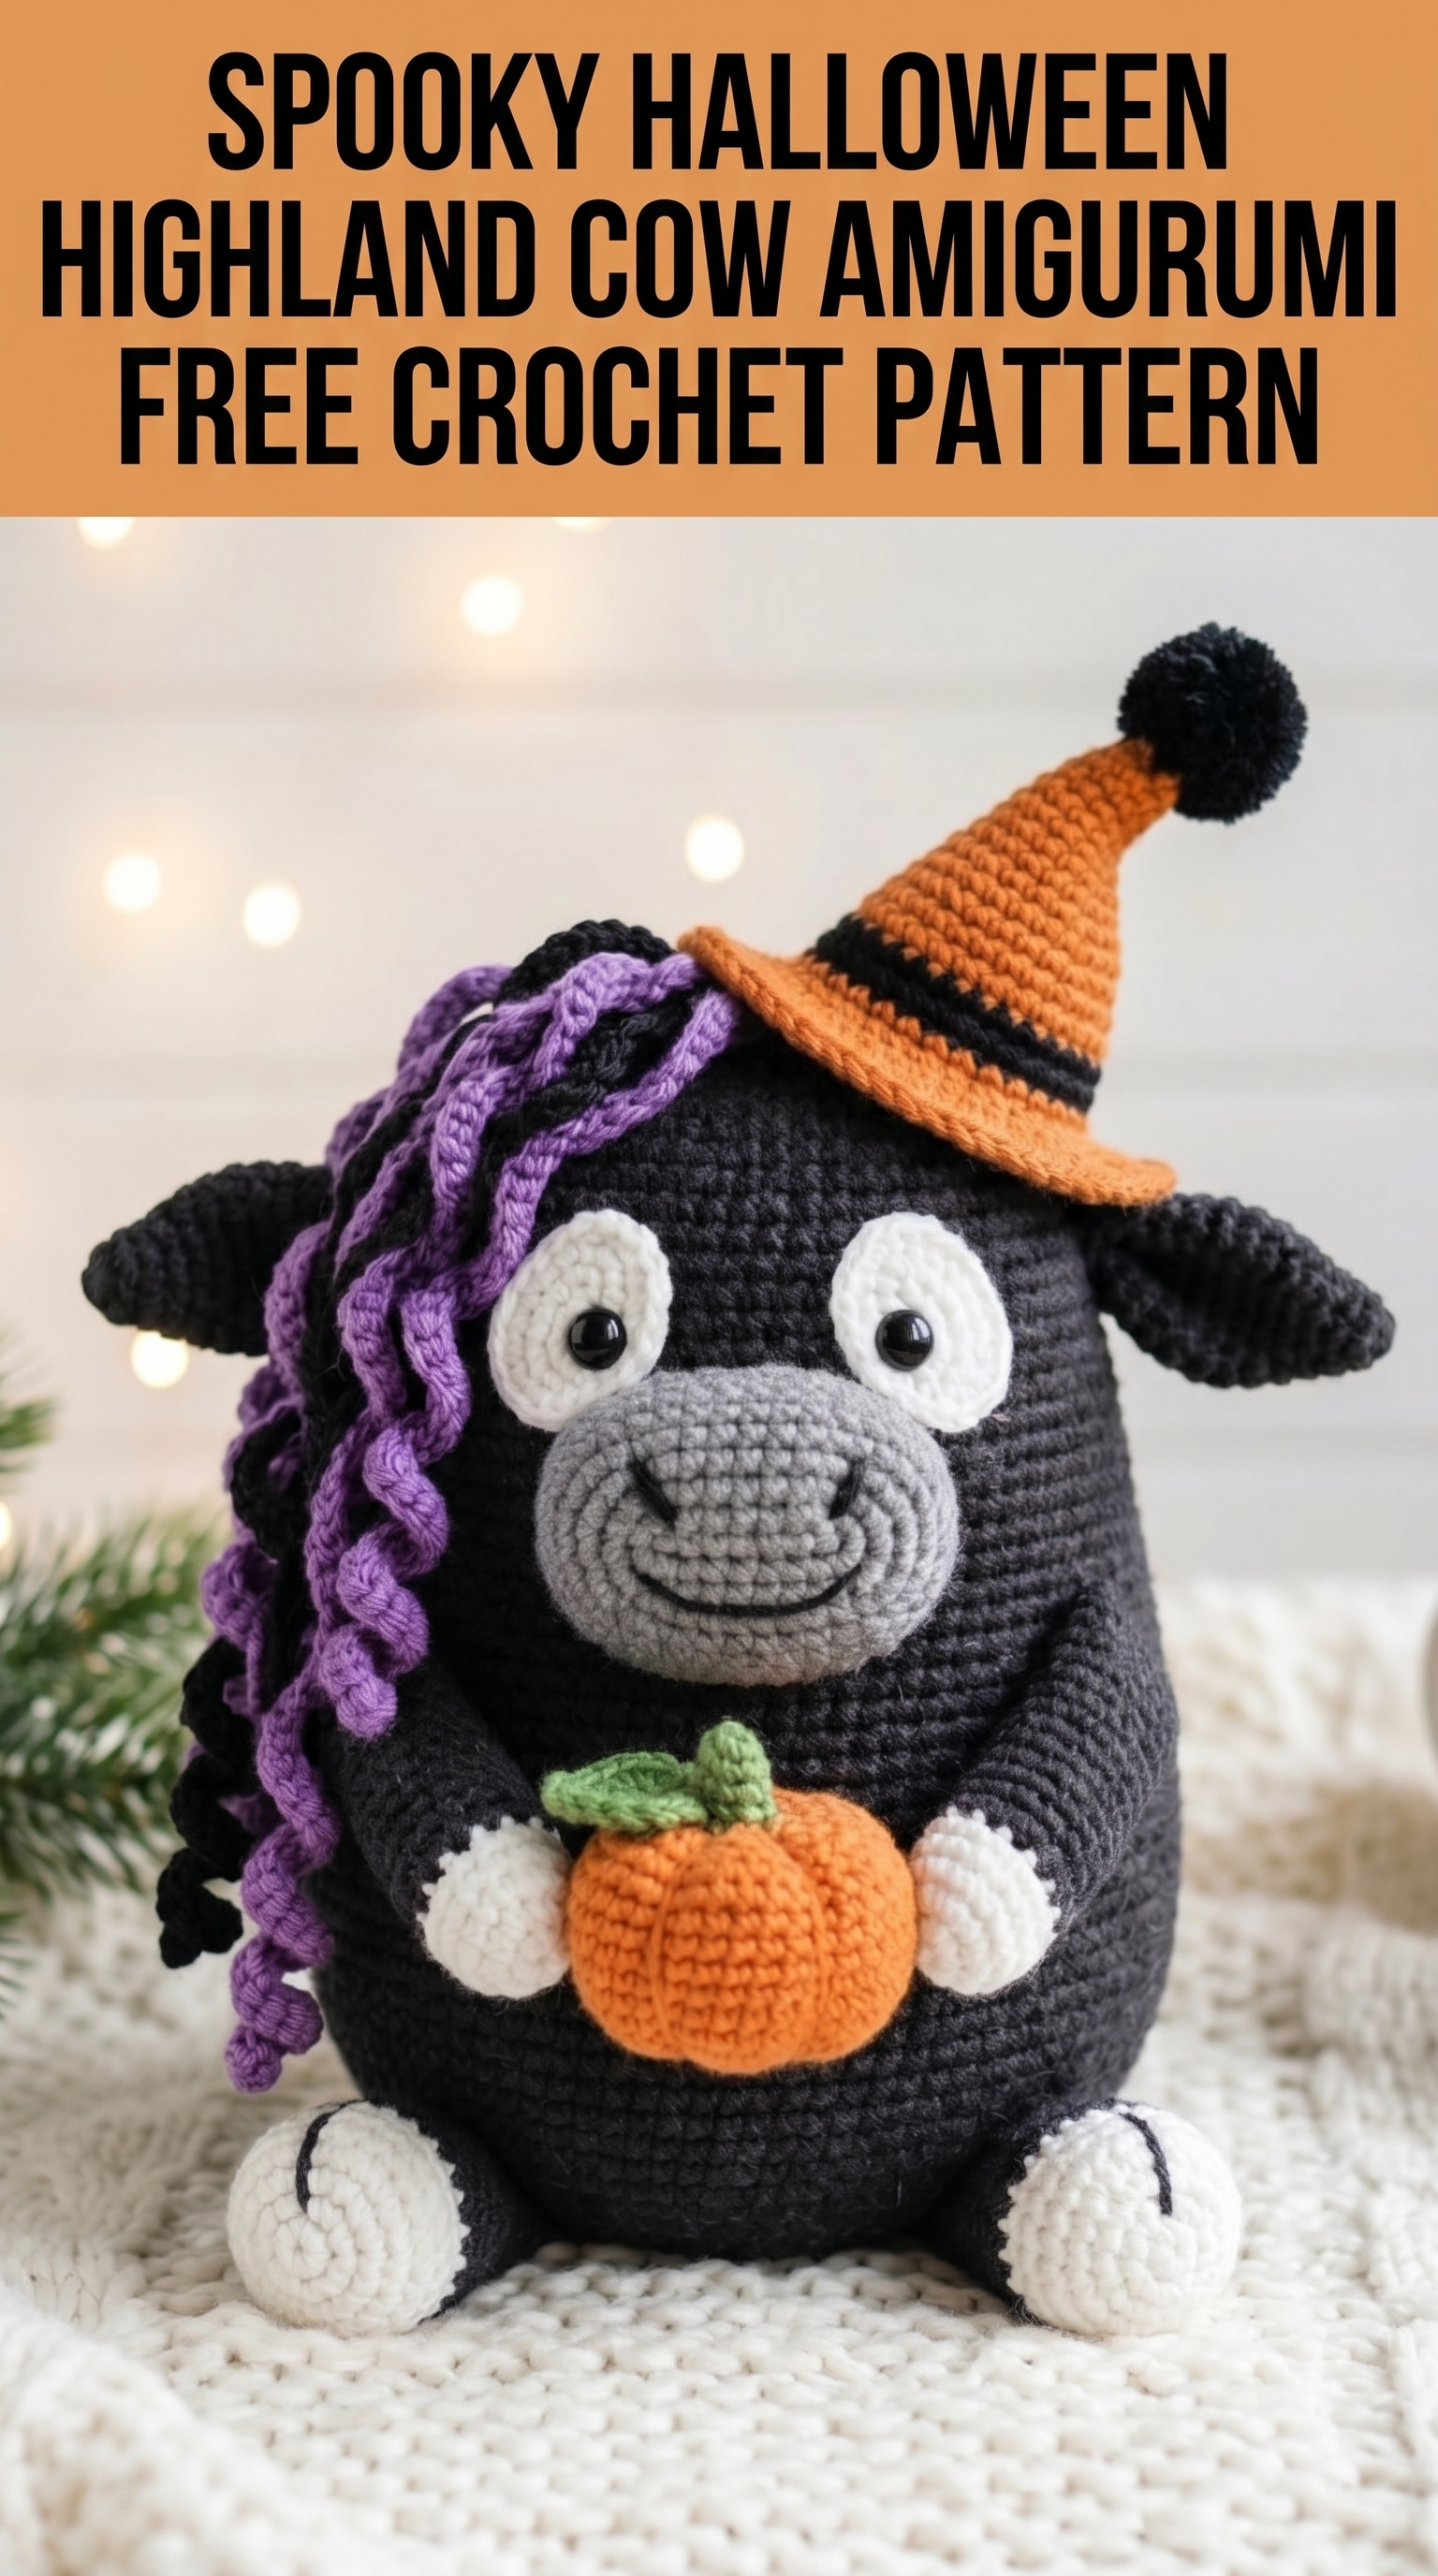
I designed this spooky Highland cow to sit around 8 to 9 inches tall when finished. He is worked entirely in single crochet using worsted weight yarn, so the fabric stays tight enough to hold the stuffing inside without any peeking through. The whole project comes together in separate pieces that you sew on at the end. Trust me, the assembly is the fun part where your cow really comes to life.
Let me walk you through everything you need to bring this Halloween Highland cow crochet pattern to life.
Why You Will Love This Halloween Highland Cow Pattern
This amigurumi project hits that sweet spot between impressive looking and totally doable. The finished cow makes an amazing handmade gift for anyone who loves Halloween, farmhouse decor, or just ridiculously cute things. He works beautifully as a shelf sitter, a centerpiece for your Halloween table, or a cuddly friend for a lucky kiddo.
The construction uses continuous rounds for most pieces, which means less joining and fewer ends to weave in. The curly hair uses a simple technique that looks way more complicated than it actually is. And that witch hat? It is basically a cone with a brim. You have got this.
Materials You Will Need
Yarn (Worsted Weight, Category 4):
I used a basic acrylic worsted yarn for this project. Brands like Red Heart Super Saver, Caron Simply Soft, or any similar weight yarn work beautifully. The key is choosing yarn with good stitch definition so your stitches stay crisp and visible.
Hook:
Using a hook slightly smaller than recommended for your yarn creates a tighter fabric. This prevents stuffing from showing through, which matters a lot with dark yarn and light stuffing.
Notions:
Abbreviations and Stitch Definitions
Let me break down every stitch and term you will see in this pattern.
MR = Magic Ring. This is an adjustable loop that allows you to pull the center hole completely closed. You wrap yarn around your fingers, insert your hook, pull up a loop, and chain one to secure it. Work your stitches into the ring, then pull the tail tight.
ch = Chain. Wrap yarn over hook, pull through loop on hook. This creates one chain stitch.
sc = Single Crochet. Insert hook into stitch, yarn over, pull up a loop (two loops on hook), yarn over, pull through both loops.
inc = Increase. Work two single crochet stitches into the same stitch. This adds one stitch to your count.
dec = Invisible Decrease. Insert hook through the front loops only of the next two stitches, yarn over, pull through both front loops (two loops on hook), yarn over, pull through both. This creates a neater decrease than the standard method.
sl st = Slip Stitch. Insert hook, yarn over, pull through stitch and loop on hook in one motion. Used for joining and for creating the curly hair effect.
FO = Fasten Off. Cut yarn leaving a tail, pull tail through final loop to secure.
( ) x number = Repeat the instructions inside the parentheses the stated number of times.
Gauge
Gauge matters less in amigurumi than in garments, but here is a reference point. Using a 3.5mm hook and worsted yarn, 5 single crochet stitches should measure approximately 1 inch across. If your fabric feels loose or you can see stuffing through the stitches, go down a hook size.
Step by Step Crochet Pattern
Main Body
The body is worked from the bottom up in continuous rounds. Place a stitch marker at the start of each round and move it up as you go.
Using black yarn:
Rnd 1: 6 sc in MR (6 sts)
Rnd 2: inc in each st around (12 sts)
Rnd 3: (sc, inc) x 6 (18 sts)
Rnd 4: (2 sc, inc) x 6 (24 sts)
Rnd 5: (3 sc, inc) x 6 (30 sts)
Rnd 6: (4 sc, inc) x 6 (36 sts)
Rnd 7: (5 sc, inc) x 6 (42 sts)
Rnd 8: (6 sc, inc) x 6 (48 sts)
Rnd 9: (7 sc, inc) x 6 (54 sts)
Rnd 10: (8 sc, inc) x 6 (60 sts)
Rnds 11 to 18: sc in each st around (60 sts) Work 8 rounds even.
Rnd 19: (8 sc, dec) x 6 (54 sts)
Rnds 20 to 22: sc in each st around (54 sts)
Rnd 23: (7 sc, dec) x 6 (48 sts)
Rnds 24 to 26: sc in each st around (48 sts)
Rnd 27: (6 sc, dec) x 6 (42 sts)
Rnds 28 to 30: sc in each st around (42 sts)
Begin stuffing firmly. Continue adding stuffing as you decrease.
Rnd 31: (5 sc, dec) x 6 (36 sts)
Rnd 32: sc in each st around (36 sts)
Rnd 33: (4 sc, dec) x 6 (30 sts)
Rnd 34: (3 sc, dec) x 6 (24 sts)
Rnd 35: (2 sc, dec) x 6 (18 sts)
Rnd 36: (sc, dec) x 6 (12 sts)
Rnd 37: dec x 6 (6 sts)
FO, leaving a long tail. Use your yarn needle to weave through the front loops of the remaining 6 stitches, pull tight to close, and secure.
Muzzle
Using gray yarn:
Rnd 1: 6 sc in MR (6 sts)
Rnd 2: inc in each st around (12 sts)
Rnd 3: (sc, inc) x 6 (18 sts)
Rnd 4: (2 sc, inc) x 6 (24 sts)
Rnd 5: (3 sc, inc) x 6 (30 sts)
Rnds 6 to 9: sc in each st around (30 sts)
Sl st to next st, FO leaving a long tail for sewing. Stuff lightly before attaching.
Use black yarn or embroidery floss to stitch the nostrils and a curved smile onto the muzzle before sewing it to the body.
Eye Patches (Make 2)
Using white yarn:
Rnd 1: 6 sc in MR (6 sts)
Rnd 2: inc in each st around (12 sts)
Rnd 3: (sc, inc) x 6 (18 sts)
Sl st, FO leaving a tail for sewing.
Attach safety eyes to the center of each patch before sewing patches to the body.
Ears (Make 2)
Using black yarn:
Rnd 1: 6 sc in MR (6 sts)
Rnd 2: inc in each st around (12 sts)
Rnd 3: (sc, inc) x 6 (18 sts)
Rnds 4 to 6: sc in each st around (18 sts)
Rnd 7: (sc, dec) x 6 (12 sts)
Rnd 8: sc in each st around (12 sts)
Sl st, FO leaving a tail. Flatten the ear without stuffing. The ears point outward from the sides of the head.
Optional: Add a small oval of gray yarn to the inner ear before sewing.
Arms (Make 2)
Using black yarn:
Rnd 1: 6 sc in MR (6 sts)
Rnd 2: inc in each st around (12 sts)
Rnds 3 to 5: sc in each st around (12 sts)
Change to white yarn:
Rnds 6 to 8: sc in each st around (12 sts)
Sl st, FO leaving a tail. Stuff lightly. The white portion forms the hooves.
Feet (Make 2)
Using white yarn:
Rnd 1: 6 sc in MR (6 sts)
Rnd 2: inc in each st around (12 sts)
Rnd 3: (sc, inc) x 6 (18 sts)
Rnds 4 to 6: sc in each st around (18 sts)
Sl st, FO. Stuff firmly. These sit at the front bottom of the body.
Witch Hat
Using orange yarn:
Rnd 1: 4 sc in MR (4 sts)
Rnd 2: (sc, inc) x 2 (6 sts)
Rnd 3: sc in each st around (6 sts)
Rnd 4: (sc, inc) x 3 (9 sts)
Rnd 5: sc in each st around (9 sts)
Rnd 6: (2 sc, inc) x 3 (12 sts)
Rnds 7 to 8: sc in each st around (12 sts)
Change to black yarn for one round:
Rnd 9: sc in each st around (12 sts)
Change back to orange yarn:
Rnd 10: (3 sc, inc) x 3 (15 sts)
Rnds 11 to 12: sc in each st around (15 sts)
Rnd 13: (4 sc, inc) x 3 (18 sts)
Rnds 14 to 15: sc in each st around (18 sts)
Rnd 16: (5 sc, inc) x 3 (21 sts)
Rnd 17: sc in each st around (21 sts)
Brim:
Rnd 18: Working in front loops only, (sc, inc) x 10, sc (32 sts)
Rnd 19: (3 sc, inc) x 8 (40 sts)
Sl st, FO leaving a tail.
Pom Pom: Using black yarn, make a small pom pom or crochet a tiny ball (6 sc in MR, inc around to 12, then dec around to 6). Attach to the tip of the hat.
Curly Hair
This is the fun part. You will make long curly strands and attach them under the hat.
Using purple yarn:
Ch 30.
Starting in the 2nd ch from hook, work 3 sc in each chain across.
This creates a tight spiral curl. Make approximately 15 to 20 strands of varying lengths (chains of 20 to 35). Attach them along one side of the head, tucking the ends under where the hat will sit.
Pumpkin
Using orange yarn:
Rnd 1: 6 sc in MR (6 sts)
Rnd 2: inc in each st around (12 sts)
Rnd 3: (sc, inc) x 6 (18 sts)
Rnds 4 to 6: sc in each st around (18 sts)
Rnd 7: (sc, dec) x 6 (12 sts)
Stuff the pumpkin.
Rnd 8: dec x 6 (6 sts)
FO, close hole.
Stem: Using green yarn, ch 4, sl st in 2nd ch from hook, sl st in remaining chains. FO and attach to top.
Leaf: Ch 6, sl st in 2nd ch from hook, sc, hdc, sc, sl st. FO and attach near stem.
Use orange yarn to create vertical indentations by wrapping yarn from top to bottom around the pumpkin 4 to 6 times.
Assembly Instructions
1. Sew eye patches to the upper portion of the body, centered and slightly apart.
2. Attach muzzle below and between the eye patches.
3. Sew ears to the sides of the head, angled slightly outward and downward.
4. Attach curly hair along the left side of the head (or both sides if you prefer fuller hair).
5. Position and sew the witch hat on top, tilted at a jaunty angle.
6. Attach arms to the sides, positioned to hold the pumpkin.
7. Sew the pumpkin between the arms.
8. Attach feet to the bottom front of the body.
Take your time with placement. I always pin everything first and look at the piece from multiple angles before committing to sewing.
Helpful Tips for This Amigurumi Pattern
Stuffing: Use small pieces of fiberfill and add gradually. Overstuffing distorts the shape. Understuffing makes your cow floppy. Aim for firm but not stretched.
Tension: Keep your stitches consistent. If you tend to crochet loosely, drop down another hook size.
Color changes: When switching colors, complete the last yarn over of the previous stitch with the new color for a cleaner transition.
Weaving ends: Weave tails through the inside of your work to hide them completely.
Make It Your Own
This Halloween Highland cow crochet pattern works as a starting point for so many variations. Skip the witch hat and pumpkin for a year round version. Swap purple hair for orange and red for a fall theme. Use pink and hearts for Valentine’s Day. The basic body shape adapts to any season.
Wrapping Up
Thank you so much for choosing this spooky Halloween Highland cow amigurumi pattern for your next crochet project. I genuinely hope you enjoy making this quirky little guy as much as I enjoyed designing him. He brings such a smile to my face every time I look at him sitting on my shelf.
Once you finish yours, I would absolutely love to see it. Tag me on Instagram or share in my Facebook group. Seeing your creations makes my whole day.
Happy crocheting, friend. You are going to do amazing.
