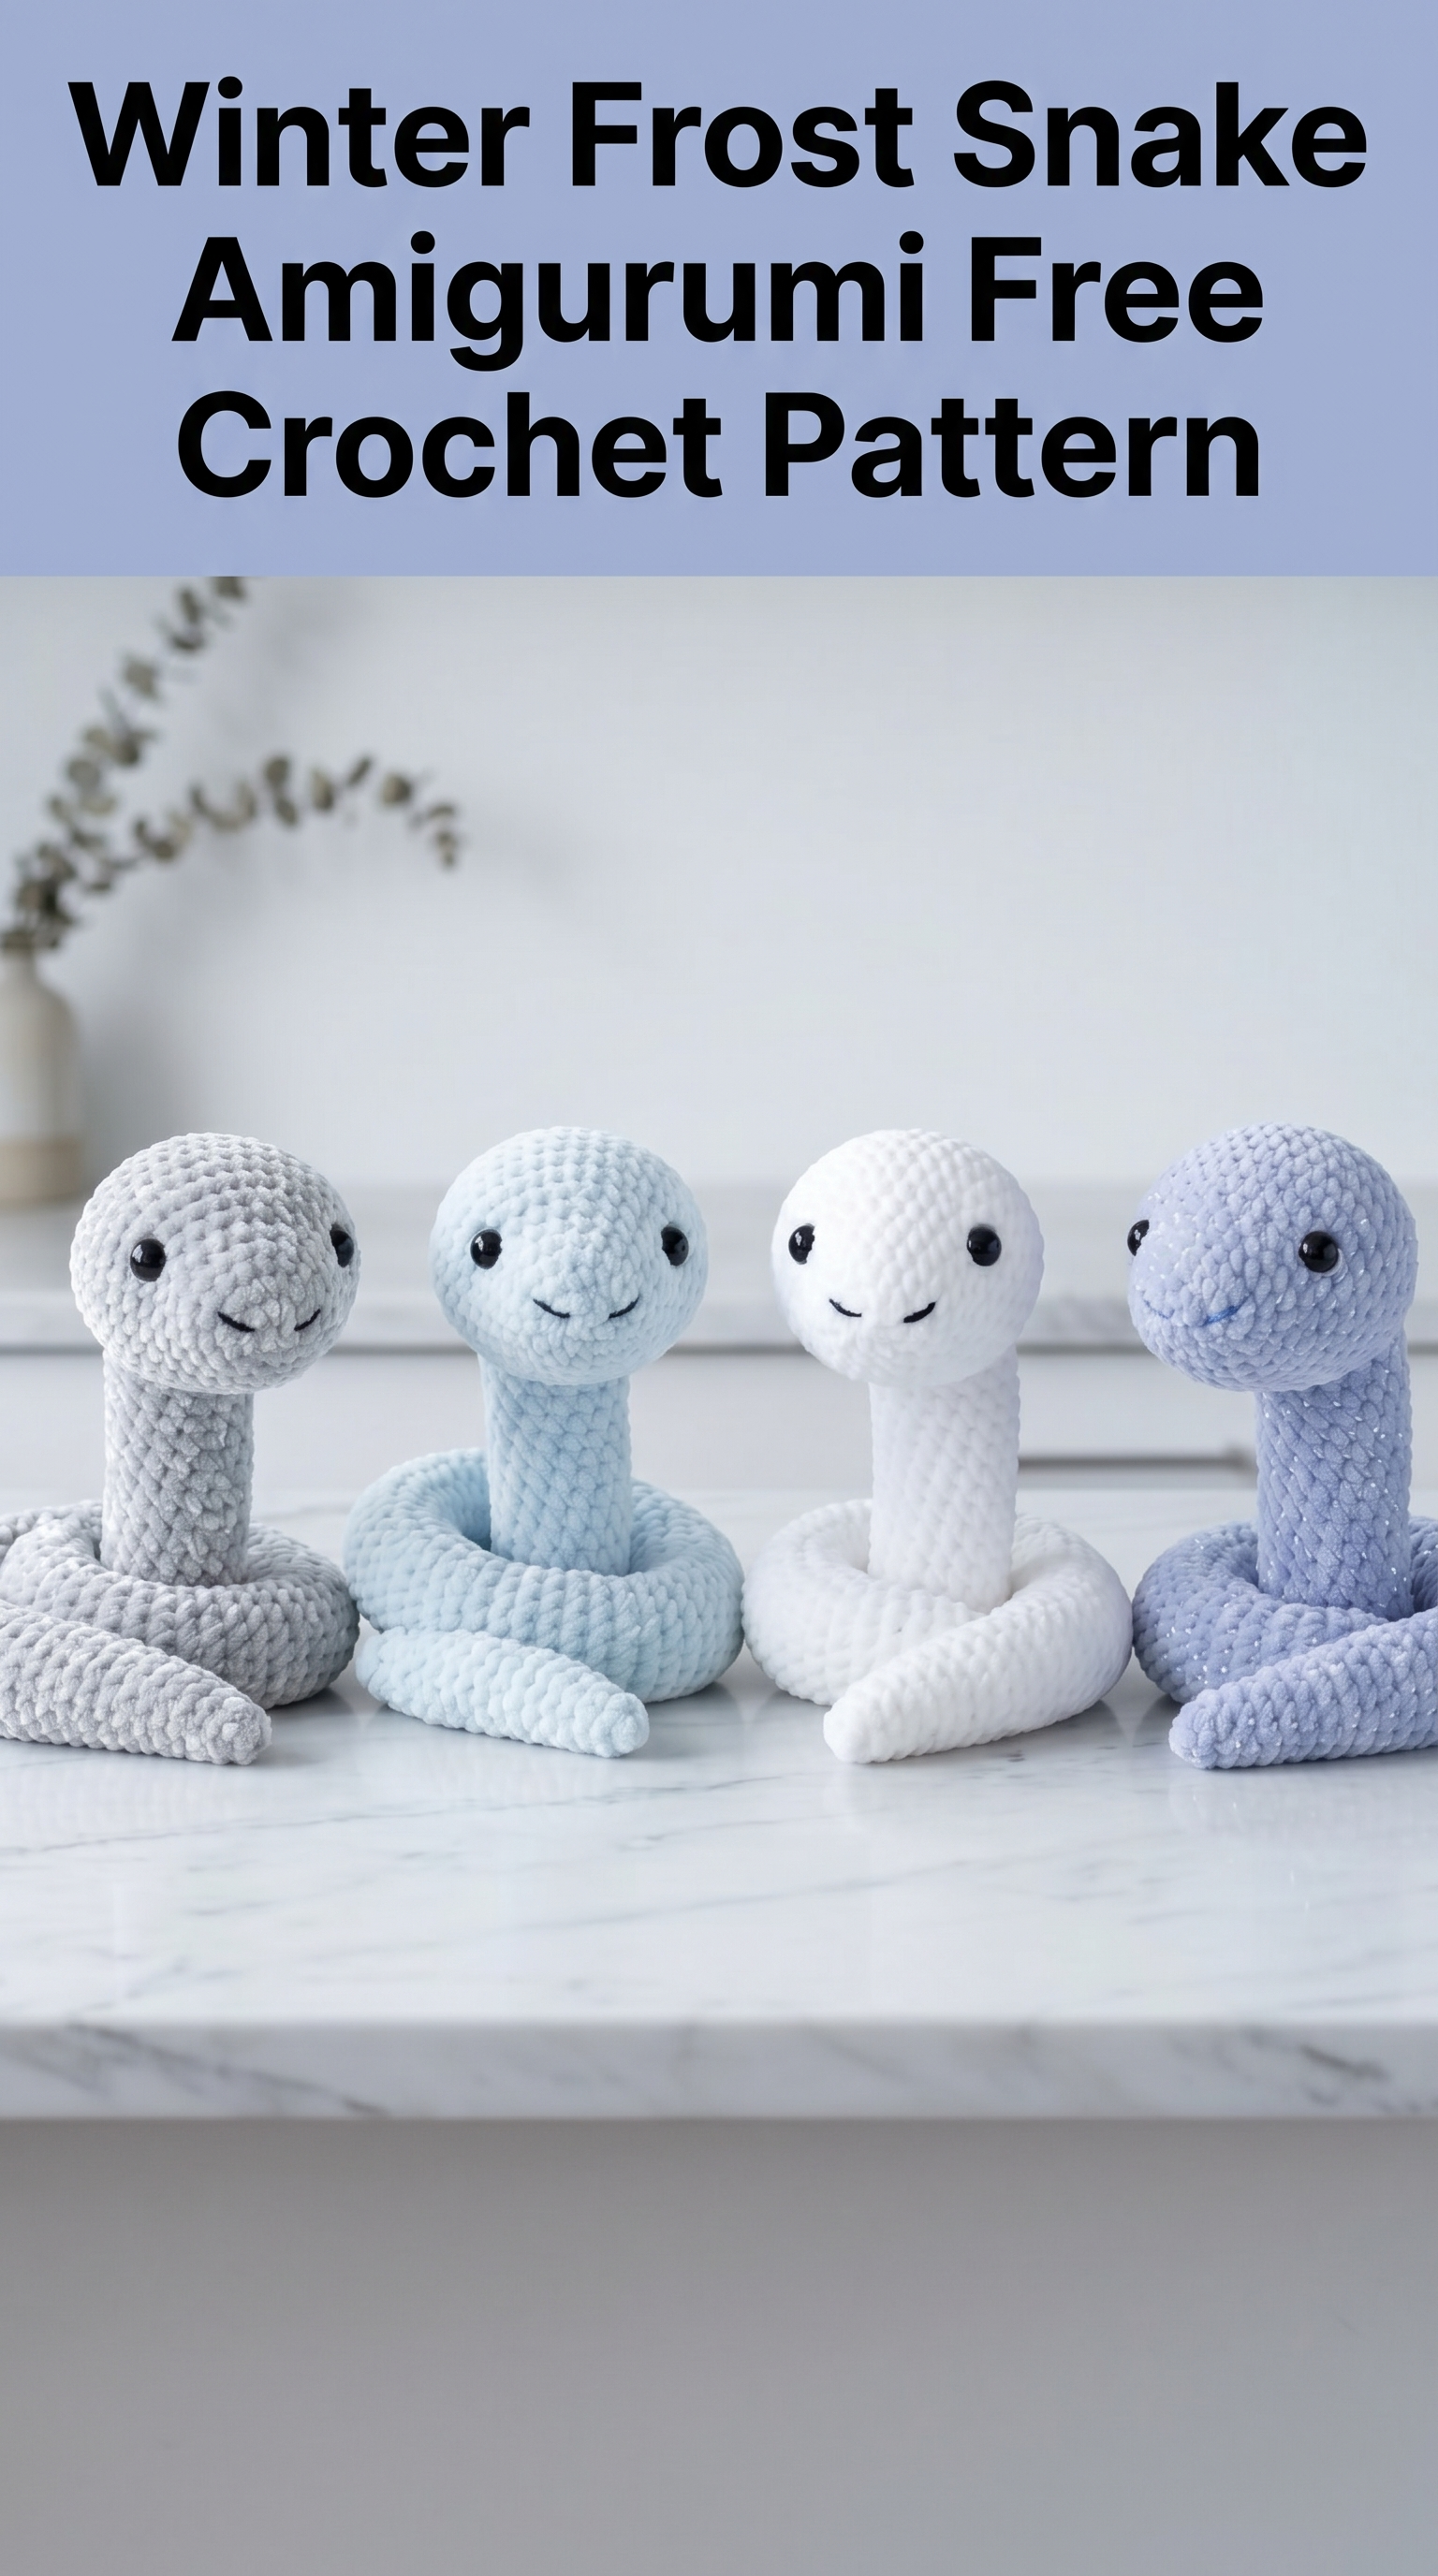
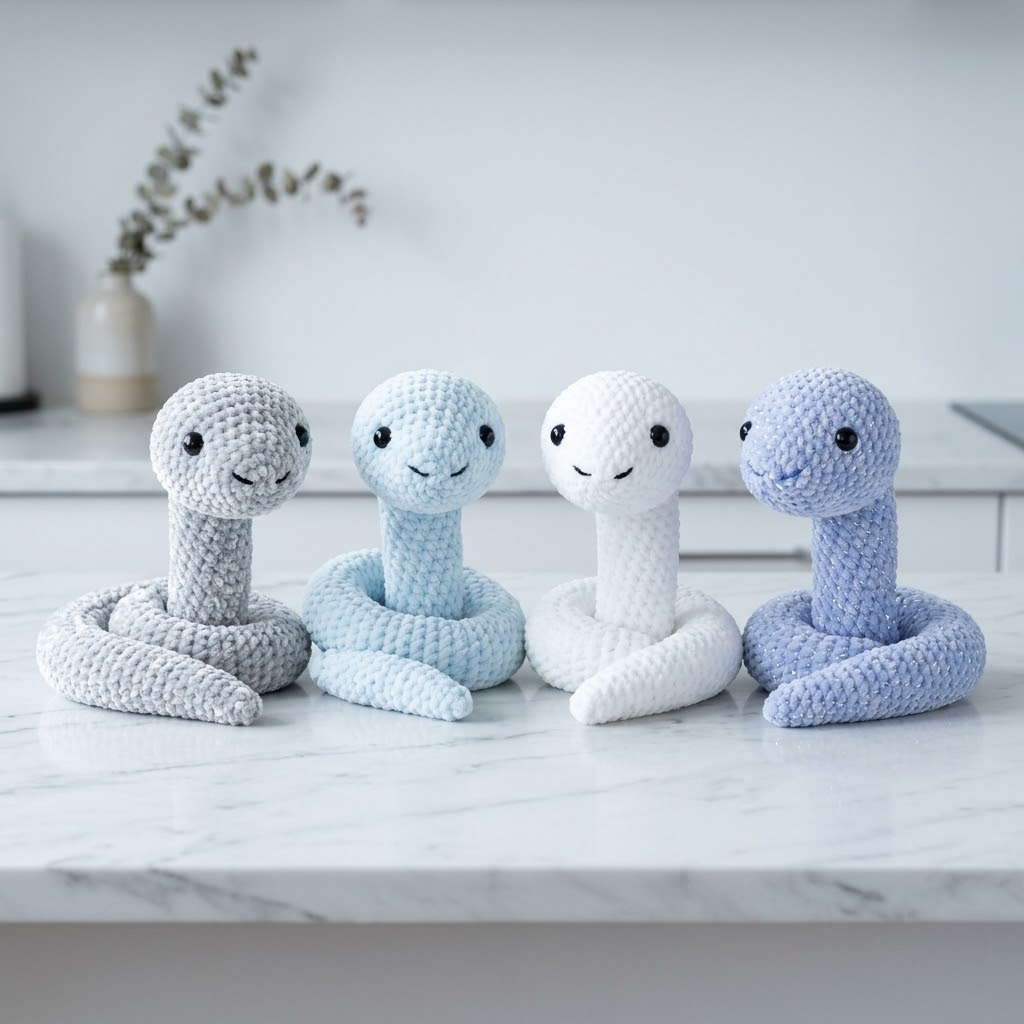
These adorable little snakes might just be the cutest project you add to your hook this season. Looking at these four frosty friends sitting pretty on a marble counter, I cannot help but smile at their sweet embroidered faces and perfectly coiled bodies. If you have been wanting to try amigurumi but felt intimidated, this Winter Frost Snake pattern is your perfect starting point. The construction is simpler than it looks, and I will walk you through every single stitch.
This beginner friendly crochet pattern uses basic stitches worked in continuous rounds. No complicated shaping. No tricky color changes. Just a relaxing project that builds your confidence while creating something genuinely charming. Each snake takes just a few hours to complete, making them ideal for gift giving or satisfying that itch to finish something quickly.
Why You Will Love This Crochet Tutorial
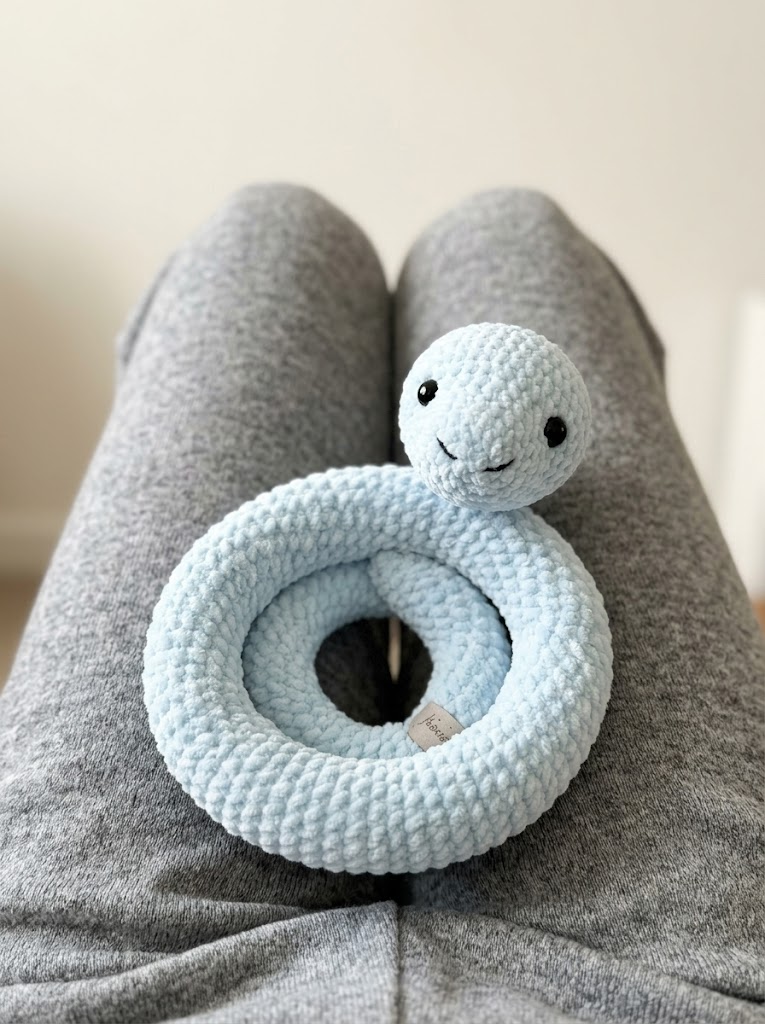
What makes this snake amigurumi special is the plush velvet yarn that gives each one that irresistibly squishy texture. Looking at the image, I can see that beautiful chenille surface catching the light. The stitches have that characteristic velvet yarn look where they appear slightly puffed and incredibly soft to touch.
The design itself is wonderfully straightforward. You are essentially crocheting one long tube that starts as the head, continues down the neck, and flows into a gradually tapering body that ends at the tail. The coiled position happens naturally when you arrange the finished snake. No wire needed. No complicated armature.
These snakes work up in any color you love. The samples show a gorgeous winter palette of gray, pale blue, cream white, and a sparkly periwinkle. That fourth snake appears to have a subtle metallic thread running through the yarn, which adds the prettiest shimmer.
Materials You Will Need
Gathering your supplies before starting makes the whole process smoother. Here is everything required to recreate this step by step crochet pattern:
Yarn:
Hook:
Notions:
Finished Size:
Based on the proportions visible, each snake measures approximately 10 to 12 inches when coiled and around 18 to 20 inches if stretched out straight. The head is roughly 2 inches in diameter.
Understanding the Stitches
Before we dive into the pattern, let me define every abbreviation you will encounter. Even if you know these stitches, a quick refresher never hurts.
Magic Ring (MR): An adjustable loop that creates a tight center with no hole. You wrap yarn around your fingers, pull up a loop, chain one, then work your first round stitches into that ring before pulling it closed.
Chain (ch): The foundation stitch. Yarn over, pull through the loop on your hook. Creates one chain.
Single Crochet (sc): Insert hook into stitch, yarn over and pull up a loop (two loops on hook), yarn over and pull through both loops. This is your main stitch for the entire project.
Increase (inc): Work two single crochet stitches into the same stitch. This adds one stitch to your count. If you had 6 stitches and work an increase in each one, you now have 12 stitches.
Decrease (dec): Also called invisible decrease or sc2tog. Insert hook through front loops only of next two stitches, yarn over and pull through both stitches (two loops on hook), yarn over and pull through both loops. This subtracts one stitch from your count.
Slip Stitch (sl st): Insert hook into stitch, yarn over and pull through both the stitch and the loop on your hook in one motion. Used for joining.
Fasten Off (FO): Cut yarn leaving a tail, pull the tail through the last loop to secure.
A Note About Working With Velvet Yarn
I want to address this upfront because velvet yarn can be tricky if you have never used it. The chenille fibers make it harder to see your stitches clearly. Here are my best tips:
Work in good lighting. Natural daylight is your friend.
Use a stitch marker religiously. Move it up at the end of every round. This pattern is worked in continuous spirals, so without a marker, you will lose track quickly.
Count your stitches after every round. Seriously. Every single round.
If you need to frog (rip out) stitches, do it slowly and carefully. Velvet yarn does not like being reworked and can get fuzzy.
Consider practicing with regular worsted weight yarn first if this is your first amigurumi project. Once you understand the construction, switch to velvet for your final version.
Winter Frost Snake Amigurumi Pattern Instructions
Now for the fun part. Grab your hook and yarn, and let us make a snake.
Head
The head is a simple sphere worked from the top down.
Round 1: Make a magic ring, work 6 sc into the ring, pull closed. (6 sts)
Round 2: Inc in each st around. (12 sts)
Round 3: *Sc 1, inc* repeat around. (18 sts)
Round 4: *Sc 2, inc* repeat around. (24 sts)
Round 5: *Sc 3, inc* repeat around. (30 sts)
Rounds 6 to 10: Sc in each st around. (30 sts) Work 5 rounds even.
This is where you will attach the safety eyes. Looking at the samples, the eyes sit between rounds 7 and 8, spaced approximately 8 to 10 stitches apart. Insert them now before you decrease and close the head.
Round 11: *Sc 3, dec* repeat around. (24 sts)
Round 12: *Sc 2, dec* repeat around. (18 sts)
Begin stuffing the head firmly. You want it nice and round.
Round 13: *Sc 1, dec* repeat around. (12 sts)
Add more stuffing to fill the head completely.
Neck
The neck transitions directly from the head. Do not fasten off.
Rounds 14 to 25: Sc in each st around. (12 sts) Work 12 rounds even.
The neck should measure approximately 2 to 2.5 inches. Stuff the neck as you go, keeping it firm enough to stand upright but not so packed that it becomes rigid.
Body
Now we begin the gradual widening and then tapering of the body.
Round 26: *Sc 3, inc* repeat around. (15 sts)
Rounds 27 to 30: Sc in each st around. (15 sts)
Round 31: *Sc 4, inc* repeat around. (18 sts)
Rounds 32 to 40: Sc in each st around. (18 sts)
Continue stuffing as you work. The body should feel consistently firm throughout.
Round 41: *Sc 4, dec* repeat around. (15 sts)
Rounds 42 to 50: Sc in each st around. (15 sts)
Round 51: *Sc 3, dec* repeat around. (12 sts)
Rounds 52 to 65: Sc in each st around. (12 sts)
Round 66: *Sc 2, dec* repeat around. (9 sts)
Rounds 67 to 75: Sc in each st around. (9 sts)
Round 76: *Sc 1, dec* repeat around. (6 sts)
Rounds 77 to 80: Sc in each st around. (6 sts)
Finish stuffing the tail section lightly. You want flexibility here so the tail can curl naturally.
Round 81: Dec around. (3 sts)
Fasten off, leaving a 6 inch tail. Thread through remaining stitches and pull closed. Weave in the end securely.
Finishing Your Snake Amigurumi
Embroidering the Face
The facial expression brings your snake to life. Looking at the samples, each one has a simple curved smile embroidered in black just below and between the eyes.
Thread your embroidery needle with black floss or thin black yarn. Enter from the back of the head (where it will be hidden by the neck when coiled). Bring your needle out at one corner of the smile.
Create a gentle curved line using backstitch or a simple running stitch. Keep the smile subtle and sweet. These snakes look friendly, not sinister.
Secure your thread on the inside and weave in the end.
Shaping and Coiling
Here is the satisfying part. Your snake is now one long flexible tube ready for posing.
Starting just below the head, begin coiling the body in a spiral. The snake should naturally want to curl because the body tapers. Arrange 2 to 3 loops around the base, letting the head rise from the center.
No sewing required. The weight of the stuffed body keeps the coil in place. You can tack the coils together with a few hidden stitches if you prefer a permanent position, but I like leaving them loose for play.
Tips for Making Multiple Snakes
If you want to create a whole family like the four shown, here are some thoughts:
Batch your work. Make all the heads first, then all the necks, then bodies. This speeds up the process considerably.
Vary the yarn colors but keep the eyes and embroidery consistent. That black on pastel combination is what makes these look like a cohesive collection.
Consider sizing variation. Work fewer body rounds for a smaller snake or add rounds for a longer one.
How to Crochet This Pattern as a True Beginner
If this is your very first amigurumi, please do not feel overwhelmed. The pattern looks long because I have broken it into detailed rounds, but you are really just doing single crochet over and over with occasional increases and decreases.
Practice the magic ring before starting. Watch a video if needed. This technique trips up many new crocheters, but once it clicks, you will use it constantly.
Your first snake might not be perfect. That is completely okay. The velvet yarn is forgiving and hides slight imperfections beautifully.
Wrapping Up
Thank you so much for choosing this Winter Frost Snake Amigurumi crochet pattern for your next project. I genuinely hope the instructions feel clear and that the process brings you joy. There is something wonderfully meditative about watching a simple tube transform into a sweet little creature.
I would absolutely love to see your finished snakes. Tag me on Instagram or share your photos in my Facebook group. Seeing your creations in different colors and yarn choices makes my whole day brighter.
Happy crocheting, friend. You have got this.
