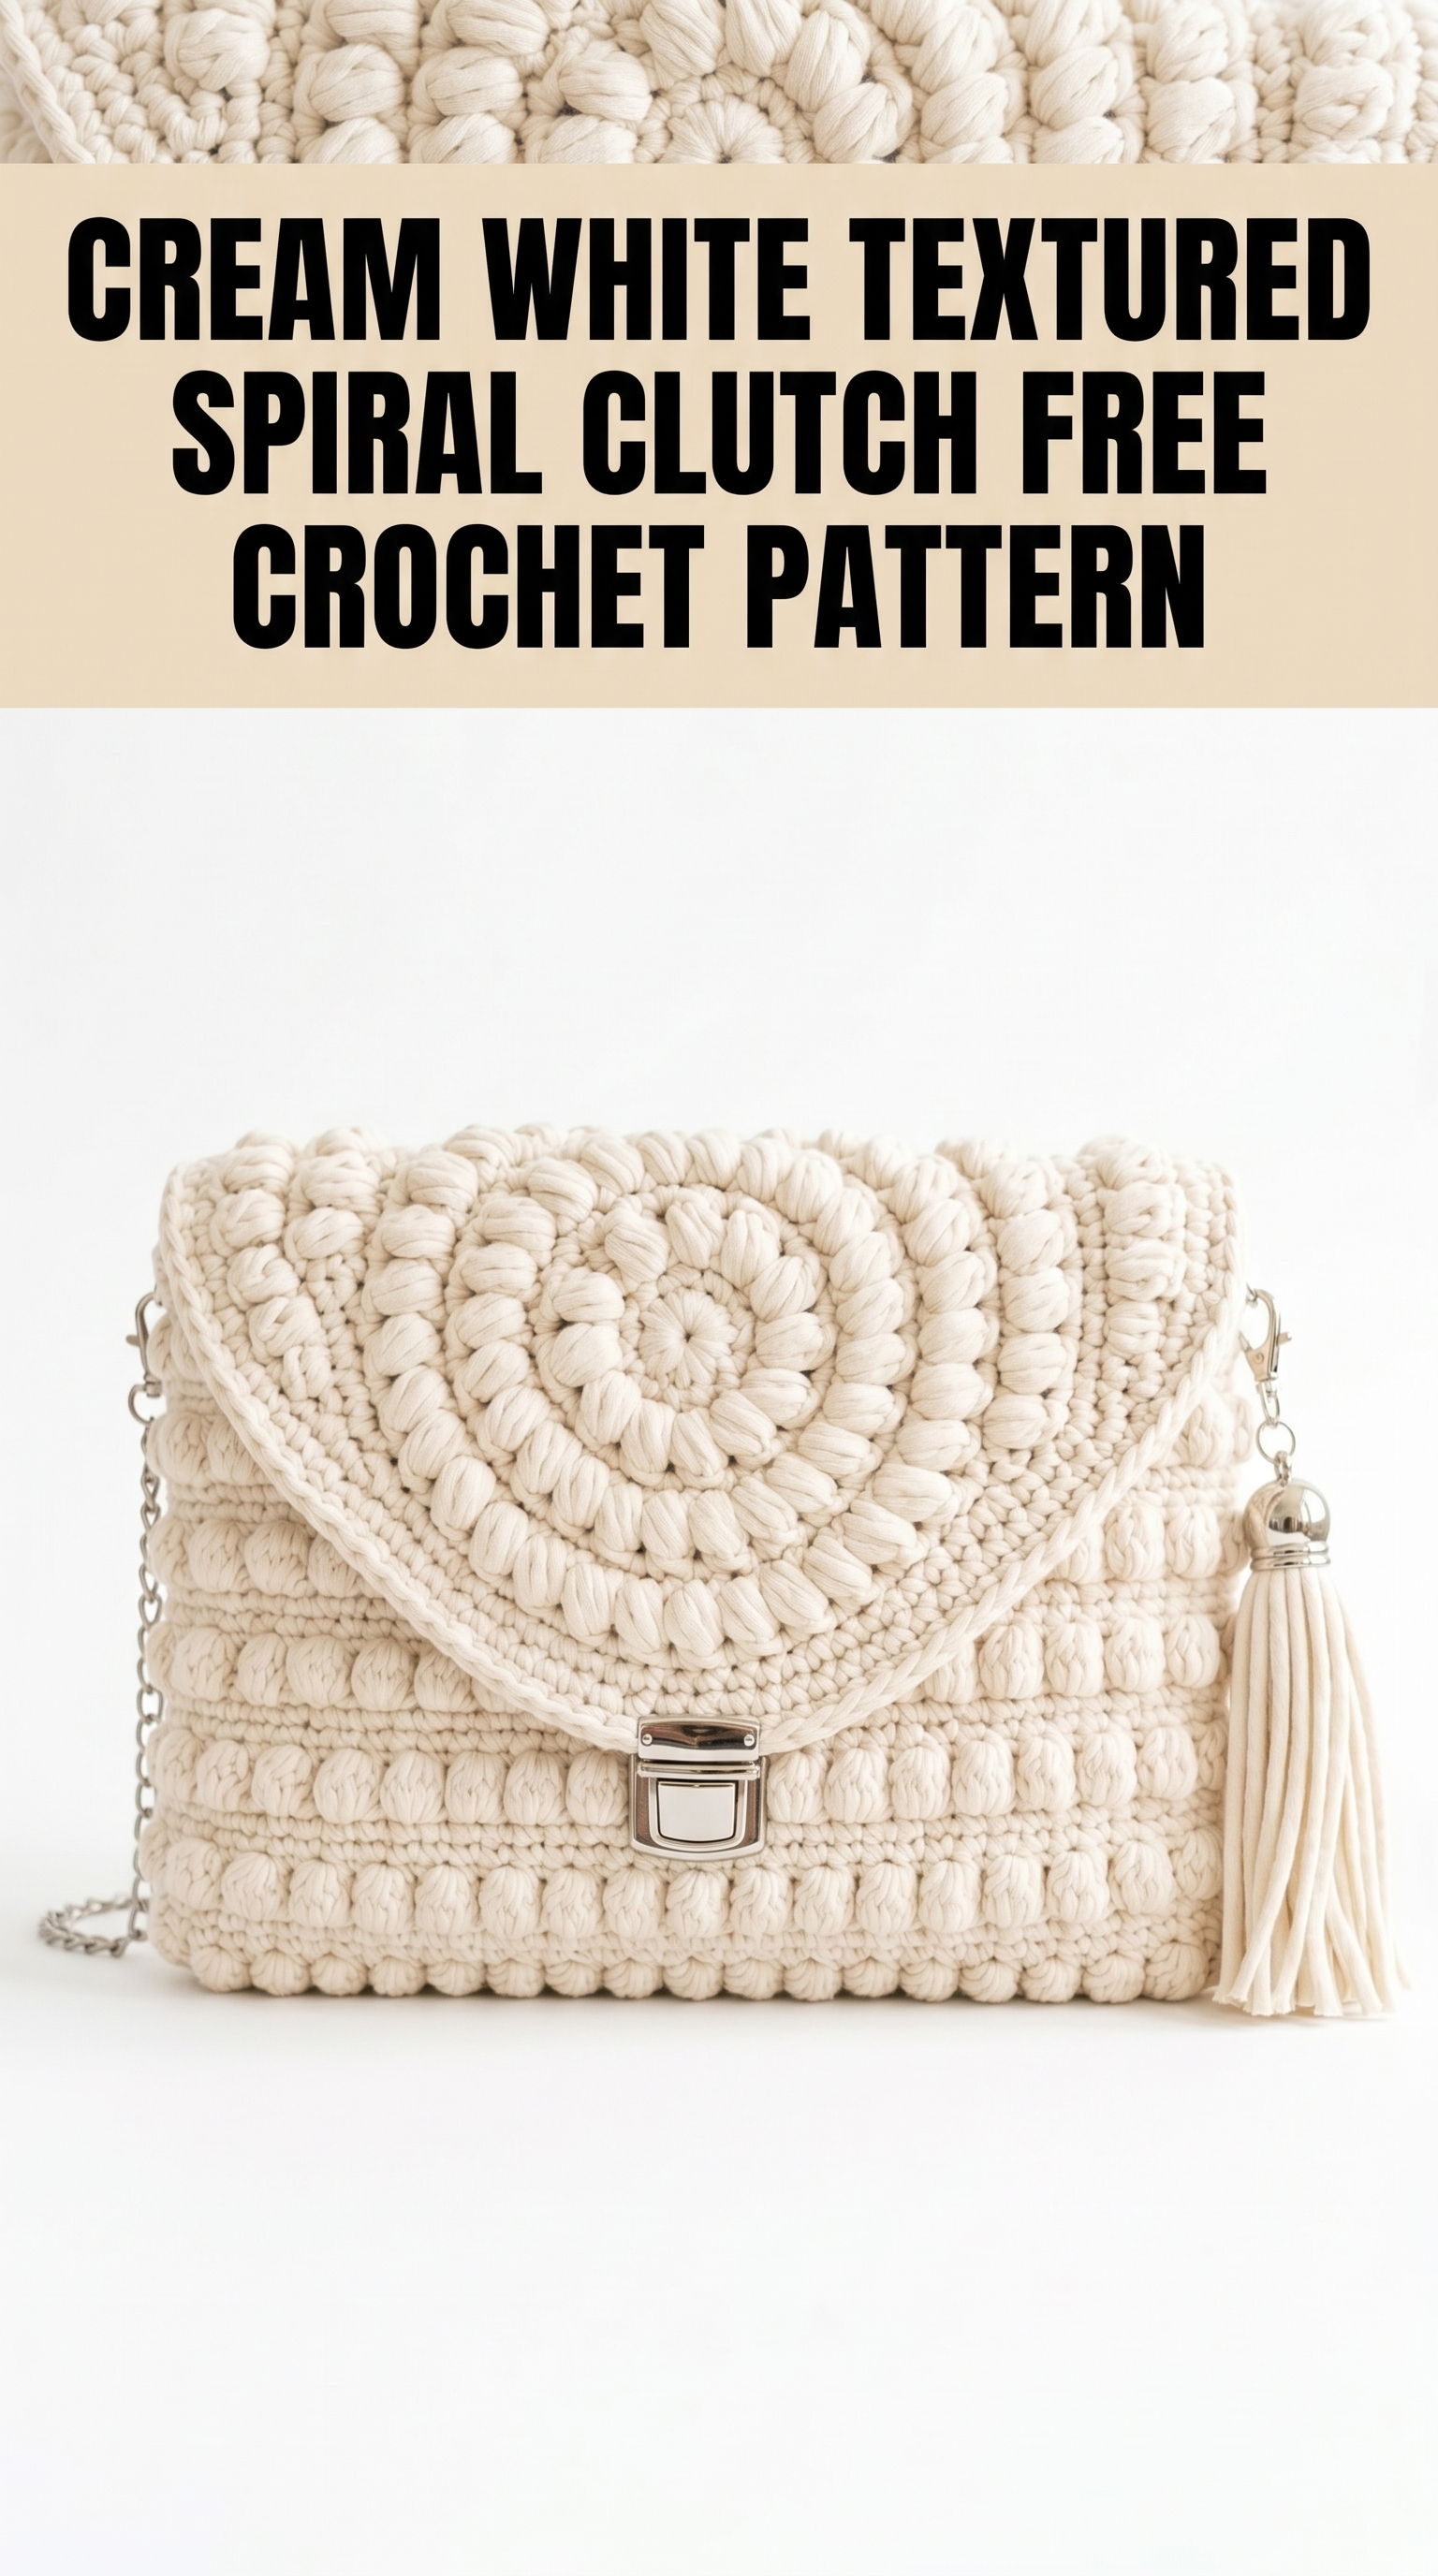
There is something deeply satisfying about making a bag that looks like it belongs in a boutique window. This cream white textured spiral clutch is exactly that kind of project. The moment I finished mine, I kept picking it up just to admire the spiral flap and run my fingers over those puffy bobble stitches.
Here is the good news. If you can work basic stitches in the round and you have tackled a bobble or puff stitch before, you can absolutely make this crochet clutch pattern. The construction is simpler than it looks. I promise.
Let me walk you through everything step by step.
What Makes This Crochet Clutch Pattern Special
The star of this design is the spiral medallion flap. That gorgeous swirl effect comes from working puff stitches in a circle, increasing strategically so the spiral radiates outward. It looks intricate but follows a predictable rhythm once you get going.
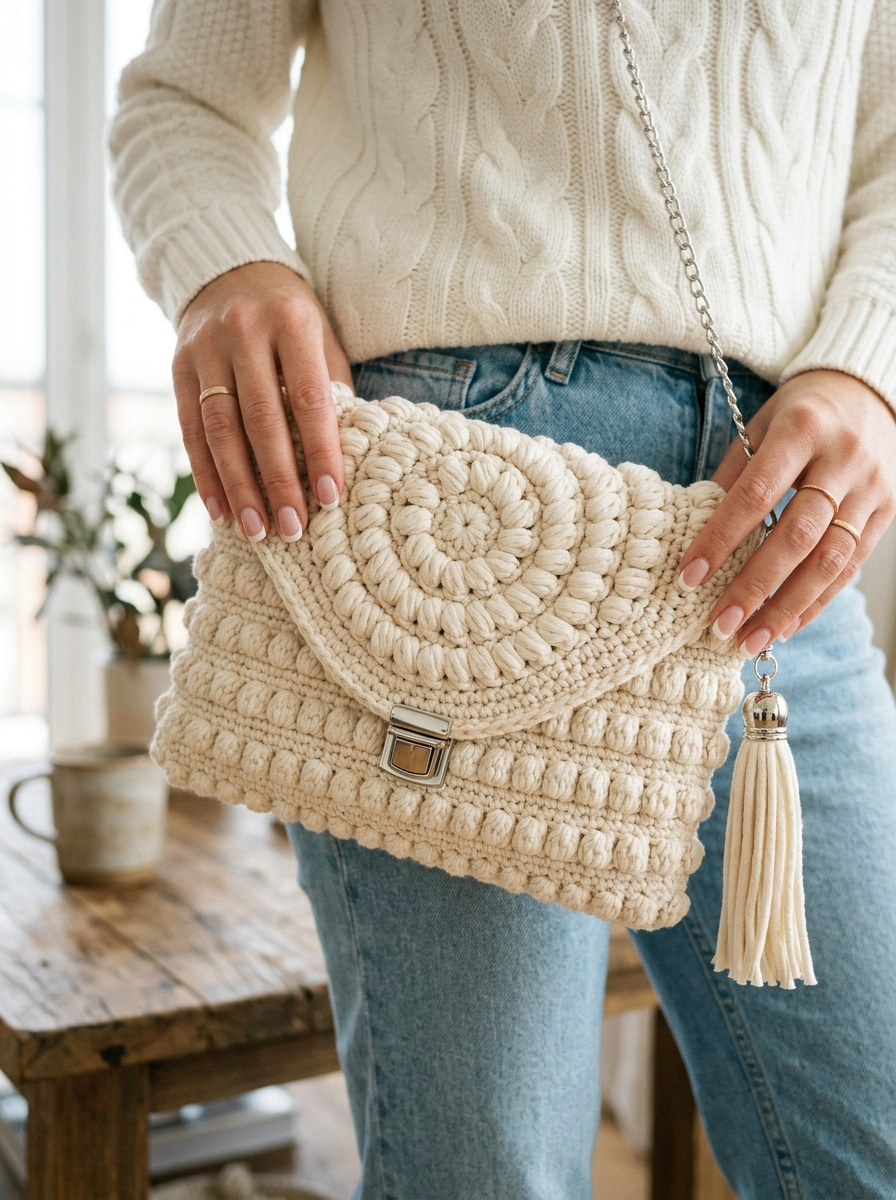
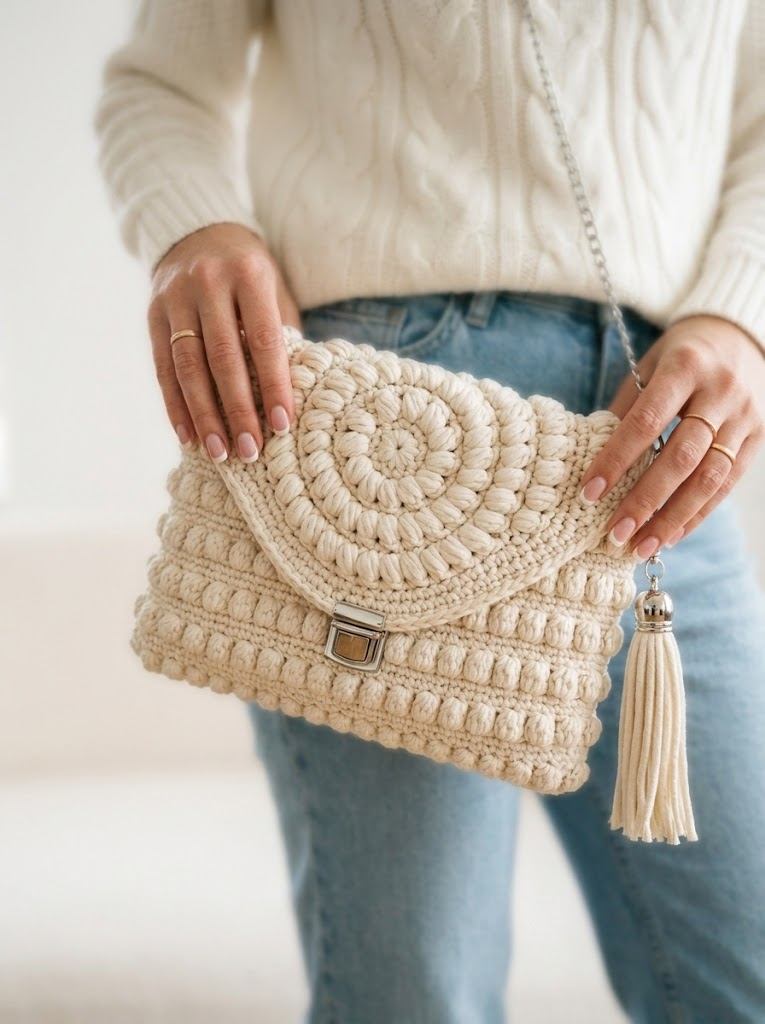
The bag body features rows of bobble stitches that create incredible texture and dimension. Combined with the structured shape and silver clasp hardware, this clutch has a high-end feel that nobody would guess you crocheted yourself.
The tassel and chain strap are the finishing touches that elevate everything. You can carry this as a clutch or wear it crossbody. Either way, expect compliments.
Skill Level
Intermediate. You should be comfortable with:
If bobbles are new to you, do not panic. I will explain exactly how to form them. Practice a few on scrap yarn first and you will be ready.
Finished Dimensions
Approximately 9 inches wide by 6.5 inches tall when closed. The flap adds another 4 to 5 inches and folds over the front.
Materials Needed
Gather these supplies before you start:
Yarn:
Hook:
Notions:
Gauge
8 single crochet stitches and 8 rows = 4 inches in single crochet with bulky yarn and 8.0 mm hook.
Gauge matters here because you want the bag to hold its shape and match the hardware size. Take a few minutes to check yours.
Abbreviations and Stitch Definitions
Let me define every stitch before we begin. Refer back here anytime you need a refresher.
ch = chain. Wrap yarn over hook, pull through loop on hook. Creates foundation or adds height.
sl st = slip stitch. Insert hook, yarn over, pull through stitch and loop on hook in one motion. Used for joining or moving across stitches invisibly.
sc = single crochet. Insert hook into stitch, yarn over, pull up a loop (two loops on hook), yarn over, pull through both loops. The shortest basic stitch.
hdc = half double crochet. Yarn over, insert hook into stitch, yarn over, pull up a loop (three loops on hook), yarn over, pull through all three loops. Slightly taller than single crochet.
dc = double crochet. Yarn over, insert hook into stitch, yarn over, pull up a loop, yarn over, pull through two loops, yarn over, pull through remaining two loops. Creates a taller fabric.
inc = increase. Work two stitches into the same stitch.
puff st = puff stitch. (Yarn over, insert hook, pull up a loop) three times in the same stitch (seven loops on hook), yarn over, pull through all seven loops, chain 1 to secure. Creates a rounded puffy cluster.
bobble = bobble stitch. Work five double crochets into the same stitch but do not complete them. (Yarn over, insert hook, pull up loop, yarn over, pull through two loops) five times in same stitch (six loops on hook), yarn over, pull through all six loops. The bobble pops to the back of your work.
Pattern Notes Before You Begin
Cream White Textured Spiral Clutch Crochet Pattern Instructions
Part 1: Bag Body
The body is a simple rectangle with bobble texture.
Foundation Row:
Ch 37.
Row 1: Sc in 2nd ch from hook and in each ch across. (36 sc)
Row 2: Ch 1, turn. Sc in first st, *bobble in next st, sc in next st.* Repeat from * across. (36 sts: 18 bobbles, 18 sc)
Row 3: Ch 1, turn. Sc in each st across. (36 sc)
Row 4: Ch 1, turn. Sc in first 2 sts, *bobble in next st, sc in next st.* Repeat from * to last st, sc in last st. (36 sts: 17 bobbles, 19 sc)
Row 5: Ch 1, turn. Sc in each st across. (36 sc)
Rows 6 through 33: Repeat Rows 2 through 5 seven more times. You will have alternating bobble rows that create a staggered brick-like pattern.
Rows 34 and 35: Ch 1, turn. Sc in each st across. (36 sc)
Fasten off, leaving a long tail for seaming.
Your rectangle should measure approximately 18 inches long by 6.5 inches wide.
Part 2: Assembling the Bag Body
Fold the rectangle into thirds like a letter:
1. Fold the bottom third up.
2. Leave the top third as your flap (we will attach the spiral medallion here later).
Using your tapestry needle and the long tail, whip stitch or mattress stitch both side seams closed from the fold to the edge of the bottom section. This creates your pocket.
Leave the top flap unattached. It will fold over freely.
Weave in that end securely.
Part 3: Spiral Medallion Flap
This is the showstopper. Work in continuous rounds. Do not join. Mark the first stitch of each round.
Magic Ring: Create an adjustable loop.
Round 1: Work 6 puff sts into the magic ring. Pull ring closed. (6 puff sts)
Round 2: Puff st in first st, 2 puff sts in next st. *Puff st in next st, 2 puff sts in next st.* Repeat around. (9 puff sts)
Round 3: Puff st in each of next 2 sts, 2 puff sts in next st. Repeat around. (12 puff sts)
Round 4: Puff st in each of next 3 sts, 2 puff sts in next st. Repeat around. (15 puff sts)
Round 5: Puff st in each of next 4 sts, 2 puff sts in next st. Repeat around. (18 puff sts)
Round 6: Puff st in each of next 5 sts, 2 puff sts in next st. Repeat around. (21 puff sts)
Round 7: Puff st in each of next 6 sts, 2 puff sts in next st. Repeat around. (24 puff sts)
Round 8: Puff st in each of next 7 sts, 2 puff sts in next st. Repeat around. (27 puff sts)
Continue this increase pattern (adding one more puff st between increases each round) until your circle measures approximately 5 to 5.5 inches in diameter. This typically takes 9 to 10 rounds total.
Final Round: Sl st in next st. Fasten off, leaving a long tail.
Your spiral should curve naturally. The increases spaced this way create that beautiful swirl effect.
Part 4: Attaching the Spiral Medallion
Position the spiral circle on the center of your flap. Pin it in place if helpful.
Using your tapestry needle and the long tail, whip stitch around the entire edge of the spiral, attaching it securely to the flap fabric beneath.
Take your time here. The spiral is the focal point, so neat stitches matter.
Weave in ends on the wrong side.
Part 5: Installing the Hardware
Turn-Lock Clasp:
Position your bag as it will sit when worn. Mark where the clasp pieces should go:
Use small sharp scissors or an awl to carefully create holes for the prongs. Push prongs through, bend flat on the inside, and secure. If your yarn is chunky, you may need to part stitches rather than cut.
Consider adding a small piece of felt or interfacing behind the clasp on the inside for reinforcement.
D-Rings for Strap:
Attach a D-ring to each top corner of the bag using a small yarn loop or a small crocheted tab. To make a tab:
Ch 8, sl st to the side edge of the bag opening. Thread the D-ring onto the chain, then sl st back to the bag. Fasten off and weave in ends.
Clip your chain strap to both D-rings.
Tassel:
Attach your tassel to one D-ring using its cord or a jump ring. Let it dangle freely.
Part 6: Optional Lining
For a truly polished finish, add a fabric lining. Cut fabric to match the inside dimensions of your bag pocket plus seam allowance. Fold edges under, press, and hand stitch or fabric glue in place.
This hides your yarn tails and gives the bag more structure.
Tips for Success with This Crochet Tutorial
Bobble Trouble? If your bobbles feel floppy, try using one less double crochet in each cluster. Four dc bobbles are slightly smaller but still textured.
Spiral Curling? A little curling is normal. Blocking helps. Wet the piece, pin it flat, and let it dry completely.
Yarn Substitution: You can use two strands of worsted weight held together if tube yarn is unavailable. The texture will be slightly different but still lovely.
Hardware Shopping: Search for bag making supplies or purse hardware online. Etsy and Amazon have many options.
Why This Clutch Makes a Perfect Project
I genuinely love this cream white textured spiral clutch crochet pattern because it sits right in that sweet spot. Challenging enough to feel rewarding, simple enough to finish in a weekend.
The spiral medallion teaches you to shape puff stitches in the round. The bobble rows build rhythm and texture confidence. And installing hardware is a skill that opens up so many future bag projects.
Plus, when you finish, you have something genuinely useful. Something beautiful. Something handmade that looks anything but homemade.
Thank You for Making This With Me
I hope this step by step crochet tutorial gave you everything you need to create your own stunning clutch. I cannot wait to see what you make.
When yours is finished, please share a photo. Tag me on Instagram or post in my Facebook group. Seeing your creations is honestly the best part of sharing patterns.
Happy crocheting, friend. You have got this.
