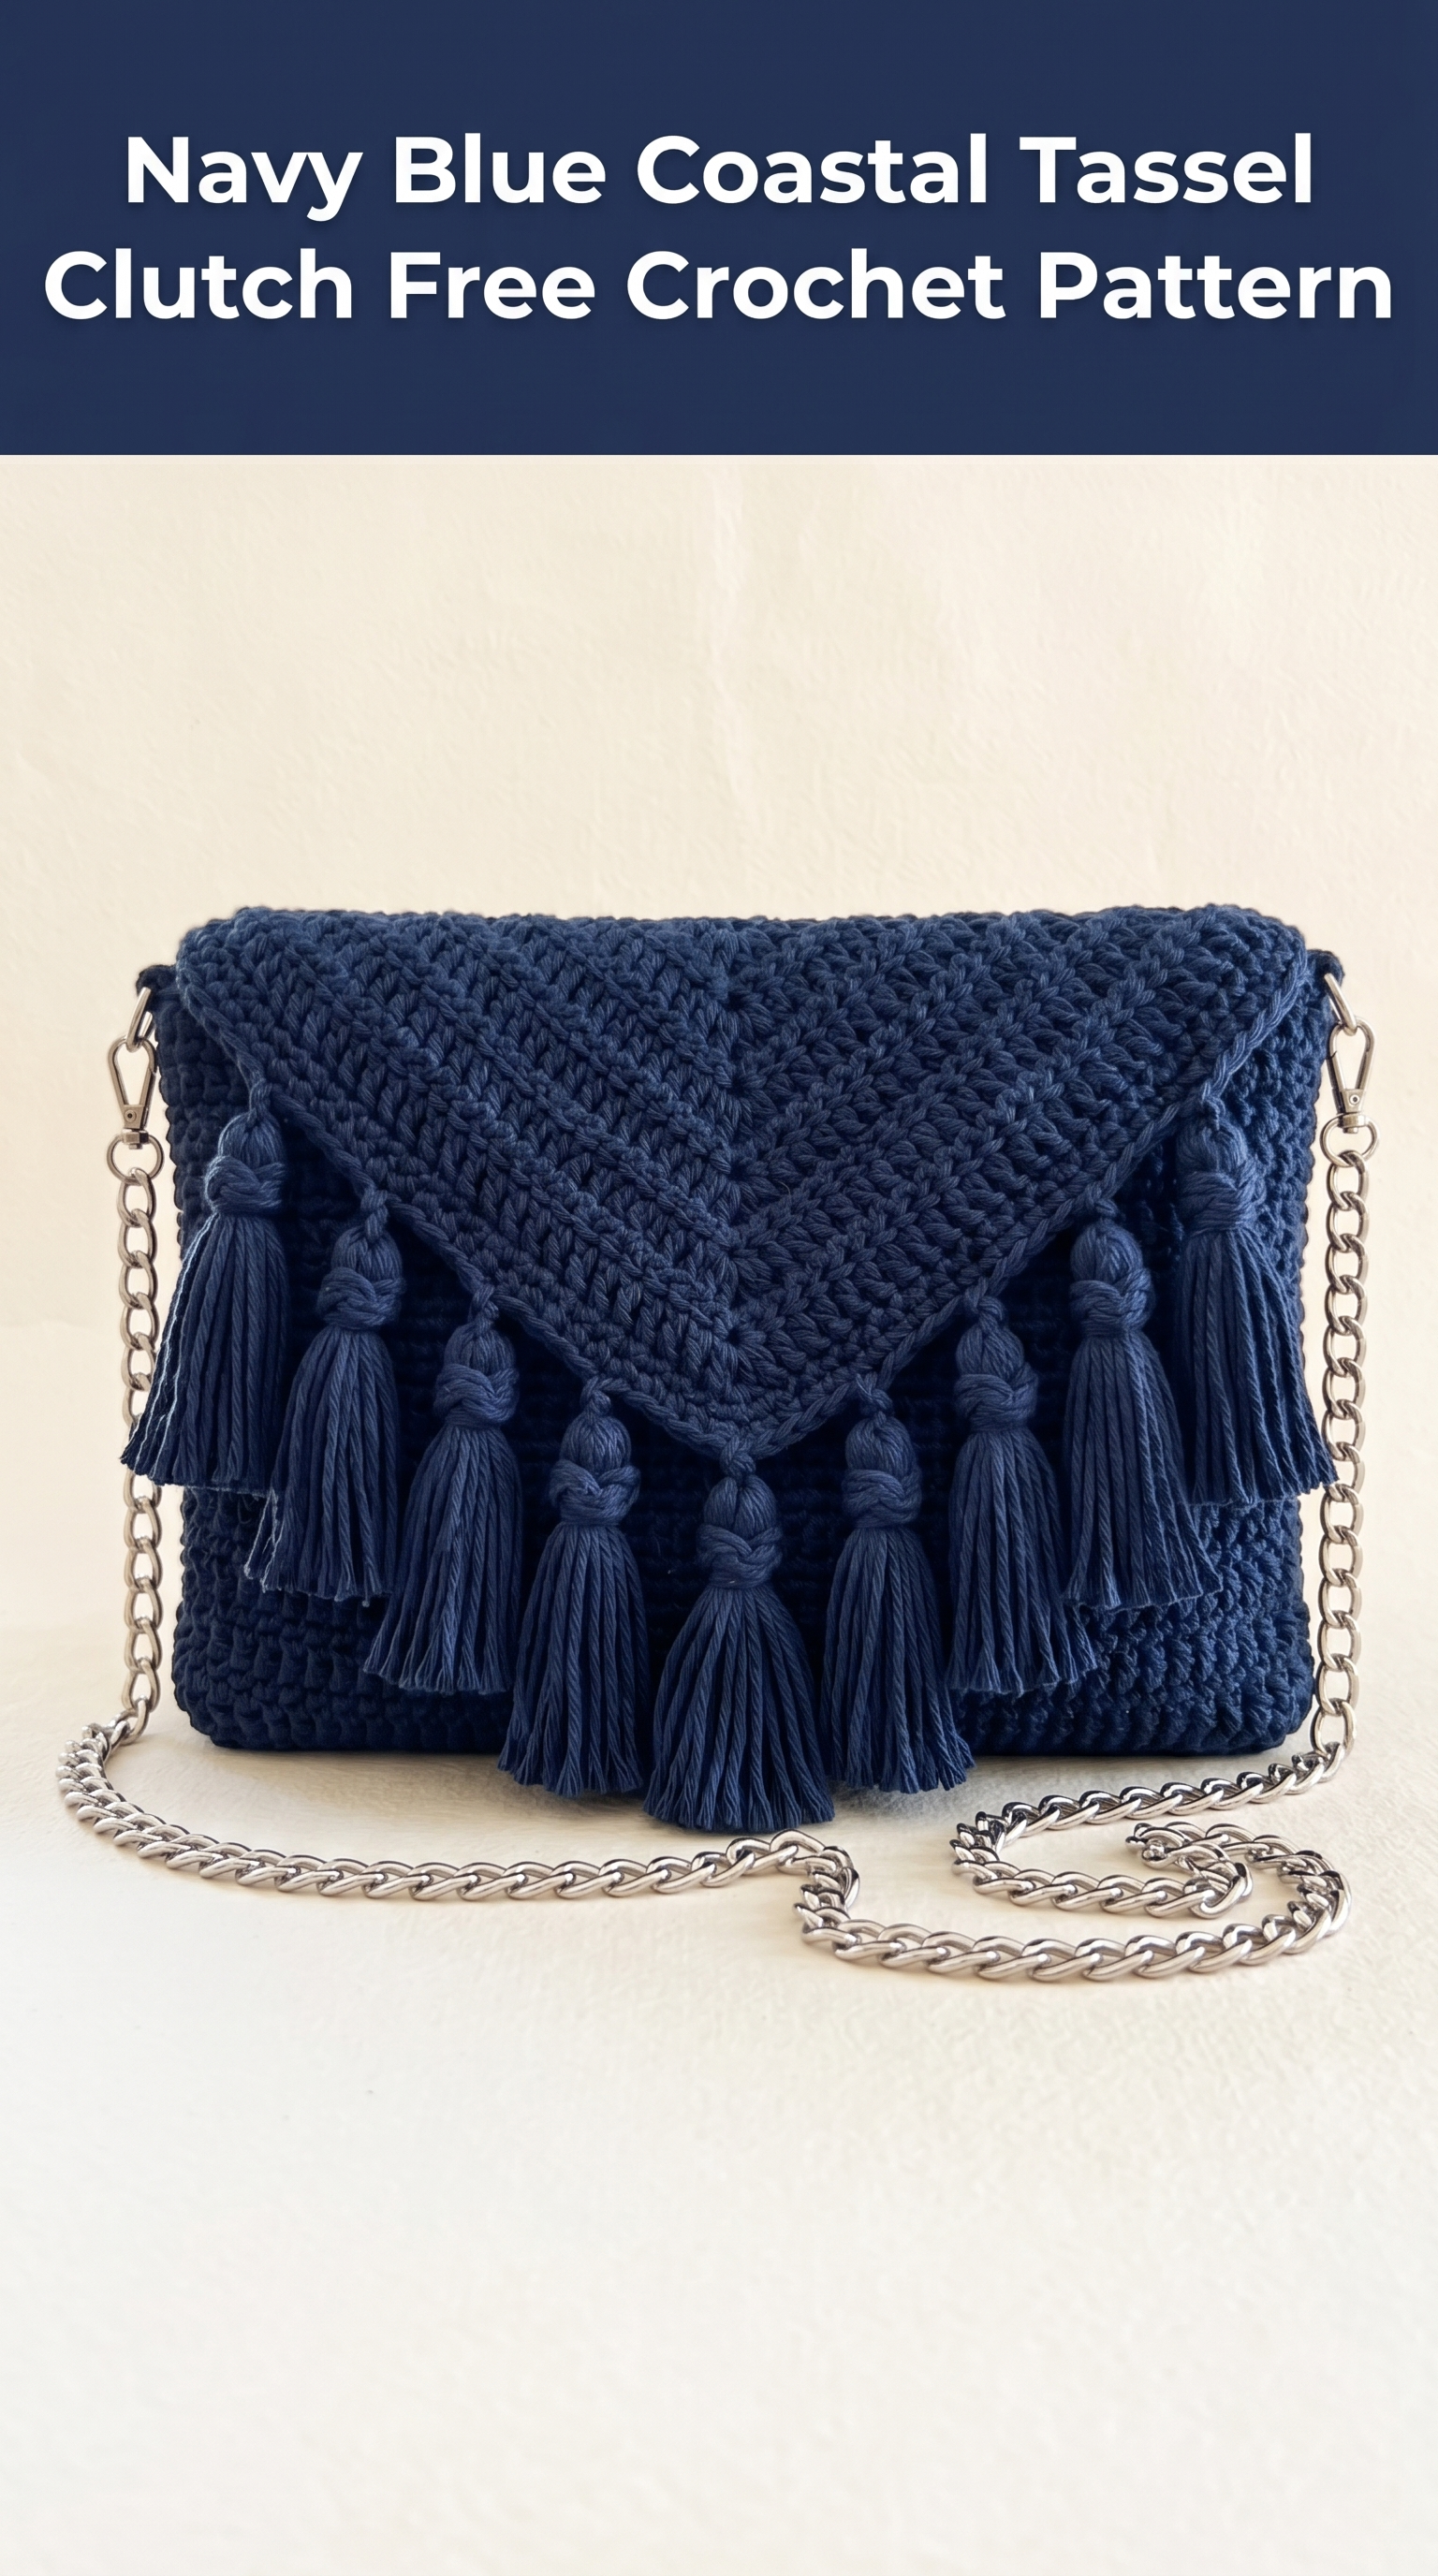
This gorgeous envelope-style clutch bag is about to become your new favorite accessory project. The Navy Blue Coastal Tassel Clutch combines a classic triangular flap design with playful tassels and a chic silver chain strap. It looks like something you would find in a boutique, but you are going to make it yourself.
Do not let the polished look intimidate you. If you can work basic stitches in rows and follow a simple shaping sequence, you have got this. I will walk you through every step.
Why You Will Love This Crochet Clutch Pattern
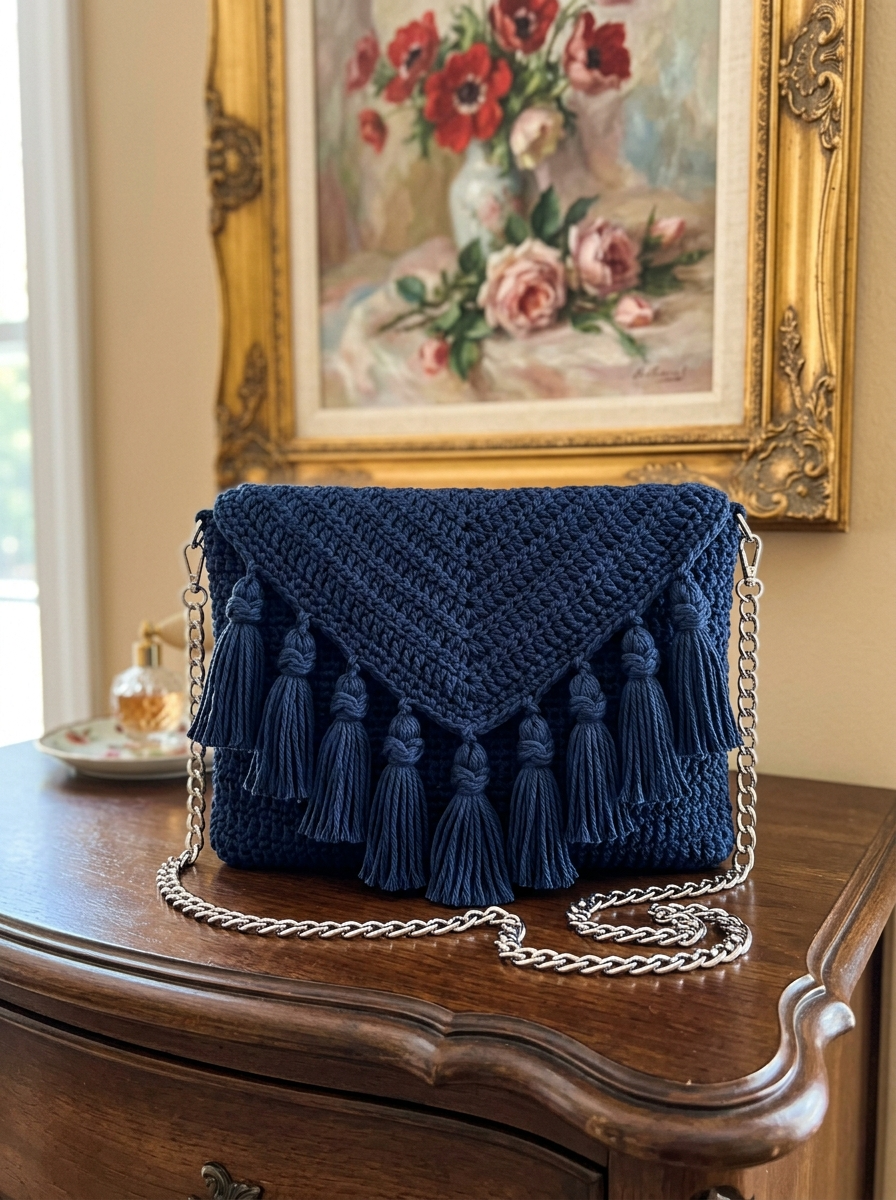
This crochet clutch pattern hits the sweet spot between stylish and practical. The structured body keeps its shape beautifully. The diagonal flap adds visual interest without complicated colorwork. And those tassels? Pure personality.
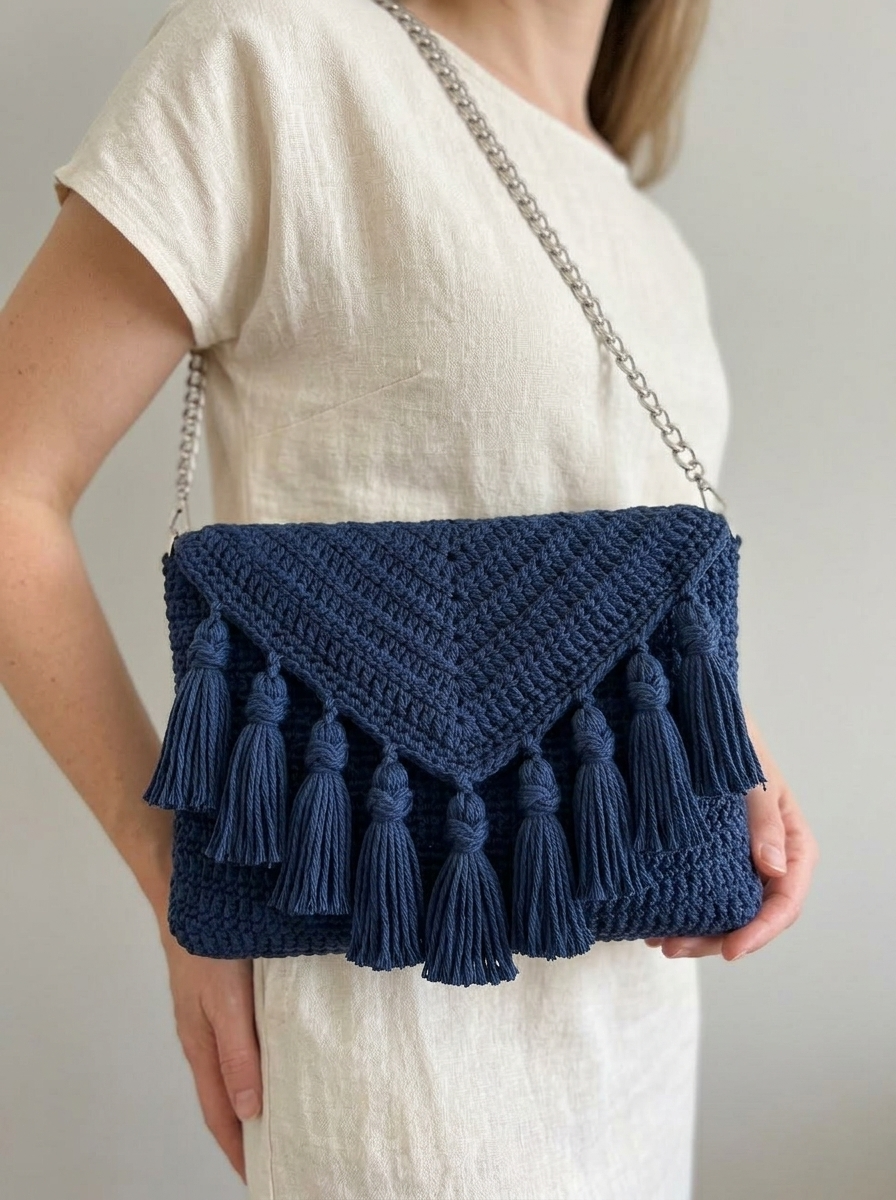
The finished bag measures approximately 9 inches wide by 7 inches tall (not including the flap or tassels). Perfect for your phone, keys, cards, and a lipstick. The silver chain strap lets you wear it crossbody or over the shoulder, keeping your hands available for a coffee or a little one.
This step by step crochet tutorial works up faster than you might expect. A weekend of focused stitching will get you there.
Skill Level
Intermediate beginner. You should feel comfortable with basic stitches and working in rows. The flap shaping involves simple decreases, which I will explain thoroughly. If you have never made tassels before, do not worry. They are easier than they look, and I will guide you through the process.
Materials Needed for Your Crochet Clutch
Yarn:
Why cotton? Cotton holds its shape better than acrylic for structured bags. It also has a subtle sheen that elevates the finished look. Brands like Lion Brand 24/7 Cotton, Drops Muskat, or Scheepjes Catona work beautifully.
Hook:
Notions:
Gauge
18 stitches and 20 rows = 4 inches in single crochet worked flat.
Gauge matters here. Too loose and your bag will be floppy. Too tight and your hands will cramp. Take a few minutes to make a gauge swatch. Your future self will thank you.
Abbreviations and Stitch Definitions
Let me break down every abbreviation before we start. No confusion, no guessing.
ch – Chain: Wrap yarn over hook, pull through loop on hook. This creates the foundation for your work.
sl st – Slip stitch: Insert hook, yarn over, pull through both the stitch and the loop on your hook in one motion. Used for joining and invisible finishing.
sc – Single crochet: Insert hook into stitch, yarn over and pull up a loop (2 loops on hook), yarn over and pull through both loops. Creates a short, dense fabric.
sc2tog – Single crochet two together: A decrease stitch. Insert hook in first stitch, pull up a loop, insert hook in next stitch, pull up a loop (3 loops on hook), yarn over and pull through all 3 loops. You have turned 2 stitches into 1.
st(s) – Stitch(es)
RS – Right side (the pretty side facing out)
WS – Wrong side (the inside)
The Crochet Clutch Pattern: Step by Step Instructions
Part 1: The Bag Body (Front and Back Panels)
You will make two identical rectangular panels, then join them. This creates clean seams and a structured shape.
Make 2.
Row 1: Ch 42. Sc in 2nd ch from hook and in each ch across. (41 sc)
Row 2: Ch 1, turn. Sc in each st across. (41 sc)
Rows 3–32: Repeat Row 2. (41 sc per row)
You should have a rectangle measuring approximately 9 inches wide by 6.5 inches tall.
Fasten off the first panel. Leave a long tail on the second panel for seaming.
Quick tip: Count your stitches every few rows. It is easy to accidentally skip the last stitch when you turn. If your rectangle starts looking like a trapezoid, you have found the problem.
Part 2: Joining the Panels
Place both panels together with wrong sides facing each other. The right sides should face outward.
Using the long tail from your second panel, slip stitch the bottom edge and both side edges together. Work through both layers, inserting your hook under the outer loops only for a neat visible seam.
Leave the top edge open. This is your bag opening.
Weave in the tail securely.
Part 3: The Triangle Flap
This is where the magic happens. The diagonal flap gives this clutch its distinctive envelope silhouette.
You will work this flap directly onto the back panel, along the top edge.
With RS facing, join yarn at the top right corner of the back panel.
Row 1: Ch 1. Sc in each st across the top edge. (41 sc)
Row 2: Ch 1, turn. Sc2tog, sc in each st until 2 sts remain, sc2tog. (39 sc)
Row 3: Ch 1, turn. Sc in each st across. (39 sc)
Row 4: Ch 1, turn. Sc2tog, sc in each st until 2 sts remain, sc2tog. (37 sc)
Row 5: Ch 1, turn. Sc in each st across. (37 sc)
Continue this pattern: decrease row, then straight row.
Row 6: (35 sc)
Row 7: (35 sc)
Row 8: (33 sc)
Row 9: (33 sc)
Row 10: (31 sc)
Row 11: (31 sc)
Row 12: (29 sc)
Row 13: (29 sc)
Row 14: (27 sc)
Row 15: (27 sc)
Row 16: (25 sc)
Row 17: (25 sc)
Row 18: (23 sc)
Row 19: (23 sc)
Row 20: (21 sc)
Row 21: (21 sc)
Row 22: (19 sc)
Row 23: (19 sc)
Row 24: (17 sc)
Row 25: (17 sc)
Row 26: (15 sc)
Row 27: (15 sc)
Row 28: (13 sc)
Row 29: (13 sc)
Row 30: (11 sc)
Row 31: (11 sc)
Row 32: (9 sc)
Row 33: (9 sc)
Row 34: (7 sc)
Row 35: (7 sc)
Row 36: (5 sc)
Row 37: (5 sc)
Row 38: (3 sc)
Row 39: (3 sc)
Row 40: Sc3tog. (1 sc)
Fasten off. Weave in your end.
Your flap should form a neat equilateral-ish triangle. The decreases create those lovely diagonal edges.
Part 4: Edging the Flap
This optional step creates a cleaner border around the flap edges. It also gives you a more finished look and sturdy attachment points for your tassels.
With RS facing, join yarn at the point of the triangle.
Sc evenly along one diagonal edge, working approximately 2 sc for every 3 row ends. Continue across the base of the triangle (where it meets the bag), then up the other diagonal edge to the point.
Sl st to join. Fasten off and weave in ends.
Part 5: Making the Tassels
The tassels are what give this bag its coastal, boho personality. The sample has 9 tassels along the flap edges, but you can adjust based on your preference.
For each tassel:
1. Wrap yarn around a 3-inch piece of cardboard approximately 25 times.
2. Cut a 6-inch piece of yarn. Slide it under the wrapped yarn at the top of the cardboard. Tie tightly with a double knot. This becomes your attachment loop.
3. Slide the wrapped yarn off the cardboard.
4. Cut through the loops at the bottom.
5. Cut another 8-inch piece of yarn. Wrap it tightly around the tassel about half an inch below the top knot. Wrap 5 or 6 times, then secure with a knot. Thread the tails into the tassel body using your tapestry needle.
6. Trim the tassel ends evenly.
Repeat until you have 9 tassels. Or more. Or fewer. This is your bag.
Part 6: Attaching the Tassels
Using the attachment loop at the top of each tassel, sew or tie the tassels evenly along the diagonal edges of your flap.
Space them approximately 1 inch apart. Place one at the point and work outward symmetrically.
I find it easiest to pin or clip them in place first, step back, and check the spacing before committing.
Part 7: Adding the Hardware
D-rings or Swivel Clasps:
Cut two small rectangles of crocheted fabric, or use folded ribbon. Thread each through a D-ring, fold in half, and sew securely to the top corners of your bag at the side seams.
Alternatively, crochet two small tabs:
Ch 8. Sc in 2nd ch from hook and across. (7 sc)
Rows 2–3: Ch 1, turn. Sc across. (7 sc)
Fasten off. Thread through D-ring, fold, and whipstitch to bag corner.
Chain Strap:
Clip your chain strap to the D-rings. Done.
Part 8: Optional Finishing Touches
Magnetic Snap: Hand sew a magnetic snap to the inside of the flap point and corresponding spot on the bag body. This keeps your clutch securely closed.
Fabric Lining: Cut two rectangles of cotton fabric slightly smaller than your panels. Sew them together along three edges, fold the top edge under, and whipstitch inside the bag. This hides your yarn tails and gives a polished interior.
Blocking: Steam block your finished bag gently to even out stitches and give it crisp edges.
Customization Ideas for Your Coastal Clutch
This beginner friendly crochet pattern is endlessly adaptable.
Make it yours.
Troubleshooting Tips
My flap is curling. This often happens with single crochet. A good steam blocking usually fixes it. You can also try a slightly larger hook for the flap only.
My decreases look uneven. Make sure you are working your sc2tog in the correct spots at the beginning and end of decrease rows. The stitches should mirror each other.
My tassels are different sizes. Consistency comes with practice. Try to wrap the yarn the same number of times for each one and use the same cardboard.
The bag is too floppy. Your gauge may be too loose. Try going down a hook size, or consider adding a fabric lining with interfacing for structure.
Care Instructions
Hand wash your finished clutch in cool water with mild soap. Reshape and lay flat to dry. Avoid wringing or twisting, which can distort the stitches.
Store with tissue paper inside to help maintain the shape.
Wrapping Up Your Navy Blue Coastal Tassel Clutch
You did it. You just created a stunning handmade accessory that looks anything but homemade. This Navy Blue Coastal Tassel Clutch crochet pattern combines simple stitches with thoughtful details to create something truly special.
Whether you are making this for yourself, for a gift, or to sell at a craft market, I hope you enjoyed every stitch. There is something deeply satisfying about holding a finished bag in your hands and knowing you made that.
Thank you for trusting me with your crafting time. It means more than you know.
I would absolutely love to see your finished clutch. Tag me on Instagram or share in our Facebook group so I can admire your work and cheer you on. Every finished project deserves a little celebration.
Happy stitching, friend. Now go show off that gorgeous bag.
