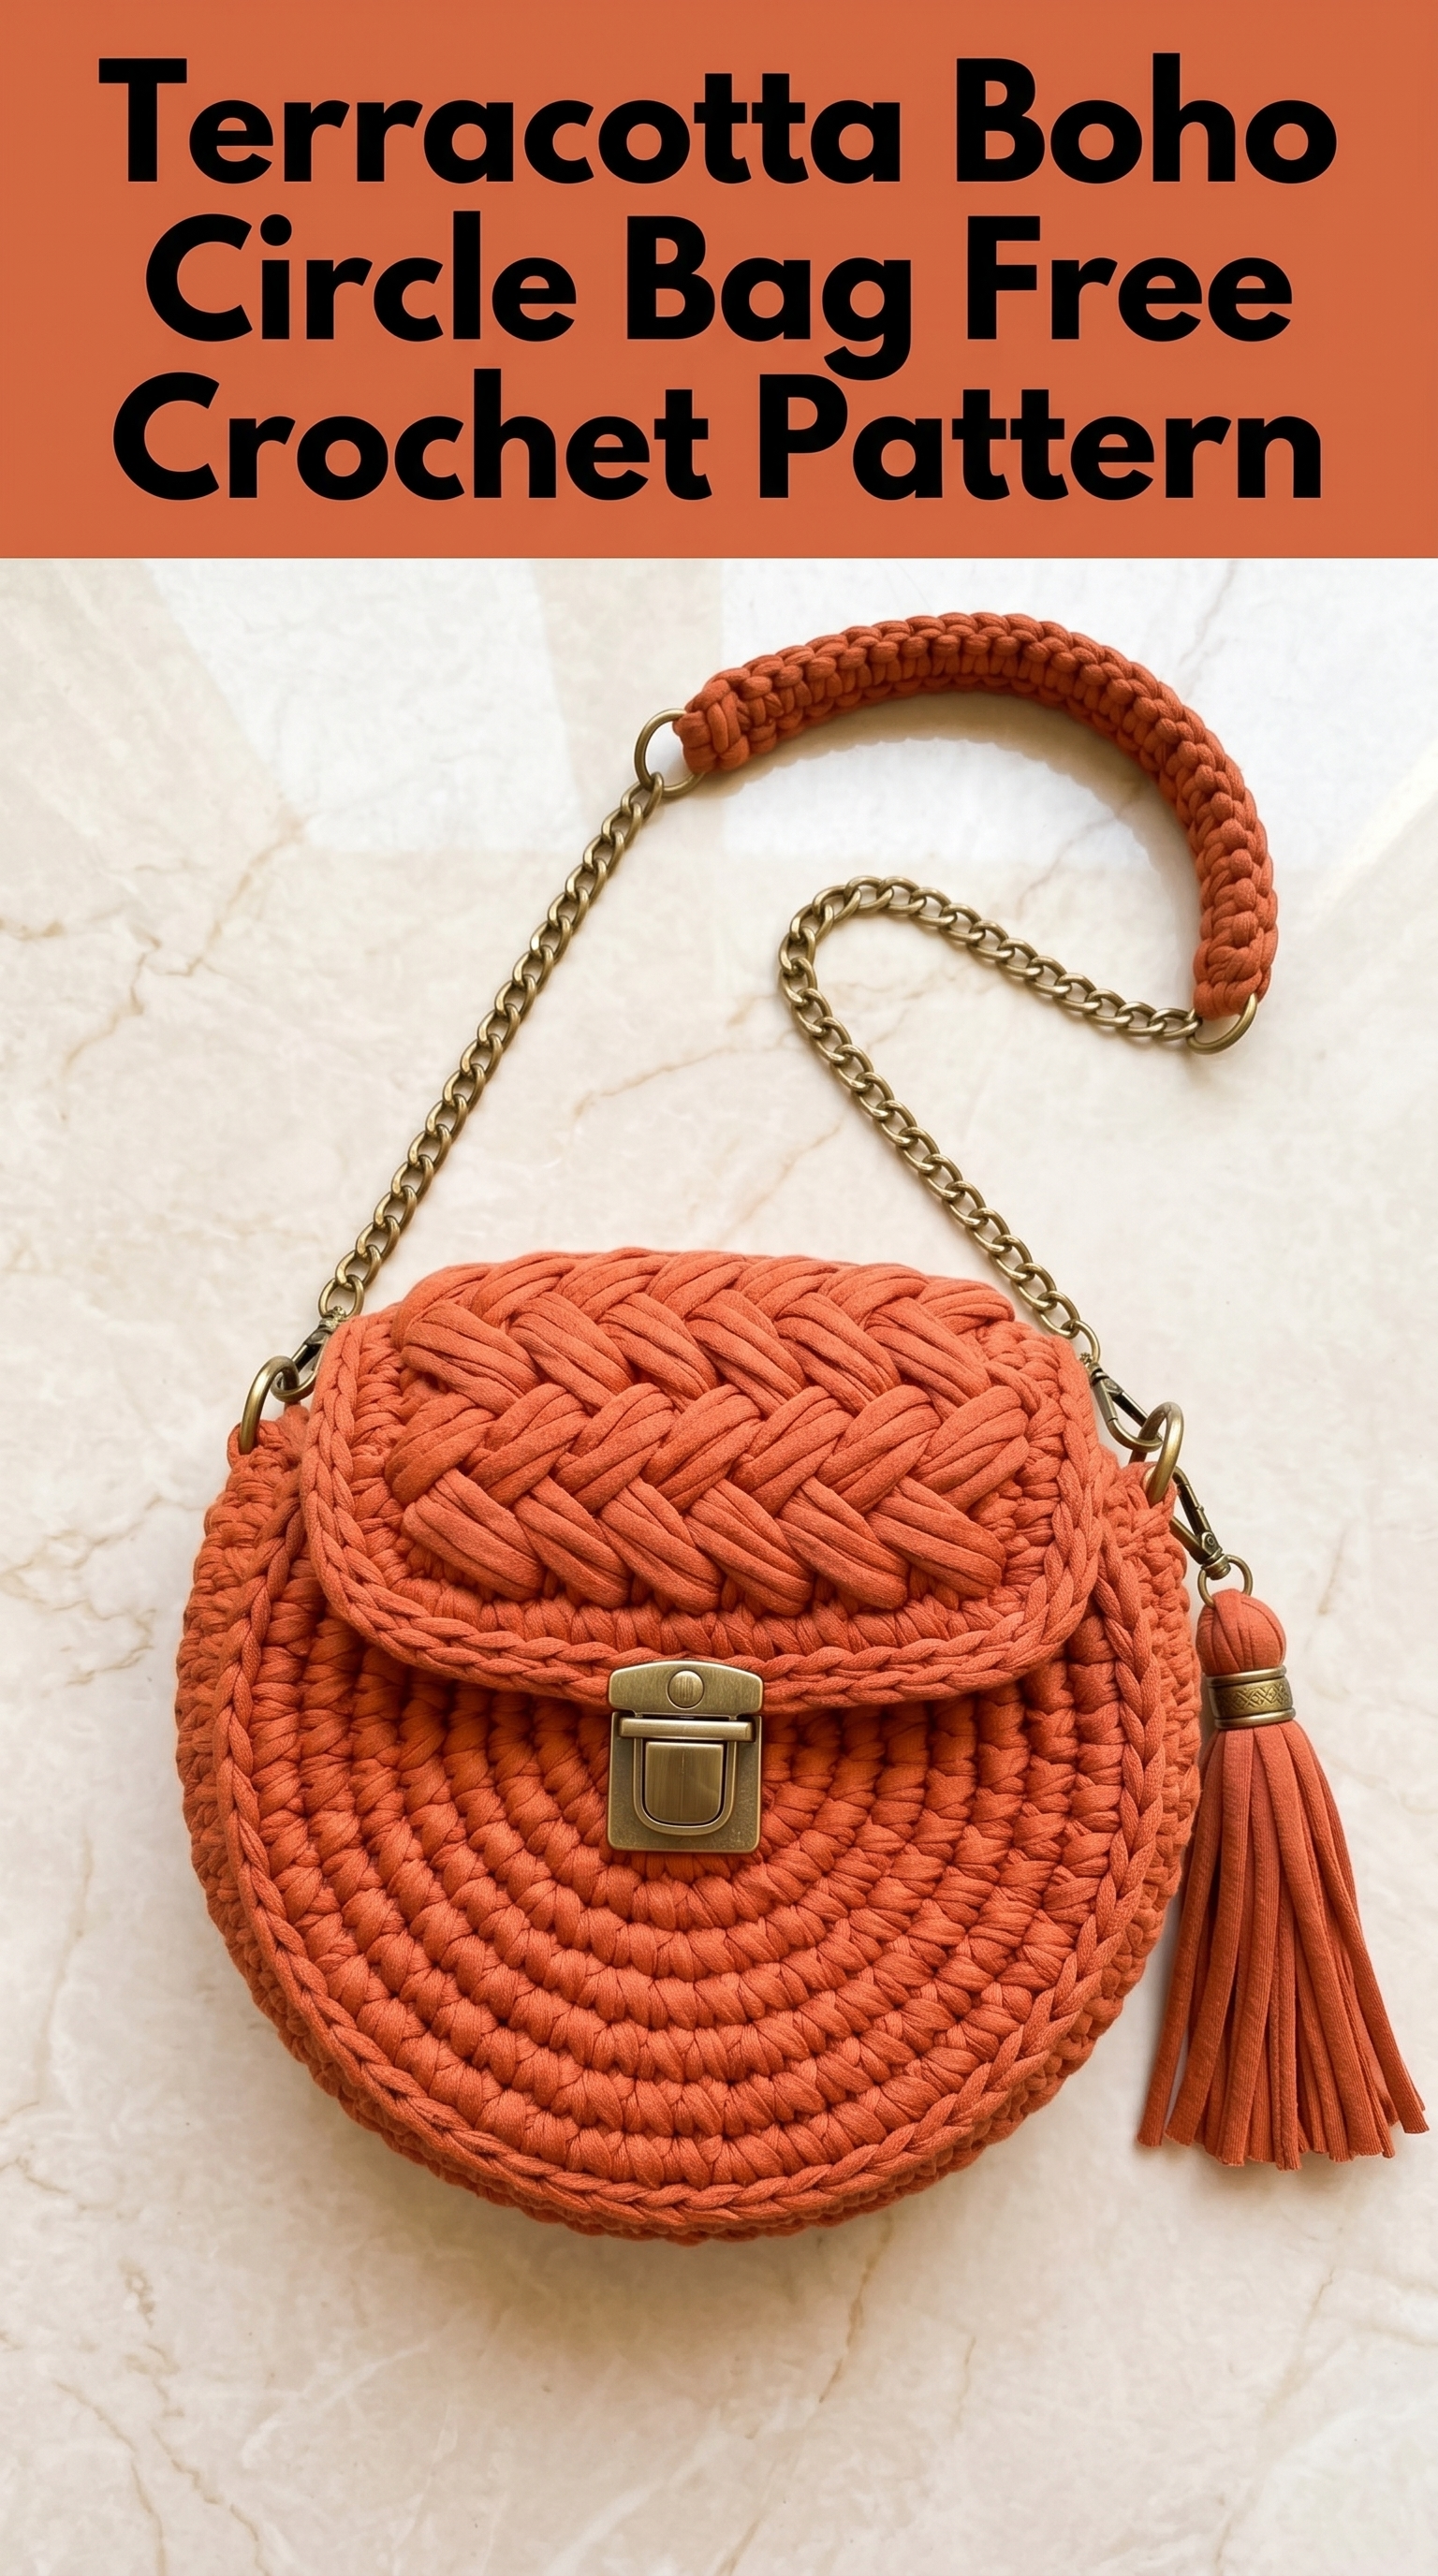
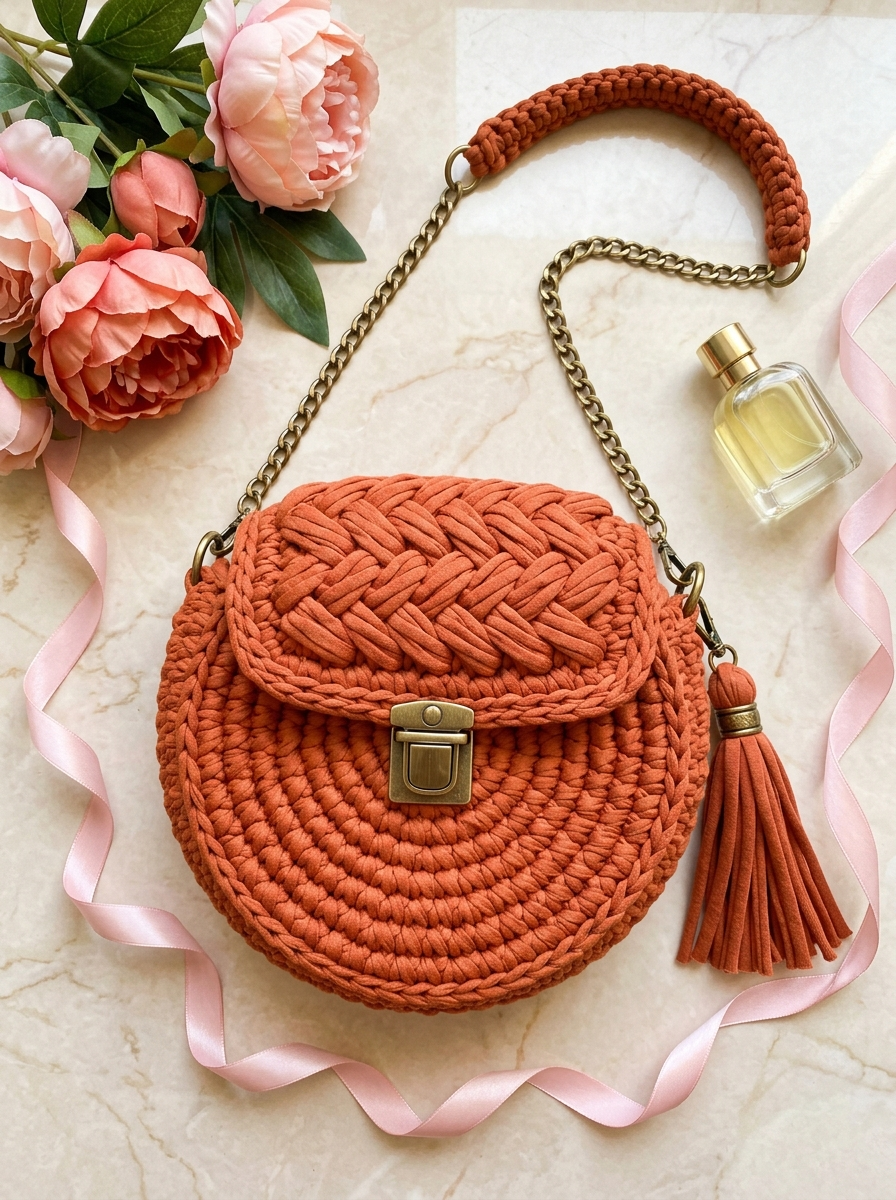
This stunning round crossbody bag is about to become your new favorite accessory. I designed this terracotta boho circle bag crochet pattern after falling in love with the structured yet soft look that t-shirt yarn creates. The combination of a textured woven-look flap, chunky single crochet body, and antique brass hardware gives this bag a boutique quality that honestly looks store-bought.
Good news: if you can single crochet in the round and follow a simple increase pattern, you can absolutely make this bag. I would call this an advanced beginner to intermediate project because of the flap texture, but I will walk you through every step.
Why This Crochet Circle Bag Pattern Works So Well
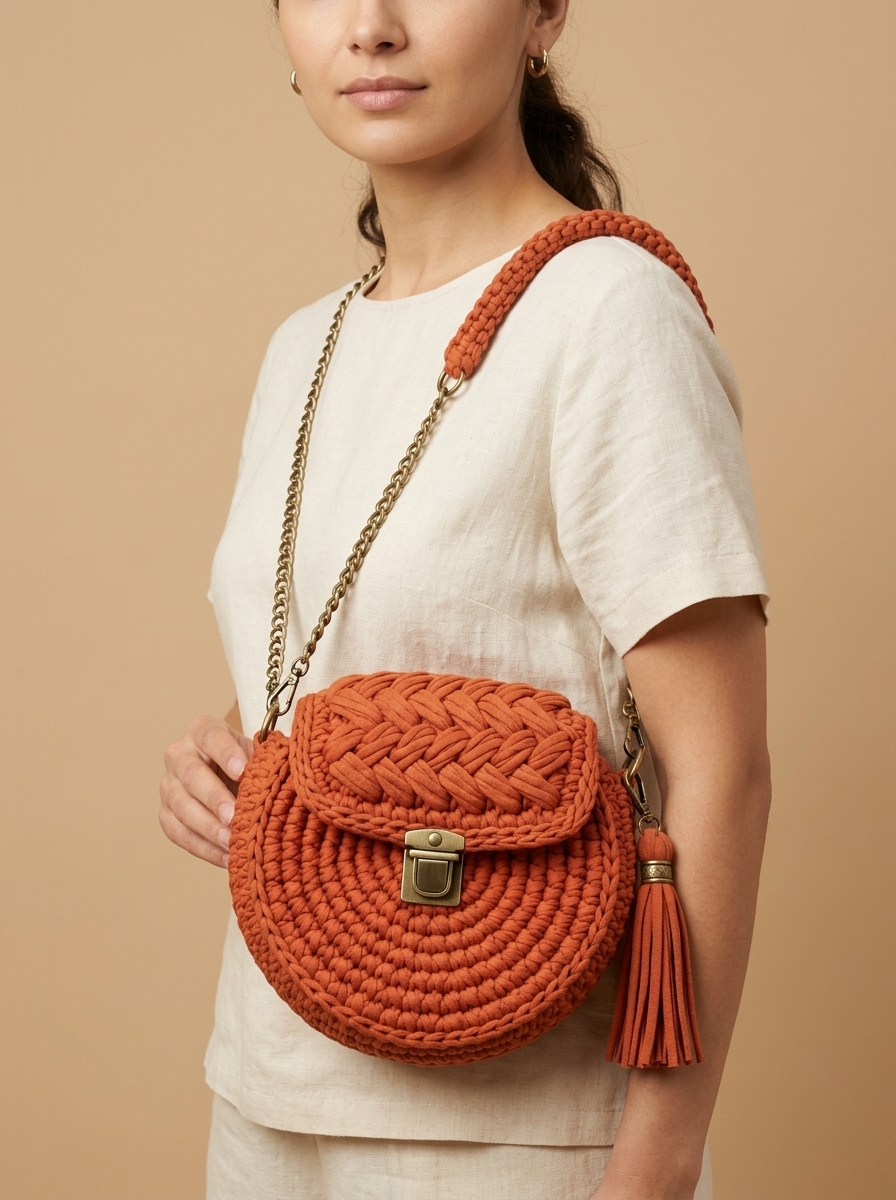
Circle bags are having a serious moment right now. They are compact enough for essentials but roomy enough for your phone, keys, wallet, and lipstick. This particular design stands about 7 inches tall and 7 inches wide based on what I can see in the proportions. The saddle bag shape with that gorgeous curved flap feels very vintage European, very chic weekend market vibes.
The terracotta color is incredibly versatile. It pairs beautifully with cream, denim, olive green, mustard, and even blush pink. You could easily make this in cream, sage, mustard, or classic black and it would look just as stunning.
What makes this crochet pattern special is the braided or woven texture on the flap. This is created using a technique that mimics basket weave or Celtic weave stitches. Do not worry. I will break it down so it feels manageable.
Materials You Will Need
Before you start crocheting, gather everything. Nothing is worse than running out of yarn halfway through a project.
Yarn:
Hook:
Hardware:
Notions:
Stitch Abbreviations and Definitions
Let me define every stitch before we begin. If you are newer to crochet, read through these carefully.
ch = chain: Wrap yarn over hook, pull through loop on hook. This creates one chain stitch.
sl st = slip stitch: Insert hook into stitch, yarn over, pull through both the stitch and the loop on your hook in one motion. Used for joining rounds.
sc = single crochet: Insert hook into stitch, yarn over and pull up a loop (2 loops on hook), yarn over and pull through both loops. This is your basic building block stitch.
inc = increase: Work 2 single crochet stitches into the same stitch. This adds one stitch to your count.
FPdc = front post double crochet: Yarn over, insert hook from front to back to front around the post (vertical part) of the stitch below, yarn over and pull up a loop, then complete as a regular double crochet. This creates raised texture.
BPdc = back post double crochet: Same as FPdc but insert hook from back to front to back. Creates texture on the opposite side.
dc = double crochet: Yarn over, insert hook, yarn over and pull up loop (3 loops on hook), yarn over and pull through 2 loops (2 loops remain), yarn over and pull through remaining 2 loops.
Gauge Information
With t-shirt yarn and a 9mm or 10mm hook, you should get approximately 7 to 8 single crochet stitches and 7 to 8 rows per 4 inches in single crochet worked in the round.
Gauge matters here because it affects your final bag size. If your circle is too loose and floppy, go down a hook size. If it is too tight and stiff to bend, go up a hook size.
Crochet Pattern Instructions
This bag is constructed in four main pieces: the front body circle, the back body circle, the textured flap, and the strap cover. Then we assemble and add hardware.
Part 1: Front and Back Body Circles (Make 2)
We work in continuous rounds using a stitch marker to track the beginning of each round. Do not join rounds unless instructed.
Magic Ring Setup:
Create a magic ring (adjustable loop). If magic rings intimidate you, you can chain 4 and slip stitch to form a ring instead.
Round 1: Work 6 sc into the magic ring. Pull the tail to close the ring. Place stitch marker in the first sc. (6 sts)
Round 2: Inc in each st around. (12 sts)
Round 3: *Sc in next st, inc in next st* repeat around. (18 sts)
Round 4: *Sc in next 2 sts, inc in next st* repeat around. (24 sts)
Round 5: *Sc in next 3 sts, inc in next st* repeat around. (30 sts)
Round 6: *Sc in next 4 sts, inc in next st* repeat around. (36 sts)
Round 7: *Sc in next 5 sts, inc in next st* repeat around. (42 sts)
Round 8: *Sc in next 6 sts, inc in next st* repeat around. (48 sts)
Round 9: *Sc in next 7 sts, inc in next st* repeat around. (54 sts)
Round 10: *Sc in next 8 sts, inc in next st* repeat around. (60 sts)
At this point, your circle should measure approximately 6.5 to 7 inches in diameter. If you want a larger bag, continue the increase pattern for one or two more rounds.
Finishing Round: Sl st in next st. Fasten off, leaving a 24-inch tail on ONE circle for seaming later. Weave in the tail on the other circle.
Make two identical circles.
Part 2: Textured Woven Flap
This is the showstopper element. The flap uses a combination of front post and back post double crochet stitches worked in a specific sequence to create that beautiful braided, woven appearance.
Foundation:
Ch 22.
Row 1 (Wrong Side): Dc in 4th ch from hook and in each ch across. Turn. (20 dc, counting the turning ch as 1 dc)
Row 2 (Right Side): Ch 2 (does not count as a stitch throughout), *FPdc around next st, BPdc around next st* repeat across. Turn. (20 sts)
Row 3: Ch 2, *BPdc around next st, FPdc around next st* repeat across. Turn. (20 sts)
Row 4: Repeat Row 2.
Row 5: Repeat Row 3.
Row 6: Repeat Row 2.
Row 7: Repeat Row 3.
Continue alternating Rows 2 and 3 until your flap measures approximately 4.5 to 5 inches from the foundation chain. This should take about 8 to 10 rows total depending on your gauge.
Shaping the Curved Edge:
To create the rounded saddle flap shape, we will decrease on the final 2 to 3 rows.
Decrease Row 1: Ch 2, skip first st, work in pattern across to last 2 sts, skip next st, work last st. Turn. (18 sts)
Decrease Row 2: Ch 2, skip first st, work in pattern across to last 2 sts, skip next st, work last st. Turn. (16 sts)
Final Row: Ch 1, sc evenly around the entire flap edge, working 3 sc in each corner to keep it flat. Sl st to join. Fasten off, leaving a long tail for attaching.
Part 3: Strap Cover (Optional but Recommended)
The chain strap has a crocheted cover on the section that rests on your shoulder. This makes it more comfortable and gives that polished handmade look.
Foundation:
Ch 6. Sl st to join into a ring.
Round 1: Sc in each ch around. Do not join. Place marker. (6 sts)
Continue working sc in continuous rounds until your tube measures approximately 8 to 10 inches long, or long enough to cover the shoulder portion of your chain.
Sl st in next st. Fasten off. Thread the chain through the tube before attaching to the bag.
Part 4: Assembly
This is where your bag comes together. Take your time here.
Step 1: Join the Body Circles
Place the two circles with wrong sides together (so the right sides face outward). Using the long tail you left, whip stitch or single crochet the circles together around approximately two-thirds of the circumference, leaving the top third open as the bag opening.
*Tip: Before closing completely, check that your opening is wide enough to fit your hand comfortably.*
Step 2: Attach the Flap
Position the flap so the foundation chain edge aligns with the back edge of the bag opening. The textured side should face outward. Whip stitch securely in place, reinforcing with a second pass if needed.
Step 3: Install the Push Lock Clasp
Mark the center of both the flap and the front body circle. Following the clasp manufacturer instructions, attach the top portion of the clasp to the flap and the bottom portion to the front body. You may need to use an awl or large needle to create small holes in the crocheted fabric.
*Tip: Reinforce the area around the clasp with a small piece of felt or leather on the inside to prevent the hardware from pulling through over time.*
Step 4: Attach D-Rings
Create two small tabs by chaining 8 and slip stitching back to the bag at the side seams, threading each through a D-ring before securing. Or simply use split rings to attach the D-rings directly to the side seams.
Step 5: Attach Chain Strap
Thread the chain through the strap cover if using. Attach each end of the chain to a D-ring using the swivel clasps or jump rings.
Step 6: Add Tassel (Optional)
Attach your tassel to one of the D-rings for that perfect finishing touch.
Helpful Tips for Success
Tension matters. T-shirt yarn can be tricky because it varies in thickness throughout the skein. Try to keep your tension consistent, but do not stress about minor variations. They add to the handmade charm.
Block if needed. If your circles are slightly different sizes or curling, wet block them by dampening and pinning flat to dry. T-shirt yarn responds well to blocking.
Hardware quality counts. Invest in good hardware. Cheap clasps tarnish quickly and can break. Check Etsy or Amazon for bag-making hardware sets.
Make a test swatch. If you have never used t-shirt yarn before, make a small swatch first to get comfortable with the weight and feel.
Customization Ideas
Once you master this crochet tutorial, try these variations:
Final Thoughts on This Boho Circle Bag Crochet Pattern
This terracotta boho circle bag is one of those projects that looks incredibly impressive but is genuinely achievable for anyone with basic crochet skills. The step by step approach breaks down each section into manageable pieces, and before you know it, you have a stunning handmade accessory that will get compliments everywhere you go.
I hope this crochet pattern brings you as much joy to make as it brought me to design. There is something so satisfying about carrying a bag you made with your own hands, especially one this beautiful.
Thank you so much for choosing this pattern and trusting me to guide you through it. I would absolutely love to see your finished bags. Tag me on Instagram or share in my Facebook group so I can admire your work. Seeing your creations honestly makes my entire day.
Happy crocheting, friend. You have got this.
