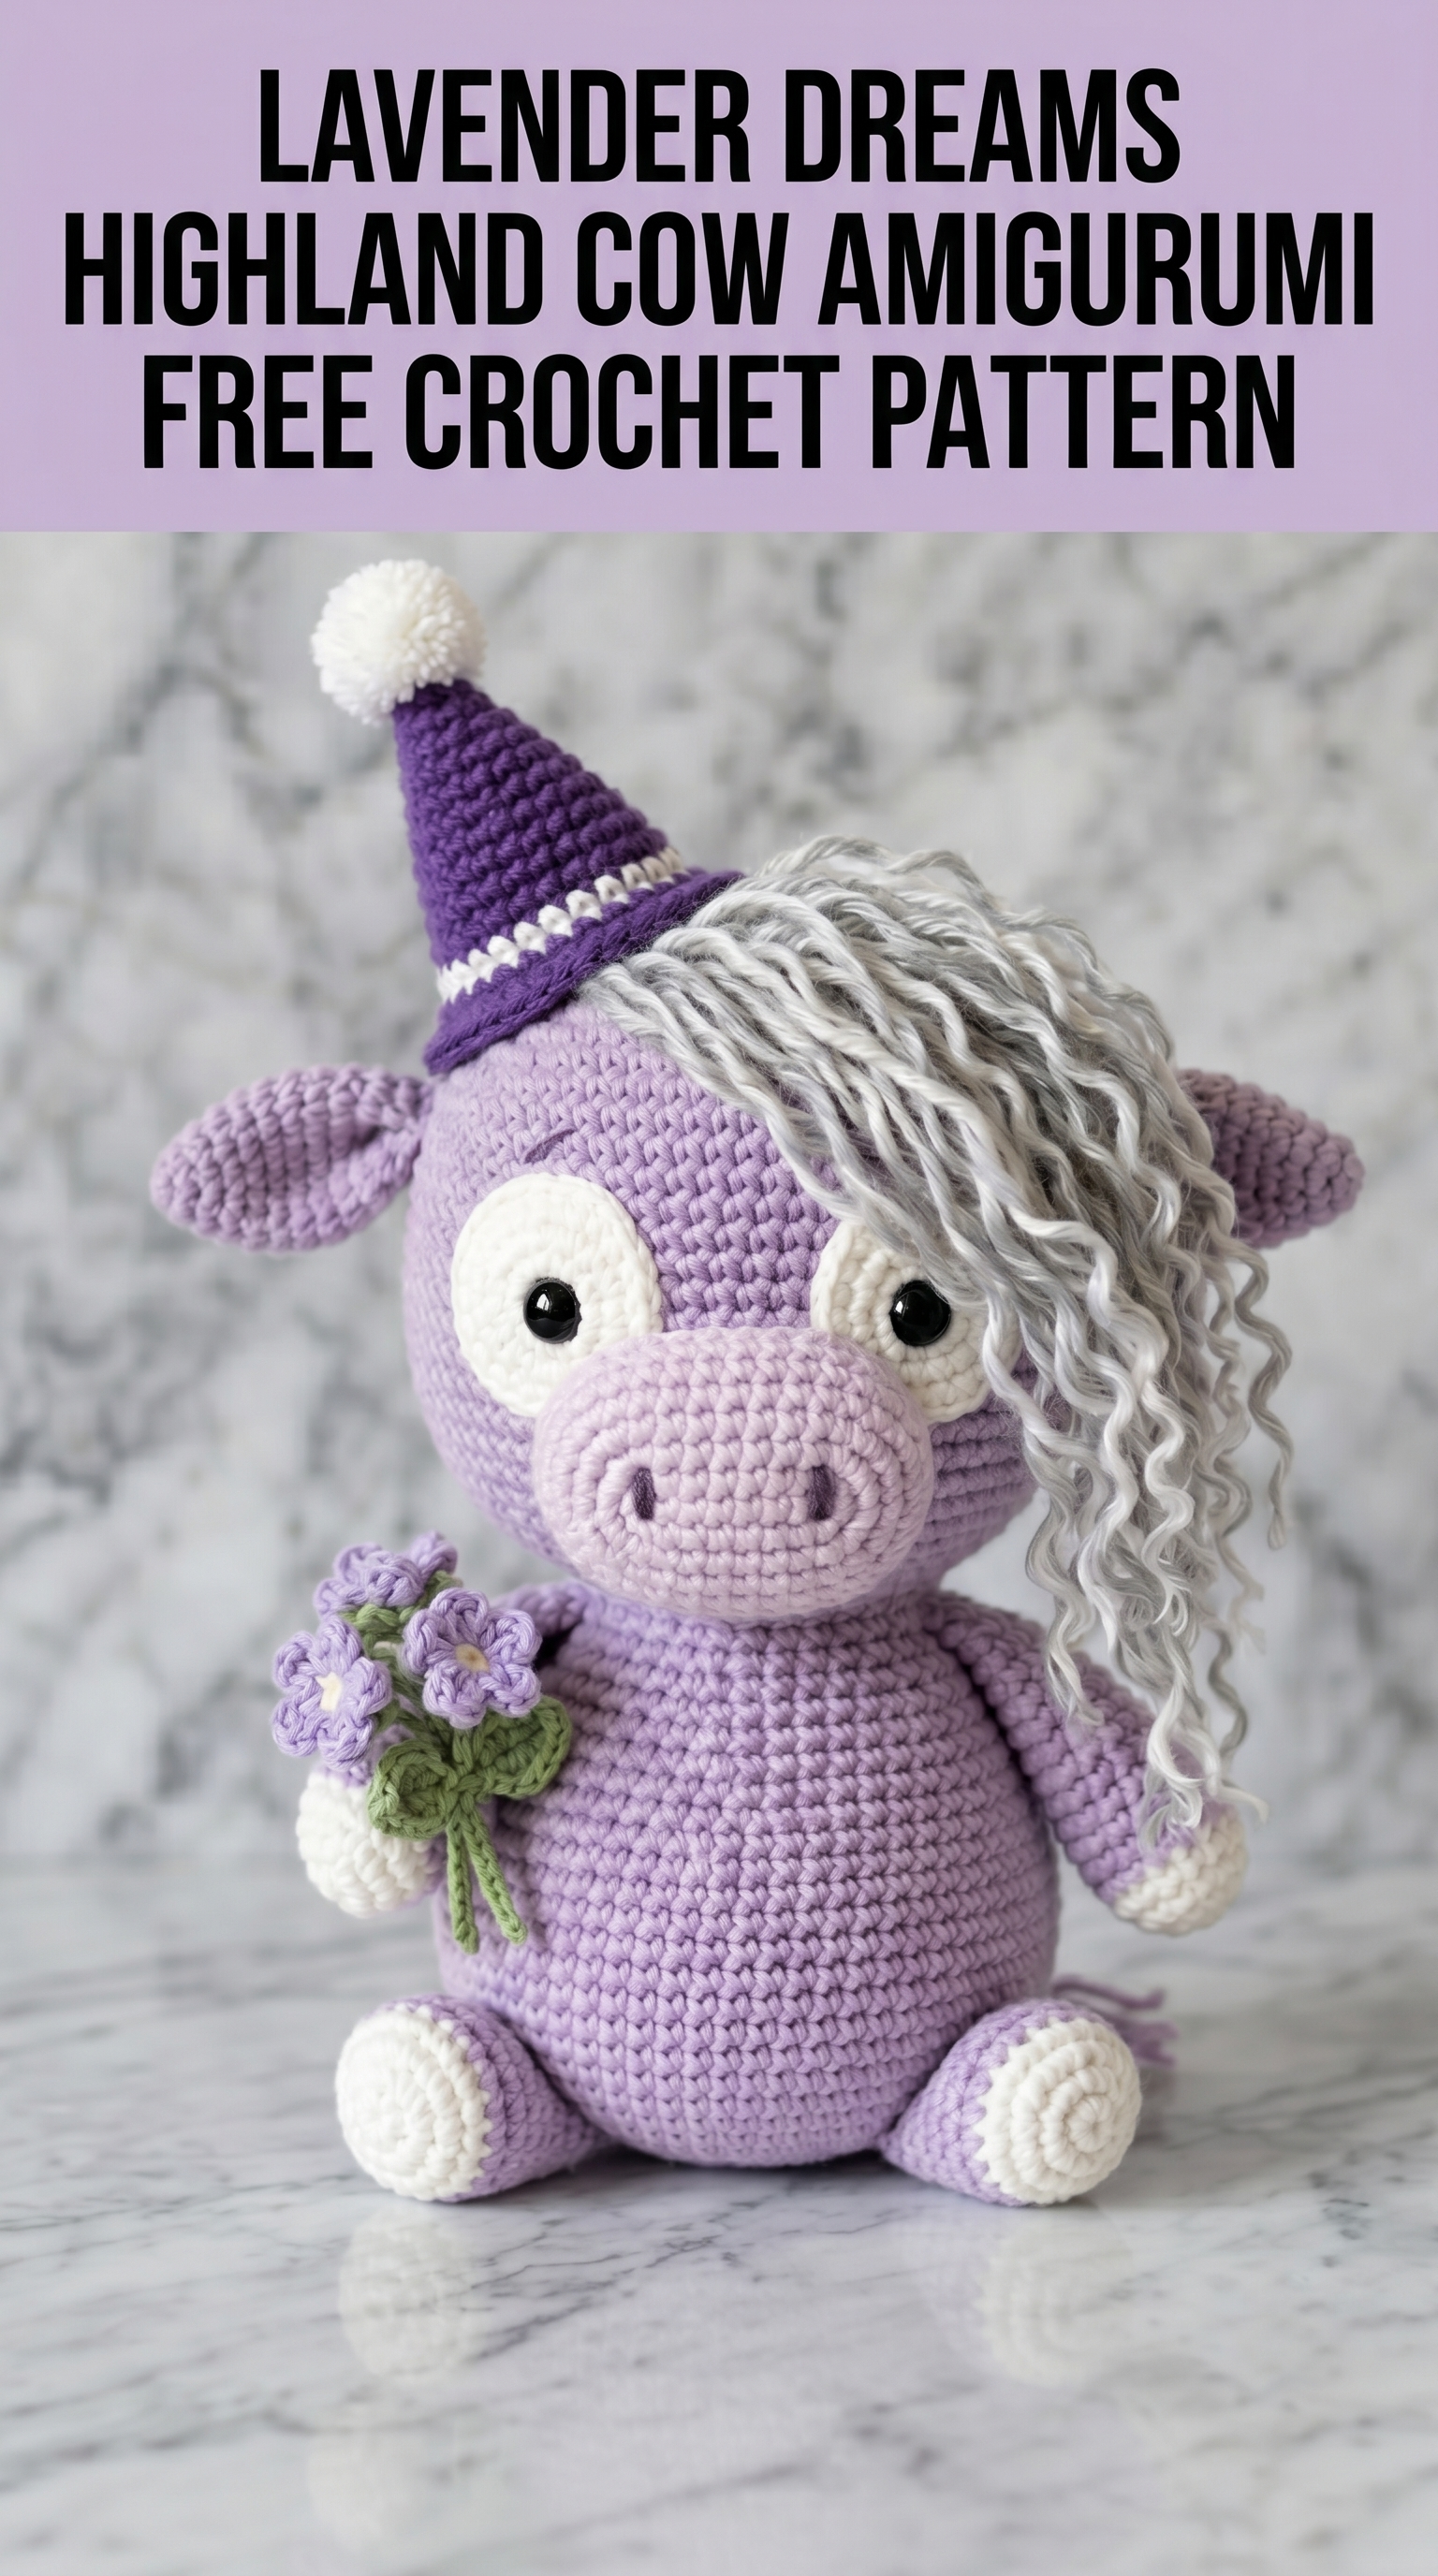
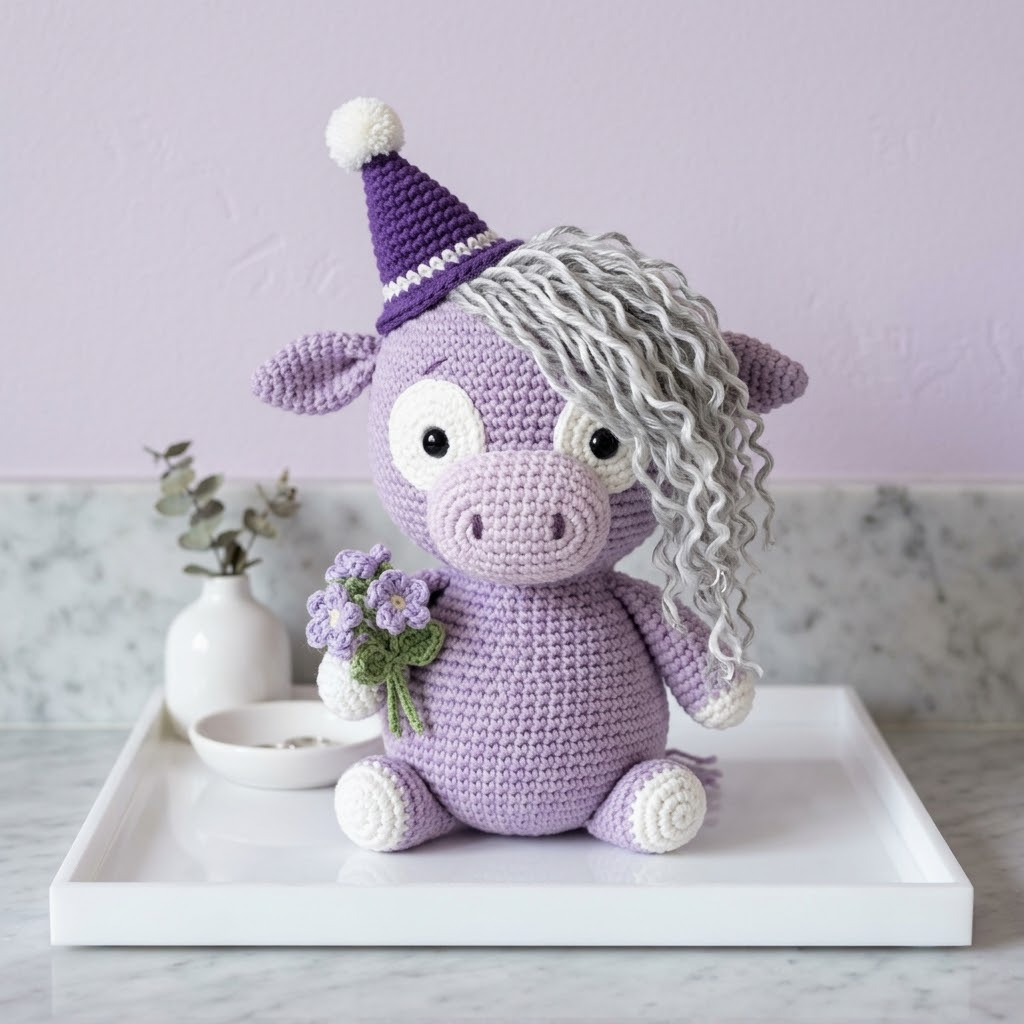
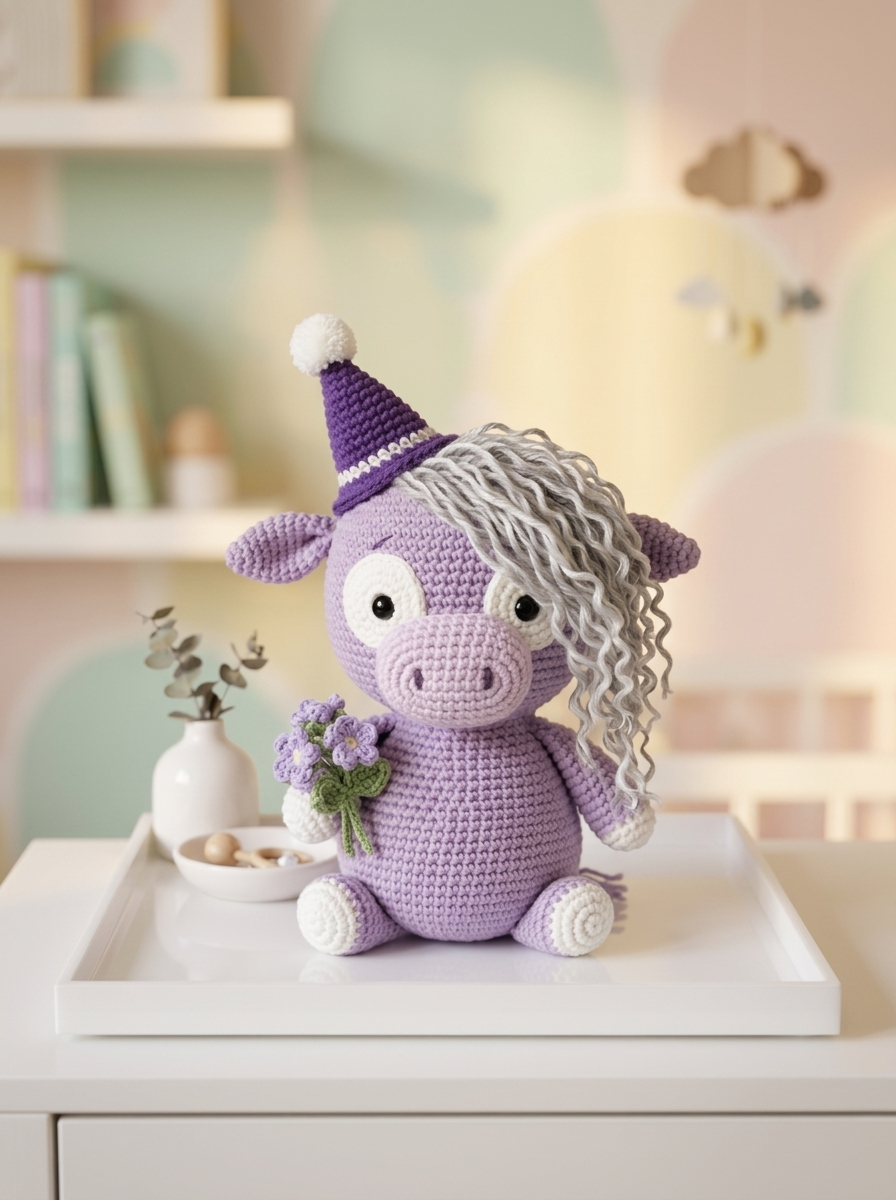
Oh, this little one stole my heart the moment I finished her curly mane. This adorable Highland cow amigurumi sits about 8 inches tall, complete with a festive party hat, a tiny bouquet of flowers, and the most charming fluffy hair you ever did see. If you can crochet a basic ball shape, you can absolutely make this cow. I promise.
This crochet pattern walks you through every single piece, from her chunky little body to those sweet floppy ears. The construction is straightforward, and I will be right here explaining each step like we are sitting together with coffee and yarn. Let us make something magical.
Why You Will Love This Highland Cow Crochet Pattern
Highland cows are having a moment, and honestly, they deserve it. Those fluffy faces and gentle eyes translate perfectly into amigurumi form. This particular design features soft lavender tones with cream accents, giving her a whimsical fairy tale quality.
She makes an incredible gift for baby showers, birthdays, or anyone who appreciates handmade treasures. The party hat is removable if you prefer a simpler look, and the flower bouquet adds a lovely feminine touch.
Skill level: Confident beginner to intermediate. You should be comfortable with basic increases, decreases, and working in continuous rounds.
Materials You Will Need
Gather these supplies before starting your Highland cow amigurumi project:
Yarn:
All yarns appear to be worsted weight (4) or DK weight (3) based on the stitch definition visible.
Recommended brands: Red Heart Super Saver, Paintbox Yarns Simply DK, or similar cotton-acrylic blends work beautifully for amigurumi.
Hook: 3.0mm or 3.5mm crochet hook. Go down a size from your yarn’s recommendation for tight stitches that prevent stuffing from showing.
Other supplies:
Abbreviations and Stitch Definitions
Let me break down every stitch you will encounter in this crochet tutorial:
MR — Magic Ring: An adjustable loop that creates a tight center. Wrap yarn around fingers, pull through a loop, chain one, then work stitches into the ring. Pull tail to close.
ch — Chain: Yarn over, pull through loop on hook. Example: ch 4 means make four chain stitches in a row.
sc — Single Crochet: Insert hook into stitch, yarn over and pull up a loop (two loops on hook), yarn over and pull through both loops.
inc — Increase: Work two single crochets into the same stitch. This adds one stitch to your count.
dec — Invisible Decrease: Insert hook through front loops only of the next two stitches, yarn over, pull through both front loops, yarn over, pull through both loops on hook. This creates a neater decrease than the standard method.
sl st — Slip Stitch: Insert hook, yarn over, pull through stitch and loop on hook in one motion. Used for joining or moving across stitches invisibly.
FLO — Front Loop Only: Work into just the front loop of the stitch, leaving the back loop untouched.
BLO — Back Loop Only: Work into just the back loop.
All rounds are worked in continuous spirals unless noted otherwise. Use a stitch marker to track your first stitch of each round.
Step by Step Crochet Pattern Instructions
Head (Make 1 in Light Lavender)
The head is a slightly elongated sphere shape. Work in continuous rounds.
Rnd 1: MR, 6 sc into ring (6 sts)
Rnd 2: Inc in each st around (12 sts)
Rnd 3: *Sc 1, inc* repeat around (18 sts)
Rnd 4: *Sc 2, inc* repeat around (24 sts)
Rnd 5: *Sc 3, inc* repeat around (30 sts)
Rnd 6: *Sc 4, inc* repeat around (36 sts)
Rnd 7: *Sc 5, inc* repeat around (42 sts)
Rnd 8: *Sc 6, inc* repeat around (48 sts)
Rnds 9 to 16: Sc in each st around (48 sts) — 8 rounds even
Rnd 17: *Sc 6, dec* repeat around (42 sts)
Rnd 18: *Sc 5, dec* repeat around (36 sts)
Rnd 19: *Sc 4, dec* repeat around (30 sts)
Insert safety eyes between rounds 12 and 13, approximately 8 stitches apart. Attach eye patches before securing eyes (see below).
Rnd 20: *Sc 3, dec* repeat around (24 sts)
Stuff head firmly with fiberfill.
Rnd 21: *Sc 2, dec* repeat around (18 sts)
Rnd 22: *Sc 1, dec* repeat around (12 sts)
Add more stuffing as needed.
Rnd 23: Dec around (6 sts)
Fasten off, leave tail for sewing. Close hole with yarn needle.
Eye Patches (Make 2 in Cream)
These oval shapes frame the eyes beautifully.
Ch 5
Rnd 1: Starting in 2nd ch from hook: inc, sc 2, 4 sc in last ch. Working along opposite side of chain: sc 2, inc (12 sts)
Rnd 2: Inc 2, sc 2, inc 4, sc 2, inc 2 (20 sts)
Fasten off, leave long tail for sewing. Position on face before attaching eyes, then push safety eye post through center of patch and head fabric.
Snout (Make 1 in Pale Pink)
The snout is a flattened oval shape that gives this Highland cow her characteristic sweet face.
Ch 7
Rnd 1: Starting in 2nd ch from hook: inc, sc 4, 4 sc in last ch. Working along opposite side: sc 4, inc (16 sts)
Rnd 2: Inc 2, sc 4, inc 4, sc 4, inc 2 (24 sts)
Rnd 3: *Sc 1, inc* twice, sc 4, *sc 1, inc* 4 times, sc 4, *sc 1, inc* twice (32 sts)
Rnds 4 to 6: Sc in each st around (32 sts)
Fasten off, leave long tail. Stuff lightly. Using pink embroidery floss, stitch two small vertical lines for nostrils. Sew to lower portion of face, centered below eyes.
Body (Make 1 in Light Lavender)
The body is a rounded pear shape, wider at the bottom for a seated position.
Rnd 1: MR, 6 sc into ring (6 sts)
Rnd 2: Inc in each st around (12 sts)
Rnd 3: *Sc 1, inc* repeat around (18 sts)
Rnd 4: *Sc 2, inc* repeat around (24 sts)
Rnd 5: *Sc 3, inc* repeat around (30 sts)
Rnd 6: *Sc 4, inc* repeat around (36 sts)
Rnd 7: *Sc 5, inc* repeat around (42 sts)
Rnd 8: *Sc 6, inc* repeat around (48 sts)
Rnds 9 to 18: Sc in each st around (48 sts) — 10 rounds even
Rnd 19: *Sc 6, dec* repeat around (42 sts)
Rnd 20: Sc in each st around (42 sts)
Rnd 21: *Sc 5, dec* repeat around (36 sts)
Rnd 22: Sc in each st around (36 sts)
Rnd 23: *Sc 4, dec* repeat around (30 sts)
Stuff body firmly.
Rnd 24: *Sc 3, dec* repeat around (24 sts)
Fasten off, leave long tail for sewing to head.
Arms (Make 2)
Start with cream for the hand, then switch to lavender.
In Cream:
Rnd 1: MR, 6 sc into ring (6 sts)
Rnd 2: Inc in each st around (12 sts)
Rnds 3 to 5: Sc in each st around (12 sts)
Change to Light Lavender:
Rnds 6 to 14: Sc in each st around (12 sts)
Stuff hand portion lightly. Leave arm portion less stuffed for flexibility.
Fasten off, leave tail for sewing.
Legs (Make 2)
Start with cream for the hoof, then switch to lavender.
In Cream:
Rnd 1: MR, 6 sc into ring (6 sts)
Rnd 2: Inc in each st around (12 sts)
Rnd 3: *Sc 1, inc* repeat around (18 sts)
Rnds 4 to 6: Sc in each st around (18 sts)
Change to Light Lavender:
Rnd 7: BLO sc in each st around (18 sts) — this creates the ridge between hoof and leg
Rnds 8 to 12: Sc in each st around (18 sts)
Stuff firmly.
Fasten off, leave tail for sewing. Position legs at front of body base so cow sits upright.
Ears (Make 2 in Light Lavender with Pale Pink centers)
Outer Ear (Lavender):
Ch 6
Row 1: Sc in 2nd ch from hook, sc 4 (5 sts), ch 1, turn
Row 2: Sc 5 (5 sts), ch 1, turn
Row 3: Dec, sc 1, dec (3 sts), ch 1, turn
Row 4: Sc 3 (3 sts)
Fasten off.
Inner Ear (Pale Pink): Make slightly smaller using same method but ch 5 to start.
Layer inner ear on outer ear, sew together. Fold base slightly when attaching to head for natural ear shape. Position ears on sides of head, angled slightly downward.
Party Hat (Make 1 in Deep Purple)
Rnd 1: MR, 4 sc into ring (4 sts)
Rnd 2: *Sc 1, inc* repeat around (6 sts)
Rnd 3: Sc in each st around (6 sts)
Rnd 4: *Sc 2, inc* repeat around (8 sts)
Rnd 5: Sc in each st around (8 sts)
Rnd 6: *Sc 3, inc* repeat around (10 sts)
Rnd 7: Sc in each st around (10 sts)
Continue increasing every other round by adding one more sc before each inc, until you reach desired base width (approximately 24 sts).
Work 1 round in cream for the decorative stripe near the brim.
Fasten off. Make a small pom pom in cream and attach to tip.
Curly Hair
This is where the magic happens. Cut strands of gray yarn approximately 6 inches long. Using your hook, pull folded strand through a stitch on top of head, then pull ends through loop to create a lark’s head knot.
To create curls: Dampen yarn strands, wrap tightly around a pencil or skewer, and let dry completely. Alternatively, unravel a length of yarn that was previously crocheted or knitted for natural waviness.
Attach hair strands across the top of the head, concentrating on one side for that windswept Highland cow look.
Flower Bouquet (Optional)
Small Flowers (Make 3 to 5 in Light Purple):
MR, *ch 2, sl st into ring* repeat 5 times for five petals. Fasten off, leave tail.
Stems: Ch 10 in olive green, fasten off. Make several.
Leaves: Ch 6, sl st in 2nd ch from hook, sc, hdc, sc, sl st. Fasten off.
Bundle flowers and stems together, wrap base with yarn to secure. Sew bouquet to one hand.
Assembly Tips for Your Highland Cow Amigurumi
Take your time with assembly. This is where your cow comes to life.
1. Attach eye patches and eyes first before closing the head
2. Sew snout centered below eyes, adding a tiny bit of stuffing behind it
3. Attach head to body with the neck opening at a slight angle for personality
4. Position legs at front base so she sits balanced
5. Sew arms at shoulder level, angling one to hold the bouquet
6. Add ears on sides of head, slightly behind the eye line
7. Attach hair generously across top and down one side
8. Place party hat at a jaunty angle
Customization Ideas
This Highland cow crochet pattern adapts beautifully to different color schemes. Try classic brown with cream, soft pink for a Valentine’s version, or rainbow hair for extra whimsy. Skip the party hat for an everyday look, or add a tiny bow instead.
For a child-safe version, embroider the eyes instead of using safety eyes, and skip the small flower pieces that could detach.
Wrapping Up Your Highland Cow Amigurumi
You did it, friend. You now have everything you need to create this sweet lavender Highland cow from start to finish. She is going to be absolutely darling sitting on a shelf, tucked into a gift basket, or clutched in little hands.
Thank you so much for choosing this crochet pattern for your next project. I genuinely appreciate you being here and trusting me with your crafting time.
When you finish your cow, I would absolutely love to see her. Tag me on Instagram or share in my Facebook group. Seeing your creations is hands down the best part of my day.
Happy crocheting, and give that fluffy girl some extra love from me.
