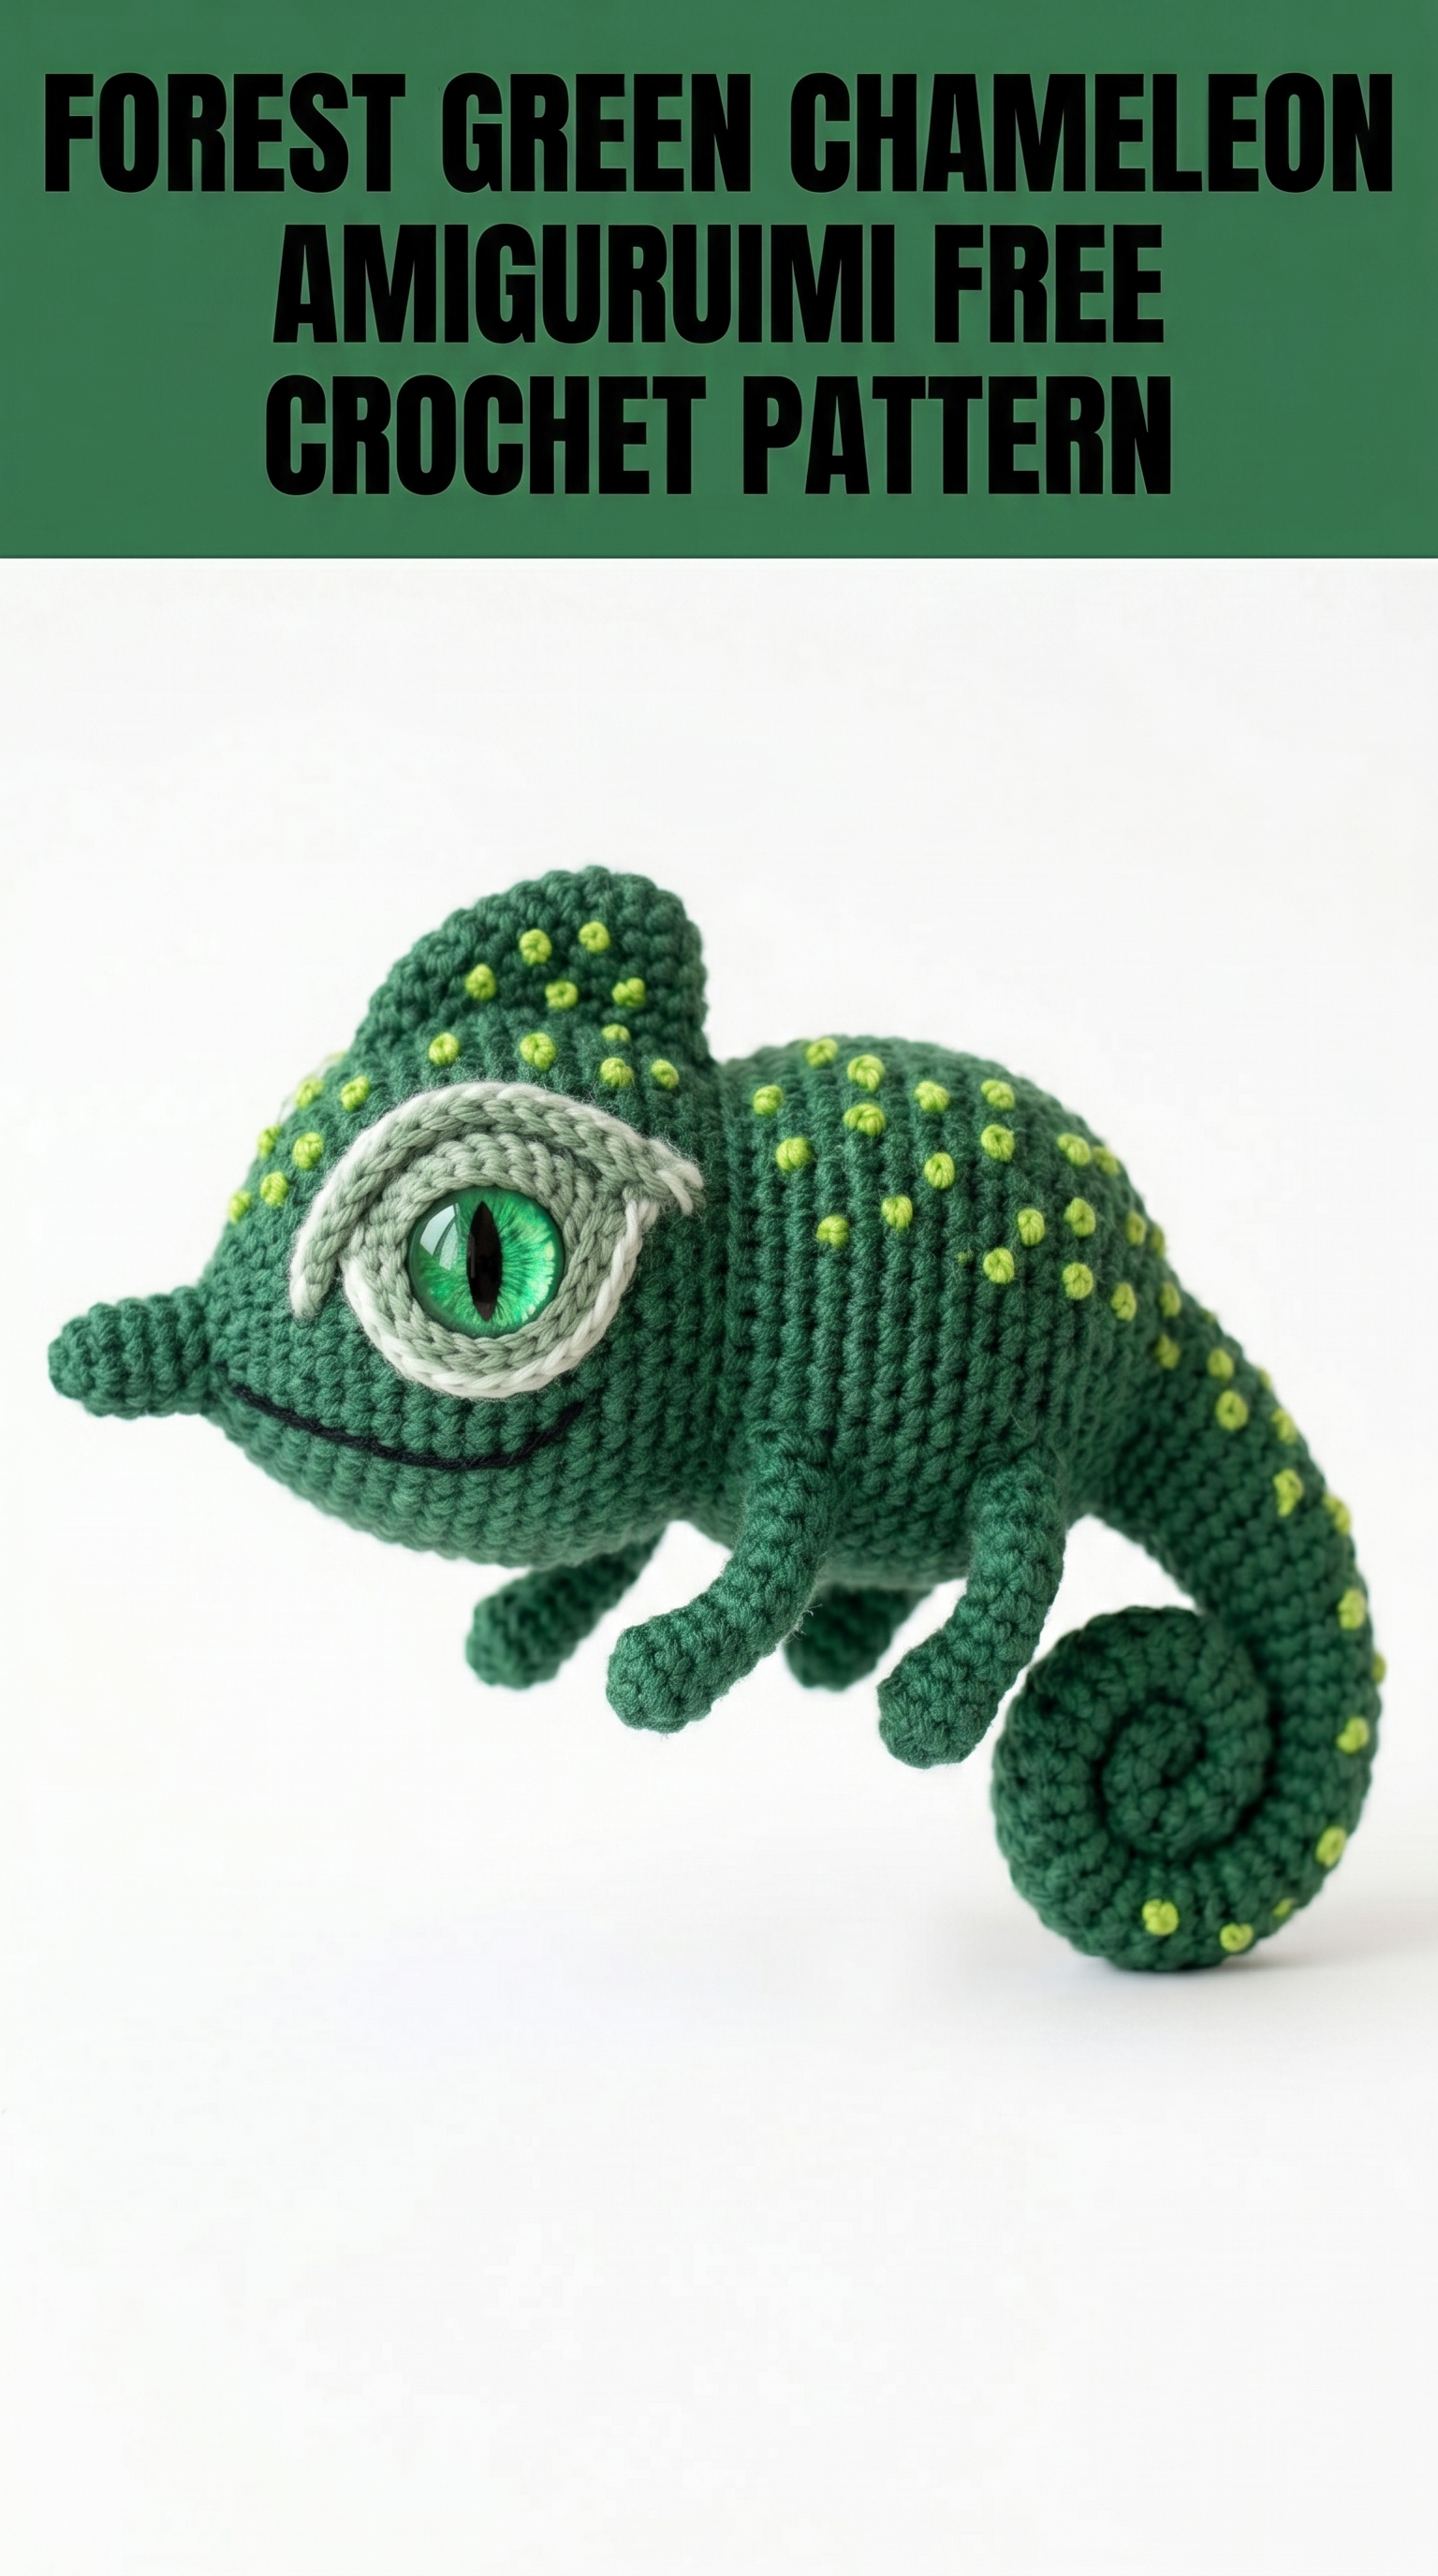
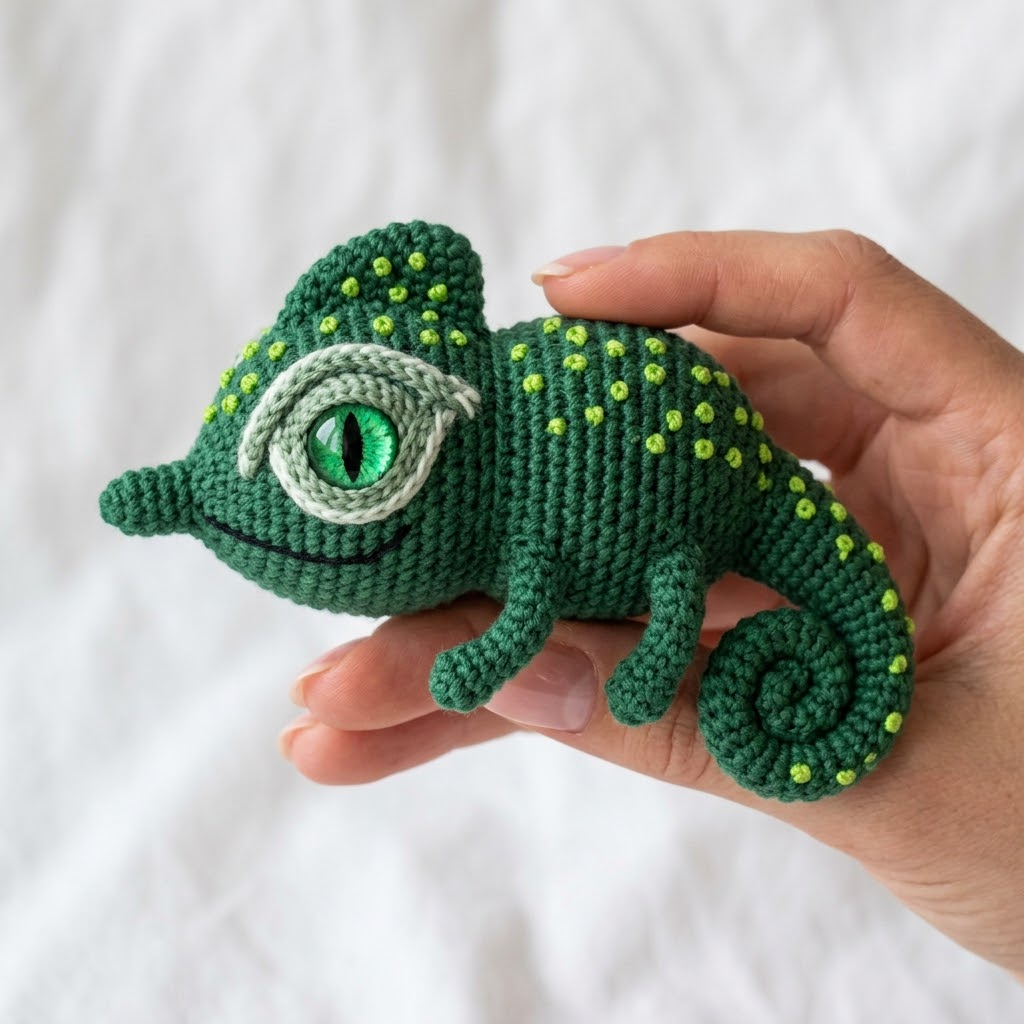
Oh, this little guy is going to steal your heart. This Forest Green Chameleon Amigurumi is one of those projects that looks incredibly impressive but breaks down into surprisingly manageable pieces. He fits right in the palm of your hand, measures about 5 inches long, and features that signature curled tail, adorable bulging eyes, and scattered spots that make chameleons so charming.
If you have experience with basic amigurumi construction, you can absolutely make this crochet pattern. The shaping is a bit more involved than a simple ball or sphere, but I will walk you through every single step. Take your time, trust the process, and you will have an amazing little reptile friend to show off.
Let me show you how to bring this chameleon crochet pattern to life from start to finish.
What Makes This Chameleon Pattern Special
This is not your average amigurumi project. What sets this design apart is the attention to realistic detail without overwhelming complexity. The French knot spots scattered across the body add authentic chameleon texture. The oversized eye sockets with their light green crocheted rims perfectly frame striking green safety eyes with vertical pupils.
The construction method creates that distinctive chameleon silhouette. You get the rounded head crest, the compact rounded body, the pointed snout, and that gorgeous spiraling tail all worked in connected pieces that come together beautifully.
Materials You Will Need
Gather everything before you start. Nothing worse than being mid-project and realizing you are missing something crucial.
Yarn:
Hook:
Notions:
Skill Level and Techniques
This project is intermediate level. You should be comfortable with:
Stitches Used:
Single crochet (sc): Insert hook into stitch, yarn over, pull through (2 loops on hook), yarn over, pull through both loops. This is your bread and butter stitch for the entire project.
Invisible decrease (inv dec): Insert hook through front loops only of the next 2 stitches, yarn over, pull through both front loops, yarn over, pull through both loops on hook. Creates a much cleaner decrease than the standard method.
Magic ring (MR): An adjustable starting loop that closes completely with no hole. If you struggle with magic rings, you can chain 2 and work your starting stitches into the second chain from the hook instead.
French knot: An embroidery stitch that creates a small raised dot. Wrap yarn around needle 2 to 3 times, insert needle back into fabric close to where you came up, pull through while holding wraps in place.
Gauge and Finished Size
Gauge: Exact gauge is not critical for amigurumi, but your stitches should be tight enough that stuffing does not show through. If you see white peeking through your green stitches, go down a hook size.
Finished dimensions: Approximately 5 inches (12.5 cm) long from snout to tail tip, 2.5 inches (6 cm) tall at the head crest.
Step by Step Crochet Pattern
All pieces are worked in continuous rounds unless otherwise noted. Do not join rounds. Use a stitch marker to track the beginning of each round and move it up as you go.
Body and Head (Worked as One Piece)
The body and head are constructed together, starting from the tail end and working toward the snout.
With MC:
Rnd 1: 6 sc in magic ring (6 sts)
Rnd 2: 2 sc in each st around (12 sts)
Rnd 3: *Sc 1, 2 sc in next st* repeat around (18 sts)
Rnd 4: *Sc 2, 2 sc in next st* repeat around (24 sts)
Rnd 5: *Sc 3, 2 sc in next st* repeat around (30 sts)
Rnds 6 to 10: Sc in each st around (30 sts) — 5 rounds even
Rnd 11: *Sc 3, inv dec* repeat around (24 sts)
Rnds 12 to 14: Sc in each st around (24 sts) — 3 rounds even
Rnd 15: *Sc 2, inv dec* repeat around (18 sts)
Begin stuffing the body firmly but not overly tight. Continue adding stuffing as you decrease.
Rnd 16: Sc in each st around (18 sts)
Rnd 17: *Sc 4, 2 sc in next st* repeat around, sc 3 (21 sts)
Rnd 18: Sc in each st around (21 sts)
Rnd 19: *Sc 5, 2 sc in next st* repeat around, sc 3 (24 sts)
Rnds 20 to 22: Sc in each st around (24 sts) — 3 rounds even
This creates the transition from body to head.
Rnd 23: *Sc 2, inv dec* repeat around (18 sts)
Rnd 24: Sc in each st around (18 sts)
Rnd 25: *Sc 1, inv dec* repeat around (12 sts)
Insert safety eyes between rounds 21 and 22, spacing them approximately 8 stitches apart. Add the eye socket pieces before inserting the backings (instructions below).
Rnd 26: Sc in each st around (12 sts)
Rnd 27: *Inv dec* repeat around (6 sts)
Finish stuffing the head firmly to create nice rounded cheeks and snout.
Fasten off and weave the tail through the remaining 6 stitches. Pull tight to close. Weave in end securely.
Head Crest
The distinctive rounded crest sits on top of the head.
With MC:
Rnd 1: 6 sc in magic ring (6 sts)
Rnd 2: 2 sc in each st around (12 sts)
Rnd 3: *Sc 1, 2 sc in next st* repeat around (18 sts)
Rnd 4: *Sc 2, 2 sc in next st* repeat around (24 sts)
Rnds 5 to 7: Sc in each st around (24 sts) — 3 rounds even
Rnd 8: Working in back loops only, *sc 2, inv dec* repeat around (18 sts)
Leave open. Do not stuff. This piece will be sewn flat onto the head with the opening facing down.
Fasten off leaving a long tail for sewing.
Eye Sockets (Make 2)
These frame the safety eyes beautifully.
With CC1 (light sage green):
Rnd 1: 6 sc in magic ring (6 sts)
Rnd 2: 2 sc in each st around (12 sts)
Rnd 3: *Sc 1, 2 sc in next st* repeat around (18 sts)
Rnd 4: Working in back loops only, sc in each st around (18 sts)
Rnd 5: Sc in each st around (18 sts)
Fasten off leaving a long tail for sewing.
These create a raised rim around each eye. Insert the safety eye through the center of the socket piece before attaching the backing washer. Position on the head, then secure the backing.
Curled Tail
This is where the magic happens. The tail naturally wants to curl because of how it is constructed.
With MC:
Rnd 1: 5 sc in magic ring (5 sts)
Rnds 2 to 25: Sc in each st around (5 sts) — 24 rounds even
If you want a poseable tail, insert a piece of floral wire or pipe cleaner now, bending the end so it does not poke through.
Fasten off leaving a long tail for sewing. The piece will naturally curl. Gently coil it into a spiral shape before sewing to the body.
Front Legs (Make 2)
With MC:
Rnd 1: 5 sc in magic ring (5 sts)
Rnds 2 to 8: Sc in each st around (5 sts) — 7 rounds even
Fasten off leaving a tail for sewing. Stuff lightly or leave unstuffed for floppy legs.
Back Legs (Make 2)
The back legs are slightly thicker.
With MC:
Rnd 1: 6 sc in magic ring (6 sts)
Rnds 2 to 10: Sc in each st around (6 sts) — 9 rounds even
Fasten off leaving a tail for sewing. Stuff lightly.
Assembly Instructions
Take your time with assembly. This is where your chameleon comes to life.
1. Attach the head crest to the top of the head, centered and positioned toward the back. Sew the open edge down using whip stitch, leaving it slightly domed.
2. Position the eye sockets around each safety eye. The raised rim should frame the eye nicely. Sew in place.
3. Attach the curled tail to the back end of the body. Coil it into a nice spiral before sewing securely.
4. Sew the front legs to the sides of the body, positioned just behind the head. Angle them slightly forward.
5. Sew the back legs further back on the body, angled slightly outward.
6. Embroider the mouth line using black yarn or embroidery floss. Use a simple backstitch to create the curved line from the snout toward the eye.
Adding the Spots
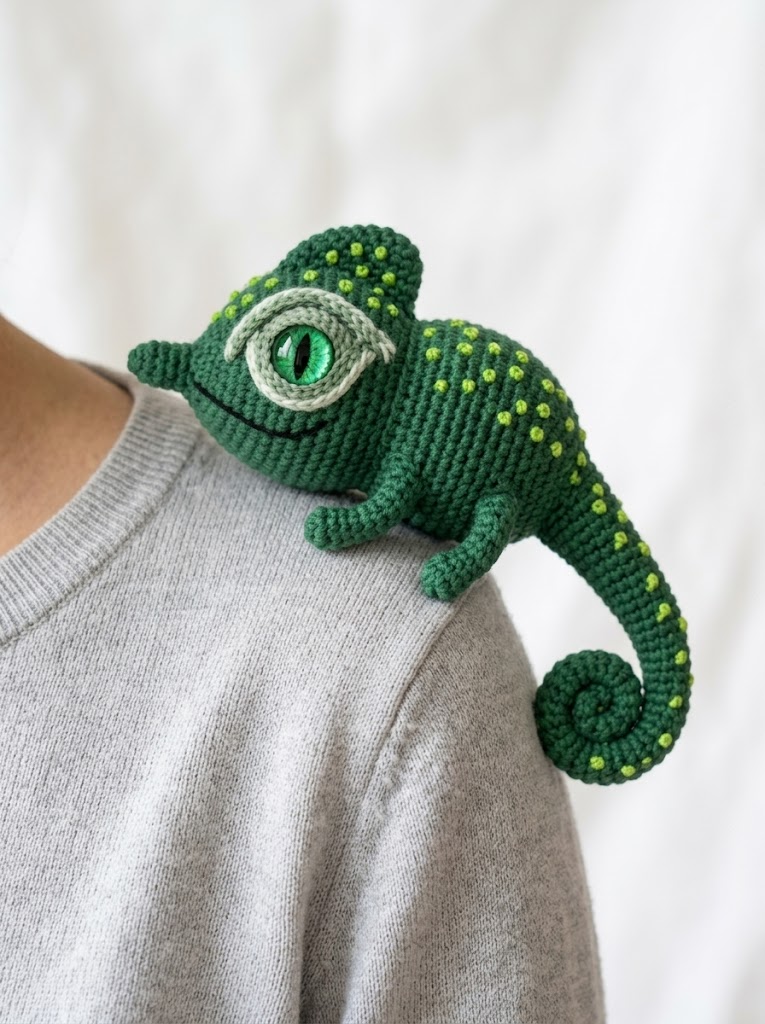
Here is where the chameleon really comes alive. Using CC2 (bright lime green), scatter French knots across the body, head crest, legs, and tail. Reference the photos for placement.
French knot technique: Thread your tapestry needle with CC2. Come up through the fabric, wrap yarn around the needle 2 to 3 times, insert needle back down very close to where you came up, pull through while holding the wraps snug. Each knot should be a tiny raised dot.
Scatter them randomly but thoughtfully. Cluster a few together in some areas, leave other areas sparse. Nature is not perfectly even, and neither should your spots be.
Helpful Tips for Success
Tight stitches matter. Amigurumi requires smaller hooks than yarn labels suggest. This prevents stuffing from peeking through.
Stuff as you go. Once the opening gets small, it becomes very difficult to stuff evenly. Add fiberfill in small amounts throughout construction.
Use a stitch marker religiously. Continuous rounds are easy to lose track of. Move your marker every single round.
Safety eyes go in before closing. Once that backing is on, it is not coming off without destroying the piece. Position carefully, check from all angles, then commit.
You Did It
Look at what you created. This Forest Green Chameleon Amigurumi is genuinely impressive work. The textures, the colors, that perfectly curled tail. You should feel proud.
Thank you so much for trusting me to guide you through this chameleon crochet pattern. I know patterns can feel overwhelming sometimes, and I genuinely appreciate you sticking with me through every round and every stitch.
I would absolutely love to see your finished chameleon. Tag me on Instagram or share your photo in my Facebook group. Seeing your creations honestly makes my whole day.
Now go show off that adorable little reptile. You earned it.
