I’ve been looking for the perfect statement bag pattern for months, and this bow shoulder bag is absolutely my favourite design I’ve come across. The sculptural bow shape is striking without being complicated, and the structured silhouette looks like something you’d find in a boutique. This is the bag I keep recommending to everyone who asks me what they should make next.
Why You’ll Love This Crochet Bow Bag Pattern
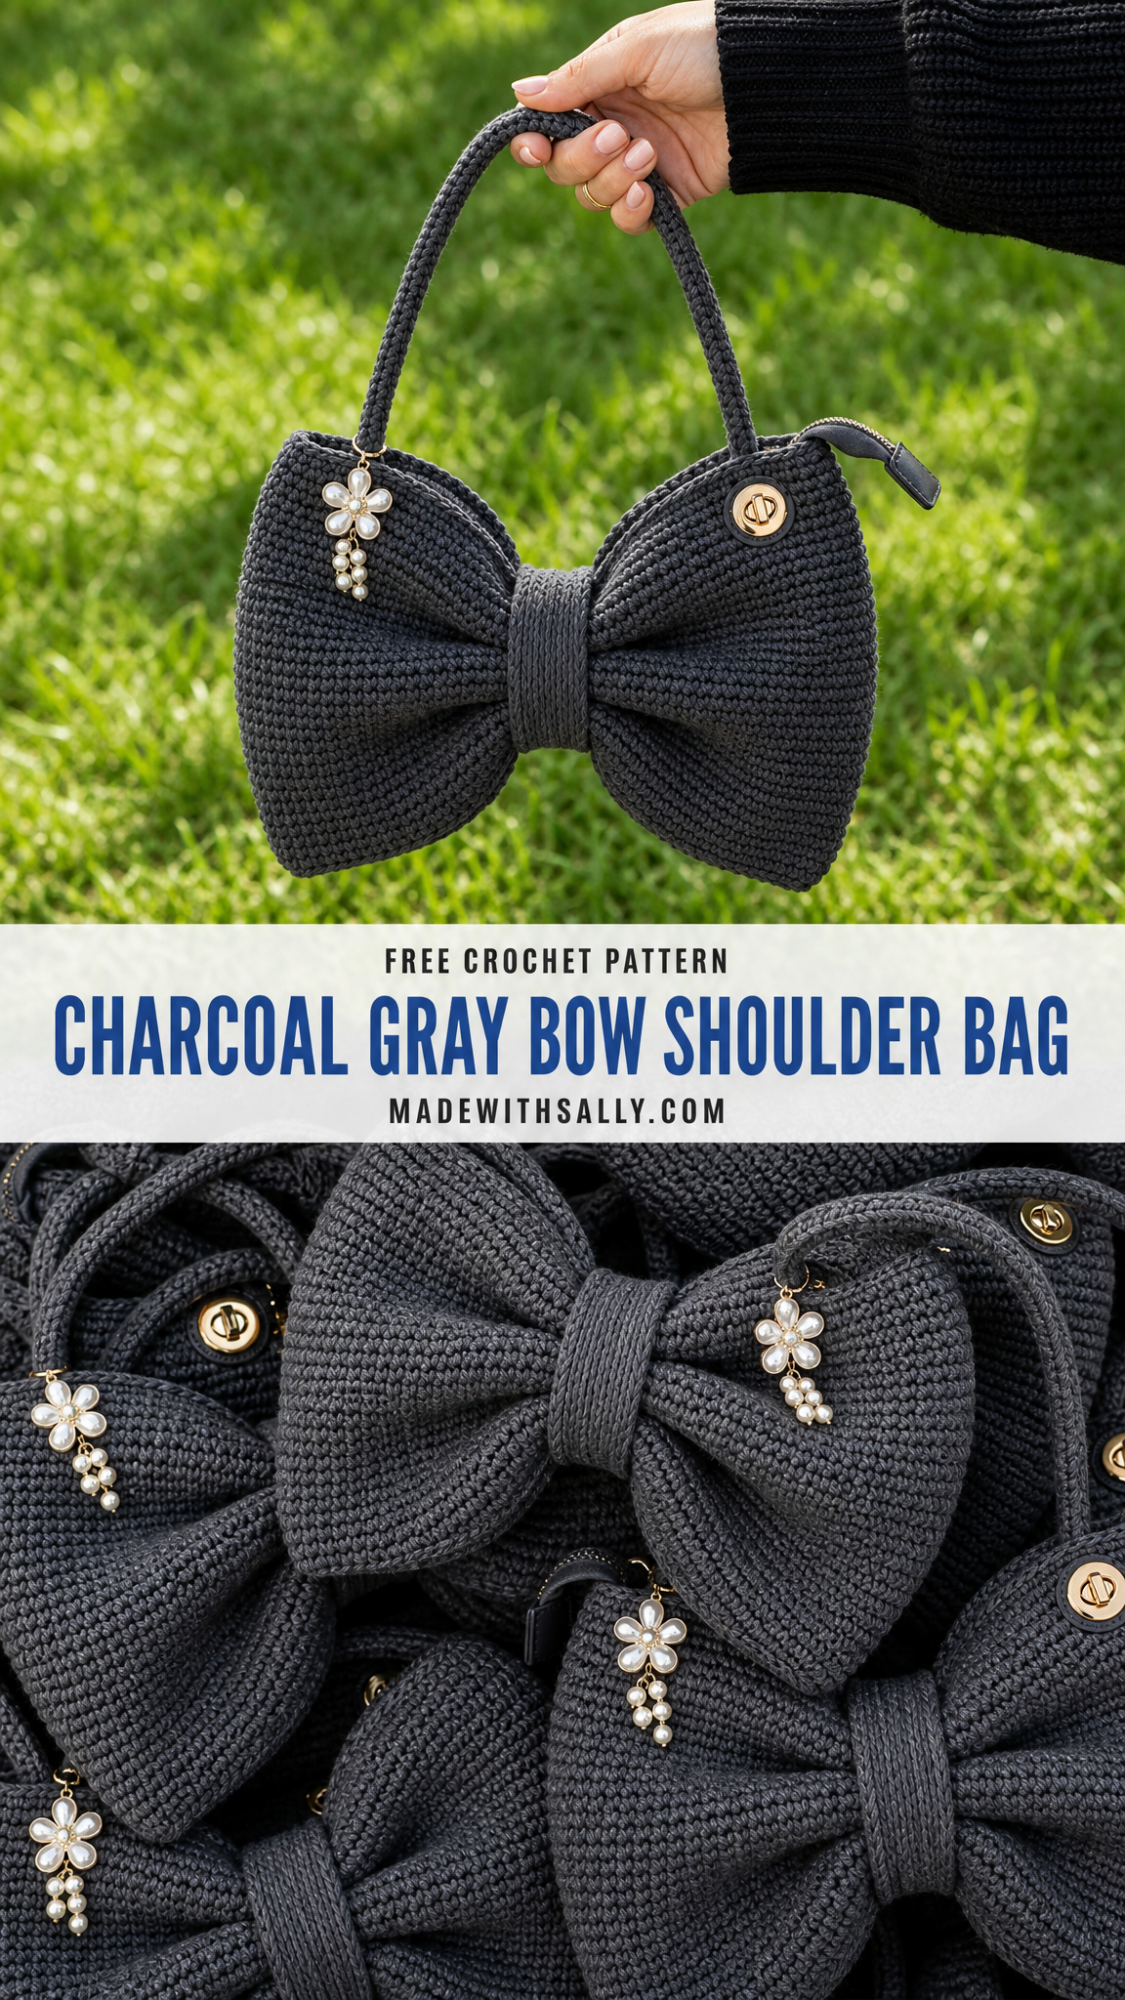
This crochet bow shoulder bag is a showstopper. The oversized bow shape creates a playful, feminine silhouette that works for everything from brunch with friends to evening events. The construction is surprisingly straightforward once you understand how the pieces come together.
The bag uses single crochet stitches throughout, which gives it that dense, structured fabric you can see in the close-up detail. This tight stitch pattern means your belongings stay secure and the bow holds its dramatic shape beautifully.
What makes this crochet pattern special is the clever assembly. You’re essentially creating two rounded panels that get cinched together in the middle to form that gorgeous bow effect. The center wrap band pulls everything together and creates the signature pinched waist.
Skill Level
Intermediate beginner. If you can work single crochet in rows and rounds, you can absolutely make this bag. The shaping involves some increases and decreases, but I’ll walk you through every step. The assembly might feel a little tricky your first time, but take it slow and you’ll be fine.
Finished Measurements
Materials Needed
Yarn:
Hook:
Notions:
Gauge
18 stitches and 20 rows = 4 inches (10 cm) in single crochet
Gauge matters for this project. A loose gauge will result in a floppy bag that won’t hold the bow shape. If your swatch is too loose, go down a hook size.
Abbreviations Used
Pattern Notes
Crochet Bow Shoulder Bag Pattern Instructions
Bow Panel (Make 2)
The bow panel starts at the center and works outward, creating a rounded rectangular shape that will become one side of the bow.
Foundation:
Ch 41.
Row 1 (RS): Sc in 2nd ch from hook and in each ch across. (40 sts)
Row 2: Ch 1, turn. Sc in each st across. (40 sts)
Rows 3-8: Repeat Row 2. (40 sts)
Row 9 (Begin shaping): Ch 1, turn. Inc in first st, sc in each st to last st, inc in last st. (42 sts)
Row 10: Ch 1, turn. Sc in each st across. (42 sts)
Rows 11-12: Repeat Rows 9-10. (44 sts after Row 11)
Row 13: Ch 1, turn. Inc in first st, sc in each st to last st, inc in last st. (46 sts)
Rows 14-16: Ch 1, turn. Sc in each st across. (46 sts)
Row 17: Ch 1, turn. Inc in first st, sc in each st to last st, inc in last st. (48 sts)
Rows 18-22: Ch 1, turn. Sc in each st across. (48 sts)
This is the widest point of your panel.
Row 23 (Begin decreasing): Ch 1, turn. Dec, sc in each st to last 2 sts, dec. (46 sts)
Rows 24-26: Ch 1, turn. Sc in each st across. (46 sts)
Row 27: Ch 1, turn. Dec, sc in each st to last 2 sts, dec. (44 sts)
Row 28: Ch 1, turn. Sc in each st across. (44 sts)
Rows 29-30: Repeat Rows 27-28. (42 sts after Row 29)
Row 31: Ch 1, turn. Dec, sc in each st to last 2 sts, dec. (40 sts)
Rows 32-38: Ch 1, turn. Sc in each st across. (40 sts)
Fasten off, leaving a long tail for seaming. Make a second identical panel.
Center Wrap Band
This narrow band wraps around the middle of the bow to create the pinched effect.
Foundation:
Ch 9.
Row 1: Sc in 2nd ch from hook and in each ch across. (8 sts)
Rows 2-50: Ch 1, turn. Sc in each st across. (8 sts)
The band should be long enough to wrap snugly around the gathered center of your bow. Test fit and add or remove rows as needed. You want it tight enough to create a nice cinch.
Fasten off, leaving a long tail for seaming.
Strap
The strap is worked in the round over a foundation to create a sturdy, tubular handle.
Foundation:
Ch 4, sl st to first ch to form a ring.
Round 1: Ch 1, work 6 sc into ring. Do not join. Place marker in first st. (6 sts)
Rounds 2-90: Sc in each st around, moving marker up as you go. (6 sts)
Continue until strap measures approximately 14-16 inches or desired length. The strap should be firm and rope-like.
Sl st to next st. Fasten off, leaving a long tail.
Alternative strap method: If working in the round feels too fiddly, you can crochet a flat strip 6 stitches wide for the same length, then fold it in half lengthwise and whip stitch the edges together.
Assembly
This is where the magic happens. Take your time with this section.
Step 1: Prepare the Bow Panels
Lay both panels flat with right sides facing up. Fold each panel in half lengthwise to find the center. Mark the center of each short edge with a stitch marker.
Step 2: Join the Panels
Place the two panels with wrong sides together. Using a tapestry needle and yarn, whip stitch or mattress stitch around the outer edges, leaving the top edge open. This creates the bag body.
Leave approximately 6 inches open at the top center for access to the bag interior.
Step 3: Create the Bow Shape
Here’s the fun part. Pinch the center of the bag together, gathering the fabric. The sides will puff out to create the bow lobes.
Step 4: Attach the Center Wrap
Wrap the center band tightly around the gathered middle of the bag. Overlap the ends at the back and stitch them securely together. Then tack the band to the gathered bag fabric in a few spots to keep everything in place.
Step 5: Attach the Strap
Position the strap ends at the top back corners of the bag, just behind where the center wrap sits. Stitch securely, going through the strap multiple times for strength.
Step 6: Add Hardware (Optional)
If using a magnetic snap, install it on the inside of the bag opening before the final assembly. Follow the hardware manufacturer’s instructions.
For a decorative twist lock like the sample shows, position it on one side of the bow and attach according to package directions. This adds a professional, boutique-quality finish.
Step 7: Add Embellishments (Optional)
The sample features a delicate pearl flower charm attached near the strap. You can add any decorative element that suits your style, or leave the bag simple and let the bow shape speak for itself.
Tips for Success
Blocking helps. Before assembly, lightly steam block your panels to even out your stitches and help the pieces lie flat.
Stuff while assembling. When you’re figuring out the bow shape, temporarily stuff the sides with tissue paper or small towels. This helps you see how the finished bow will look and makes it easier to position the center band.
Reinforce stress points. Go over your strap attachment stitches several times. This area takes the most strain when you carry the bag.
Consider adding interfacing. For an even more structured bag, you can cut plastic canvas or stiff interfacing slightly smaller than your panels and slip them inside before seaming.
How to Customize Your Bow Bag
This crochet tutorial gives you a foundation you can adapt in many ways.
Color ideas: Black for evening elegance, cream for summer, bright red for a bold statement, or pastels for spring.
Size adjustments: For a smaller clutch version, reduce your starting chain to 31 and adjust row counts proportionally. For a larger tote, increase to 51 chains.
Strap variations: Make a longer strap for crossbody wear, or skip the strap entirely and add a wrist loop for a clutch style.
Caring for Your Finished Bag
Hand wash in cool water with mild soap. Reshape while damp and stuff with tissue paper to maintain the bow shape while drying. Lay flat to dry completely before storing.
I really hope you enjoy making this bow shoulder bag as much as I enjoyed designing it. It’s one of those projects that looks so impressive but is genuinely achievable for anyone comfortable with basic crochet. The finished bag gets so many compliments, and it makes an incredible gift for anyone who appreciates unique handmade accessories.
If you make this pattern, I’d absolutely love to see your finished bag! Tag me on Instagram or share it in my Facebook group. And if you want to save this pattern for later, go ahead and pin it to your favorite Pinterest board so it’s right there when you’re ready to start. Drop a comment below if you have any questions or just want to share what color you’re planning to use. Happy crocheting!
