This adorable coral chameleon amigurumi is about to become your new favorite project. With its signature curled tail, distinctive head crest, and those gorgeous oversized eyes, this little reptile friend captures everything whimsical about chameleons. The coral pink body paired with teal accent spots creates a color combination that feels fresh and modern. I designed this pattern to be approachable for confident beginners while still offering enough interesting details to keep experienced crocheters engaged.
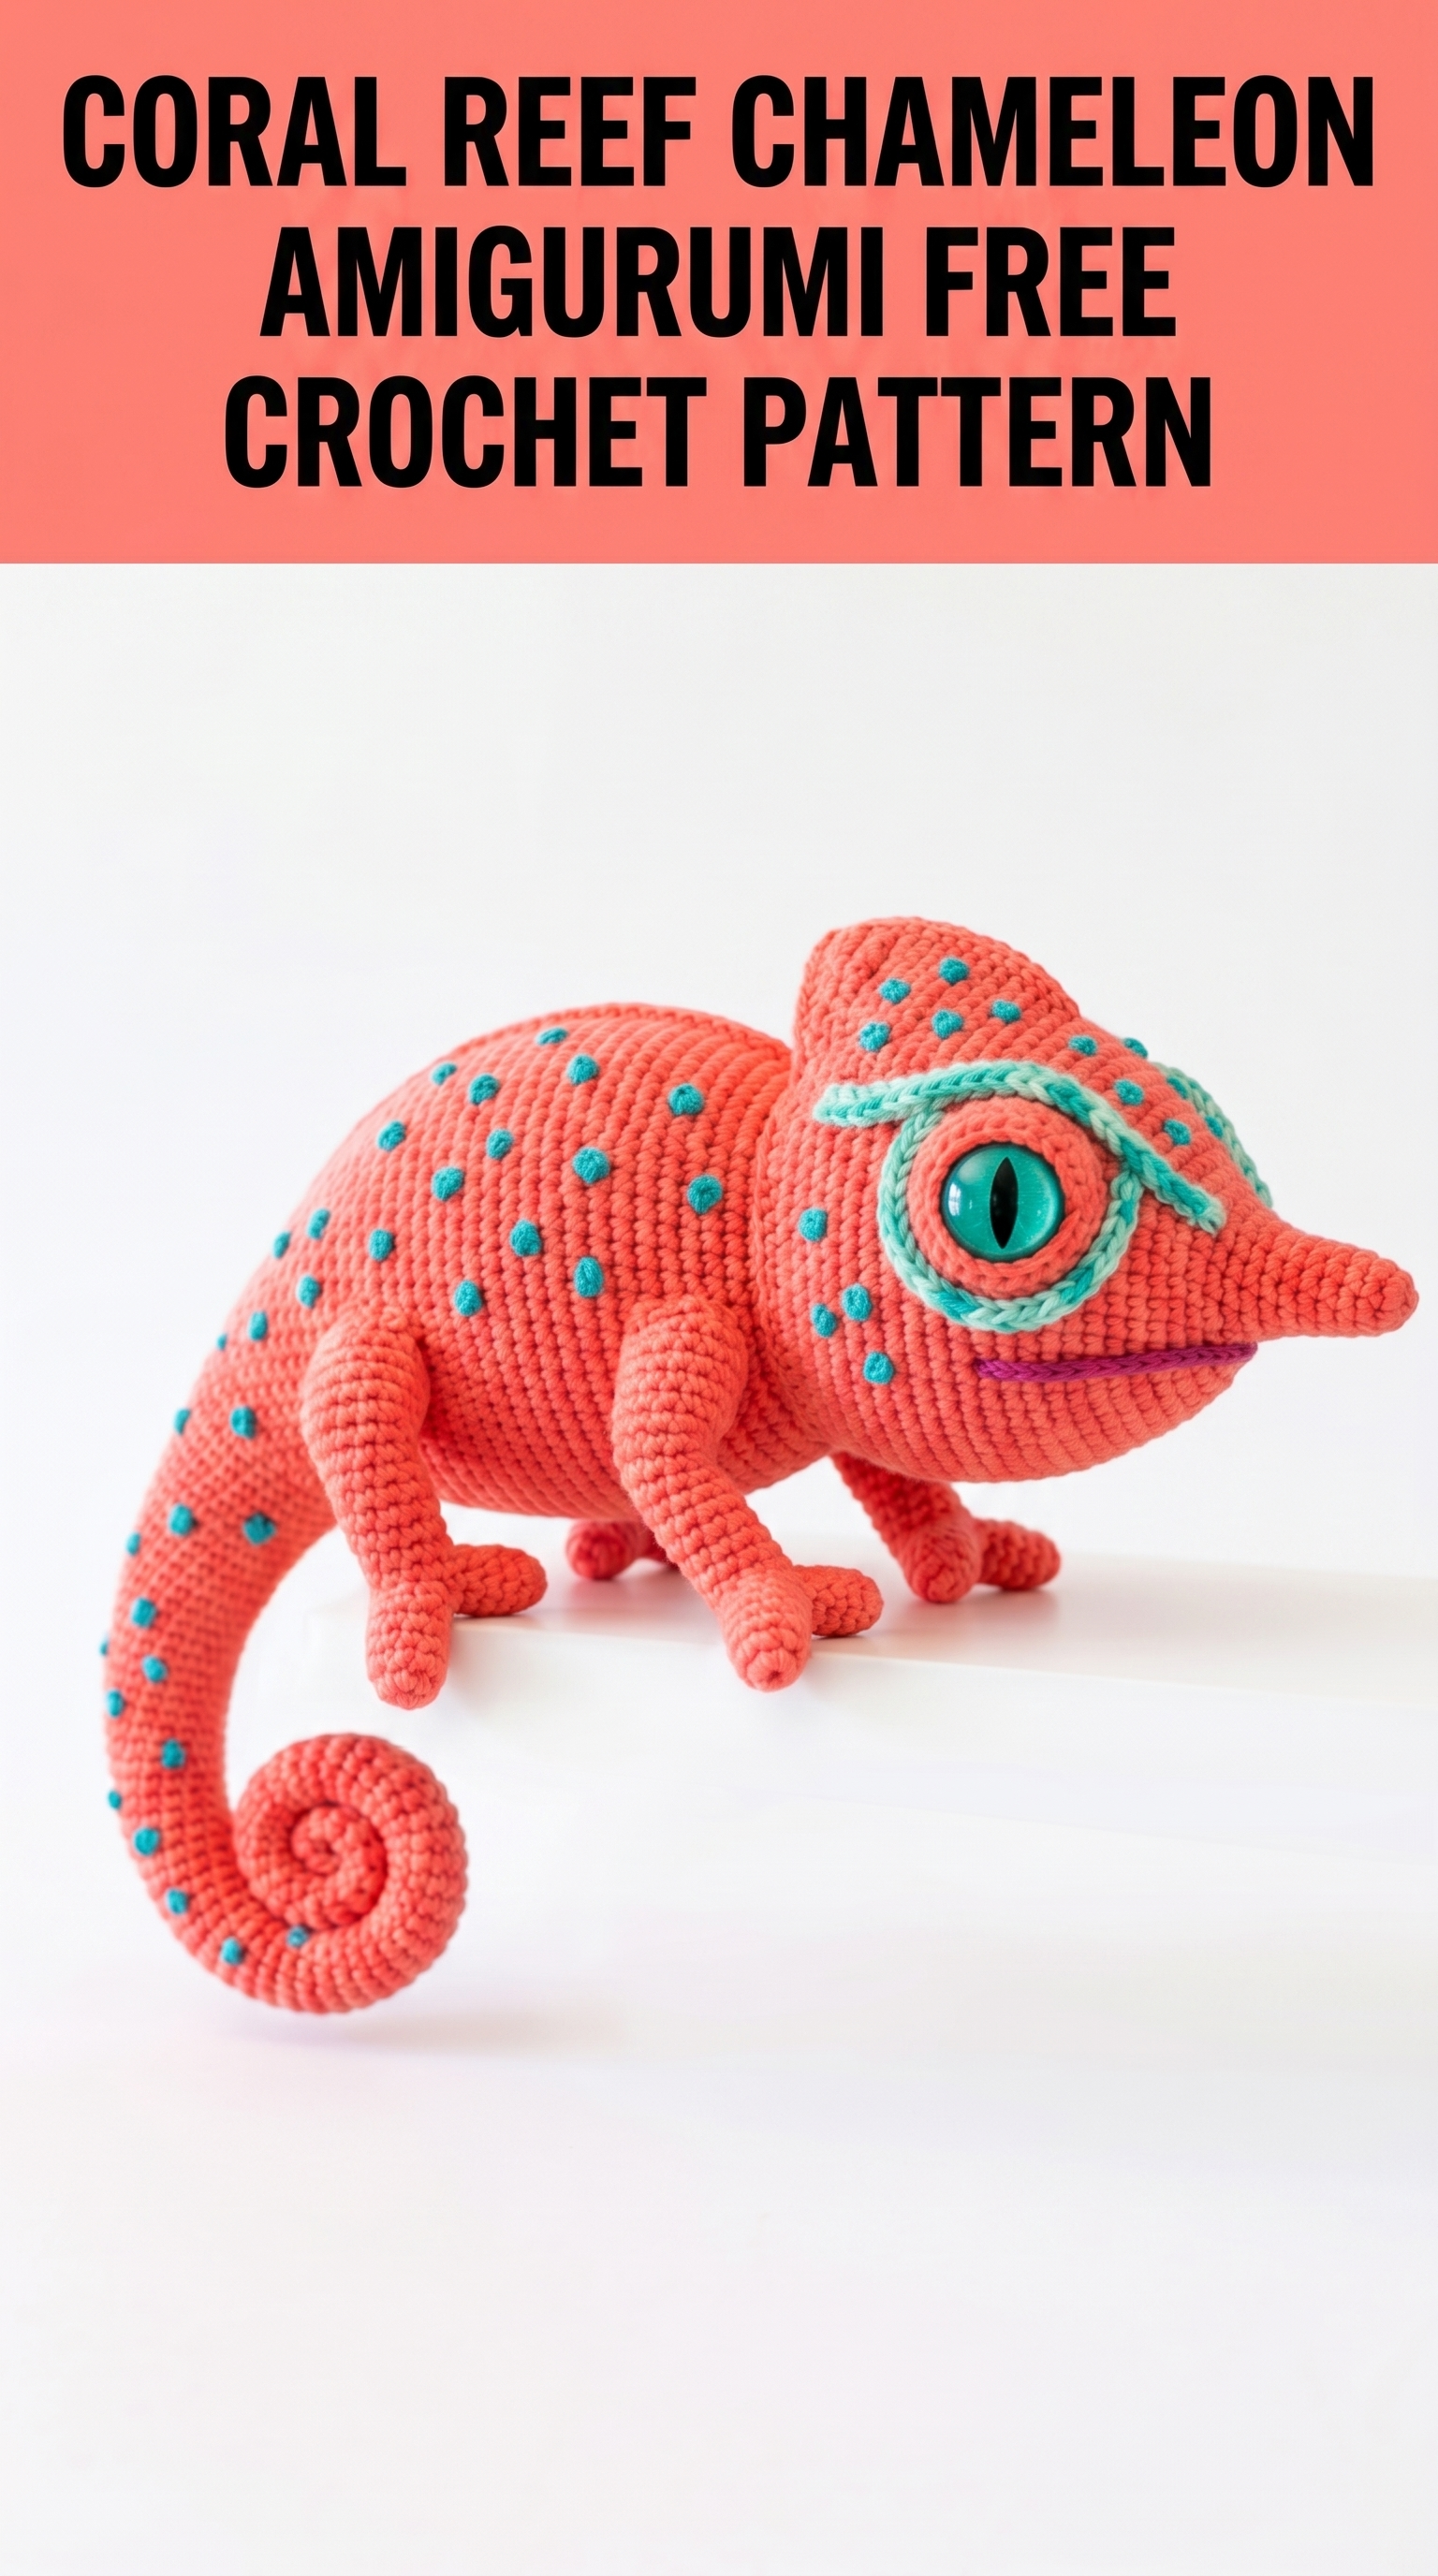
The finished chameleon measures approximately 10 inches from snout to tail tip and stands about 5 inches tall. It is the perfect size for displaying on a shelf, gifting to a nature-loving friend, or adding to a collection of handmade stuffed animals. The construction uses basic amigurumi techniques with some intermediate shaping. If you can work in continuous rounds and have made a simple amigurumi before, you are ready for this project.
Let me walk you through everything you need to bring this charming chameleon to life.
Why You Will Love This Chameleon Crochet Pattern
This chameleon amigurumi stands out because of thoughtful details that make it look realistic without being complicated to construct. The curled tail is worked in one piece and naturally spirals when stuffed lightly. The distinctive eye sockets are created using simple increase and decrease shaping, then finished with large safety eyes and a crocheted eye ridge that mimics the chameleon’s unique eye turrets.
The body construction is beginner friendly because most pieces are worked separately and sewn together. This means you can take your time with each component. No tricky color changes mid-round. The teal spots are added at the end using a simple surface stitch technique, so you have complete control over placement.
Materials Needed for Your Chameleon Amigurumi
Yarn:
I used a cotton-acrylic blend which gives nice stitch definition for amigurumi. Pure acrylic works beautifully too. Avoid anything too fuzzy because it will hide your stitches and make counting difficult.
Hook:
Using a smaller hook than the yarn label recommends creates a tighter fabric so stuffing does not show through. This is standard practice for amigurumi.
Notions:
Stitch Abbreviations and Definitions
Let me define every stitch before we begin so you can reference this section anytime.
Magic ring (MR): An adjustable starting loop that pulls completely closed. You wrap yarn around your fingers, insert your hook, pull up a loop, chain one, then work your first round stitches into the ring. When finished, pull the tail to close the center hole.
Chain (ch): The foundation stitch. Yarn over, pull through the loop on your hook. One chain made.
Single crochet (sc): Insert hook into stitch, yarn over, pull up a loop (two loops on hook), yarn over, pull through both loops. One single crochet made.
Increase (inc): Work two single crochet stitches into the same stitch. This adds one stitch to your total count.
Decrease (dec): Also called invisible decrease. Insert hook through the front loops only of the next two stitches, yarn over, pull through both front loops (two loops on hook), yarn over, pull through both. This removes one stitch and creates a nearly invisible decrease.
Slip stitch (sl st): Insert hook, yarn over, pull through stitch and loop on hook in one motion. Used for joining or creating surface details.
Front loop only (FLO): Work into only the loop closest to you instead of both loops.
Back loop only (BLO): Work into only the loop farthest from you.
Gauge and Tension Notes
For amigurumi, exact gauge matters less than fabric density. Work a small swatch of 6 single crochet stitches across and 6 rows. Your fabric should be tight enough that you cannot see light through it when held up. If your stitches look loose or you can see gaps, try going down one hook size.
The finished chameleon will be slightly larger or smaller depending on your personal tension. This is completely fine and will not affect the pattern.
How to Crochet the Chameleon Body
The body is the largest piece. It starts at the snout and works toward the back, creating the distinctive chameleon shape through strategic increasing and decreasing.
Rounds 1 through 8 (Snout and Head Front):
Round 1: Using coral yarn, create a magic ring. Work 6 sc into the ring. Pull closed. (6 sts)
Round 2: Inc in each st around. (12 sts)
Round 3: *Sc 1, inc* repeat around. (18 sts)
Round 4: Sc in each st around. (18 sts)
Round 5: *Sc 2, inc* repeat around. (24 sts)
Round 6: Sc in each st around. (24 sts)
Round 7: *Sc 3, inc* repeat around. (30 sts)
Round 8: Sc in each st around. (30 sts)
Place your stitch marker at the beginning of each round and move it up as you go. This helps you track where rounds begin since amigurumi is worked in a continuous spiral without joining.
Rounds 9 through 16 (Head and Eye Area):
Round 9: *Sc 4, inc* repeat around. (36 sts)
Rounds 10 through 12: Sc in each st around. (36 sts)
Round 13: *Sc 5, inc* repeat around. (42 sts)
Rounds 14 through 16: Sc in each st around. (42 sts)
This is where the head reaches its widest point. The eye sockets will be positioned on either side of the head during finishing.
Rounds 17 through 24 (Upper Body):
Round 17: *Sc 5, dec* repeat around. (36 sts)
Round 18: Sc in each st around. (36 sts)
Round 19: *Sc 4, dec* repeat around. (30 sts)
Rounds 20 through 22: Sc in each st around. (30 sts)
Begin stuffing the head firmly at this point. You want the snout area to hold its shape.
Round 23: *Sc 4, inc* repeat around. (36 sts)
Round 24: *Sc 5, inc* repeat around. (42 sts)
Rounds 25 through 34 (Main Body):
Rounds 25 through 30: Sc in each st around. (42 sts)
Continue stuffing as you work. Keep the filling firm but not stretched.
Round 31: *Sc 5, dec* repeat around. (36 sts)
Round 32: Sc in each st around. (36 sts)
Round 33: *Sc 4, dec* repeat around. (30 sts)
Round 34: Sc in each st around. (30 sts)
Rounds 35 through 42 (Back End):
Round 35: *Sc 3, dec* repeat around. (24 sts)
Round 36: Sc in each st around. (24 sts)
Round 37: *Sc 2, dec* repeat around. (18 sts)
Round 38: Sc in each st around. (18 sts)
Round 39: *Sc 1, dec* repeat around. (12 sts)
Rounds 40 through 42: Sc in each st around. (12 sts)
Finish stuffing the body. Leave the opening for attaching the tail later. Fasten off, leaving a long tail for sewing.
How to Crochet the Chameleon Tail
The curled tail is one of the most recognizable chameleon features. This tail is worked from base to tip with gradual decreasing.
Round 1: With coral yarn, create a magic ring. Work 8 sc into the ring. (8 sts)
Rounds 2 through 6: Sc in each st around. (8 sts)
Round 7: *Sc 2, dec* repeat around. (6 sts)
Rounds 8 through 20: Sc in each st around. (6 sts)
Round 21: *Sc 1, dec* repeat around. (4 sts)
Rounds 22 through 35: Sc in each st around. (4 sts)
Stuff the base of the tail lightly. Leave the narrow end unstuffed so it curls naturally. Fasten off, weaving the end inside. The tail will spiral on its own when you position it during assembly.
How to Crochet the Chameleon Legs (Make 4)
All four legs are identical. The feet have small rounded toes characteristic of chameleon feet.
Round 1: With coral yarn, create a magic ring. Work 6 sc into the ring. (6 sts)
Round 2: Inc in each st around. (12 sts)
Rounds 3 through 4: Sc in each st around. (12 sts)
Round 5: *Sc 1, dec* repeat around. (8 sts)
Rounds 6 through 12: Sc in each st around. (8 sts)
Stuff the foot lightly. Leave the leg portion mostly unstuffed so legs can be posed flat. Fasten off, leaving a long tail for sewing.
How to Crochet the Head Crest
The triangular crest on top of the head gives this chameleon its distinctive silhouette.
Row 1: With coral yarn, ch 12. Starting in second ch from hook, sc 11. Turn. (11 sts)
Row 2: Ch 1, dec, sc 7, dec. Turn. (9 sts)
Row 3: Ch 1, dec, sc 5, dec. Turn. (7 sts)
Row 4: Ch 1, dec, sc 3, dec. Turn. (5 sts)
Row 5: Ch 1, dec, sc 1, dec. Turn. (3 sts)
Row 6: Ch 1, sc3tog (insert hook in each of 3 sts, pull up loops, yarn over, pull through all 4 loops). (1 st)
Fasten off, leaving a long tail for sewing. This creates a triangle that curves slightly when attached.
How to Create the Eye Ridges
The mint colored ridges around the eyes make this chameleon look authentic. These are worked as simple chains that get sewn in place.
With mint yarn, ch 35. Fasten off, leaving tails at both ends for sewing. Make two chains, one for each eye.
Assembly and Finishing Your Chameleon
Attaching the Safety Eyes:
Position eyes on the widest part of the head, roughly at rounds 12 through 14. Place them about 8 stitches apart when looking at the face straight on. The eyes should sit slightly toward the sides of the head, not facing completely forward. Secure backings inside before stuffing the head completely.
Sewing the Head Crest:
Pin the crest to the top of the head, starting just behind the eyes and angling upward toward the back. The widest edge of the triangle should face forward. Use matching yarn and whip stitch around all edges, stuffing a tiny bit of fiberfill underneath to give it dimension.
Attaching the Eye Ridges:
Coil each mint chain around an eye, creating a raised ridge effect. Start at the inner corner of the eye and spiral outward. Use pins to hold in place, then tack down with small stitches every few chains using matching mint yarn.
Attaching Legs:
Position front legs just below the widest part of the body, about 4 rounds apart. Back legs sit at the narrowing section before the tail attachment point. Pin in place and check that your chameleon sits level on a flat surface before sewing permanently.
Attaching the Tail:
Sew the open end of the tail to the back end of the body. Curl the tail into its signature spiral and tack it lightly in place with a few hidden stitches if needed to hold the shape.
Adding the Spots:
Thread a tapestry needle with teal yarn. For each spot, insert needle from inside the body to outside, make a small knot or French knot on the surface, then insert needle back inside about 2 millimeters away. Pull gently to create a raised dot. Space spots randomly across body, legs, tail, and head. Reference the finished photos for placement ideas.
Adding the Mouth Line:
With purple yarn, use a straight stitch or backstitch to create a subtle curved line suggesting the mouth. This detail is optional but adds personality.
Tips for Amigurumi Success
Stuffing matters. Use small pieces of fiberfill and add gradually. Overstuffing distorts the shape. Understuffing makes floppy limbs. The head and body should feel firm. Legs and tail can be softer.
Sewing seams invisibly. Use the same color yarn as the piece you are attaching. Work whip stitches through the outer loops only, pulling gently so stitches sink into the fabric and disappear.
Count every round. Place a stitch marker and move it religiously. Losing count in amigurumi causes frustrating shape problems that are hard to fix later.
Making This Chameleon Your Own
Change the color palette completely for a different look. Try green and yellow for a realistic chameleon. Purple and pink for something fantasy inspired. You could skip the spots entirely or add stripes instead. Embroider tiny eyelashes above the safety eyes for a sweeter expression.
This crochet pattern works beautifully as a handmade gift for kids or adults who love reptiles, unique stuffed animals, or just appreciate something different from the usual teddy bears and bunnies.
You Did It
Thank you so much for choosing this chameleon crochet pattern for your next project. I hope the step by step instructions made the process smooth and enjoyable. Watching these little creatures come together stitch by stitch never gets old for me, and I genuinely hope you felt that same satisfaction.
I would absolutely love to see your finished chameleon. Tag me on Instagram or share in my Facebook group. Seeing your color combinations and personal touches is the best part of sharing patterns. Your version might inspire someone else to pick up their hook and try something new.
Happy crocheting, friend. You have got this.
