I am absolutely obsessed with how this bag turned out. This lavender purple chain crossbody is the kind of project that looks like you bought it at a boutique, but you made it yourself. The chunky texture, the elegant hardware, that adorable tassel. It all comes together into something truly special.
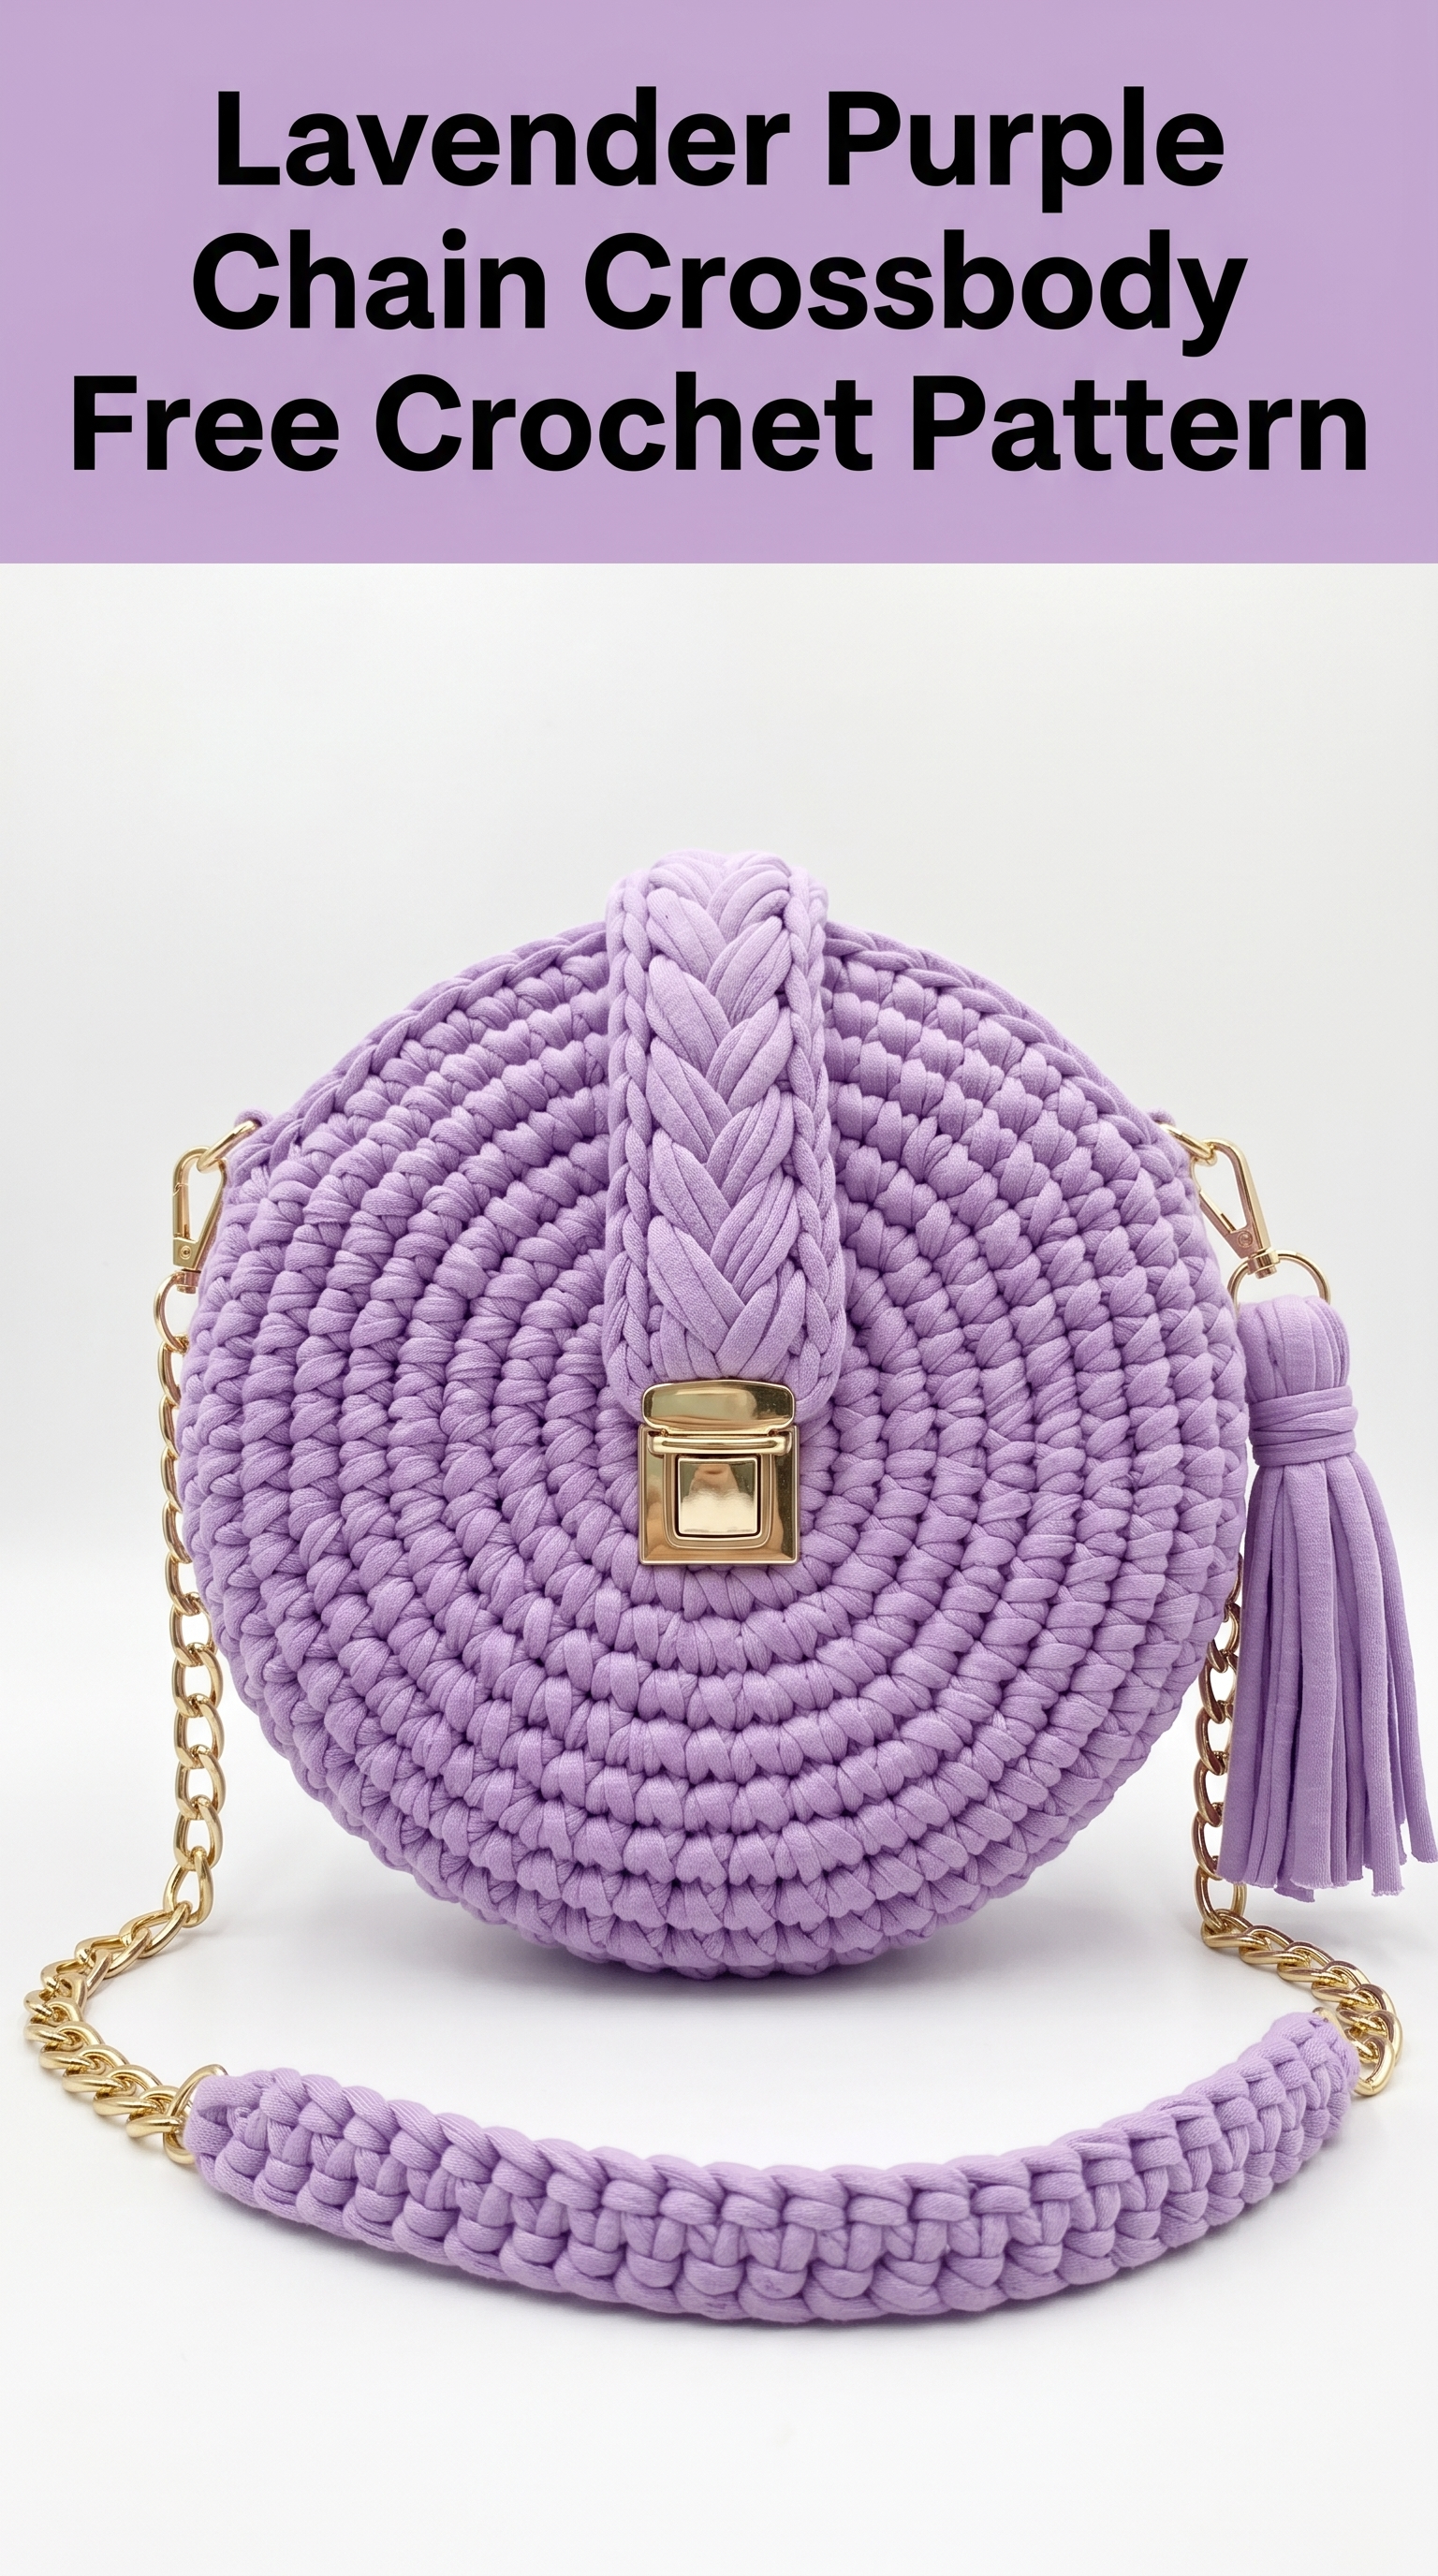
Here is the good news. This crochet pattern is much simpler than it looks. If you can work basic stitches in the round and follow a circle increase formula, you can absolutely make this bag. I will walk you through every single step.
Let me show you how to crochet this stunning crossbody bag from start to finish.
Why This Crochet Crossbody Bag Pattern Works So Well
The magic of this design is in the yarn choice and construction method. This bag uses t-shirt yarn, also called trapillo or ribbon yarn. It is a super bulky, stretchy yarn made from jersey cotton fabric strips. The thickness creates that gorgeous textured look you see in the spiral pattern on the front and back panels.
The bag itself is a simple circle construction. You make two identical flat circles, join them together around the edges, and add hardware. That is genuinely it. No complicated shaping. No confusing decreases. Just circles and single crochet stitches.
The braided flap closure and chain strap give this bag a high-end feel. But trust me, even if you have never attached bag hardware before, I will help you through it.
Materials You Will Need
Gather these supplies before you start. Having everything ready makes the process so much smoother.
Yarn:
Hook:
Hardware:
Other Supplies:
Skill Level and Techniques
This crochet tutorial is beginner friendly with a few intermediate elements. You should be comfortable with these skills:
The hardware installation and braided flap are the trickiest parts. But I promise they are totally doable. I will explain them in detail.
Abbreviations Used in This Pattern
Let me define every abbreviation before we begin. I want zero confusion.
Gauge Information
Gauge matters for bags because it affects the final size. With t-shirt yarn and a 9mm or 10mm hook:
Gauge: Approximately 7 to 8 sc and 7 to 8 rows = 4 inches (10cm) in single crochet worked flat
Your finished circle panels should measure approximately 8 inches (20cm) in diameter after completing all rounds.
If your circles are much larger or smaller, try adjusting your hook size. Smaller hook equals tighter stitches and smaller circles. Larger hook equals looser stitches and larger circles.
Step by Step Crochet Pattern
Now let us make this beautiful bag. Take a deep breath. You have got this.
Front and Back Circle Panels (Make 2)
Both sides of the bag are identical flat circles. You will work in continuous rounds, which means you do not join at the end of each round. Just keep spiraling. Use a stitch marker to track where each round begins.
Magic Ring Setup:
Create a magic ring (also called magic circle or adjustable ring). If magic rings stress you out, you can chain 2 and work your first round stitches into the second chain from the hook instead. Both methods work fine.
Round 1: 6 sc into magic ring. Pull ring closed. (6 sts)
Place your stitch marker in the first stitch.
Round 2: Inc in each st around. (12 sts)
You are working 2 sc into every single stitch from the previous round.
Round 3: *Sc in next st, inc in next st* repeat around. (18 sts)
The asterisks mean you repeat that sequence. So: 1 sc, 1 inc, 1 sc, 1 inc, all the way around.
Round 4: *Sc in next 2 sts, inc in next st* repeat around. (24 sts)
Round 5: *Sc in next 3 sts, inc in next st* repeat around. (30 sts)
Round 6: *Sc in next 4 sts, inc in next st* repeat around. (36 sts)
Round 7: *Sc in next 5 sts, inc in next st* repeat around. (42 sts)
Round 8: *Sc in next 6 sts, inc in next st* repeat around. (48 sts)
Round 9: *Sc in next 7 sts, inc in next st* repeat around. (54 sts)
Round 10: *Sc in next 8 sts, inc in next st* repeat around. (60 sts)
After Round 10, slip stitch into the next stitch to close off. Fasten off and weave in your end.
Your circle should measure approximately 8 inches across. The spiral texture should be clearly visible, just like in the photos.
Make a second identical circle.
Joining the Panels
Now we connect the front and back circles to create the bag body.
Hold both circles together with wrong sides facing each other. You will work through both layers at once to join them.
Joining Round:
Attach yarn to any stitch along the edge. Working through both the front and back panel stitches together:
Sc around approximately 50 to 52 sts, leaving a gap of about 8 to 10 sts unworked at the top. This gap is your bag opening.
Fasten off and weave in ends.
The joined edge creates a nice thick seam that adds structure to the bag.
Braided Flap Closure
This is the decorative braided piece that sits above the clasp. It looks fancy but uses a simple technique.
Step 1: Cut 9 strands of t-shirt yarn, each approximately 20 inches long.
Step 2: Divide into 3 groups of 3 strands each.
Step 3: Knot all strands together at one end.
Step 4: Braid the three groups together in a standard three-strand braid. Keep it relatively tight for a neat look.
Step 5: Knot the other end when the braid measures approximately 4 to 5 inches.
Step 6: Fold the braid in half to create a loop shape. Position it at the top center of your bag front, with ends tucked behind the front panel.
Step 7: Stitch the braid securely to the bag using yarn and a needle. The loop should sit above where your clasp will go.
Installing the Turn Lock Clasp
This part intimidates a lot of people, but it is genuinely straightforward.
Step 1: Position the decorative front plate of the clasp on the front panel, centered below the braid. Mark where the prongs need to poke through.
Step 2: Use a small awl or the tip of your scissors to carefully create small holes in the crochet fabric for the prongs.
Step 3: Push the prongs through from front to back. On the inside, bend the prongs flat or attach the backing plate (depending on your clasp style).
Step 4: The corresponding turn piece attaches to the back panel or to a small crocheted tab. Position it so the bag closes smoothly when the flap folds over.
Take your time here. Test the closure before finalizing everything.
Strap Cover (Optional But Recommended)
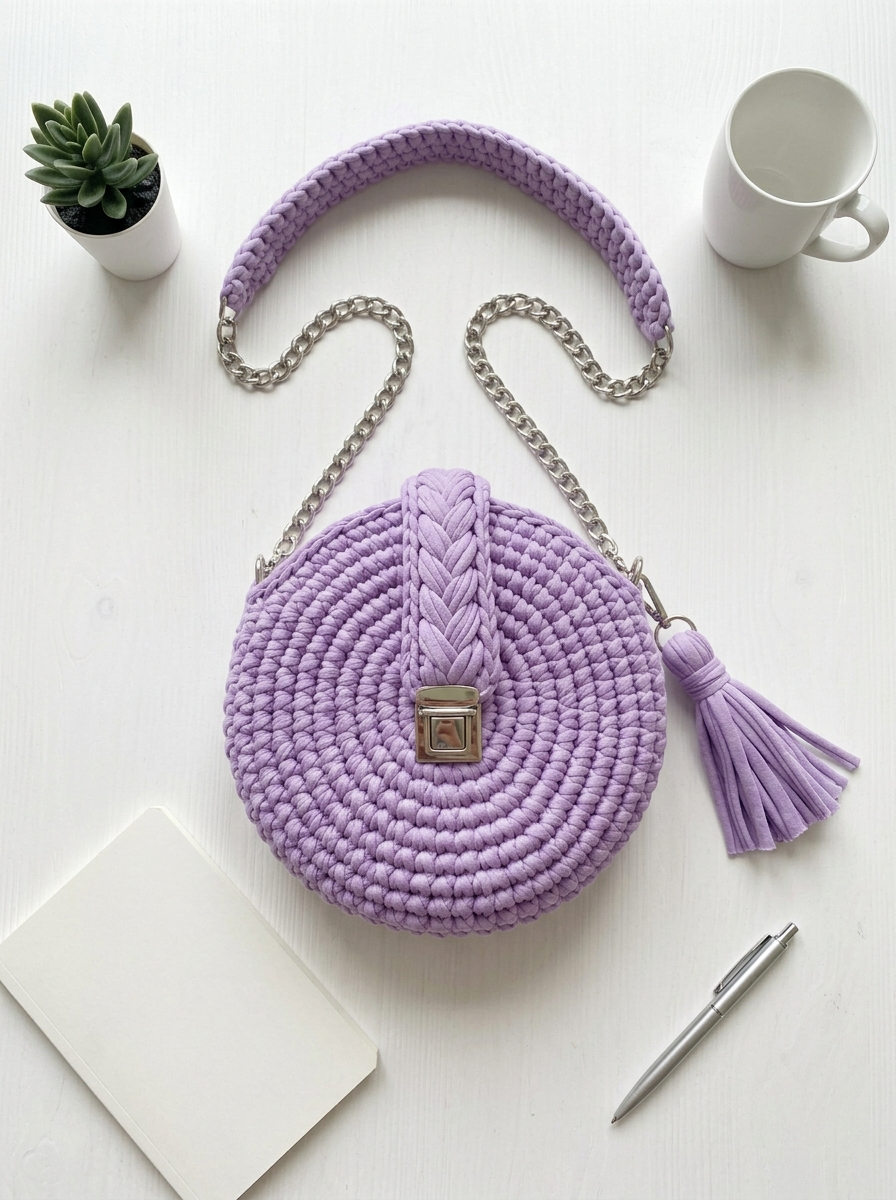
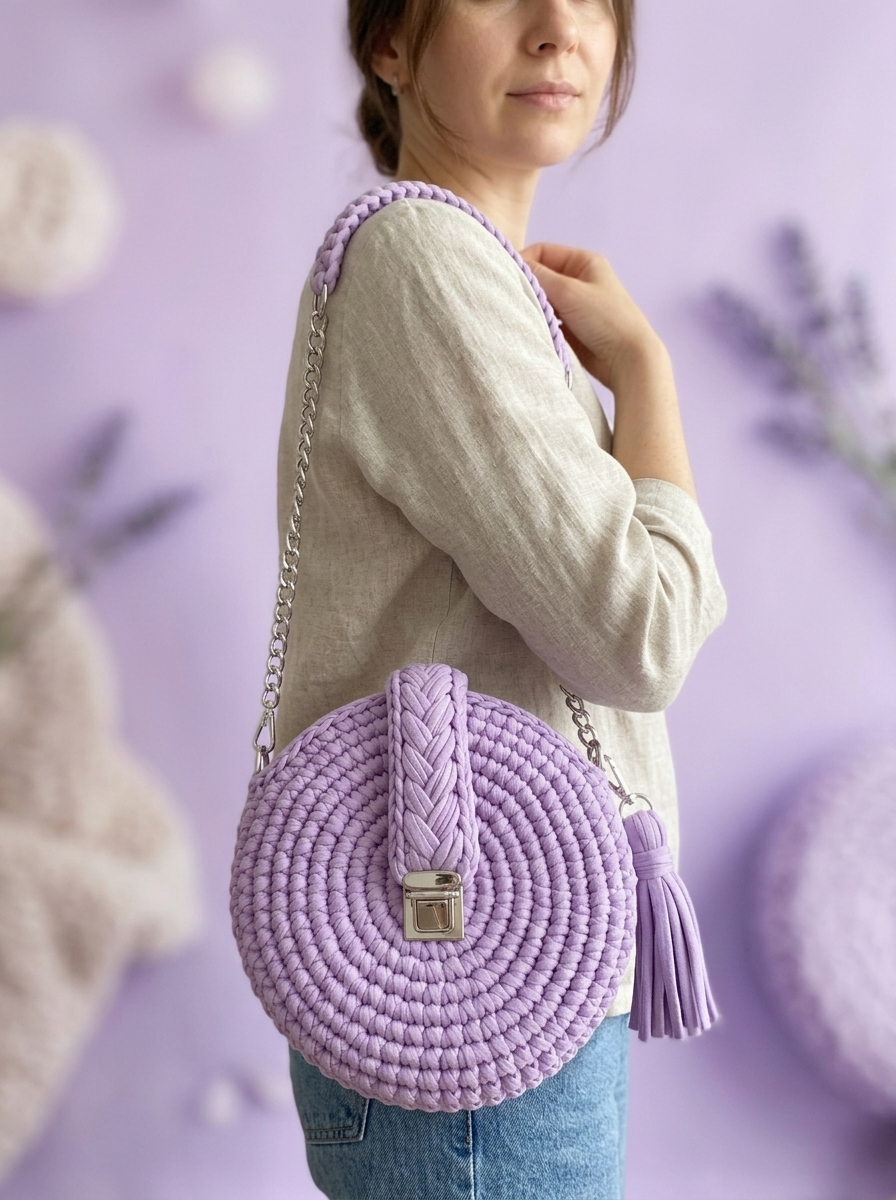
The padded strap cover shown in the photos makes the chain much more comfortable on your shoulder.
Row 1: Ch 35 (or enough chains to create a cover approximately 10 to 12 inches long). Sc in 2nd ch from hook and in each ch across. (34 sts)
Rows 2 to 6: Ch 1, turn. Sc in each st across. (34 sts)
Fasten off, leaving a long tail.
Fold the piece lengthwise around a portion of your chain strap. Use the tail to whip stitch the edges closed, encasing the chain inside the crocheted cover.
Attaching the Chain Strap
Step 1: Thread each end of your chain through a swivel clasp or D-ring.
Step 2: Attach the clasps to small crocheted loops or directly through stitches at the top corners of your bag, near the opening.
To create attachment loops, chain 10, slip stitch to form a ring, and sc around the ring to cover it. Stitch these loops to the bag corners, then clip your chain hardware to them.
Making the Tassel
That cute little tassel adds such a lovely finishing touch.
Step 1: Cut approximately 15 to 20 strands of t-shirt yarn, each about 8 inches long.
Step 2: Bundle them together and fold in half.
Step 3: Wrap a separate strand tightly around the bundle about 1 inch below the fold, creating the tassel head. Knot securely.
Step 4: Trim the ends evenly.
Step 5: Create a small loop at the top and attach the tassel to one of your strap hardware pieces or directly to the bag corner.
Customization Ideas for Your Crossbody Bag
This crochet pattern is wonderfully adaptable. Here are some ways to make it your own:
Troubleshooting Common Issues
My circles are cupping or curling: Your tension might be too tight. Try a larger hook or consciously loosening your grip.
My circles are ruffling: You might be increasing too often. Make sure you are following the increase pattern exactly.
The bag feels floppy: T-shirt yarn creates a softer fabric. A fabric lining or even a circle of cardboard at the bottom can add structure.
I cannot find a turn lock clasp: A magnetic snap closure is an easier alternative that works just as well.
Final Thoughts on This Lavender Chain Crossbody Crochet Pattern
I really hope you love making this bag as much as I do. There is something so satisfying about creating an accessory you will actually use every day. This crochet pattern brings together simple techniques with beautiful results.
Whether you are making this for yourself or as a gift, the lavender purple chain crossbody bag is sure to impress. It is one of those projects that looks complicated but is completely achievable for anyone willing to try.
Thank you so much for choosing to make this pattern. I genuinely appreciate you being here.
If you make this bag, I would absolutely love to see it. Tag me on Instagram or share a photo in my Facebook group. Seeing your creations is honestly the best part of my day.
Happy crocheting, friend. You are going to do great.
