Oh, this bag. I cannot stop looking at it. The moment I finished weaving in that last end, I knew this crescent moon silhouette would become one of my most treasured makes. If you have been searching for a showstopping crochet bag pattern that looks far more complicated than it actually is, you just found it.
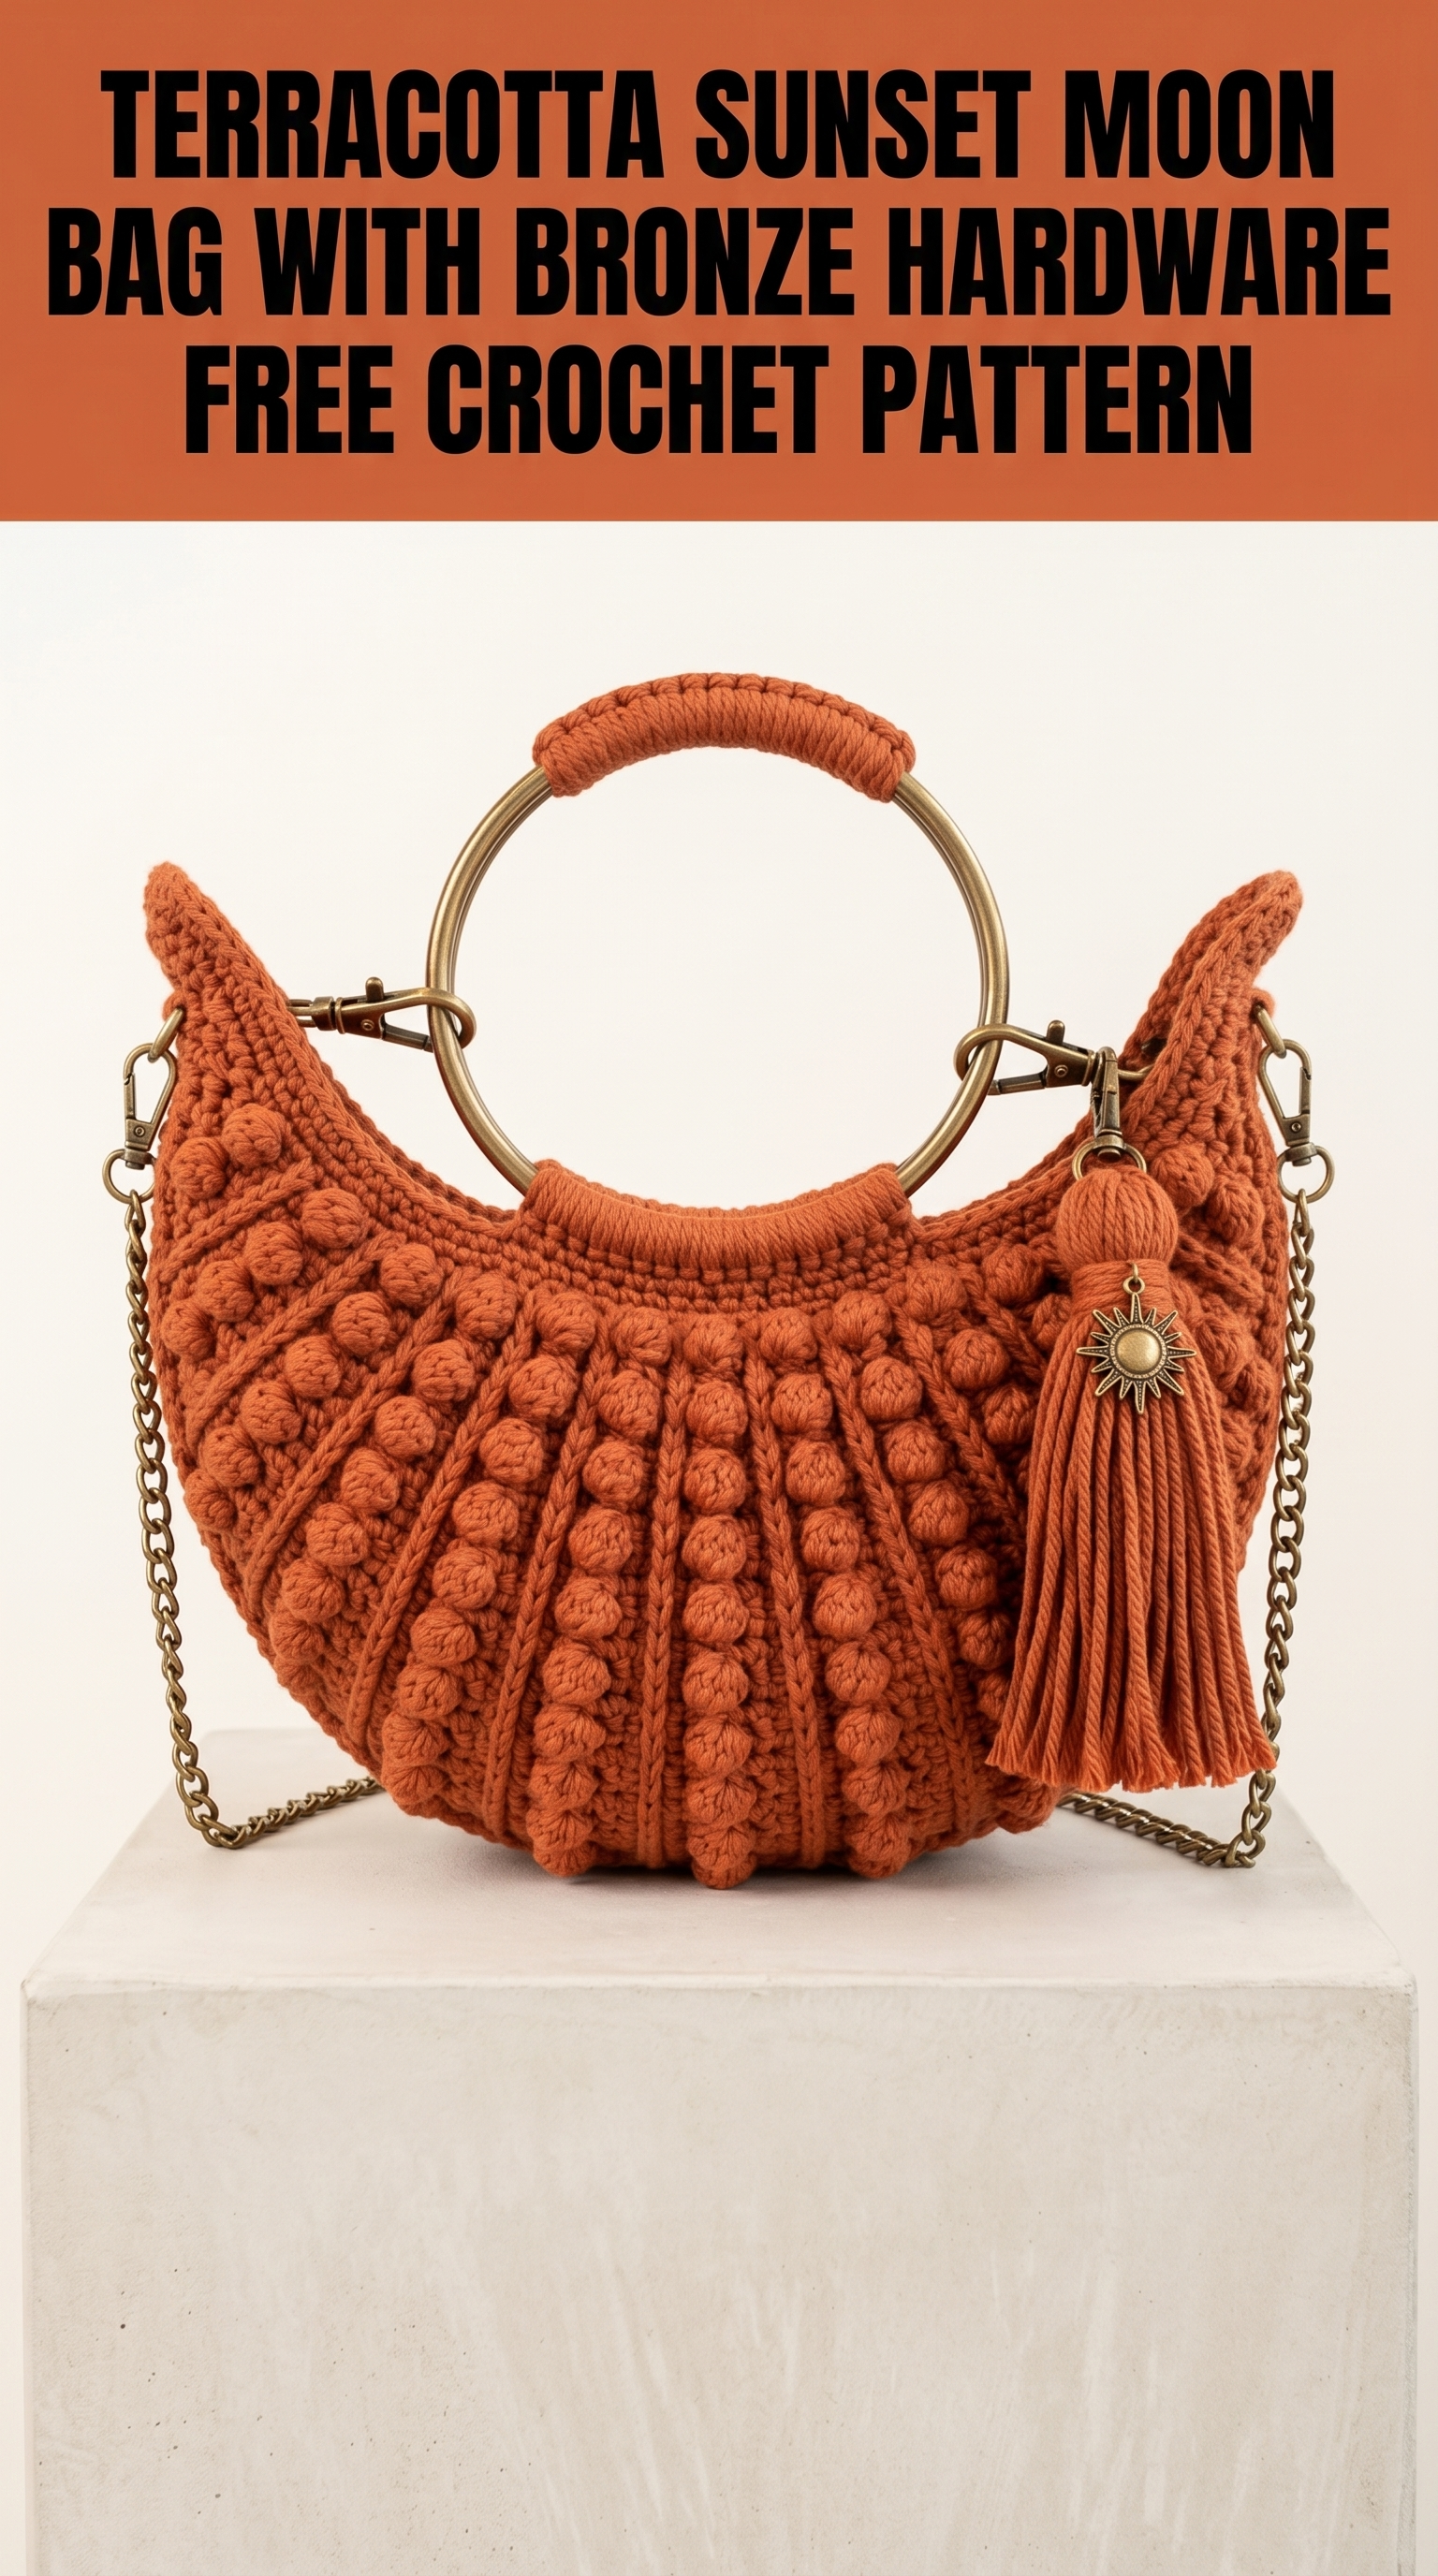
This Terracotta Sunset Moon Bag combines textured bobble stitches with elegant ribbed panels, all shaped into a gorgeous half-moon design. The bronze ring handle and chain strap elevate it into something you would absolutely see in a boutique window. And here is the best part. If you can work basic stitches in the round, you can make this bag. I am walking you through every single step.
Let me show you how to crochet this stunning statement piece from start to finish.
Why This Moon Bag Crochet Pattern Stands Out
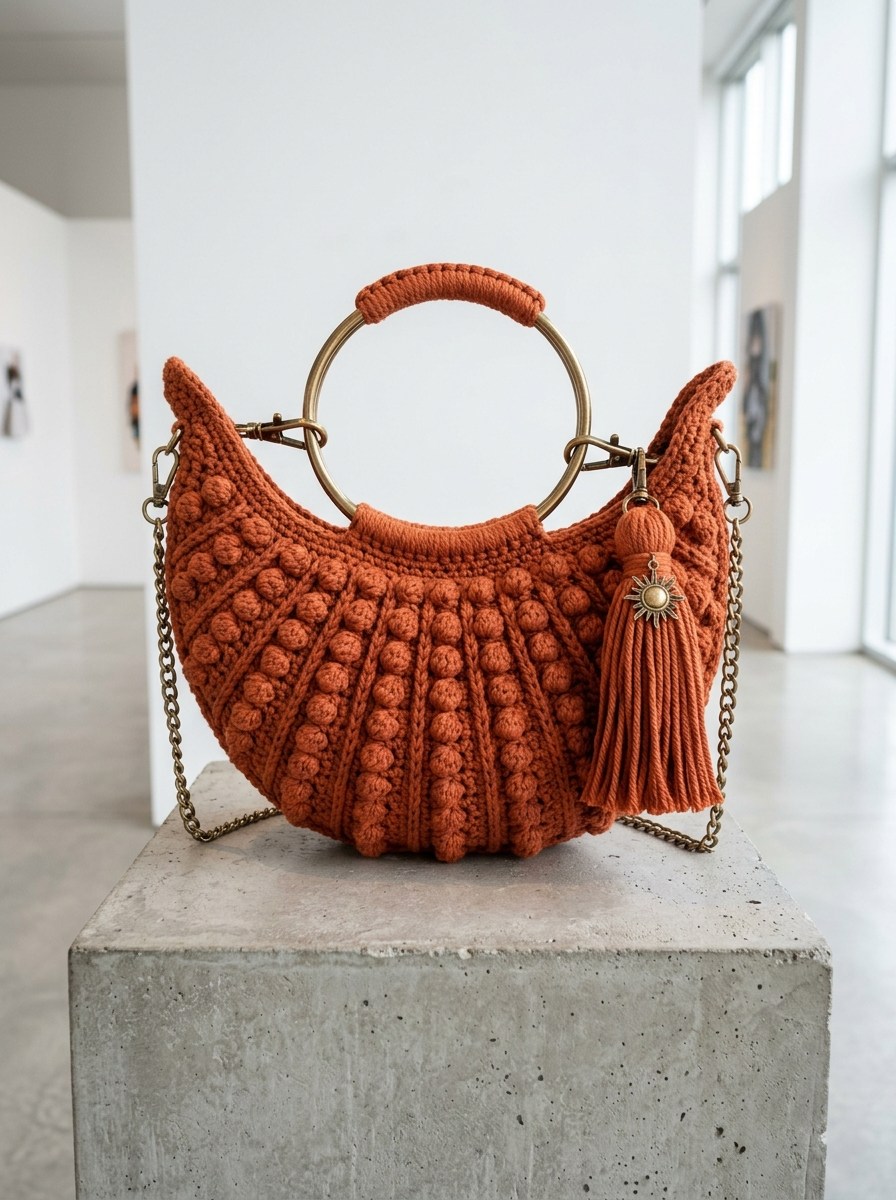
This is not your average market tote. The crescent moon shape catches eyes immediately. Those bobble rows create irresistible texture that begs to be touched. The pointed side extensions give it an almost celestial, horn-like appearance that makes the whole design feel intentional and artful.
What I love most is the construction. You are basically working two shaped panels, joining them, then adding the top band and hardware. No complicated shaping. No confusing assembly. Just methodical rows that build into something extraordinary.
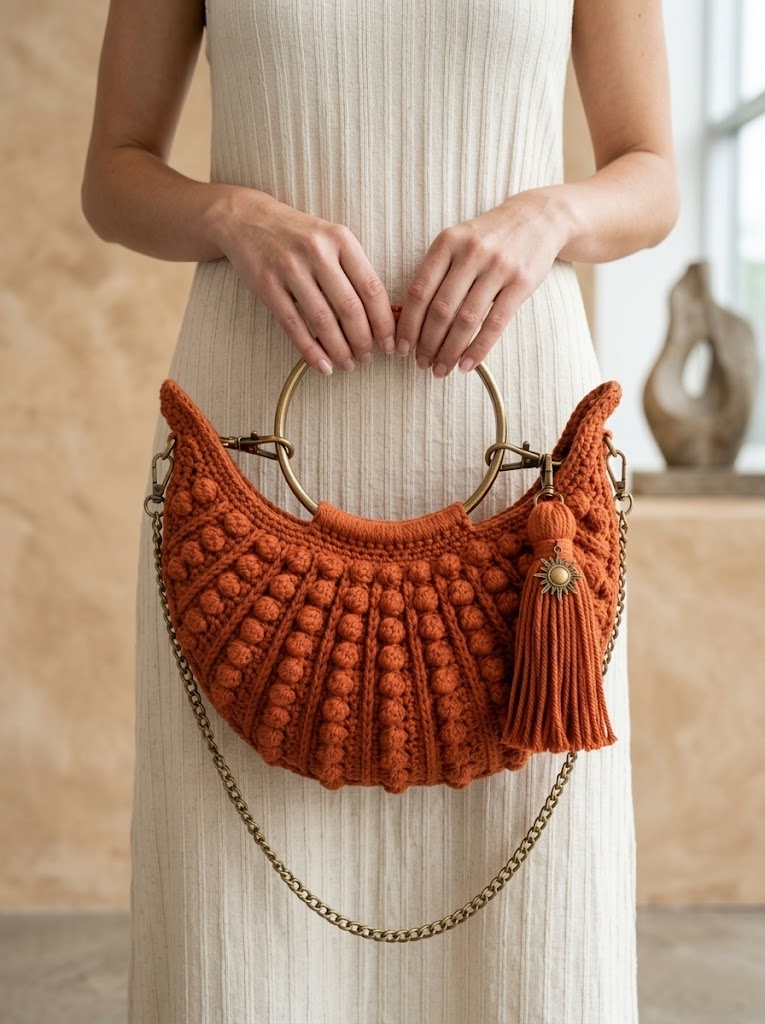
The tassel with its bronze sun charm adds that final touch of boho elegance. Pair this bag with a linen dress in summer or your favorite sweater in fall. It works year round.
Skill Level
Confident Beginner to Intermediate
You should feel comfortable with:
If bobbles are new to you, do not worry. I explain them fully below, and they are genuinely fun once you get the rhythm.
Finished Dimensions
Materials Needed
Yarn
The yarn in the image has a lovely matte finish with tight twist. This gives those bobbles beautiful definition. Avoid anything too soft or fuzzy. You want crisp stitch texture.
Suggested yarns: Paintbox Yarns Cotton DK, Drops Safran, Lion Brand 24/7 Cotton
Hook
Hardware
Notions
Gauge
18 stitches and 20 rows = 4 inches (10 cm) in single crochet with 4.0 mm hook
Gauge matters here for sizing. Work a swatch before starting. If your swatch is too small, go up a hook size. Too large, go down.
Abbreviations and Stitch Definitions
Let me define every stitch before we start. This way you can reference back anytime.
Ch = Chain: Yarn over, pull through loop on hook. Creates foundation or adds height.
Sl st = Slip stitch: Insert hook, yarn over, pull through stitch and loop on hook in one motion. Used for joining or invisible movement.
Sc = Single crochet: Insert hook in stitch, yarn over, pull up loop (2 loops on hook), yarn over, pull through both loops. The most basic stitch.
Hdc = Half double crochet: Yarn over, insert hook in stitch, yarn over, pull up loop (3 loops on hook), yarn over, pull through all 3 loops. Slightly taller than sc.
Dc = Double crochet: Yarn over, insert hook in stitch, yarn over, pull up loop (3 loops on hook), yarn over, pull through 2 loops, yarn over, pull through remaining 2 loops. Creates taller fabric.
Bobble (bob) = Bobble stitch: Work 5 dc in the same stitch but do not complete them. For each dc, stop when 2 loops remain on hook. After all 5 partial dc, you will have 6 loops on hook. Yarn over, pull through all 6 loops at once. This pushes the bobble to the front (right side) of your work.
Inc = Increase: Work 2 stitches in the same stitch.
Dec = Decrease: Work 2 stitches together as one. For sc dec, insert hook in first stitch, pull up loop, insert hook in next stitch, pull up loop (3 loops on hook), yarn over, pull through all 3.
FLO = Front loop only: Insert hook under just the front loop of the stitch below.
BLO = Back loop only: Insert hook under just the back loop of the stitch below. This creates the ribbed texture you see on this bag.
RS = Right side (the front, public side)
WS = Wrong side (the back, hidden side)
Pattern Notes Before You Begin
1. The bag is made in several parts: two body panels, one top band, handle wrapping, and tassel.
2. Each body panel is worked flat in rows, then they are seamed together.
3. The ribbed vertical lines come from working in BLO. This is what creates those beautiful raised ridges.
4. Bobbles are always worked on RS rows. They naturally pop forward.
5. The top band is worked separately and sewn on, then the ring handle is attached.
6. Read through the entire pattern first. I know it is tempting to dive in, but a quick read saves confusion later.
Step by Step Crochet Pattern for the Moon Bag
Panel Body (Make 2)
We are shaping a crescent by increasing at the center and working straight on the sides, then decreasing to form the moon curve. The bobbles are placed every few rows in alternating columns.
Foundation Row: Ch 51.
Row 1 (RS): Sc in 2nd ch from hook and in each ch across. Turn. (50 sts)
Row 2 (WS): Ch 1, sc in BLO of each st across. Turn. (50 sts)
Row 3 (RS): Ch 1, sc in BLO of first 4 sts, *bob in next st, sc in BLO of next 4 sts*. Repeat from * to * across. Turn. (50 sts, 10 bobbles)
The bobbles will naturally push to the RS. Do not worry if they look messy from the WS. That side will be hidden.
Row 4 (WS): Ch 1, sc in BLO of each st across, working into the top of each bobble as a regular stitch. Turn. (50 sts)
Row 5 (RS): Ch 1, sc in BLO of each st across. Turn. (50 sts)
Row 6 (WS): Ch 1, sc in BLO of each st across. Turn. (50 sts)
Row 7 (RS): Ch 1, sc in BLO of first 2 sts, *bob in next st, sc in BLO of next 4 sts*. Repeat from * to * to last 3 sts, bob in next st, sc in BLO of last 2 sts. Turn. (50 sts, 10 bobbles)
This offsets the bobbles, creating that staggered grid pattern visible in the image.
Rows 8 through 10: Repeat Rows 4 through 6. (50 sts each row)
Continue alternating the bobble placement every 4 rows (bobbles on Rows 3, 7, 11, 15, 19, etc.) while maintaining the BLO ribbing on all other rows.
Shaping the Crescent Curve
After approximately 20 rows of straight work, begin decreasing on both ends to create the curved bottom edge.
Row 21 (RS): Ch 1, sc dec over first 2 sts, work in pattern to last 2 sts, sc dec. Turn. (48 sts)
Row 22 (WS): Ch 1, sc in BLO across. Turn. (48 sts)
Continue decreasing 1 stitch on each end every RS row until you have approximately 30 sts remaining. This takes roughly 10 more rows.
Final rows: Work 2 to 3 rows even (no decreases) to finish the bottom curve smoothly.
Fasten off. Leave a long tail for seaming.
Repeat entire Panel Body instructions for the second panel.
Pointed Side Extensions (Make 2 per Panel, 4 Total)
These are the horn-like points on either side of the bag. They are worked directly onto the top corners of each panel.
With RS facing, join yarn at the top corner of one panel.
Row 1: Ch 1, work 8 sc evenly along the corner edge. Turn. (8 sts)
Row 2: Ch 1, sc in BLO of each st across. Turn. (8 sts)
Row 3: Ch 1, sc dec, sc in BLO to last 2 sts, sc dec. Turn. (6 sts)
Row 4: Ch 1, sc in BLO across. Turn. (6 sts)
Row 5: Ch 1, sc dec, sc in BLO of next 2 sts, sc dec. Turn. (4 sts)
Row 6: Ch 1, sc in BLO across. Turn. (4 sts)
Row 7: Ch 1, sc dec twice. Turn. (2 sts)
Row 8: Ch 1, sc dec. (1 st)
Fasten off. Weave in end.
Repeat for all four corners (two on each panel).
Joining the Panels
Place both panels with WS together. The bobbles and ribbing should face outward on both sides.
Using a tapestry needle and matching yarn, whip stitch or mattress stitch around the curved bottom edge, leaving the top open for the bag opening.
Take your time here. Even stitches make for a polished finish. The seam should be nearly invisible from the outside.
Top Band
The top band is worked separately, then attached. It features that smooth ribbed section visible just below the handle.
Foundation: Ch 101.
Row 1: Sc in 2nd ch from hook and each ch across. Turn. (100 sts)
Rows 2 through 8: Ch 1, sc in BLO across. Turn. (100 sts)
Fasten off, leaving a long tail.
Fold the band in half widthwise to find center. Mark the center point. This will align with the center of your bag opening.
Pin the band around the top opening of the joined bag body, easing it to fit. The pointed extensions should remain free above the band.
Whip stitch the band in place along both the inner and outer edges for security.
Attaching the Ring Handle
Position the metal ring handle at the center top of the bag, resting against the inside of the top band.
Using matching yarn, work slip stitches through the band fabric and around the ring to secure it in place. Work approximately 15 to 20 sl sts along the portion of the ring that will be covered.
Handle Wrap
To cover the top portion of the ring (where your hand grips), you will crochet directly around it.
Attach yarn to the ring with a slip knot.
Work sc stitches around the ring, inserting your hook under the metal and pulling yarn through, then completing the sc as normal. Continue until you have covered approximately one quarter of the ring circumference (the top portion).
Fasten off and weave in ends neatly.
D-Ring Tabs for Chain Strap (Make 2)
These small tabs hold the D-rings that connect to your chain strap.
Ch 8. Sl st to first ch to form a loop, ensuring the D-ring is inside the loop.
Round 1: Ch 1, work 12 sc around the chain loop, encasing the D-ring. Sl st to first sc to join.
Fasten off, leaving a tail.
Sew one tab to each pointed side extension, positioning them near the base of the points where they meet the top band. The lobster clasps on your chain will clip into these D-rings.
Tassel
Cut approximately 40 strands of yarn, each 12 inches (30.5 cm) long.
Gather all strands and fold in half.
Using a separate 12-inch piece of yarn, tie tightly around the folded loop, approximately 1 inch (2.5 cm) from the fold. This creates the tassel head.
Wrap another strand several times around the tassel about half an inch below the tie to form the neck. Secure with a knot and tuck ends inside.
Trim the tassel ends evenly.
Attach your decorative charm (the sun charm in the image adds such a gorgeous detail) to the tassel loop before attaching to the bag.
Use a jump ring or yarn loop to attach the finished tassel to one of the D-ring tabs or directly to the handle.
Optional Lining
For a truly professional finish, line your bag with cotton fabric. Cut two pieces matching your panel shape plus seam allowance. Sew them together, insert into the bag with WS facing out, and hand stitch to the inside of the top band.
If you want closure, install a magnetic snap on the lining before sewing it in place.
Helpful Tips for Success
Bobble tension: Keep your bobbles consistent by working them with the same number of wraps each time. Loose bobbles look deflated. Tight bobbles pop beautifully.
Blocking: Lightly steam block your finished panels before seaming. This evens out your stitches and makes assembly much easier.
Hardware shopping: Etsy and Amazon have wonderful options for bronze bag hardware. Search for purse ring handles, purse chain straps, and D-ring findings.
Yarn substitution: If you cannot find DK weight cotton, light worsted works too. Just adjust your hook size to match gauge. The bag may be slightly larger, which is honestly fine.
You Did It
If you have made it this far, you are holding (or about to hold) the most stunning handmade bag in any room you walk into. This Terracotta Sunset Moon Bag with Bronze Hardware is the kind of project that reminds you why you fell in love with crochet.
Thank you so much for trusting me with your time and yarn. I genuinely appreciate you being here.
I would absolutely love to see your finished bag. Tag me on Instagram or share in my Facebook group. Seeing your makes is the highlight of my day, truly.
Happy hooking, friend. You have got this.
