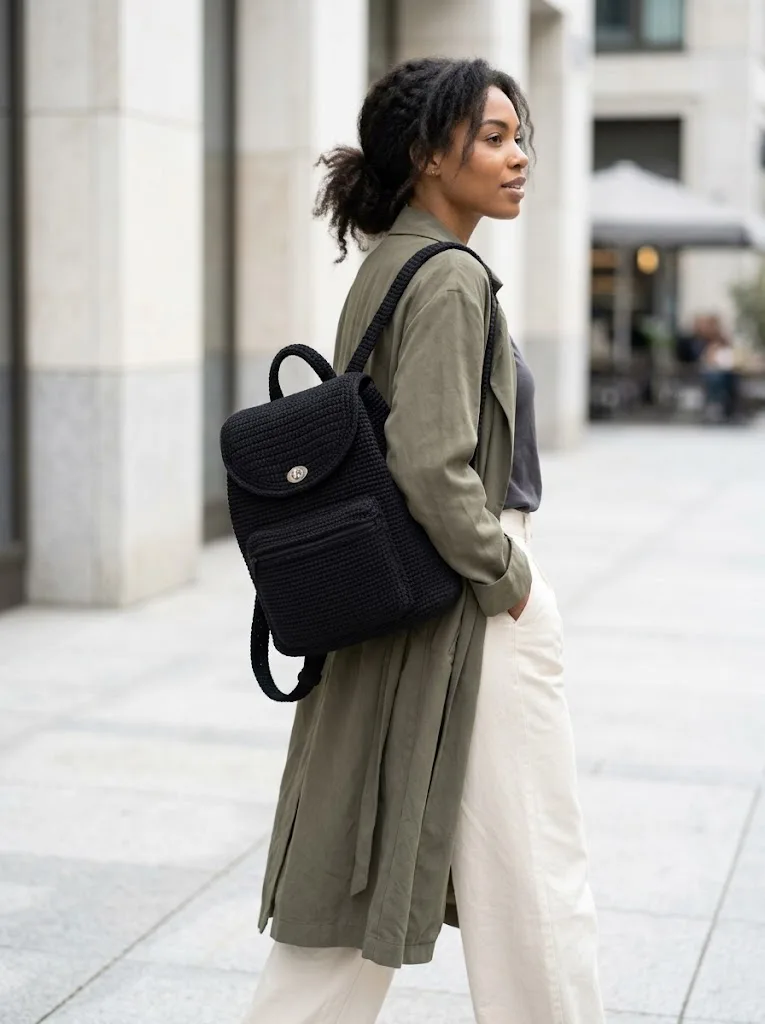
I call this one "The Commuter" because it started as a sketch in my notebook three years ago when I was tired of carrying flimsy tote bags that never quite fit my laptop, water bottle, and all the little things I needed for a day out. I wanted something sturdy, something that looked polished enough for work but relaxed enough for weekend farmers market trips. After a few prototypes and some trial and error with hardware placement, this backpack finally came together exactly how I pictured it. Now it goes everywhere with me, and I think you are going to love making your own.
Why This Crochet Backpack Pattern Works So Well
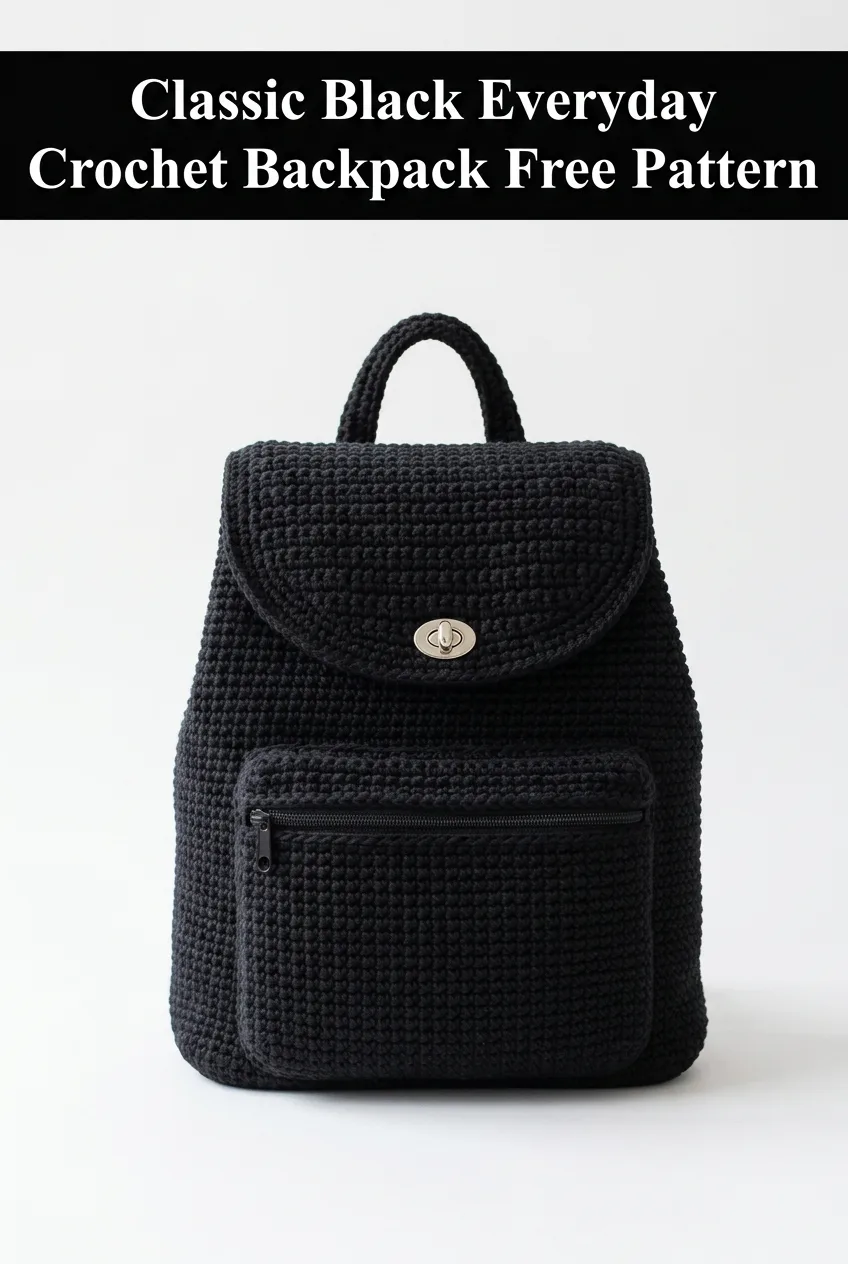
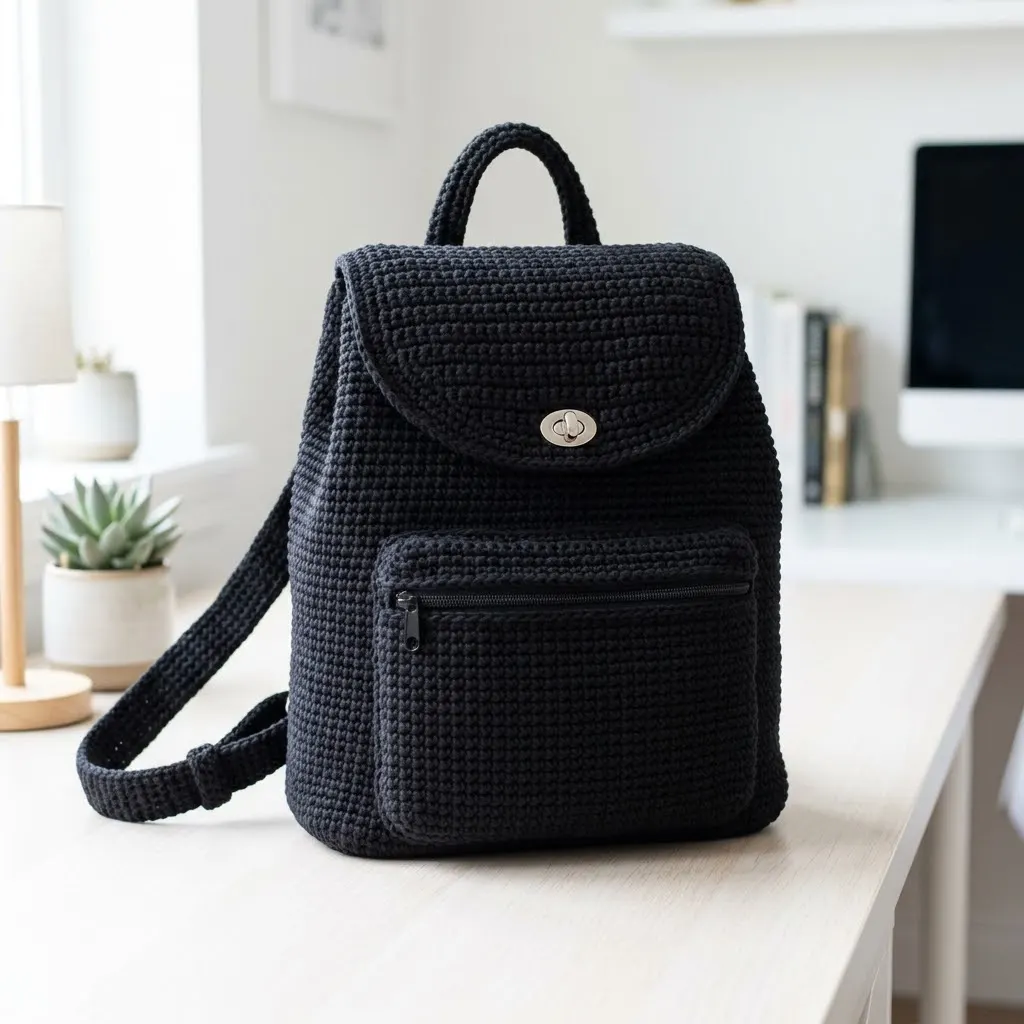
This is not your average slouchy crochet bag. The tight, dense stitch work creates a fabric that holds its shape beautifully and protects whatever you put inside. The rectangular body, curved flap, functional front pocket with a zipper, and adjustable shoulder straps make this a genuinely practical accessory you will actually use every single day.
The construction might look intimidating at first glance, but I promise it is more straightforward than it appears. You are essentially crocheting flat panels and tubes, then assembling them with simple seaming. The magic is in the details: the turn lock clasp on the flap, the zipper pocket, and the clean finishing throughout.
Skill level: Intermediate. You should be comfortable with basic stitches and working in continuous rounds. If you have never sewn in a zipper or attached hardware before, do not worry. I will walk you through every step.
Materials You Will Need
Yarn:
Hook:
Notions:
Gauge:
18 single crochet stitches and 20 rows = 4 inches square
Check your gauge before starting. A tighter gauge is better for bags.
Abbreviations and Stitch Definitions
Ch = Chain. Wrap yarn over hook and pull through the loop on your hook. This creates the foundation for your work.
Sl st = Slip stitch. Insert hook, yarn over, pull through both the stitch and the loop on your hook in one motion. Used for joining and invisible movement.
Sc = Single crochet. Insert hook into stitch, yarn over and pull up a loop (two loops on hook), yarn over and pull through both loops. This is the primary stitch for the entire backpack.
Sc2tog = Single crochet two together. A decrease. Insert hook into first stitch, yarn over and pull up a loop, insert hook into next stitch, yarn over and pull up a loop (three loops on hook), yarn over and pull through all three loops. This turns two stitches into one.
Inc = Increase. Work two single crochet stitches into the same stitch.
Finished Dimensions
Step by Step Crochet Backpack Pattern
Part 1: The Main Body (Worked in Joined Rounds)
The body is worked from the bottom up as one continuous piece. You will start with the base, then work up the sides.
Base:
Row 1: Ch 37, sc in second ch from hook and in each ch across. (36 sts)
Rows 2-18: Ch 1, turn, sc in each st across. (36 sts)
You now have a rectangular base approximately 8 inches by 4 inches. Do not fasten off.
Sides:
You will now work around all four edges of the base to create the walls of the backpack. Place a stitch marker at the beginning of your round.
Round 1: Ch 1, do not turn. Work 36 sc across the short end you just finished, place 18 sc evenly along the side edge (approximately one sc per row), work 36 sc across the starting chain edge, place 18 sc evenly along the remaining side edge. Join with sl st to first sc. (108 sts)
Rounds 2-52: Ch 1, sc in each st around, join with sl st. (108 sts)
This creates approximately 10 inches of height for the body. Fasten off and weave in ends.
Part 2: The Flap
The flap is worked flat, then attached to the back of the backpack.
Row 1: Ch 37, sc in second ch from hook and in each ch across. (36 sts)
Rows 2-20: Ch 1, turn, sc in each st across. (36 sts)
Shaping the curved bottom:
Row 21: Ch 1, turn, sc2tog, sc in each st to last 2 sts, sc2tog. (34 sts)
Row 22: Ch 1, turn, sc in each st across. (34 sts)
Row 23: Ch 1, turn, sc2tog, sc in each st to last 2 sts, sc2tog. (32 sts)
Row 24: Ch 1, turn, sc in each st across. (32 sts)
Row 25: Ch 1, turn, sc2tog, sc in each st to last 2 sts, sc2tog. (30 sts)
Row 26: Ch 1, turn, sc in each st across. (30 sts)
Row 27: Ch 1, turn, sc2tog, sc in each st to last 2 sts, sc2tog. (28 sts)
Row 28: Ch 1, turn, sc2tog, sc in each st to last 2 sts, sc2tog. (26 sts)
Row 29: Ch 1, turn, sc2tog, sc in each st to last 2 sts, sc2tog. (24 sts)
Fasten off, leaving a long tail for seaming.
Part 3: The Front Pocket
Row 1: Ch 33, sc in second ch from hook and in each ch across. (32 sts)
Rows 2-24: Ch 1, turn, sc in each st across. (32 sts)
Fasten off. This creates a pocket approximately 7 inches wide by 5 inches tall.
Part 4: The Top Handle
Ch 7, sc in second ch from hook and in each ch across. (6 sts)
Rows 2-30: Ch 1, turn, sc in each st across. (6 sts)
Fasten off. This creates a handle approximately 6 inches long. Fold in half lengthwise if you want a thicker handle, or leave flat for a wider one.
Part 5: The Shoulder Straps (Make 2)
Ch 9, sc in second ch from hook and in each ch across. (8 sts)
Rows 2-120: Ch 1, turn, sc in each st across. (8 sts)
Fasten off. Each strap should be approximately 24 inches long. You can adjust this length based on your preference.
Part 6: The Strap Connector Tabs (Make 2)
These small pieces allow the straps to attach to the bottom of the backpack.
Ch 9, sc in second ch from hook and in each ch across. (8 sts)
Rows 2-8: Ch 1, turn, sc in each st across. (8 sts)
Fasten off.
Assembly Instructions
Take your time with assembly. This is where the backpack really comes together, and neat finishing makes all the difference.
Attaching the Front Pocket
1. Position the pocket on the front of the backpack body, centered and approximately 1 inch from the bottom edge.
2. Before seaming closed, install the zipper. Pin the zipper along the top edge of the pocket, with the zipper pull facing outward.
3. Using a sewing needle and thread, whipstitch the zipper tape to the inside of the pocket opening. Go slowly and keep your stitches small and even.
4. Once the zipper is secure, whipstitch the sides and bottom of the pocket to the backpack body using your tapestry needle and matching yarn.
Attaching the Flap
1. Position the straight edge of the flap along the back top edge of the backpack body.
2. Whipstitch securely across the entire width.
3. Install the turn lock clasp. The decorative portion goes on the outside center of the flap, approximately 2 inches from the curved bottom edge. The receiving portion attaches to the front of the backpack body, positioned to align when the flap closes naturally.
4. Follow your specific hardware instructions. Most turn locks require you to make a small hole and secure the back plate with prongs or screws.
Attaching the Top Handle
1. Fold the handle piece in half to find the center.
2. Position each end on either side of the flap attachment seam, approximately 2 inches apart.
3. Whipstitch each end securely to the back of the backpack, reinforcing with extra stitches since this handle will bear weight.
Attaching the Shoulder Straps
1. Position the top end of each strap at the back top corners of the backpack, just below the flap seam.
2. Whipstitch securely.
3. Thread the bottom of each strap through a connector tab. Fold the tab in half and stitch the tab to the bottom back corners of the backpack.
4. The straps should be adjustable by pulling through the tabs. For a fixed length, stitch the straps directly to the tabs.
Optional Fabric Lining
Adding a fabric lining makes your backpack look more polished inside and protects your items from snagging on the crochet texture.
1. Measure the interior of your finished backpack.
2. Cut lining fabric with a half inch seam allowance on all sides.
3. Sew the lining into a bag shape.
4. Fold the top edge under and hand stitch the lining to the inside of the backpack, just below the top edge.
Tips for Success
Tension matters here. If your fabric feels loose or floppy, go down a hook size. You want the stitches tight enough that you cannot easily see through them.
Block your panels before assembly. Wet blocking or steam blocking helps even out your stitches and makes seaming much easier.
Use stitch markers generously. Mark the corners of your base and the center points when attaching the pocket and flap.
Reinforce stress points. Add extra stitches where the straps and handle attach. These areas take the most wear.
Consider a leather or faux leather bottom. If you want extra durability, you can cut a piece to fit inside the base before adding the lining.
Making This Pattern Your Own
This classic black version is timeless and goes with everything, but you have so many options for customization.
Try working in a variegated yarn for visual interest. Add a contrasting border around the flap. Use metal D rings instead of crocheted connector tabs for a more hardware-forward look. Make the pocket larger or add a second one on the inside. Embroider your initials on the flap.
The structure of this crochet backpack pattern is versatile enough to handle all kinds of modifications. Once you understand how the pieces fit together, you can adjust dimensions, add features, or simplify based on what you need.
Caring for Your Finished Backpack
Spot clean with mild soap and water as needed. If you used cotton yarn and want to fully wash your backpack, hand wash in cool water and lay flat to dry. Reshape while damp and allow to dry completely before using. Avoid machine washing if you have installed hardware, as this can damage the metal over time.
I hope you enjoy making this crochet backpack as much as I enjoyed designing it. It is such a satisfying project because you end up with something genuinely useful. Something you will grab on your way out the door without even thinking about it.
Thank you so much for choosing this pattern. If you make your own version of The Commuter, I would absolutely love to see it. Tag me on Instagram or share a photo in our Facebook group. Seeing your creations is honestly the best part of sharing these designs.
If this crochet backpack tutorial is calling your name but you are not quite ready to cast on today, save it to your Pinterest boards so you can find it easily when you are ready to start. And please drop a comment below if you have any questions or when you finish your backpack. I read every single one and love hearing how your projects turn out.
