I don’t know about you, but I have been obsessed with finding a crochet bag that actually looks like something I would buy in a boutique. All the style with none of the price tag. This structured crossbody bag with its gorgeous braided texture absolutely delivers that high-end feel, and honestly, I cannot stop staring at it.
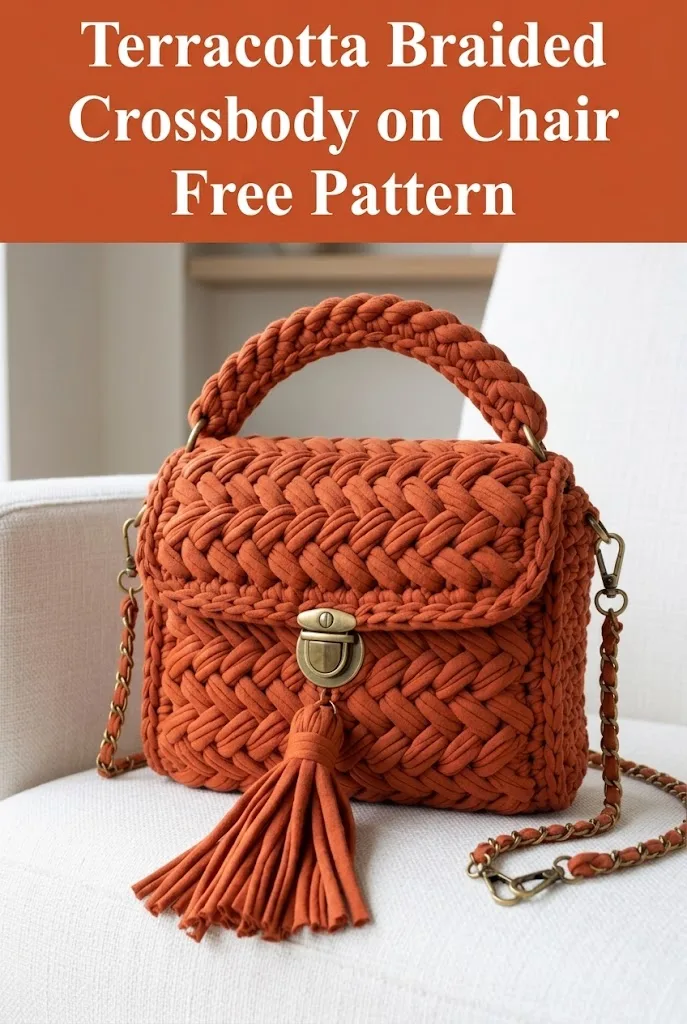
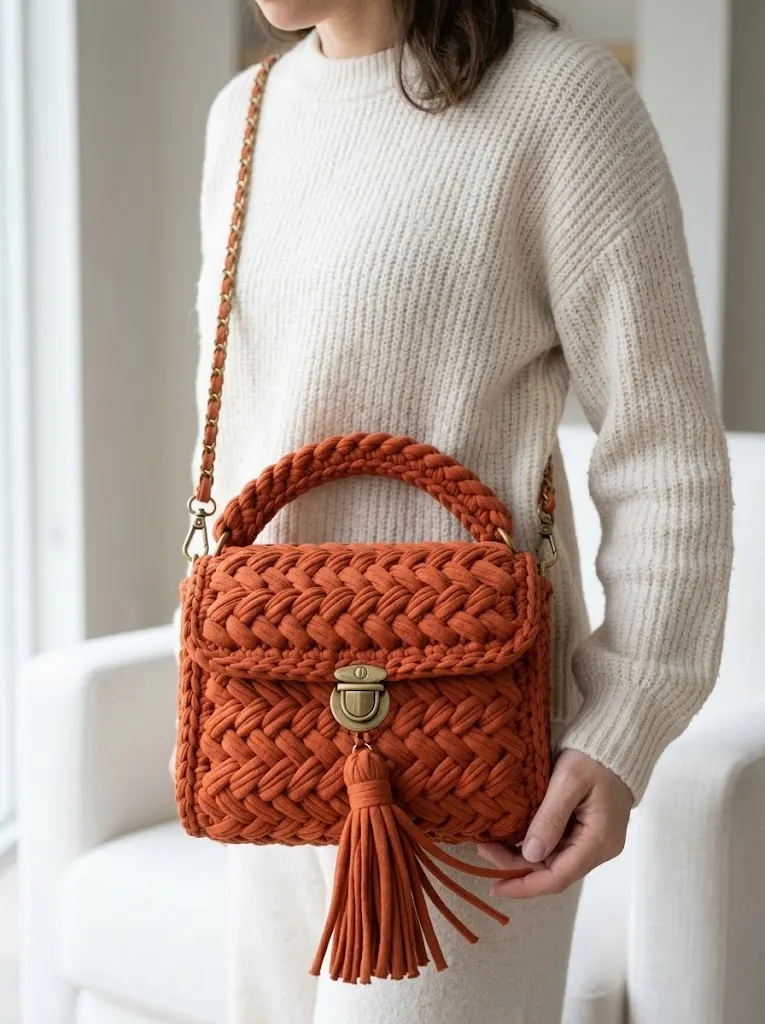
When I designed this bag, I wanted something that could transition from casual coffee runs to evening dinners without looking out of place. The herringbone-style braided stitch creates such beautiful texture, and those antique brass hardware accents? Chef’s kiss. If you have been wanting to make a bag that looks impressive but uses techniques you can actually master, this is your project.
Why You Will Love This Crochet Crossbody Bag Pattern
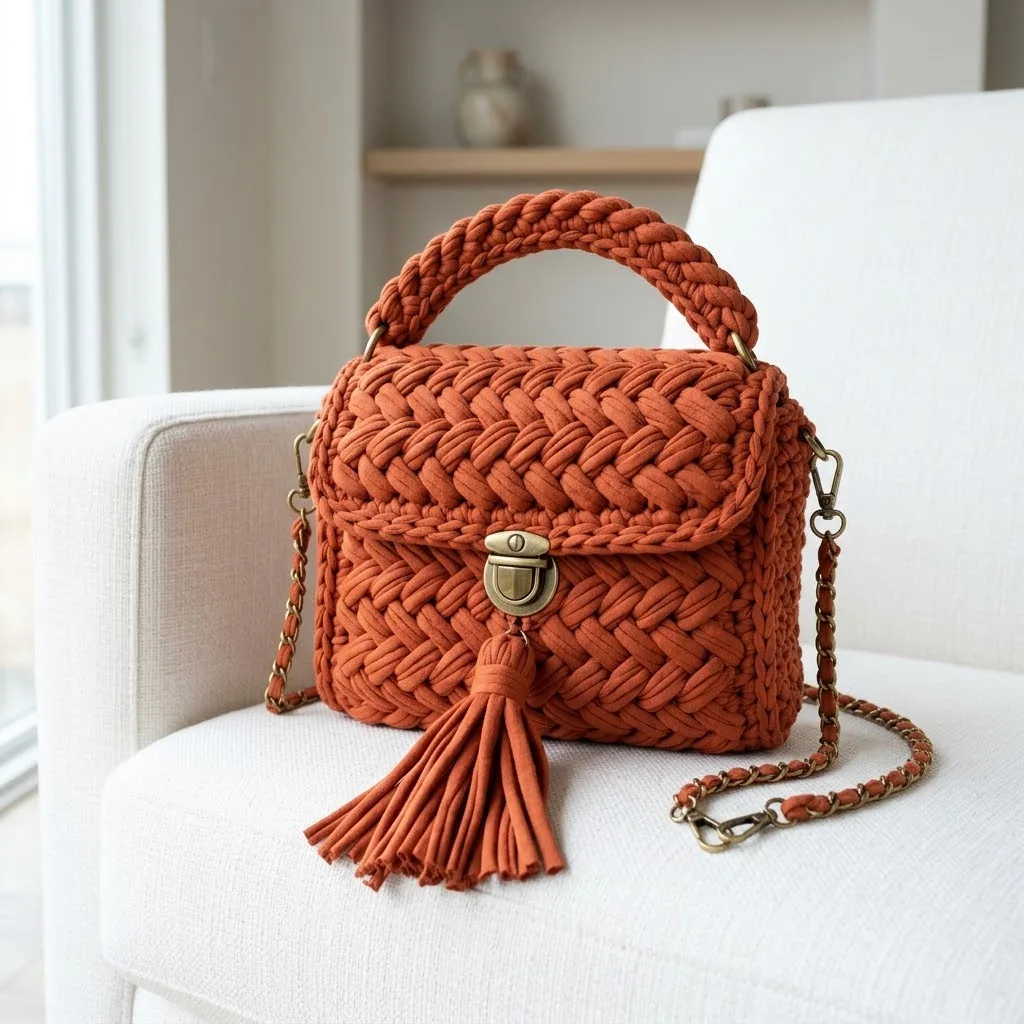
This crochet crossbody bag pattern hits all the marks for a satisfying make. The structured shape holds its form beautifully. The braided stitch pattern creates visual interest without complicated colorwork. And those finishing touches like the turn lock clasp, chain strap, and tassel elevate the whole thing from craft project to statement accessory.
The bag measures approximately 7 inches wide by 6.5 inches tall by 3.5 inches deep, making it the perfect size for your phone, wallet, keys, and a few essentials. Not too big, not too small. Just right for hands-free convenience.
I will walk you through every single step of this crochet tutorial, from building the structured base to attaching the hardware like a pro.
Skill Level
This pattern falls into the intermediate category. You should be comfortable with basic crochet stitches and working in the round. The braided stitch technique might look intimidating, but I promise it becomes rhythmic once you get the hang of it.
If you have never worked with t-shirt yarn before, this is a great project to try it. The chunky weight makes your stitches visible so you can catch mistakes easily.
Materials You Will Need
Yarn:
Hook:
Hardware:
Tools:
Optional:
Abbreviations and Stitch Definitions
Let me explain every stitch you will use in this step by step crochet pattern:
Ch = Chain: Yarn over, pull through the loop on your hook. This creates the foundation for your work.
Sl st = Slip stitch: Insert hook, yarn over, pull through both the stitch and the loop on your hook in one motion. Used for joining rounds.
Sc = Single crochet: Insert hook, yarn over, pull up a loop (2 loops on hook), yarn over, pull through both loops.
Hdc = Half double crochet: Yarn over, insert hook, yarn over, pull up a loop (3 loops on hook), yarn over, pull through all 3 loops.
BLO = Back loop only: Work into only the back loop of the stitch, leaving the front loop untouched. This creates a ridged texture.
Braided Stitch = A variation where you insert your hook between stitches in a specific pattern to create a woven, herringbone appearance. I will explain this in detail below.
Understanding the Braided Stitch Technique
The stunning texture on this bag comes from a braided stitch pattern that mimics woven fabric. Here is how it works:
Instead of inserting your hook under the V of your stitch like normal, you will work around the post of the stitch below. Think of it like weaving your hook behind and around the stitch rather than through it.
To work the braided stitch:
1. Yarn over
2. Insert your hook from front to back around the post of the stitch in the row below
3. Yarn over and pull up a loop
4. Yarn over and pull through both loops (similar to a half double crochet motion)
This creates that beautiful chevron pattern you see in the photos. Practice on a swatch first if you have never tried this technique. Even 10-15 stitches will help you feel confident.
The Pattern Instructions
Base of the Bag
The base is worked flat in rows to create the rectangular bottom.
Foundation: Ch 15.
Row 1: Sc in 2nd ch from hook, sc in each ch across. (14 sc)
Row 2: Ch 1, turn. Sc in BLO of each st across. (14 sc)
Rows 3-10: Repeat Row 2. (14 sc each row)
At the end of Row 10, you should have a rectangle measuring approximately 7 inches by 3.5 inches. Do not fasten off.
Body of the Bag
Now we build up the sides by working in continuous rounds around the entire base.
Round 1: Ch 1. Work sc evenly around the entire base. Work 14 sc across the short end, 3 sc in the corner, 10 sc along the long side, 3 sc in the corner, 14 sc across the short end, 3 sc in the corner, 10 sc along the long side, 3 sc in the corner. Place stitch marker to mark beginning of round. (60 sc)
*Note: Your stitch count may vary slightly. The goal is an even distribution around all four sides.*
Round 2: Working in BLO only, sc in each st around. (60 sc)
Round 3: Begin the braided stitch pattern. Work one braided stitch in each stitch around, remembering to work around the post rather than through the top. (60 sts)
Rounds 4-14: Continue in braided stitch pattern. (60 sts each round)
Your bag body should measure approximately 5.5 inches tall at this point. If you prefer a taller bag, continue for 2-3 more rounds.
Round 15: Sl st in each st around to create a finished edge. Fasten off.
Flap
The flap is worked separately and attached to the back of the bag.
Foundation: Ch 17.
Row 1: Sc in 2nd ch from hook, sc in each ch across. (16 sc)
Row 2: Ch 1, turn. Work braided stitch in each st across. (16 sts)
Rows 3-10: Continue in braided stitch pattern. (16 sts each row)
Rows 11-12: Dec 1 st at each end of row. Ch 1, turn, skip first st, braided st across to last 2 sts, work 2 sts together. (12 sts after Row 12)
Row 13: Sl st evenly around entire flap edge to create a finished border. Fasten off, leaving a long tail for sewing.
Top Handle
The braided top handle adds such a professional touch to this crossbody bag pattern.
Foundation: Ch 4.
Row 1: Sc in 2nd ch from hook, sc in each ch across. (3 sc)
Rows 2-35: Ch 1, turn. Sc in each st across. (3 sc)
This creates a long strip approximately 12-14 inches long.
Now comes the fun part. You will braid this strip with two additional strips to create the twisted handle effect.
Make 3 strips total using the same instructions above.
Braiding the handle:
1. Lay all three strips flat, ends aligned
2. Secure one end with a slip stitch or safety pin
3. Braid the strips together in a traditional three-strand braid
4. Secure the other end with slip stitches
5. Trim and weave in ends
The finished handle should measure approximately 5-6 inches long. If you prefer a longer handle, make your initial strips longer (40-45 rows).
Tassel
Every stylish bag needs a finishing touch. This tassel is easier than you think.
1. Cut 15-20 strips of t-shirt yarn, each approximately 8 inches long
2. Cut one additional strip about 4 inches long for wrapping
3. Fold the long strips in half
4. Use a short piece of yarn to tie them together at the fold
5. Take the wrapping piece and wind it tightly around the top of the tassel, about half an inch from the fold
6. Secure with a knot and tuck the ends inside
7. Trim the bottom of the tassel evenly
Attach the tassel to the clasp hardware using a small loop of yarn or directly to the turn lock.
Assembly and Finishing
This is where your bag comes to life. Take your time with these steps.
Attaching the Flap
Position the flap on the back of the bag, overlapping by about 1 inch on the inside. Using your tapestry needle and matching yarn, whip stitch the flap securely in place. Make sure your stitches are tight and even.
Installing the Turn Lock Clasp
1. Center the clasp plate on the front of your bag, about 1.5 inches down from the top edge
2. Mark where the prongs need to go through
3. Use an awl to create small holes in the crochet fabric
4. Push the prongs through from the front
5. On the inside, bend the prongs flat against a washer or backing plate
Repeat for the corresponding piece on the underside of the flap.
*Beginner tip: Practice installing hardware on a scrap piece of fabric first. It builds confidence.*
Attaching D-Rings
Sew or loop D-rings onto each side of the bag near the top edge. These will hold your chain strap.
Adding the Chain Strap
Thread your t-shirt yarn through the chain links for a woven effect. Attach lobster clasps to each end, then clip onto the D-rings.
Securing the Top Handle
Attach the braided handle to the top of the bag using strap connectors or by sewing directly with strong, tight stitches.
Pattern Customization Ideas
Change the size: Add more chains to the foundation and more rounds to the body for a larger bag.
Different hardware: Silver or gold hardware completely changes the vibe.
Add a lining: Cut fabric to fit inside and hand sew it in place for a polished interior.
Color blocking: Use two colors of t-shirt yarn for the body and flap.
Care Instructions
T-shirt yarn bags can be spot cleaned with mild soap and water. Lay flat to dry and reshape while damp. Store stuffed with tissue paper to maintain the structured shape.
I really hope you love making this crochet crossbody bag as much as I loved designing it. It is one of those projects that looks so much harder than it actually is, and people will absolutely ask you where you bought it.
If you make this bag, I would love to see it! Tag me on Instagram or share your finished project in my Facebook group. Seeing your creations honestly makes my whole week.
Save this crochet pattern to your Pinterest boards so you can find it when you are ready to start, and please drop a comment below if you have any questions or just want to share how yours turned out. Happy hooking!
