This is a structured chunky crochet purse made with t-shirt yarn. It uses a basketweave stitch pattern for the body and simple single crochet for the base. The whole bag works up in an afternoon.
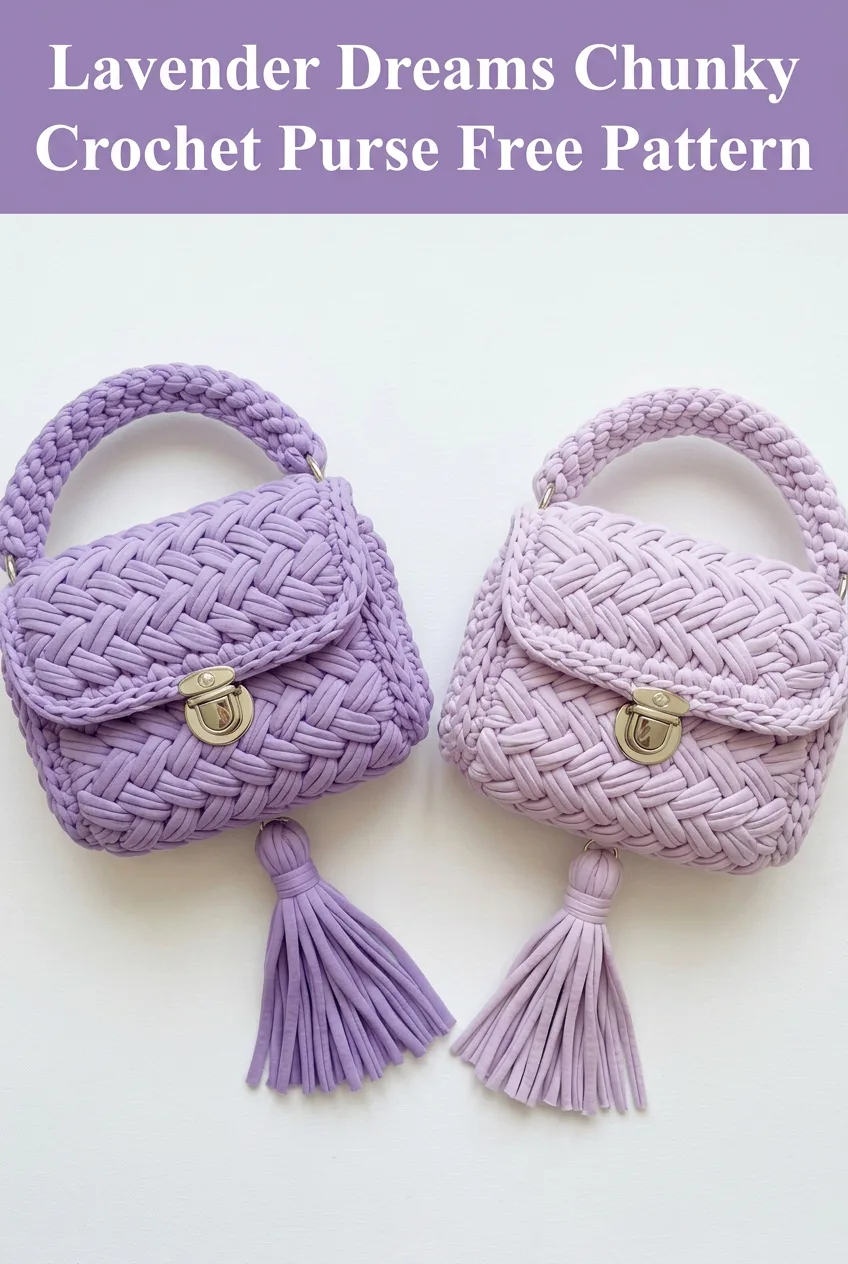
I designed this purse after falling in love with those gorgeous designer handbags that cost more than my grocery budget. The basketweave texture gives you that high-end woven look without the high-end price tag. You will need some basic crochet skills and a bit of patience with the hardware installation, but the actual stitching is straightforward.
Why This Chunky Crochet Purse Pattern Works
The secret to this bag’s professional appearance is the combination of t-shirt yarn and the basketweave stitch. T-shirt yarn, sometimes called trapillo or ribbon yarn, creates a substantial fabric that holds its shape beautifully. The chunky weight means fewer stitches to count and faster progress.
The basketweave pattern looks intricate, but it only uses two stitches you probably already know. Once you understand the rhythm of front post and back post stitches, the pattern practically memorizes itself.
This crochet tutorial walks you through every step, from building the oval base to installing the metal clasp. By the end, you will have a boutique-quality purse that looks like it came from a specialty shop.
Skill Level
Intermediate beginner. You should be comfortable with basic stitches and willing to learn front post and back post double crochet. If you have never tried post stitches before, do not worry. I explain them fully below.
Finished Dimensions
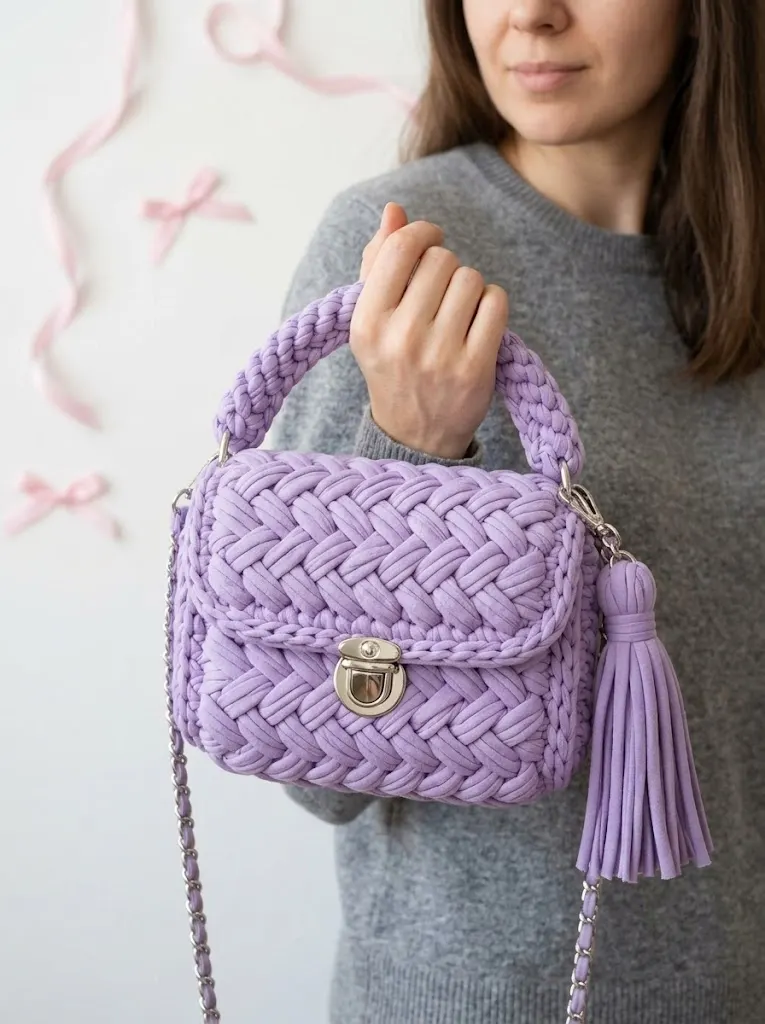
Approximately 7 inches wide, 5.5 inches tall, and 3 inches deep. The handle adds another 4 inches of height. The optional chain strap measures approximately 45 inches long.
Materials Needed
Yarn:
Hook:
Hardware:
Tools:
Stitch Abbreviations and Definitions
Ch = Chain. Wrap yarn over hook, pull through loop on hook.
Sl st = Slip stitch. Insert hook, yarn over, pull through stitch and loop on hook in one motion.
Sc = Single crochet. Insert hook into stitch, yarn over, pull up a loop (two loops on hook), yarn over, pull through both loops.
Dc = Double crochet. Yarn over, insert hook into stitch, yarn over, pull up a loop (three loops on hook), yarn over, pull through two loops, yarn over, pull through remaining two loops.
FPdc = Front post double crochet. Yarn over, insert hook from front to back to front around the post of the stitch below (not into the top of the stitch), complete the double crochet as normal. This creates a raised stitch that pops toward you.
BPdc = Back post double crochet. Yarn over, insert hook from back to front to back around the post of the stitch below, complete the double crochet as normal. This creates a stitch that recedes away from you.
Inc = Increase. Work two stitches into the same stitch.
Understanding Post Stitches
Post stitches are what create the basketweave texture. Instead of inserting your hook into the top V of a stitch, you wrap around the vertical post, which is the body of the stitch from the row below.
For front post stitches, your hook goes in from the front of your work, around the back of the post, and out to the front again. The stitch pops toward you.
For back post stitches, your hook goes in from the back, around the front of the post, and out to the back again. The stitch recedes away from you.
Here is a helpful way to remember: front post stitches come forward. Back post stitches go backward.
If you are struggling, try practicing on a small swatch first. Chain 15, work a row of double crochet, then practice alternating FPdc and BPdc across the next row. Once you feel the rhythm, the basketweave pattern becomes intuitive.
Gauge
8 single crochet stitches and 8 rows = 4 inches in single crochet
6 double crochet stitches and 4 rows = 4 inches in basketweave pattern
Gauge matters for this project because you want the bag to hold its shape. If your gauge is too loose, the purse will be floppy. Too tight, and the fabric will be stiff and difficult to work.
Pattern Instructions
Part 1: The Oval Base
The base is worked in continuous rounds. Use a stitch marker to track the beginning of each round.
Round 1: Ch 11. Sc in 2nd ch from hook, sc in next 8 ch, 3 sc in last ch. Working along the opposite side of the foundation chain, sc in next 8 ch, 2 sc in last ch. Do not join. (22 sts)
Round 2: 2 sc in first st, sc in next 8 sts, 2 sc in each of next 3 sts, sc in next 8 sts, 2 sc in each of next 2 sts. (28 sts)
Round 3: Sc in first st, 2 sc in next st, sc in next 8 sts, (sc in next st, 2 sc in next st) 3 times, sc in next 8 sts, (sc in next st, 2 sc in next st) 2 times. (34 sts)
Round 4: Sc in next 2 sts, 2 sc in next st, sc in next 8 sts, (sc in next 2 sts, 2 sc in next st) 3 times, sc in next 8 sts, (sc in next 2 sts, 2 sc in next st) 2 times. (40 sts)
Round 5: Sc in next 3 sts, 2 sc in next st, sc in next 8 sts, (sc in next 3 sts, 2 sc in next st) 3 times, sc in next 8 sts, (sc in next 3 sts, 2 sc in next st) 2 times. (46 sts)
Sl st to first st to join. Your oval base should measure approximately 6.5 inches long and 4 inches wide.
Part 2: Building the Sides
Now you will work up the sides of the bag in joined rounds.
Round 6: Ch 1, working in back loops only, sc in each st around. Sl st to first sc to join. (46 sts)
Working in back loops only creates a defined edge where the base meets the sides. This gives your bag a structured, professional look.
Round 7: Ch 2 (does not count as a stitch throughout), dc in each st around. Sl st to first dc to join. (46 sts)
This round establishes the foundation for your basketweave pattern. The dc stitches create posts you will work around.
Part 3: Basketweave Pattern
The basketweave consists of alternating sections of front post and back post stitches. Each section is 4 stitches wide.
Round 8: Ch 2, *FPdc in next 4 sts, BPdc in next 4 sts*, repeat from * to * around, ending with BPdc in last 6 sts. Sl st to first FPdc to join. (46 sts)
Round 9: Ch 2, *FPdc in next 4 sts, BPdc in next 4 sts*, repeat pattern as established. Sl st to join. (46 sts)
Round 10: Ch 2, *BPdc in next 4 sts, FPdc in next 4 sts*, repeat from * around to create the basketweave offset. Sl st to join. (46 sts)
Round 11: Ch 2, *BPdc in next 4 sts, FPdc in next 4 sts*, repeat pattern as established. Sl st to join. (46 sts)
Rounds 12-13: Repeat Round 8-9.
Rounds 14-15: Repeat Rounds 10-11.
At this point, your bag body should measure approximately 4.5 inches tall from the base.
Part 4: Top Edge
Round 16: Ch 1, sc in each st around. Sl st to first sc to join. (46 sts)
Round 17: Ch 1, sc in each st around. Sl st to join. Fasten off, weave in end. (46 sts)
Part 5: The Flap
The flap is worked flat in rows, attached to the back of the bag.
Count 23 stitches from the center front of your bag. This marks the center back. You will attach yarn here and work back and forth.
Row 1: Join yarn with sl st to center back st, ch 2, dc in same st, dc in next 22 sts. Turn. (23 sts)
Row 2: Ch 2, *FPdc in next 4 sts, BPdc in next 4 sts*, repeat to last 7 sts, FPdc in next 4 sts, BPdc in next 3 sts. Turn. (23 sts)
Row 3: Repeat Row 2.
Row 4: Ch 2, *BPdc in next 4 sts, FPdc in next 4 sts*, repeat to end of row. Turn. (23 sts)
Row 5: Repeat Row 4.
Row 6: Ch 2, dc2tog over first 2 sts, dc in each st to last 2 sts, dc2tog. Turn. (21 sts)
Row 7: Ch 1, sc in each st across. Turn. (21 sts)
Row 8: Ch 1, sc2tog, sc to last 2 sts, sc2tog. Turn. (19 sts)
Row 9: Ch 1, sc in each st across. Fasten off. (19 sts)
Part 6: Flap Edging
Join yarn at corner of flap, ch 1, sc evenly around entire flap edge, working 3 sc in each corner. Sl st to first sc. Fasten off and weave in ends.
Part 7: The Handle
Row 1: Ch 5. Sc in 2nd ch from hook, sc in each ch across. Turn. (4 sts)
Rows 2-40: Ch 1, sc in each st across. Turn. (4 sts)
Your handle should measure approximately 20 inches long. Adjust length by adding or removing rows.
Fasten off, leaving a long tail for sewing.
Fold handle in half lengthwise and whip stitch edges together to create a rounded tube shape. This makes the handle more comfortable to hold.
Part 8: D-Ring Tabs (Make 2)
Row 1: Ch 5. Sc in 2nd ch from hook, sc in each ch across. Turn. (4 sts)
Rows 2-4: Ch 1, sc in each st across. Turn. (4 sts)
Fasten off, leaving a long tail.
Thread the D-ring onto the tab, fold tab in half, and sew closed.
Assembly Instructions
Attaching the Handle:
Position the handle ends at the top sides of the bag, approximately 8 stitches from center front on each side. Sew securely using yarn tail and tapestry needle. Reinforce the attachment by sewing through multiple times.
Attaching D-Ring Tabs:
Sew one D-ring tab to each side of the bag, positioning them just below where the handle attaches. These will hold your chain strap.
Installing the Turn Lock:
Position the base of the turn lock on the center front of the bag, approximately 1 inch below the top edge. Use an awl to create small holes in the fabric where the prongs will go. Push prongs through, add backing plate, and bend prongs flat.
Position the rotating part of the clasp on the center of the flap. Mark and install the same way.
Test that the clasp aligns properly before securing permanently.
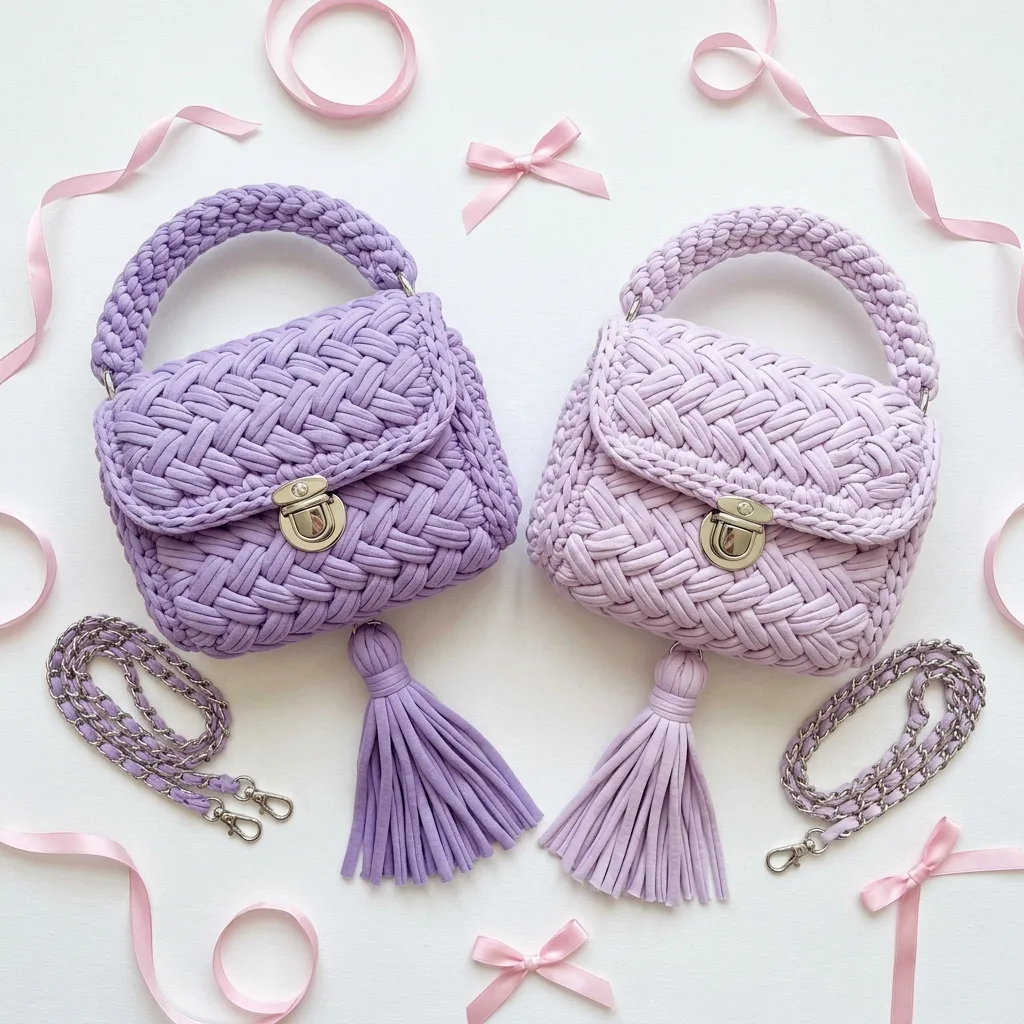
Chain Strap (Optional):
Cut a length of chain approximately 45 inches long. Weave t-shirt yarn through the chain links for a cohesive look. Attach swivel clasps to each end. Clip onto D-rings.
Making the Tassel
Cut approximately 20 strands of t-shirt yarn, each 8 inches long. Gather strands and fold in half. Take a separate piece of yarn and wrap tightly around the folded portion about 1 inch from the fold. Secure with a knot. Trim ends evenly.
Attach tassel to the base of the turn lock clasp using a lark’s head knot or simply tying it on securely.
Customization Ideas
This crochet pattern adapts beautifully to different styles.
Color options: Try classic black for everyday elegance, soft pink for spring, or bold red for a statement piece. Two-tone designs work well by using one color for the base and another for the basketweave body.
Size adjustments: For a larger bag, add more stitches to your initial chain and adjust the basketweave sections accordingly. Keep stitch counts divisible by 8 for the pattern to work evenly.
Hardware variations: Gold hardware looks stunning against pastel yarns. Silver or gunmetal complements cool tones beautifully.
Care Instructions
T-shirt yarn bags should be spot cleaned with a damp cloth. For deeper cleaning, hand wash gently in cool water with mild soap. Reshape while damp and lay flat to dry. Never put in the dryer, as heat can shrink and distort the fabric.
Store your purse stuffed with tissue paper to help it maintain shape.
Troubleshooting Tips
Bag feels too floppy: Your gauge may be loose. Try using a smaller hook or pulling your stitches tighter. You can also add a fabric lining for extra structure.
Basketweave looks uneven: Make sure you are consistently working around the posts from the row below, not two rows below. Each row should offset from the previous one.
Hardware pokes through fabric: Add small felt pads behind hardware pieces before installing. This protects the yarn and adds stability.
I hope you absolutely love making this lavender dreams chunky crochet purse. It truly is one of those projects that looks far more complicated than it actually is, and you deserve to carry something beautiful that you made with your own hands. Thank you so much for choosing to spend your crafting time here with me.
If you make this purse, please save this pattern to your Pinterest boards so you can find it easily for your next project or share it with a crafty friend. And I would love to hear from you in the comments below. Tell me what color you chose, share your tips, or just say hello. Happy crocheting!
