I wanted to create a snake plant that felt different from the typical green versions you see everywhere. My goal was warm autumn tones, striking chevron patterns on each leaf, and a design that would actually hold its shape without flopping over. After lots of experimenting with leaf construction and color placement, I am SO pleased with how this turned out! The graduated triangular colorwork on each spike creates this gorgeous sunset effect that catches the light beautifully.
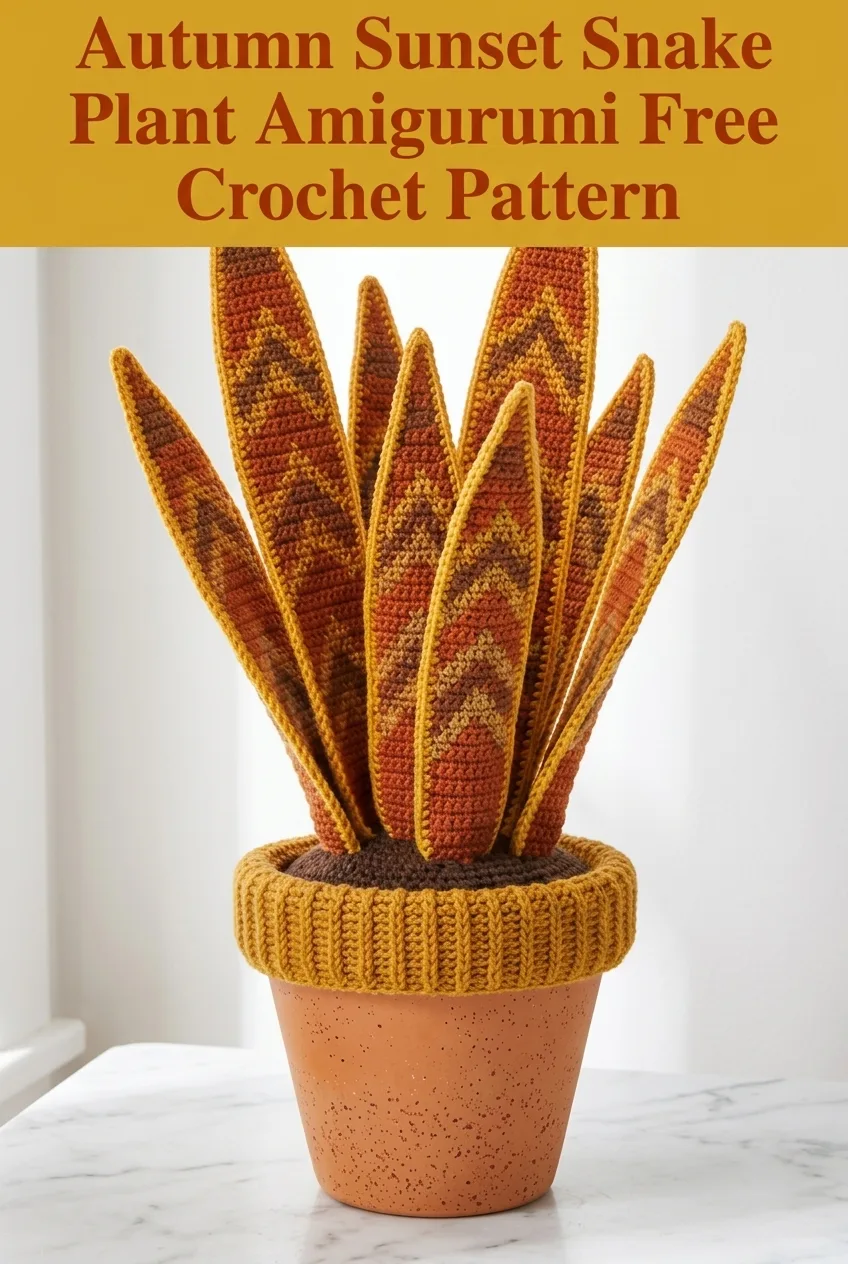
This crochet snake plant amigurumi makes the perfect everlasting houseplant for anyone who loves home decor but maybe struggles to keep real plants alive. No watering required, and it looks stunning year round.
Why You’ll Love This Snake Plant Crochet Pattern
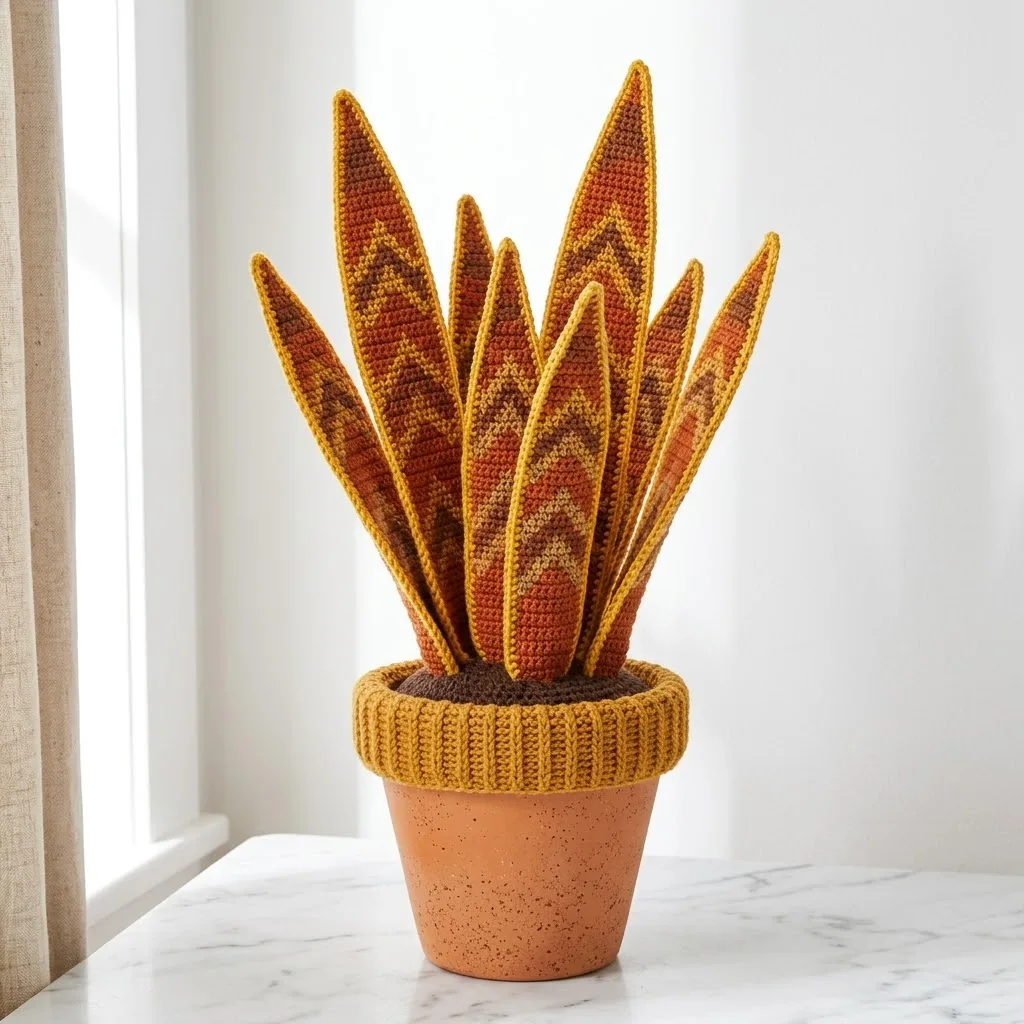
This amigurumi plant project combines several satisfying techniques into one showstopping piece. The leaves feature tapestry crochet colorwork with chevron motifs in warm rust, burnt orange, golden yellow, and cream tones. Each leaf gets a bright golden yellow border that makes those sunset colors pop.
The finished snake plant sits in a terracotta pot with a crocheted ribbed rim that mimics the look of real pottery. You can use an actual small terracotta pot as a base, or crochet a pot cover to fit over any container you have on hand.
Skill level: Intermediate. You should be comfortable with basic amigurumi construction, color changes, and working in rows and rounds.
Finished dimensions: Approximately 12 to 14 inches tall from pot rim to leaf tips. Pot rim diameter approximately 5 inches.
Materials Needed for Your Crochet Snake Plant
Yarn:
– Golden mustard yellow, approximately 150 yards (main leaf edging and pot rim)
– Burnt orange/rust, approximately 100 yards (leaf colorwork)
– Deep brown/chocolate, approximately 80 yards (leaf colorwork and soil)
– Cream/off white, approximately 50 yards (leaf colorwork accents)
– Terracotta orange, approximately 40 yards (optional pot cover)
I recommend 100% cotton yarn or a cotton blend for this project. Cotton holds its shape better than acrylic for amigurumi and gives those crisp stitch definitions you see in the chevron patterns.
Hook:
Notions:
Stitch Abbreviations and Definitions
Before we begin, let me walk you through every stitch you’ll need. If you’re newer to amigurumi or colorwork, read through these carefully.
ch = chain. Wrap yarn over hook, pull through loop on hook. The foundation of most crochet projects.
sl st = slip stitch. Insert hook, yarn over, pull through stitch and loop on hook in one motion. Used for joining and creating flat seams.
sc = single crochet. Insert hook into stitch, yarn over and pull up a loop (2 loops on hook), yarn over and pull through both loops. The basic building block of amigurumi.
inc = increase. Work 2 single crochet stitches into the same stitch. This adds one stitch to your count.
dec = invisible decrease. Insert hook through front loops only of next 2 stitches, yarn over and pull through both front loops, yarn over and pull through both loops on hook. Creates a neater decrease than the standard method.
BLO = back loop only. Work into only the back loop of the stitch, leaving the front loop unworked. Creates a ridged texture.
FLO = front loop only. Work into only the front loop of the stitch.
magic ring = adjustable starting ring. Create a loop, work stitches into the loop, then pull tight to close the center. Essential for amigurumi to avoid holes.
Understanding the Tapestry Crochet Colorwork
The beautiful chevron patterns on each leaf use tapestry crochet, which means you carry the unused color along inside your stitches and switch colors as you work. Here are some tips before you start:
1. Carry the unused yarn loosely along the top of the previous row. Don’t pull too tight or your work will pucker.
2. Switch colors by completing the last yarn over of your single crochet with the new color. This keeps your color changes crisp.
3. Work over the carried yarn so it stays hidden inside your stitches.
Don’t worry if your first leaf looks a little messy. The colorwork gets easier with practice, and the golden border covers any slightly uneven edges.
Snake Plant Leaf Pattern (Make 8 to 12 Leaves)
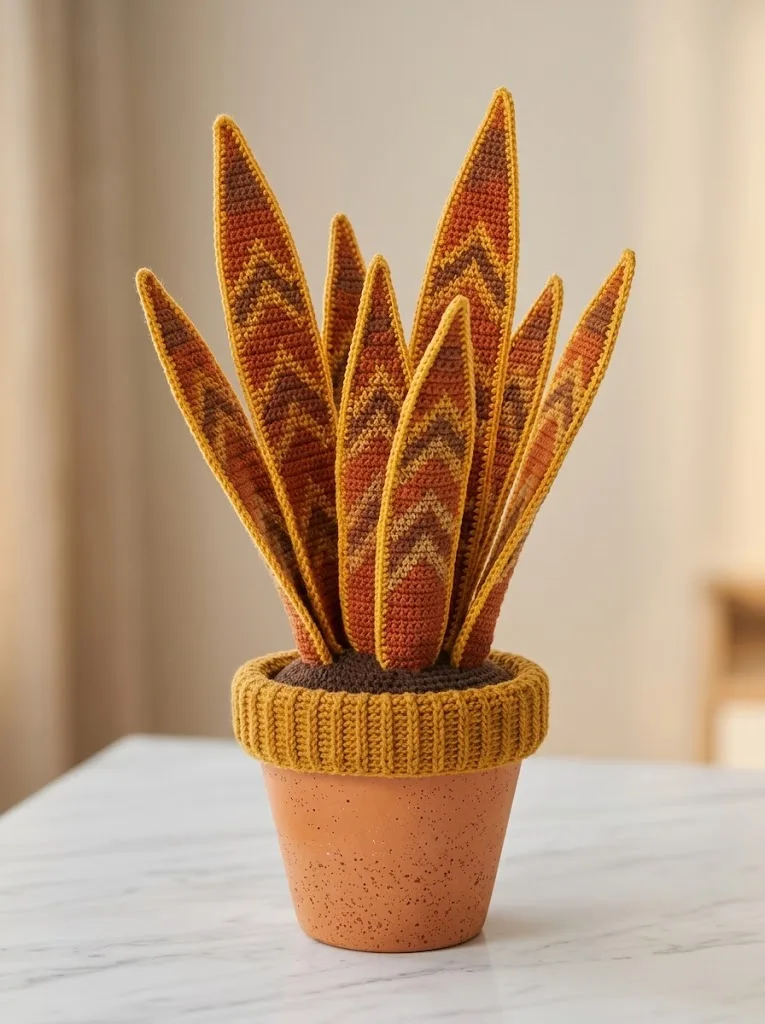
You’ll make leaves in varying sizes to create a natural, full arrangement. I recommend 3 large leaves, 4 medium leaves, and 3 to 5 small leaves.
Each leaf is worked flat in rows, then folded and seamed to create a dimensional pointed spike. The colorwork follows a simple chevron chart that I’ll describe row by row.
Large Leaf (Make 3)
Front Panel:
Work the chevron colorwork as you go, switching between mustard yellow (MY), burnt orange (BO), deep brown (DB), and cream (CR).
Row 1: With MY, ch 3, sc in 2nd ch from hook, sc in next ch. (2 sts)
Row 2: Ch 1, turn, 2 sc in first st, 2 sc in last st. (4 sts)
Row 3: Ch 1, turn, 2 sc in first st, sc in next 2 sts, 2 sc in last st. (6 sts)
Row 4: Ch 1, turn, 2 sc in first st, sc across to last st, 2 sc in last st. (8 sts)
Rows 5 through 8: Continue increasing 2 sts per row as established. Switch to BO at Row 6. (16 sts at end of Row 8)
Rows 9 through 12: Continue increasing pattern. Introduce DB for center chevron at Row 10. Add CR accent at Row 11. (24 sts at end of Row 12)
Rows 13 through 20: Continue increasing and working chevron colorwork, alternating BO, DB, and CR to create V shaped patterns pointing upward. (40 sts at end of Row 20)
Rows 21 through 30: Work even without increases, maintaining colorwork pattern. (40 sts)
Rows 31 through 40: Begin decreasing. Dec 1 st at each end every row. Continue chevron pattern. (20 sts at end of Row 40)
Rows 41 through 48: Continue decreasing until 4 sts remain.
Row 49: Dec, dec. (2 sts)
Row 50: Dec. Fasten off, leaving a long tail.
Medium Leaf (Make 4)
Work the same as the large leaf but stop at Row 35, then decrease more quickly over 10 rows.
Small Leaf (Make 3 to 5)
Work the same construction but stop increasing at Row 15 (approximately 22 sts), work 8 rows even, then decrease to a point.
Leaf Border and Assembly
With MY, work a single crochet border all around each leaf panel, working 3 sc in each corner point to keep the fabric flat.
To assemble each leaf:
1. Fold the leaf panel in half lengthwise, wrong sides together.
2. If using wire for stability, cut a piece slightly shorter than the leaf length and sandwich it between the layers.
3. Slip stitch or whip stitch the edges together, stuffing lightly with fiberfill as you go. The leaf should feel firm but not overstuffed.
4. Leave approximately 2 inches open at the base for attaching to the pot.
Pot Rim Cover Pattern
This ribbed piece fits snugly over the rim of a terracotta pot and gives a finished, cohesive look.
With MY:
Row 1: Ch 10, sc in 2nd ch from hook, sc in each ch across. (9 sts)
Row 2: Ch 1, turn, sc in BLO across. (9 sts)
Repeat Row 2 until piece measures approximately 16 inches long, or long enough to wrap around your pot rim with a slight stretch.
Sl st the short ends together to form a ring. This creates that beautiful ribbed texture you see in the photo.
Slip the ring over your pot rim. It should fit snugly and stay in place without glue.
Soil Cover (Optional)
If you want to cover the inside of your pot to hide where the leaves attach:
With DB:
Round 1: Magic ring, 6 sc into ring, pull tight. (6 sts)
Round 2: Inc in each st around. (12 sts)
Round 3: *Sc, inc* around. (18 sts)
Round 4: *Sc 2, inc* around. (24 sts)
Continue increasing 6 sts per round until the circle fits inside your pot opening. Work 2 to 3 rounds even to create a shallow bowl shape.
Final Assembly
This is the fun part where everything comes together!
1. Fill your pot with floral foam, crumpled paper, or fiberfill to provide a base for your leaves.
2. Arrange the leaves by poking the open base of each leaf into the pot. Start with larger leaves toward the center back, medium leaves around the sides, and smaller leaves filling gaps at the front.
3. Secure the leaves with hot glue if desired, or simply wedge them firmly into the filling.
4. Add the soil cover over the top to hide the leaf bases.
5. Adjust and fluff until you’re happy with the arrangement. Real snake plants have leaves that fan outward slightly, so don’t be afraid to bend and position yours.
Tips for Success
Gauge matters for this project. Work a small swatch to make sure your stitches are tight enough that stuffing won’t show through.
Block your leaves before assembling if they’re curling. A light steam or wet blocking helps them lie flat.
Vary your leaf sizes for a more realistic look. Real snake plants have leaves at different growth stages.
Use quality stuffing that won’t clump over time. Polyester fiberfill works great.
Customization Ideas
This pattern is incredibly versatile. Here are some ways to make it your own:
I hope you love making this autumn sunset snake plant as much as I loved designing it! It makes such a thoughtful handmade gift for plant lovers, new homeowners, or anyone who appreciates unique decor.
If you make this crochet snake plant pattern, I would absolutely love to see your finished project. Tag me on Instagram or share a photo in our Facebook group. Seeing your creations truly makes my day.
Save this pattern to your Pinterest boards so you can find it when you’re ready to start, and please leave a comment below if you have any questions or want to share how yours turned out. Happy crocheting!
