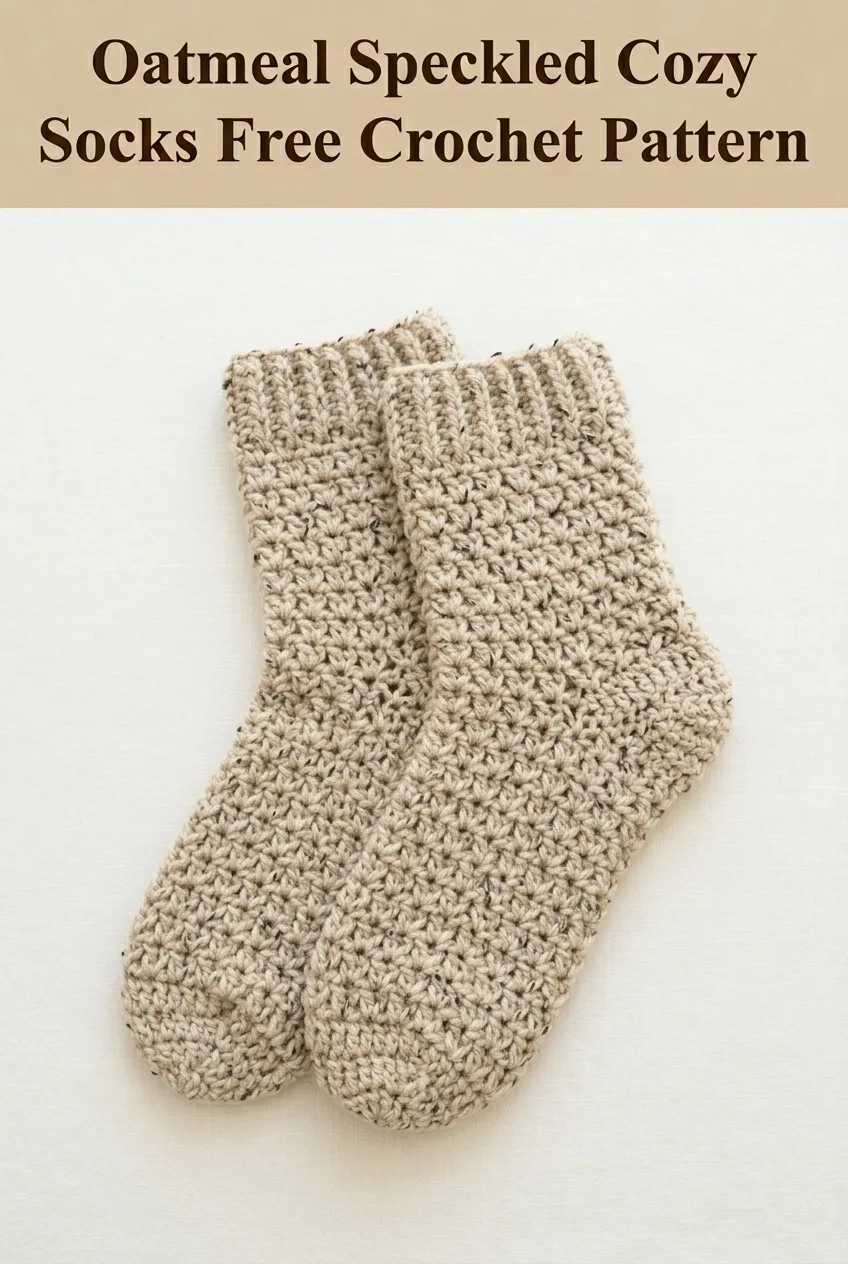
When I sat down to design these socks, I had three goals in mind. I wanted something that looked knit but was absolutely crocheted, something cozy enough for cold mornings on hardwood floors, and something that would actually fit real human feet in multiple sizes. I played around with stitch combinations for weeks trying to nail that ribbed look at the cuff. And honestly? I am SO pleased with how these turned out. The oatmeal speckled yarn gives them that rustic, cabin-in-the-woods vibe, and the construction is way simpler than it looks.
Why You’ll Love This Cozy Socks Crochet Pattern
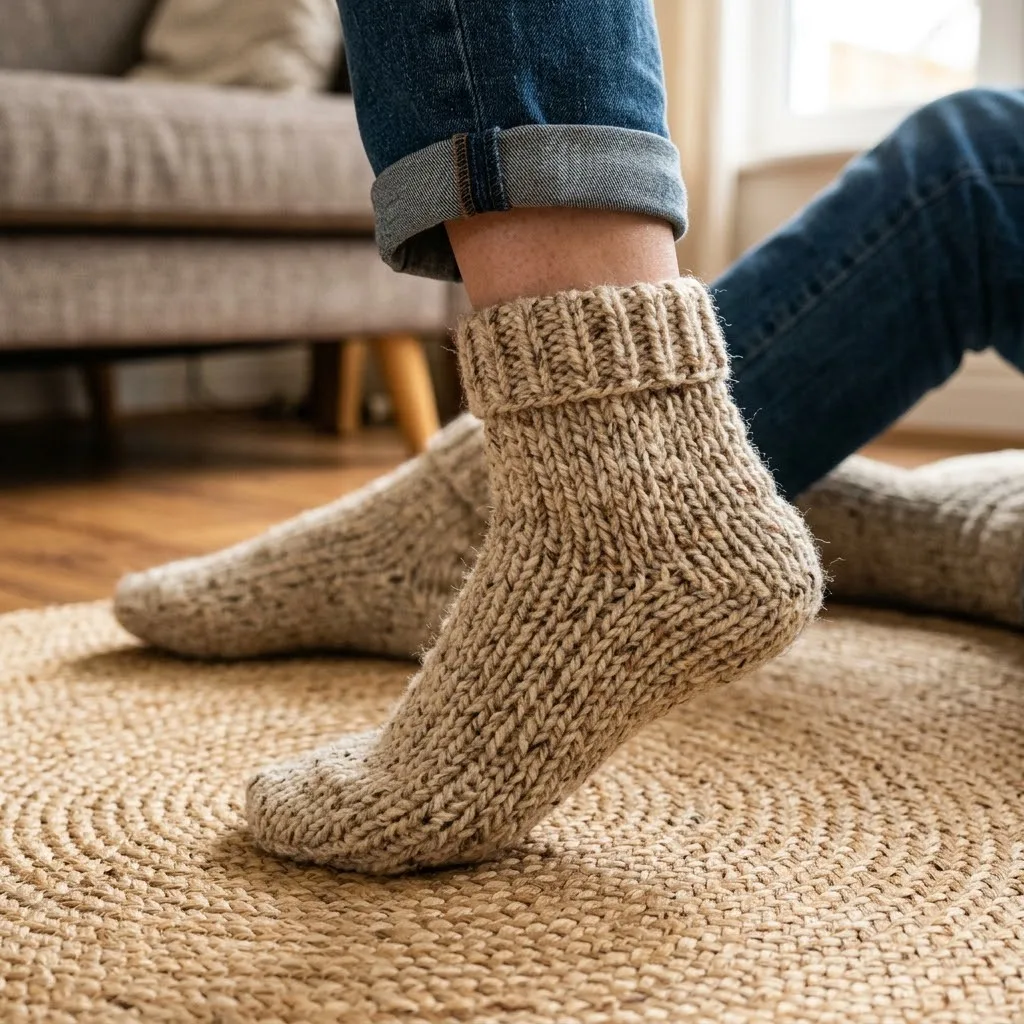
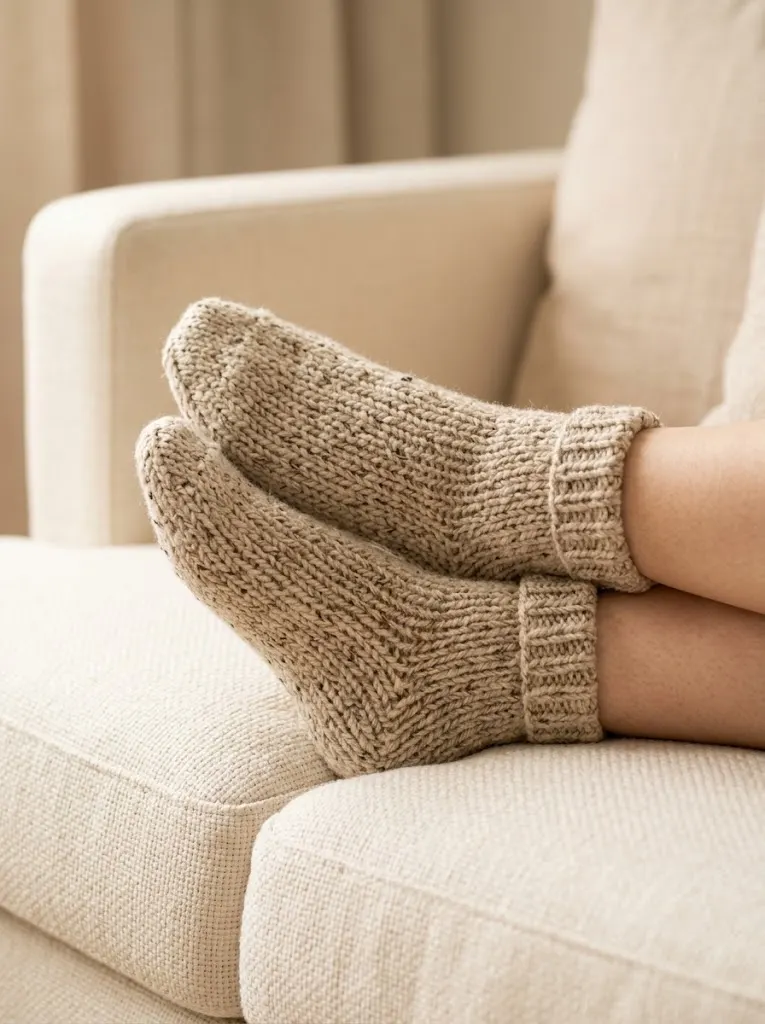
These aren’t your grandmother’s crochet slippers. This cozy socks crochet pattern creates actual socks with a fitted heel, a comfortable toe box, and a stretchy ribbed cuff that folds over just right. They’re thick enough to keep your feet warm but not so bulky that you can’t slip shoes on over them in a pinch.
The stitch texture mimics stockinette knitting, which gives these socks a polished, professional appearance. But here’s the thing. You’re using basic crochet stitches throughout. No complicated colorwork. No confusing short rows. Just straightforward construction that builds on itself in a logical way.
I designed this pattern for the crafter who wants impressive results without a steep learning curve. If you can single crochet and half double crochet, you can absolutely make these socks.
Skill Level
Confident Beginner to Intermediate
This crochet tutorial uses basic stitches but requires you to work in the round and shape the heel. Don’t let that intimidate you. I’ll walk you through every single step. If you’ve made a hat or a basic amigurumi before, you have all the skills you need.
Materials You’ll Need
Having the right supplies makes this project so much smoother. Here’s what I used:
Yarn:
Hook:
Notions:
Gauge
Getting gauge matters here because socks need to fit. Work 14 stitches and 12 rows in half double crochet to get a 4 inch by 4 inch square using the 5.0 mm hook.
If your swatch is too big, go down a hook size. Too small? Go up a hook size. I know swatching feels tedious, but trust me. It takes ten minutes and saves you from making socks that don’t fit anyone.
Finished Sizes
This step by step pattern includes three sizes:
Instructions are written for Small with Medium and Large in parentheses like this: Small (Medium, Large).
Abbreviations and Stitch Definitions
Let me break down every stitch you’ll use. Even if you know these, a quick refresher never hurts.
ch = chain: Wrap yarn over hook, pull through loop on hook. This creates your foundation.
sl st = slip stitch: Insert hook, yarn over, pull through both the stitch and the loop on your hook in one motion. Used for joining rounds.
sc = single crochet: Insert hook into stitch, yarn over, pull up a loop (2 loops on hook), yarn over, pull through both loops.
hdc = half double crochet: Yarn over, insert hook into stitch, yarn over, pull up a loop (3 loops on hook), yarn over, pull through all 3 loops at once.
hdc-blo = half double crochet in back loop only: Work a regular hdc but insert your hook only under the back loop of the stitch below. This creates the ribbed texture.
sc2tog = single crochet two together (a decrease): Insert hook into first stitch, pull up a loop, insert hook into next stitch, pull up a loop (3 loops on hook), yarn over, pull through all 3 loops. This turns 2 stitches into 1.
inc = increase: Work 2 stitches into the same stitch.
Pattern Notes Before You Begin
A few things to keep in mind as you work through this beginner friendly crochet pattern:
1. Work in continuous rounds for the foot and leg portions. Don’t join at the end of each round. Use a stitch marker to track where your rounds begin.
2. The cuff is worked flat then joined. This makes the ribbing look clean and professional.
3. Make two. Obvious, but I’ve definitely finished one sock and set the project down for months. Don’t be me.
4. Try the sock on as you go if you’re making them for yourself. Feet are weird. Adjusting length is easy. Frogging an entire finished sock is not.
Cozy Socks Crochet Pattern Instructions
The Toe (Worked in Continuous Rounds)
We’re starting at the toe and working up toward the ankle. This construction method lets you try the sock on as you go.
Round 1: Using your 5.0 mm hook, create a magic ring. Work 6 sc into the ring. Pull tight to close. Place stitch marker. (6 sts)
Round 2: Work 2 sc in each st around. (12 sts)
Round 3: *Sc in next st, 2 sc in next st* repeat around. (18 sts)
Round 4: *Sc in next 2 sts, 2 sc in next st* repeat around. (24 sts)
Round 5: *Sc in next 3 sts, 2 sc in next st* repeat around. (30 sts)
For Medium and Large only:
Round 6: *Sc in next 4 sts, 2 sc in next st* repeat around. (36 sts)
For Large only:
Round 7: *Sc in next 5 sts, 2 sc in next st* repeat around. (42 sts)
You should now have 30 (36, 42) stitches.
The Foot
Now we work even (no increases or decreases) until the foot reaches the right length.
All Sizes:
Work in continuous rounds of hdc until the foot measures approximately 6 (7, 8) inches from the tip of the toe, or about 2.5 inches less than the total desired foot length.
This is where trying the sock on helps. The foot piece should reach just before where your heel begins.
For most people, this works out to roughly 18 (22, 26) rounds of hdc. But measure. Everyone’s feet are different.
The Heel
Here’s where it gets interesting. Don’t worry. I’ll walk you through it.
Heel Setup:
You’ll work the heel over half your stitches while leaving the other half unworked (these become the top of the foot).
Row 1 (Right Side): Hdc in next 15 (18, 21) sts, turn. Leave remaining sts unworked. (15, 18, 21 sts)
Rows 2-10 (2-12, 2-14): Ch 1, hdc in each st across, turn. (15, 18, 21 sts)
You’re creating a rectangular flap.
Heel Turn:
This shapes the cup of the heel. Read each row carefully.
Row 1: Ch 1, hdc in first 9 (11, 13) sts, sc2tog, turn. Leave remaining sts unworked. (10, 12, 14 sts worked)
Row 2: Ch 1, skip first st, hdc in next 4 (5, 6) sts, sc2tog, turn.
Row 3: Ch 1, skip first st, hdc in next 4 (5, 6) sts, sc2tog (working into the next st and the unworked st from previous rows), turn.
Repeat Row 3 until all heel flap stitches have been incorporated. You’ll have approximately 6 (7, 8) stitches remaining in the heel turn.
Gusset and Leg
Now we rejoin to work in the round again.
Gusset Round 1: Ch 1, work 8 (10, 12) hdc evenly along the side of the heel flap, hdc across the 15 (18, 21) held instep stitches, work 8 (10, 12) hdc along the other side of the heel flap, hdc across remaining heel stitches. Place marker. Join to work in continuous rounds.
You’ll have approximately 37 (45, 53) stitches. This number varies slightly based on how you picked up stitches.
Gusset Decrease Rounds:
Round 1: Hdc to 2 sts before instep, sc2tog, hdc across instep, sc2tog, hdc to end of round.
Round 2: Hdc around.
Repeat these 2 rounds until you’re back to 30 (36, 42) stitches total.
The Leg
Work even in hdc for approximately 4 (4.5, 5) inches or until the leg reaches your desired height below the cuff. For ankle socks, work fewer rounds. For crew length, add more.
The Ribbed Cuff
The cuff is worked flat in rows, then joined. Switch to your 4.5 mm hook if you’d like tighter ribbing.
Foundation: Ch 11.
Row 1: Hdc in 2nd ch from hook and each ch across, turn. (10 sts)
Row 2: Ch 1, hdc-blo in each st across, turn. (10 sts)
Repeat Row 2 until the ribbed piece stretches comfortably around the top of your sock leg. For most people, this is approximately 28 (32, 36) rows.
Joining the Cuff:
Fold the ribbing so the short ends meet. Sl st or whip stitch the short ends together to form a tube.
With right sides facing, sl st the bottom edge of the cuff to the top of the sock leg, easing fullness evenly around.
Fold the cuff down for that classic look.
Finishing Your Cozy Crochet Socks
Weave in all your ends securely. For socks, I weave each end through at least 2 inches of stitches to prevent unraveling with wear.
Block your socks by soaking them in lukewarm water for 15 minutes, then laying flat to dry. This evens out your stitches and helps the socks keep their shape.
Now make the second sock! I like to start it immediately while the pattern is fresh in my mind.
Care Instructions
Wash these cozy socks in cold water on a gentle cycle, or hand wash for best results. If you used a superwash wool blend, they can handle the machine. Lay flat to dry to prevent shrinking and maintain the shape.
For extra durability, consider adding leather sole patches or fabric paint dots to the bottom. This prevents slipping on hard floors and extends the life of your handmade socks.
Customization Ideas
Want to make these your own? Try these variations:
I really hope you enjoy making these oatmeal speckled cozy socks as much as I loved designing them. If you make a pair, please save this pattern to your Pinterest boards so you can find it again later, and I would absolutely love to see your finished socks. Drop a comment below or tag me on Instagram or Facebook with your photos. Nothing makes my day like seeing your versions come to life!
