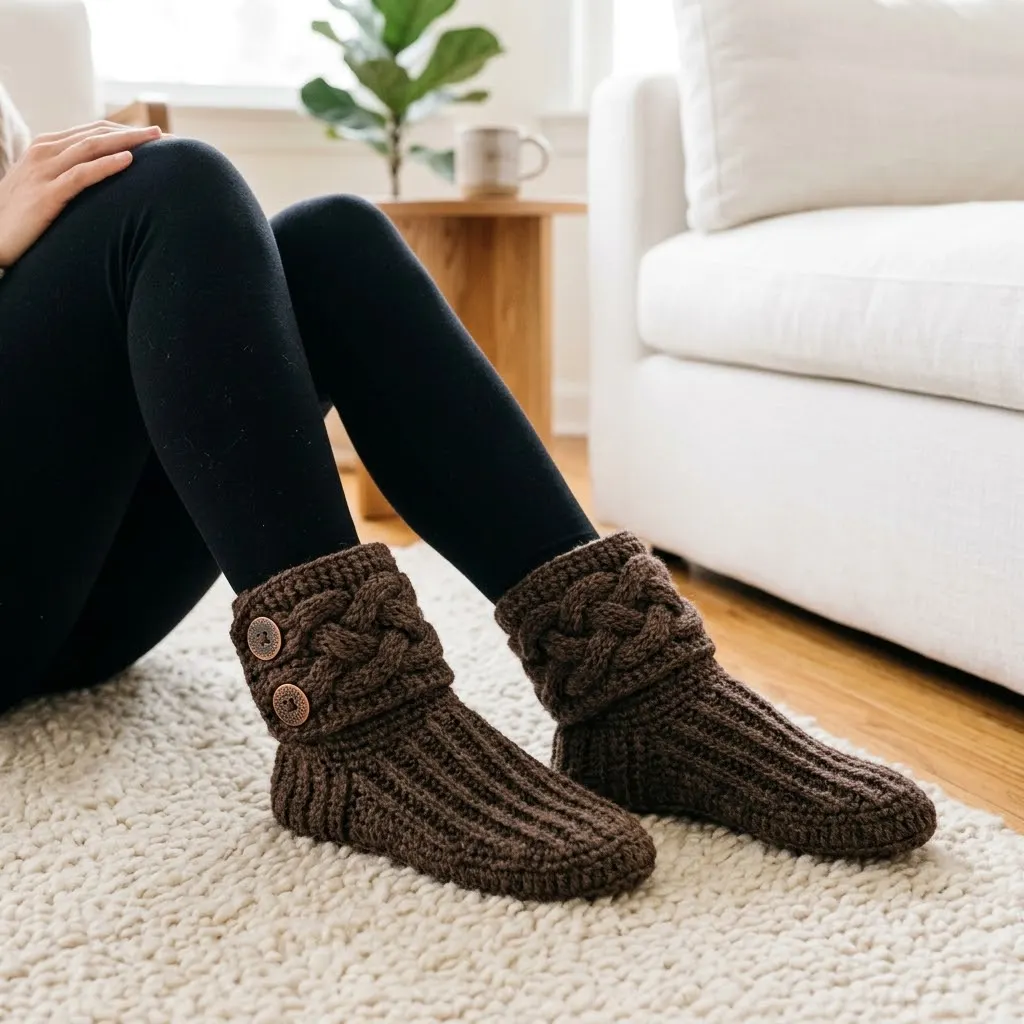
Keeping your feet warm during chilly mornings just got a whole lot cozier. These slipper boots work up using basic stitches like half double crochet and single crochet, making them perfect for confident beginners ready to try a wearable project. The ribbed texture creates stretch for a snug fit, while the braided cable cuff adds a beautiful decorative touch without complicated techniques. They make wonderful gifts for anyone who appreciates handmade comfort, and you can complete a pair in just a weekend. Whether you are treating yourself or crafting for someone special, these cabin cozy slipper boots deliver warmth and style in equal measure.
Why You Will Love This Slipper Boots Crochet Pattern
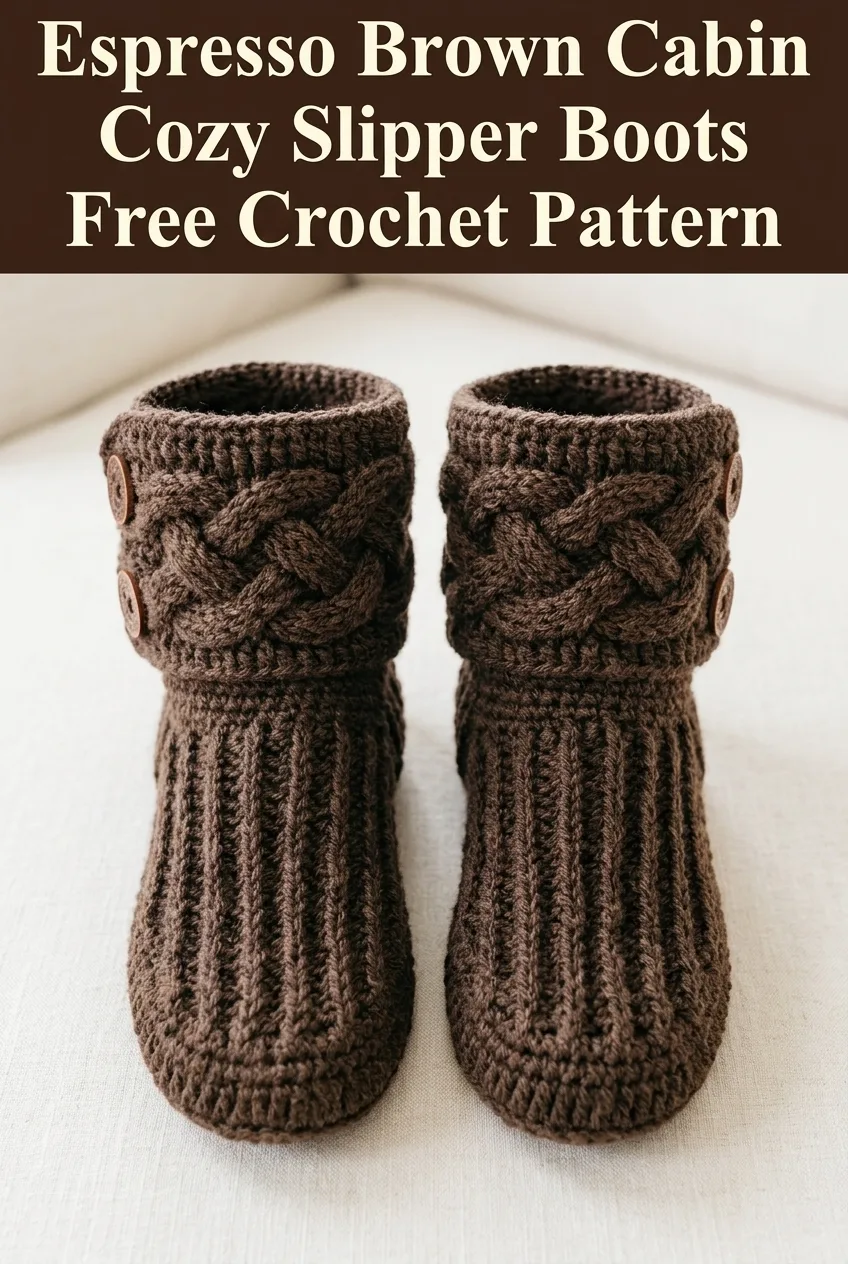
These espresso brown slipper boots combine practicality with a rustic, handcrafted aesthetic that looks far more complex than it actually is. The body of the boot uses a simple ribbing technique that creates natural stretch, so the slippers hug your feet without feeling too tight. That gorgeous braided cable cuff at the top? It is worked separately and attached, which means you get all the visual impact of cables without the stress of working them into the main fabric.
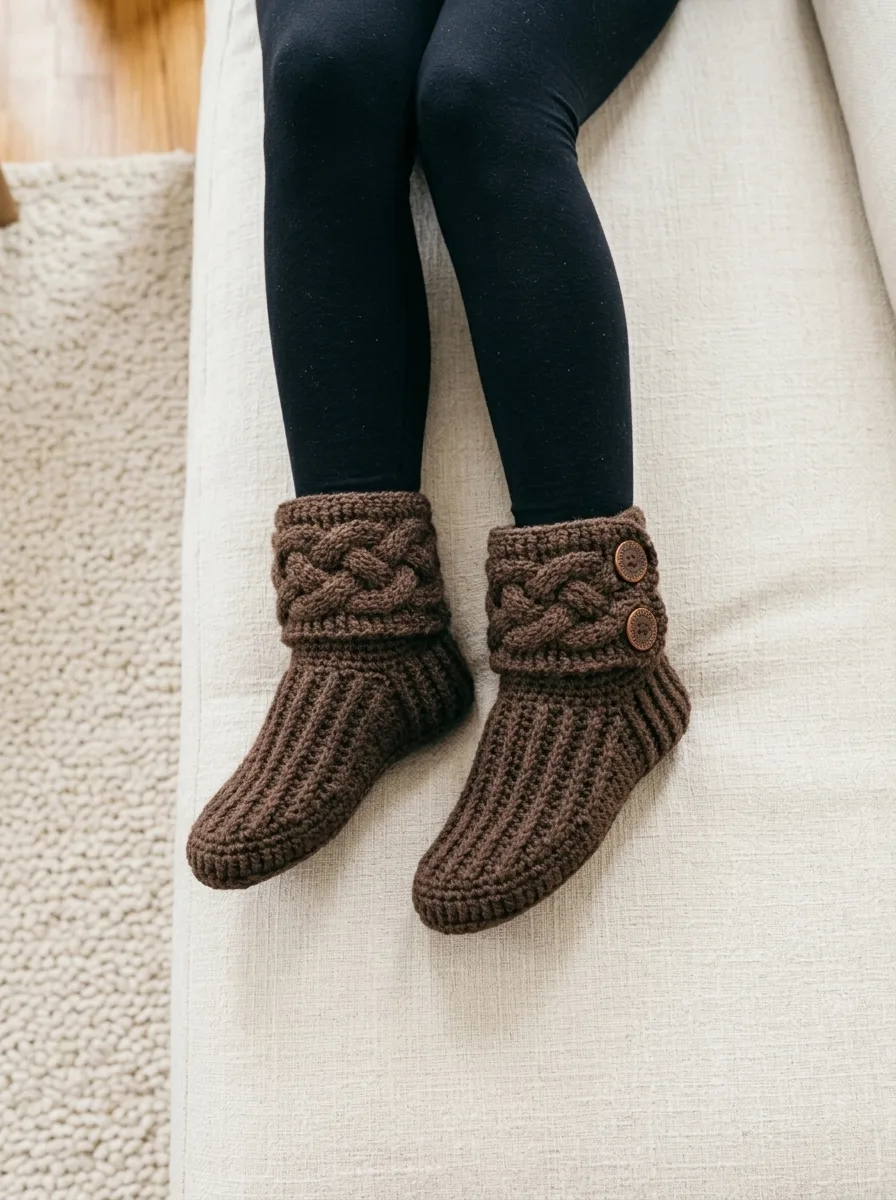
The wooden button detail adds a charming cabin feel and serves a practical purpose by helping secure the cuff in place. I love how the deep espresso brown color hides everyday wear while looking elegant and timeless.
What makes this pattern beginner friendly:
Materials Needed for Your Crochet Slipper Boots
Gathering your supplies before you start makes the entire project flow smoothly. Here is everything you will need to create your own pair of cabin cozy slipper boots.
Yarn:
Hooks:
Notions:
Gauge:
14 stitches and 16 rows = 4 inches in half double crochet ribbing
*Always check your gauge before starting. Slipper fit depends heavily on accurate gauge.*
Skill Level and Sizing Information
Skill Level: Confident Beginner to Intermediate
This crochet pattern is perfect for makers who have mastered the basics and want to try something slightly more challenging. You should be comfortable with half double crochet (hdc), working in rows, seaming pieces together, and following written instructions.
Sizes Included:
Instructions are written for size Small with Medium and Large in parentheses. Example: 30 (34, 38) stitches.
Abbreviations and Stitch Definitions
Let me walk you through every stitch and abbreviation used in this pattern. If you are new to any of these, take a moment to practice before diving in.
Ch = Chain: Yarn over, pull through loop on hook. This creates your foundation.
Sl st = Slip stitch: Insert hook, yarn over, pull through both the stitch and the loop on your hook in one motion. Used for joining and invisible movement.
Sc = Single crochet: Insert hook into stitch, yarn over and pull up a loop (2 loops on hook), yarn over and pull through both loops.
Hdc = Half double crochet: Yarn over, insert hook into stitch, yarn over and pull up a loop (3 loops on hook), yarn over and pull through all 3 loops at once.
BLO = Back loop only: Work your stitch into only the back loop of the stitch below, leaving the front loop unworked. This creates the ribbed texture.
FPdc = Front post double crochet: Yarn over, insert hook from front to back around the post of the stitch below, yarn over and pull up a loop, complete as a regular double crochet. Creates raised texture for cables.
BPdc = Back post double crochet: Yarn over, insert hook from back to front around the post of the stitch below, complete as double crochet.
Rep = Repeat
St(s) = Stitch(es)
Step by Step Crochet Pattern Instructions
Sole of the Slipper Boot
The sole is worked flat in rows using single crochet for a sturdy, dense fabric that holds up to walking.
Foundation: Ch 31 (35, 39).
Row 1: Sc in 2nd ch from hook, sc in each ch across, turn. 30 (34, 38) sts
Row 2: Ch 1 (does not count as st here and throughout), sc in each st across, turn. 30 (34, 38) sts
Rows 3 through 10 (12, 14): Repeat Row 2.
Your sole should measure approximately 3.5 (4, 4.5) inches wide and 8.5 (9.5, 10.5) inches long. Adjust rows if needed based on your gauge.
Sides and Foot Section
Now you will work around the entire sole to build up the sides of the slipper. This is where the ribbed texture begins.
Round 1: Ch 1, work sc evenly around the entire sole, placing 3 sc in each corner to help it lie flat. Join with sl st to first sc. Place marker. Approximately 80 (92, 104) sts
*Do not stress about the exact stitch count here. The goal is an even distribution around the sole.*
Round 2: Ch 1, working in BLO, hdc in each st around, join with sl st. 80 (92, 104) sts
Rounds 3 through 10: Repeat Round 2, continuing to work hdc in BLO for the ribbed texture.
The sides should now measure approximately 2.5 to 3 inches tall.
Shaping the Toe
Here is where we close up the front of the slipper to shape it around your toes. You will work decreases across the front portion only.
Identify the center front: Fold your slipper in half lengthwise. Mark the center 16 (18, 20) stitches at the toe end.
Round 11: Ch 1, hdc in BLO in each st until you reach marked toe section. Across the toe section, *hdc2tog in BLO* repeat across all marked stitches. Hdc in BLO in remaining sts, join. 72 (83, 94) sts approximately
Round 12: Ch 1, hdc in BLO around, working hdc2tog over every 2 sts in the toe area again. Join. Approximately 64 (74, 84) sts
Round 13: Repeat decreases in toe area. Approximately 56 (65, 74) sts
Continue until the toe opening is comfortably closed. You should have decreased the toe section significantly, creating a rounded shape.
Ankle and Cuff Base
Rounds 14 through 18: Ch 1, hdc in BLO in each st around, join. No decreases. 56 (65, 74) sts
The ankle section should reach just above the ankle bone when worn.
Fasten off and weave in ends.
Braided Cable Cuff (Make 2)
The cable cuff is worked flat and then attached to the top of the boot. This separate construction makes the cable technique much more manageable.
Foundation: Ch 12.
Row 1: Dc in 4th ch from hook, dc in each ch across, turn. 10 sts
Row 2: Ch 2 (counts as first dc), FPdc around next st, BPdc around next st, repeat *FPdc, BPdc* across, dc in last st, turn.
Row 3: Ch 2, BPdc around next st, FPdc around next st, repeat *BPdc, FPdc* across, dc in last st, turn.
Rows 4 through 40 (44, 48): Alternate Rows 2 and 3 to create the woven cable texture.
Fasten off, leaving a long tail for seaming.
Creating the Braid Effect
Lay your cable strip flat. You will notice the raised texture creates natural ridges. To enhance the braided look, gently twist the strip once before seaming it into a loop. This adds dimension.
Seam the short ends together to form a circular cuff.
Assembly and Finishing
Attaching the Cuff:
1. Place the cuff around the top of the slipper boot with the seam at the back.
2. Using your yarn needle and matching yarn, whip stitch the bottom edge of the cuff to the top edge of the boot.
3. Leave the top of the cuff unattached for a folded look.
Adding Buttons:
1. Position two buttons on the outside of each cuff, spacing them evenly.
2. Sew buttons securely through both the cuff and the boot for added stability.
3. The buttons are decorative but also help anchor the cuff.
Final Touches:
Tips for Crochet Pattern Success
Gauge matters for fit. Seriously, take the time to make a small swatch. Slippers that are too loose will slip off, and too tight will be uncomfortable.
Try them on as you go. After completing the sole and a few side rounds, slip your work-in-progress onto your foot. Adjust early rather than frogging later.
Choose the right yarn. Wool blends offer warmth and slight felting over time, which increases durability. Acrylic is budget friendly and machine washable. Avoid slippery yarns like bamboo or silk blends for soles.
Make both at the same time. Working both slippers simultaneously, row by row, ensures they match perfectly in size and tension.
Customization Ideas
These slipper boots are wonderfully versatile. Here are some ways to make them your own:
Caring for Your Handmade Slipper Boots
Hand washing is always safest for handmade items. Use cool water and gentle detergent, squeeze out excess water without wringing, and lay flat to dry. If you used 100% acrylic yarn, a gentle machine cycle inside a mesh bag works too.
I really hope you enjoy making these cozy slipper boots as much as I enjoyed designing them. If you found this crochet tutorial helpful, please save it to your Pinterest boards so you can find it whenever you are ready to start. And if you make a pair, I would absolutely love to see them! Drop a comment below or tag me in your photos. Happy crocheting!
