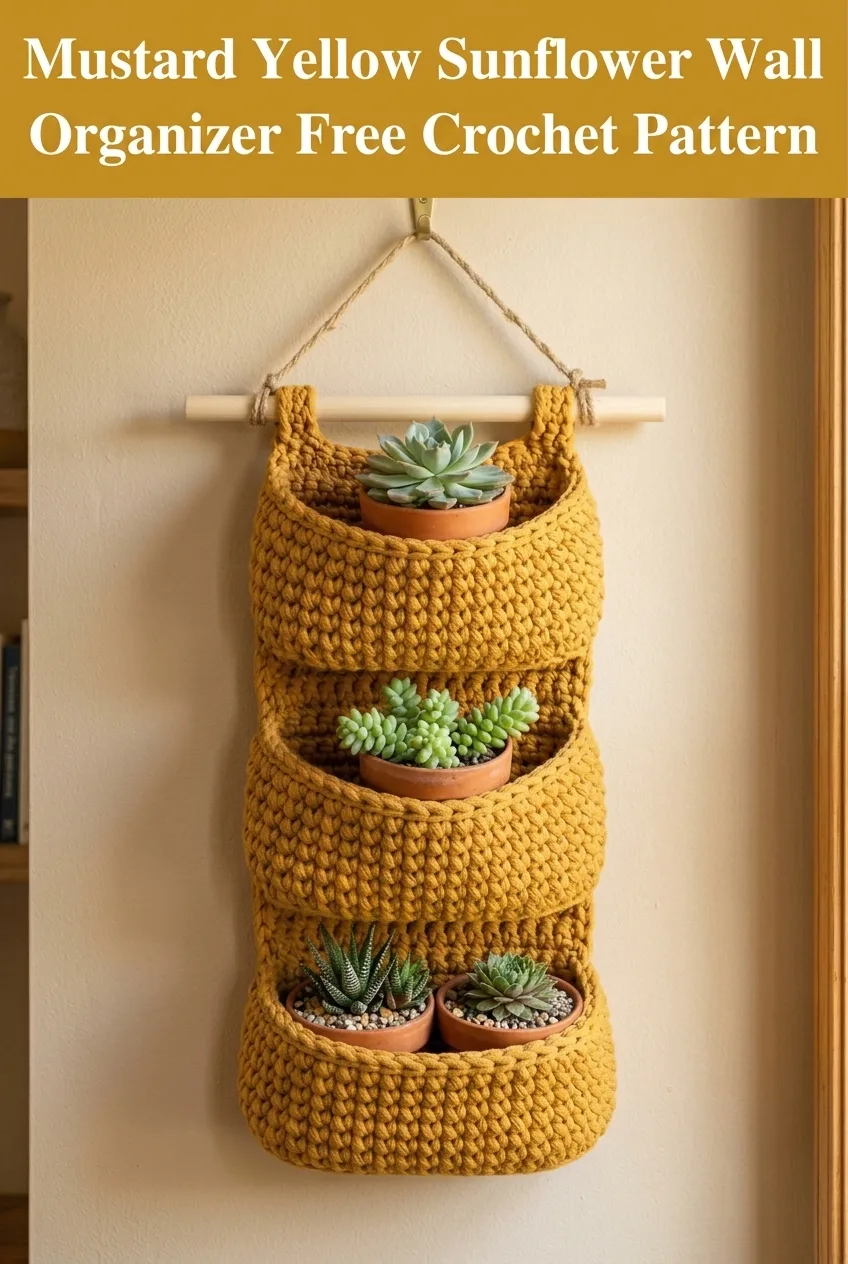
If you need a practical way to display small plants, store craft supplies, or organize bathroom essentials, this hanging wall organizer is exactly what you are looking for. The construction uses simple single crochet stitches throughout, making it perfect for confident beginners ready to tackle a functional home decor project. This pattern works up quickly with bulky cotton yarn, and the three roomy pockets hold everything from succulents in small pots to mail and keys. It makes an excellent housewarming gift or a satisfying weekend project for yourself.
Why You Will Love This Wall Organizer Pattern
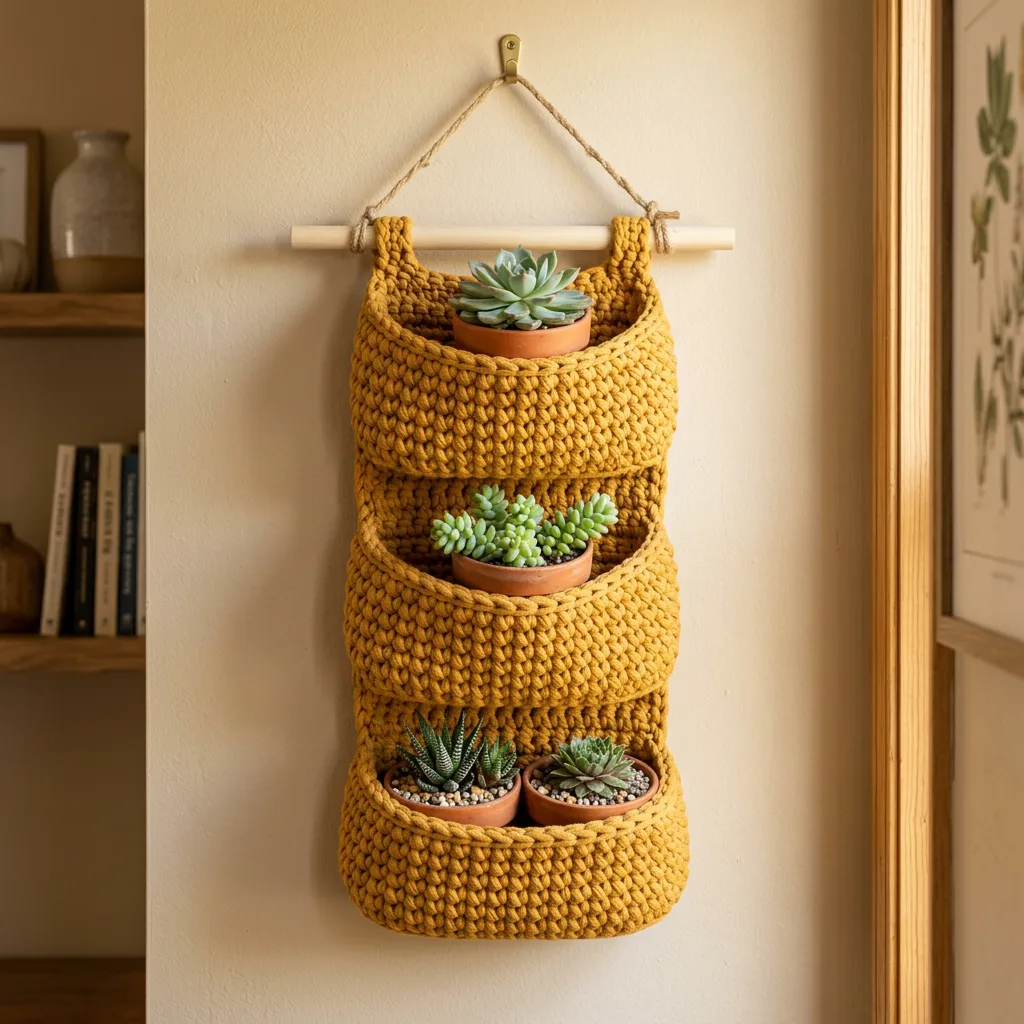
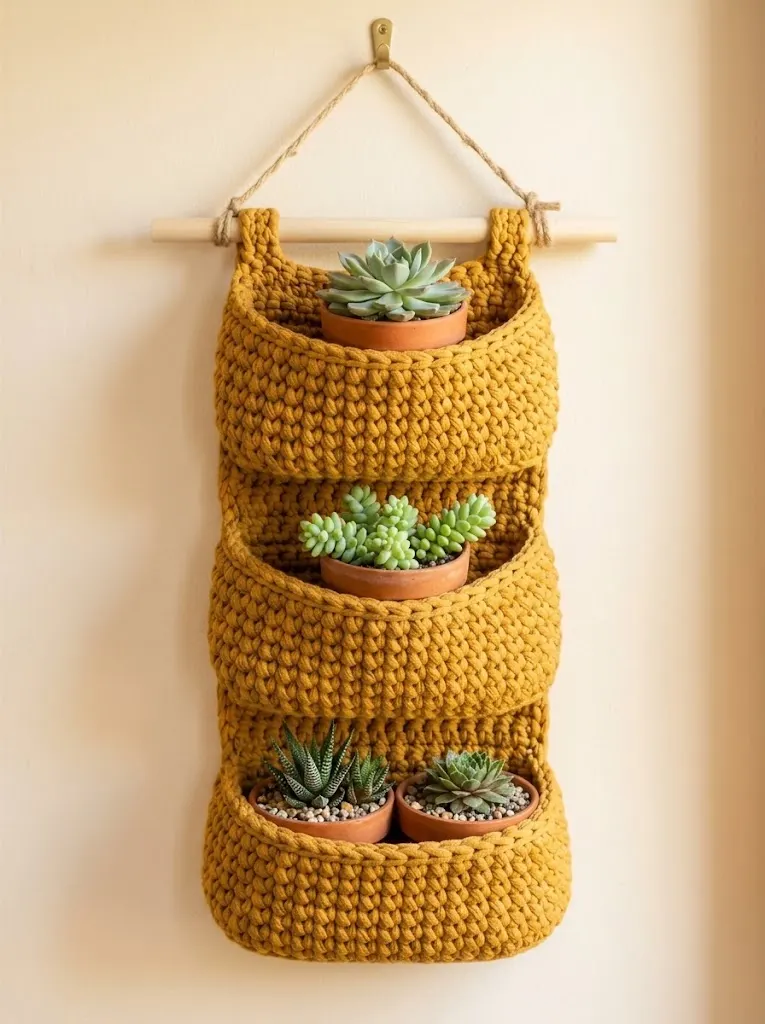
This crochet wall organizer combines style and function in the best possible way. The warm mustard yellow color adds a pop of modern boho charm to any room, but you can absolutely customize it with any color that matches your space.
What makes this project special:
I designed this organizer to be sturdy enough to hold small terra cotta pots without stretching or sagging. The dense single crochet fabric creates a thick, durable material that keeps its shape beautifully over time.
Materials Needed for Your Crochet Wall Organizer
Before you begin, gather everything you need. Having your supplies ready makes the project flow smoothly from start to finish.
Yarn:
Hook:
Notions:
Gauge:
12 single crochet stitches and 14 rows equals 4 inches square in single crochet fabric. Gauge matters for this project because it affects the finished size and pocket depth.
Skill Level
Confident Beginner to Intermediate
You should be comfortable with single crochet, working in rows, and basic seaming. The construction is straightforward, but assembling the pockets requires some attention to detail. If you have made a simple bag or pouch before, you can definitely handle this project.
Finished Dimensions
Abbreviations and Stitch Definitions
Let me explain every abbreviation before we begin. Understanding these terms will help you follow the pattern confidently.
Ch = Chain. Wrap yarn over hook and pull through the loop on your hook. This creates one chain stitch.
Sc = Single crochet. Insert hook into stitch, yarn over, pull up a loop (2 loops on hook), yarn over, pull through both loops.
Sl st = Slip stitch. Insert hook into stitch, yarn over, pull through both the stitch and the loop on your hook in one motion.
St(s) = Stitch(es)
Rep = Repeat
Understanding the Construction
Before you start crocheting, let me explain how this organizer comes together. Understanding the big picture helps everything make sense as you work.
This wall organizer consists of four separate pieces:
1. One back panel that forms the main body
2. Three pocket panels that attach to the front
3. Two hanging tabs that slide over the wooden dowel
You will crochet each piece flat in rows, then seam the pockets to the back panel at specific intervals. The tabs fold over the dowel and get stitched in place. Finally, you thread jute twine through or around the dowel for hanging.
Do not worry if this sounds complicated. I will walk you through every single step.
Step by Step Crochet Pattern
Back Panel
The back panel is one long rectangle worked entirely in single crochet. Take your time with this piece because it forms the foundation of your entire organizer.
Row 1: Ch 31. Sc in 2nd ch from hook and in each ch across. (30 sts)
Row 2: Ch 1, turn. Sc in each st across. (30 sts)
Rows 3 through 84: Rep Row 2. (30 sts each row)
At the end of Row 84, you should have a rectangle measuring approximately 10 inches wide and 24 inches long. Fasten off and weave in your ends.
Tip for beginners: Place a stitch marker in the first stitch of each row to help you keep count. Losing track of stitches is the most common mistake, and markers prevent frustration.
Pocket Panels (Make 3)
Each pocket is a smaller rectangle. You will make three identical pieces.
Row 1: Ch 31. Sc in 2nd ch from hook and in each ch across. (30 sts)
Row 2: Ch 1, turn. Sc in each st across. (30 sts)
Rows 3 through 18: Rep Row 2. (30 sts each row)
At the end of Row 18, you should have a rectangle measuring approximately 10 inches wide and 5 inches tall. Fasten off, leaving a 24 inch tail for seaming.
Repeat this process two more times until you have three pocket panels total.
Hanging Tabs (Make 2)
These small rectangles fold over your wooden dowel and create a clean, professional look at the top.
Row 1: Ch 9. Sc in 2nd ch from hook and in each ch across. (8 sts)
Row 2: Ch 1, turn. Sc in each st across. (8 sts)
Rows 3 through 10: Rep Row 2. (8 sts each row)
Fasten off, leaving a 12 inch tail for seaming.
Make two tabs total.
Assembly Instructions
Now comes the fun part. Assembling your organizer brings all the pieces together into one beautiful, functional item.
Attaching the Pockets
Lay your back panel flat on a table with the right side facing up. You will attach the pockets with the bottom pocket first, then work your way up.
Positioning the bottom pocket:
1. Place the first pocket panel at the bottom of the back panel
2. Align the bottom edge of the pocket with the bottom edge of the back panel
3. The sides should line up evenly
Seaming the bottom pocket:
Using your tapestry needle and the long tail from your pocket panel, whip stitch along the bottom edge and both side edges. Leave the top edge open to create the pocket opening.
To whip stitch, insert your needle under one strand from the edge stitch of the pocket, then under one strand from the corresponding edge stitch of the back panel. Pull snug but not too tight. Repeat all along the edge.
Positioning the middle pocket:
1. Measure approximately 6 inches up from the top edge of your bottom pocket
2. Place the second pocket panel here
3. Align the sides with the back panel edges
Seaming the middle pocket:
Repeat the whip stitch process along the bottom and both sides.
Positioning the top pocket:
1. Measure approximately 6 inches up from the top edge of your middle pocket
2. Place the third pocket panel here
3. Leave approximately 3 inches of space between the top of this pocket and the top edge of the back panel
Seaming the top pocket:
Repeat the whip stitch process along the bottom and both sides.
Attaching the Hanging Tabs
The hanging tabs create loops that your wooden dowel slides through.
1. Take one tab and fold it in half lengthwise, creating a loop
2. Position it at the top left corner of your back panel, about 1 inch from the left edge
3. The fold should face upward, away from the back panel
4. Whip stitch the two short ends of the tab to the back of your organizer
Repeat with the second tab, positioning it at the top right corner, about 1 inch from the right edge.
Adding the Dowel and Hanging Cord
1. Slide your wooden dowel through both tab loops
2. Center the dowel so equal lengths extend on each side
3. Cut a piece of jute twine approximately 24 inches long
4. Tie one end securely to the left side of the dowel, just outside the left tab
5. Tie the other end securely to the right side of the dowel, just outside the right tab
6. Adjust the length for your desired hanging height
Finishing Touches
Weave in any remaining yarn tails using your tapestry needle. For extra security, weave each tail in two different directions before trimming.
If your organizer curls slightly, you can block it by misting with water and laying flat to dry. The weight of items in the pockets will also help it hang straight over time.
Customization Ideas for Your Wall Organizer
This basic pattern opens up so many possibilities for making it your own.
Color variations:
Size adjustments:
Embellishments:
Care Instructions
Cotton yarn is durable and easy to care for, which makes this organizer practical for everyday use.
Washing: Hand wash in cool water with mild detergent. Gently squeeze out excess water without wringing. Lay flat to dry.
Spot cleaning: For small stains, dab with a damp cloth and mild soap.
Storage: If you need to store the organizer, roll it loosely rather than folding to prevent creases.
Uses for Your Crochet Wall Organizer
Once you finish this project, you will find so many ways to use it around your home.
In the entryway: Hold keys, sunglasses, mail, and small items you grab on your way out.
In the bathroom: Store toiletries, cotton balls, hair accessories, or small towels.
In the kitchen: Keep tea bags, recipe cards, or small utensils organized and within reach.
In a craft room: Hold scissors, measuring tape, stitch markers, and other small tools.
In a nursery: Store pacifiers, small toys, or diaper cream near the changing table.
For plants: Display small succulents in lightweight pots, just like you see in the photos. This creates a beautiful living wall display.
Troubleshooting Common Issues
My pockets are pulling away from the back panel.
Your seaming might be too loose. Try using smaller, closer stitches when whip stitching. You can also add a few extra stitches in the corners for reinforcement.
My organizer is too stretchy.
Cotton yarn has minimal stretch compared to acrylic, so if you are experiencing this issue, check your gauge. You may need to go down a hook size for a tighter, sturdier fabric.
The pockets are not deep enough.
Add more rows to each pocket panel. Every 3 to 4 additional rows adds approximately one inch of depth.
My edges look uneven.
Make sure you are working into the first and last stitch of every row. The turning chain does not count as a stitch in this pattern, so you should have 30 stitches in every row.
Why Cotton Yarn Works Best
I specifically chose cotton yarn for this pattern because of its practical benefits. Cotton does not stretch over time like acrylic tends to do. It holds its shape even when supporting weight. It also has a beautiful matte texture that photographs well and looks elevated in any space.
If you cannot find bulky cotton, you can hold two strands of worsted weight cotton together. This creates a similar thickness and achieves the same dense, sturdy fabric.
I really hope you enjoy making this mustard yellow wall organizer as much as I enjoyed designing it. If you create one, I would absolutely love to see it. Tag me on Instagram or share a photo in my Facebook group so we can celebrate your finished project together.
Do not forget to save this pattern to your Pinterest boards so you can find it whenever you are ready to start. And if you make this organizer, please drop a comment below telling me which room it ended up in. I always love hearing how you use your handmade creations!
