
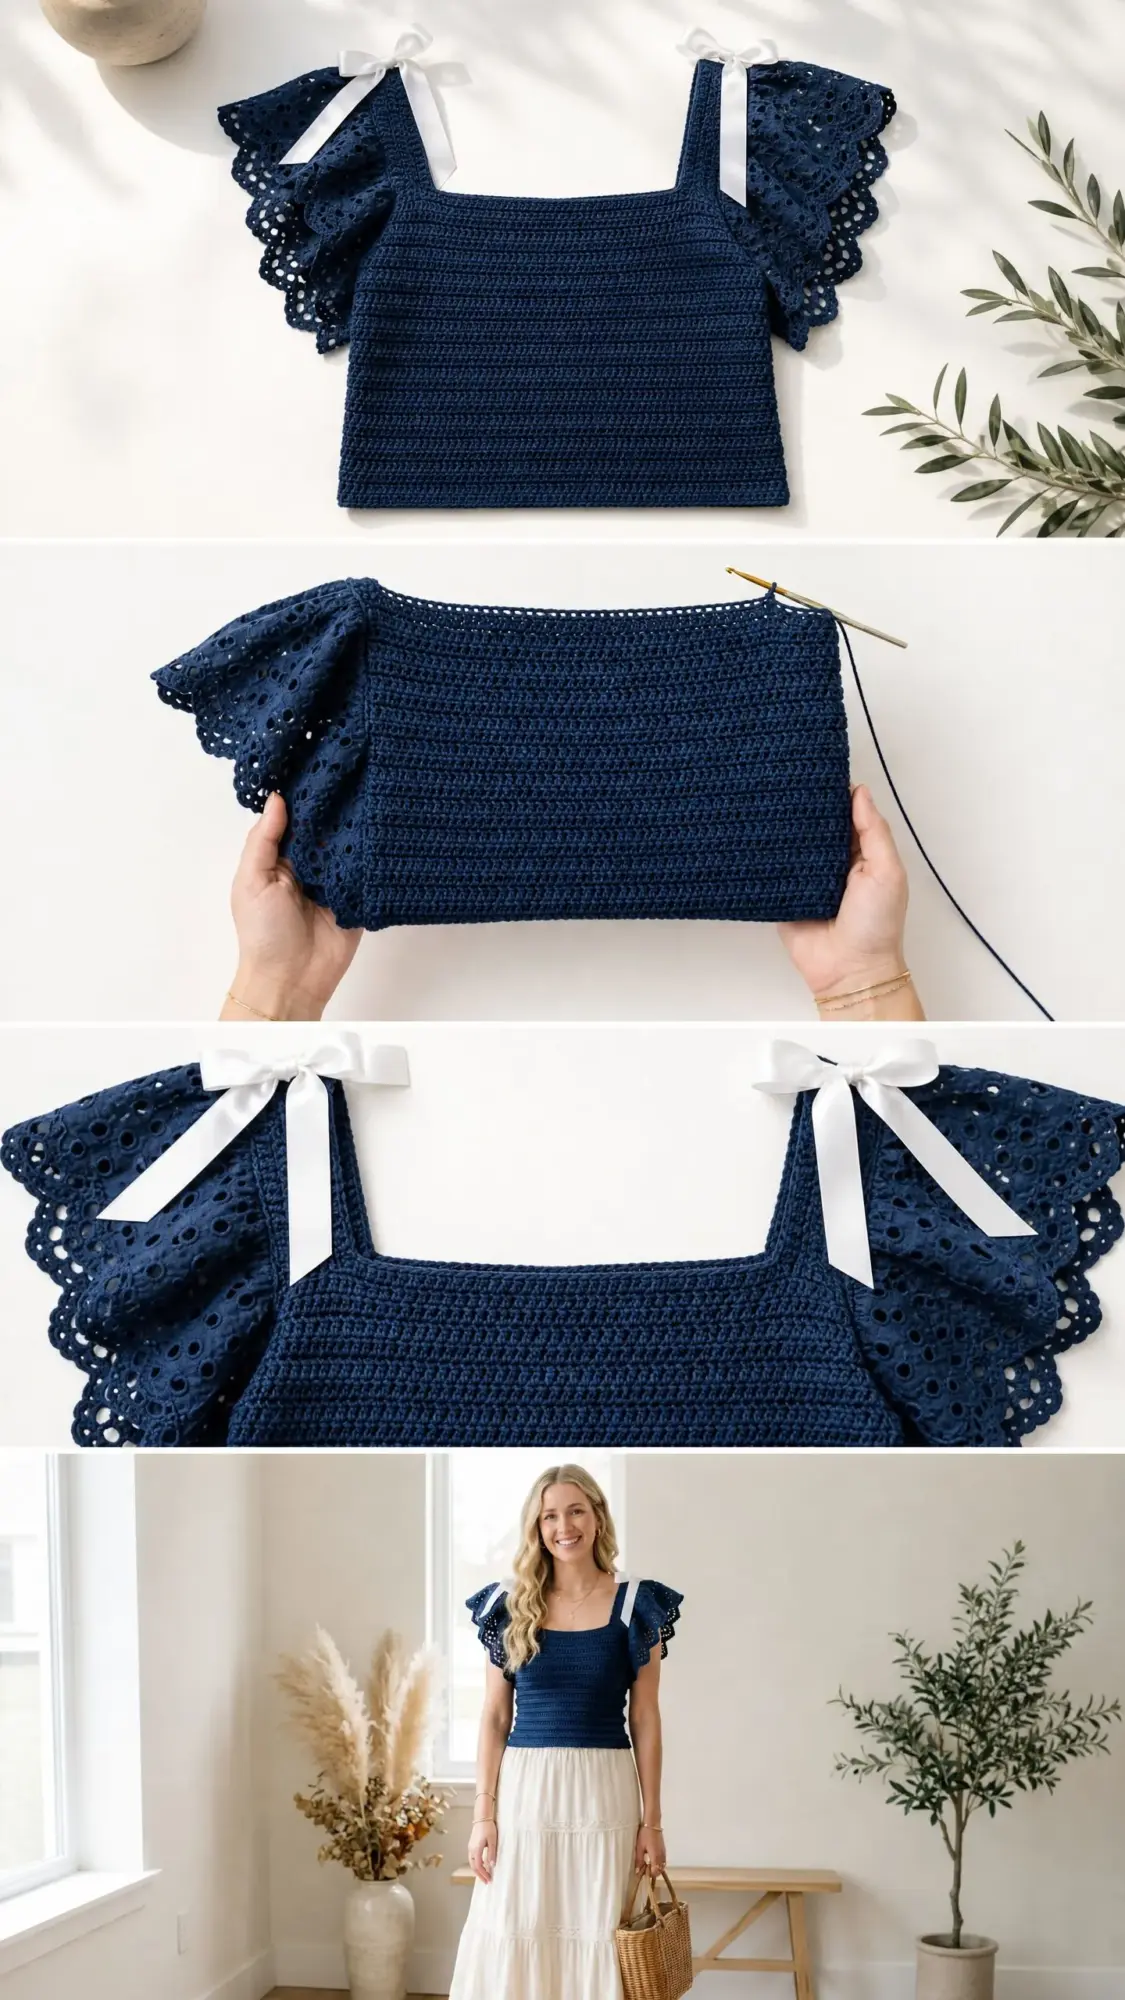
When I sat down to design this top, I had a very specific vision in mind. I wanted something that felt polished and feminine, with that classic nautical charm that never goes out of style. The combination of a structured fitted bodice, dramatic eyelet ruffle sleeves, and those sweet ribbon bows at the shoulders? I am SO pleased with how it turned out!
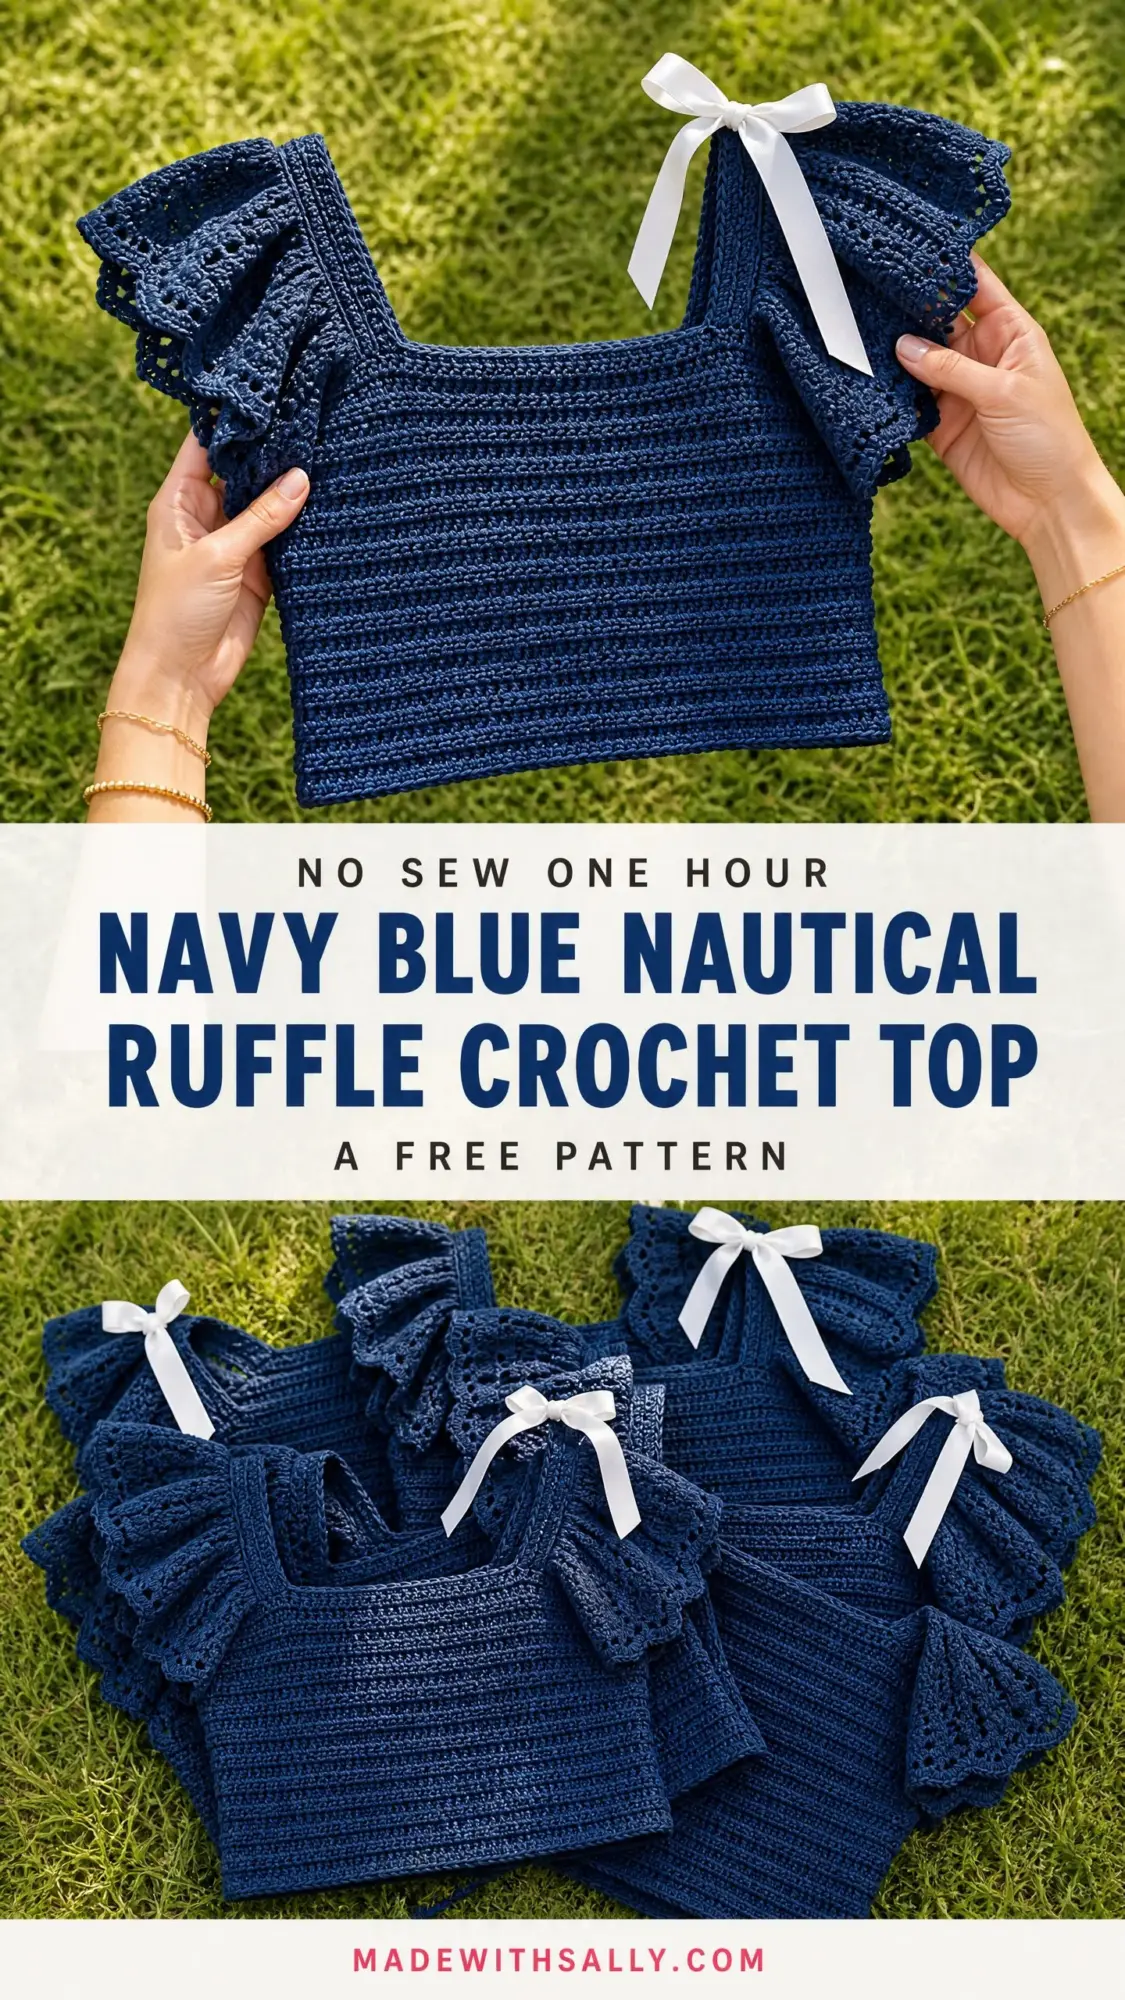
This crochet top brings together textures that just work beautifully together. The dense ribbed bodice creates that sleek, flattering fit we all love, while the airy eyelet ruffles add movement and visual interest without overwhelming the design. It looks far more complicated than it actually is.
Whether you are planning a summer wardrobe refresh or need a statement piece for your next vacation, this navy blue nautical ruffle crochet top delivers. The construction is logical, the stitches are repetitive once you get going, and the finished piece looks like something you would find in a boutique. Let me walk you through every single step.
Why This Crochet Top Pattern Works So Well
This design hits that sweet spot between impressive and achievable. The bodice uses one stitch worked in the back loop only, creating those gorgeous horizontal ridges you see in the photos. Once you understand that technique, you are basically on autopilot for the entire body section.
The ruffle sleeves are where the magic happens visually, but they are worked flat and separately from the body. This means you can take your time with them, practice the fan stitch on a small swatch first if needed, and attach them only when you are completely happy with how they look.
Skill level: Advanced beginner to intermediate. If you have completed at least one garment project before, you will find this pattern accessible. The construction requires comfort with working in the round, basic shaping, and seaming.
Time estimate: 12 to 18 hours depending on your experience level.
Finished Measurements
This pattern is written for size Small. I have included customization tips for other sizes at the end.
Materials You Will Need
Yarn: Worsted weight cotton or cotton blend, approximately 600 to 700 yards (549 to 640 meters) in Navy Blue
I recommend yarns with low elasticity and good stitch memory. Avoid anything too stretchy or fuzzy since those fibers will obscure the beautiful ribbed texture and eyelet details.
Great yarn choices:
Hooks:
Notions:
Gauge (This Is Mandatory)
With G-6 / 4.0 mm hook and worsted cotton yarn:
18 hdc x 12 rows = 4 inches (10 cm), worked in rows and blocked.
I cannot stress this enough. A difference of even one stitch per inch will alter the bust circumference by approximately 2 inches over the full garment. Swatch, block your swatch, then measure. Your future self will thank you.
Abbreviations and Stitch Definitions
Let me walk you through every abbreviation you will encounter. If you are newer to crochet patterns, bookmark this section.
Special Stitches for This Crochet Top Tutorial
Back Loop Only Half Double Crochet (Blo Hdc)
This is the star of the bodice. Instead of inserting your hook under both loops at the top of a stitch, you insert it under only the back loop. The result? Those beautiful horizontal ridges that create a ribbed texture.
How to work it: Insert hook into the back loop only of the indicated stitch. Yarn over, pull up a loop (3 loops on hook). Yarn over again, pull through all 3 loops.
Eyelet Fan Stitch
This creates the decorative scalloped pattern on the ruffle sleeves.
Step 1: Skip 2 stitches.
Step 2: Work 5 dc into the next stitch (this is the fan center).
Step 3: Skip 2 stitches.
Step 4: Work 1 sc into the next stitch to anchor the fan.
This 6-stitch repeat creates one complete fan. Each fan uses 6 stitches from the previous row.
Picot Eyelet
This small decorative element simulates the eyelet holes visible in the finished piece.
Step 1: Chain 3.
Step 2: Slip stitch into the first chain made.
That is it! You will use these at the peak of each fan on the ruffle edging rows.
Scallop Edge
This forms the decorative lower edge of each ruffle sleeve.
Step 1: Slip stitch into first stitch.
Step 2: Chain 3.
Step 3: Work 2 dc into the same stitch.
Step 4: Skip 2 stitches.
Step 5: Work 1 sc into the next stitch.
Step 6: Skip 2 stitches.
Step 7: Work 3 dc into the next stitch.
Repeat steps 4 through 7 across.
Step by Step Crochet Pattern Instructions
Bodice (Worked in Rounds)
The body of this top is worked as a seamless tube from the bottom up. You will work in joined rounds, then split at the underarm to create the square neckline.
Foundation Chain:
Using Navy Blue yarn and G-6 hook, chain 155. Being careful not to twist the chain, join with a slip stitch to the first chain to form a ring.
Round 1 (RS): Chain 2 (does not count as stitch, now and throughout). Work 1 hdc into each chain around. Join with sl st to first hdc. (154 hdc)
Quick note: The chain 2 at the beginning of each round does NOT count as a stitch in this pattern. This keeps your stitch count accurate.
Round 2: Chain 2. Work 1 blo hdc into each stitch around. Join with sl st to first hdc. (154 hdc)
Rounds 3 through 28: Repeat Round 2. (154 hdc each round)
After Round 28, your tube should measure approximately 10 inches (25.5 cm) from the foundation edge. It should measure 34 inches around when laid flat and gently measured. This is your first checkpoint!
Divide for Front and Back
At the end of Round 28, do not join. You will now work flat in two separate pieces.
Find the midpoint of your round. Place a stitch marker at stitch 77 and another at stitch 154 (or stitch 1, the join point). You will have 77 stitches for the front and 77 stitches for the back.
Front Panel
Row 1 (RS): Chain 2, turn. Work 1 blo hdc across the next 77 stitches. Turn. (77 hdc)
Row 2 (WS): Chain 2, turn. Work 1 blo hdc across all 77 stitches. Turn. (77 hdc)
Rows 3 through 14: Repeat Row 2. (77 hdc each row)
After Row 14, your front panel should measure approximately 4.5 inches (11.5 cm) above the underarm divide point. Total height from hem to top should be approximately 14.5 inches (37 cm). The top edge should be straight and even, forming the square neckline.
Fasten off and leave a yarn tail of 12 inches for seaming.
Back Panel
Rejoin Navy Blue yarn with a slip stitch to the first unworked stitch at the underarm on the opposite side of the tube.
Row 1 (RS): Chain 2. Work 1 blo hdc across the next 77 stitches. Turn. (77 hdc)
Row 2 (WS): Chain 2, turn. Work 1 blo hdc across all 77 stitches. Turn. (77 hdc)
Rows 3 through 14: Repeat Row 2. (77 hdc each row)
After Row 14, the back panel matches the front in height. Fasten off and leave a 12 inch yarn tail for seaming.
Shoulder Seam
Place front and back panels with wrong sides together.
Left shoulder: Using your yarn needle and the yarn tail, seam the outer 14 stitches of the left edge of the front panel to the outer 14 stitches of the left edge of the back panel using whipstitch or mattress stitch.
Right shoulder: Repeat for the right side.
The center stitches remain open as your neckline. Each shoulder strap is 14 stitches wide, totaling approximately 3 inches (7.5 cm).
Ruffle Sleeve (Make Two)
Switch to your H-8 / 5.0 mm hook for all sleeve pieces. The larger hook creates that beautiful drape.
Foundation Row:
Using Navy Blue yarn and H-8 hook, chain 91.
Row 1: Work 1 sc into the second chain from hook and each chain across. Turn. (90 sc)
Row 2 (increase row): Chain 1, turn. Work 2 sc into each stitch across. Turn. (180 sc)
This doubling creates the gathered, voluminous ruffle effect!
Row 3 (Eyelet Fan Row): Chain 3 (counts as 1 dc here only). Turn.
Work the Eyelet Fan Stitch across as follows:
[Skip 2 sts, 5 dc in next st, skip 2 sts, sc in next st] repeat across, ending with a final 5-dc fan in the stitch before the last sc anchor. (30 fans completed)
Row 4 (Eyelet Picot Row): Chain 1, turn. Work 1 sc into the sc anchor of the first fan. [Chain 3, sl st into first chain (picot made), sc into the 3rd dc of the next fan (center dc), chain 3, sl st into first chain (picot made), sc into the next sc anchor between fans] repeat across.
Fasten off after Row 4.
Row 5 (Scallop Edge):
Rejoin yarn at the beginning of Row 4 with RS facing. Work the Scallop Edge stitch along the bottom:
[Sl st into first st, ch 3, 2 dc into same st, sk 2 sts, sc into next st, sk 2 sts, 3 dc into next st] repeat across.
Fasten off.
Each finished sleeve ruffle should measure approximately 9 inches (23 cm) wide when laid flat, with a 4 inch (10 cm) drop length.
Sleeve Attachment
With RS of body facing outward, align the foundation chain edge (Row 1) of each ruffle with the armhole opening edge.
The ruffle has 90 stitches to distribute across approximately 32 armhole edge points. This creates the full, gathered sleeve look. Pin generously to distribute gathers evenly.
Using your yarn needle and matching yarn, seam the ruffle to the armhole using whipstitch, easing the gathers as you go. Repeat for the second sleeve.
Neckline Edging
With RS facing, rejoin yarn at any corner of the square neckline using your G-6 hook.
Round 1: Work 1 sc evenly around the entire square neckline edge, working 1 sc per stitch across horizontal edges and 1 sc per row along vertical edges. Join with sl st to first sc.
Your total should be approximately 120 sc around.
Round 2: [Sl st, ch 3, 2 dc into same st, sk 2 sts, sc into next st, sk 2 sts, 3 dc into next st] repeat around, placing 3 dc, ch 1, 3 dc into each corner stitch to maintain the square shape.
Fasten off and weave in ends.
Ribbon Embellishment
Cut your grosgrain ribbon into two equal pieces, each approximately 18 inches (45.5 cm).
At the left shoulder seam, thread the ribbon through the shoulder strap stitches at the top edge, centering it so equal lengths hang on each side. Tie into a bow on the outside of the garment.
Repeat for the right shoulder.
Trim ribbon ends at a diagonal to prevent fraying. You can seal the ends with fabric glue or a quick pass of a lighter flame.
Size Customization Tips
To adjust sizing, modify your foundation chain in multiples of 2 (for blo hdc symmetry) and ensure your new count is divisible by 6 for ruffle construction.
To lengthen the bodice, add additional rounds before dividing. Each 2 rounds add approximately 0.66 inch (1.7 cm) of length.
Blocking and Finishing
Weave in all ends securely, burying tails by running your needle through the back loops of adjacent stitches for at least 1 inch in two different directions before trimming.
For cotton yarn: Wet blocking is strongly recommended. Soak the finished top in lukewarm water for 15 to 20 minutes. Gently squeeze out excess water without wringing. Lay flat on a blocking mat, pin to measurements, and allow to dry completely.
For wool blends: Steam blocking works best. Hold a steam iron 1 to 2 inches above the surface without pressing.
Care Instructions
For cotton yarn, machine wash on gentle cycle in cold water and lay flat to dry. For wool blends, hand wash in cool water with wool wash detergent.
Remove the ribbons before washing, or untie and retie after each wash to keep those bows looking crisp. Store your top folded rather than hung to prevent stretching.
Thank you so much for choosing this pattern! I truly hope you love making this nautical ruffle top as much as I loved designing it. If you give it a try, I would absolutely love to see your finished piece. Tag me on Instagram or share a photo in our Facebook group. Your creations always make my day.
If this pattern caught your eye, go ahead and save it to your Pinterest boards so you can find it when you are ready to cast on. And please drop a comment below if you make it. I read every single one and love hearing how your projects turn out!
