
Alright, yarn lovers. This is your sign to dig into that stash and finally use that gorgeous charcoal skein you have been saving for something special.
Get the Ad-Free PDF Pattern
You can find the free pattern below, or you can purchase the ad-free printable PDF from my shop.
Get the Printable PDF →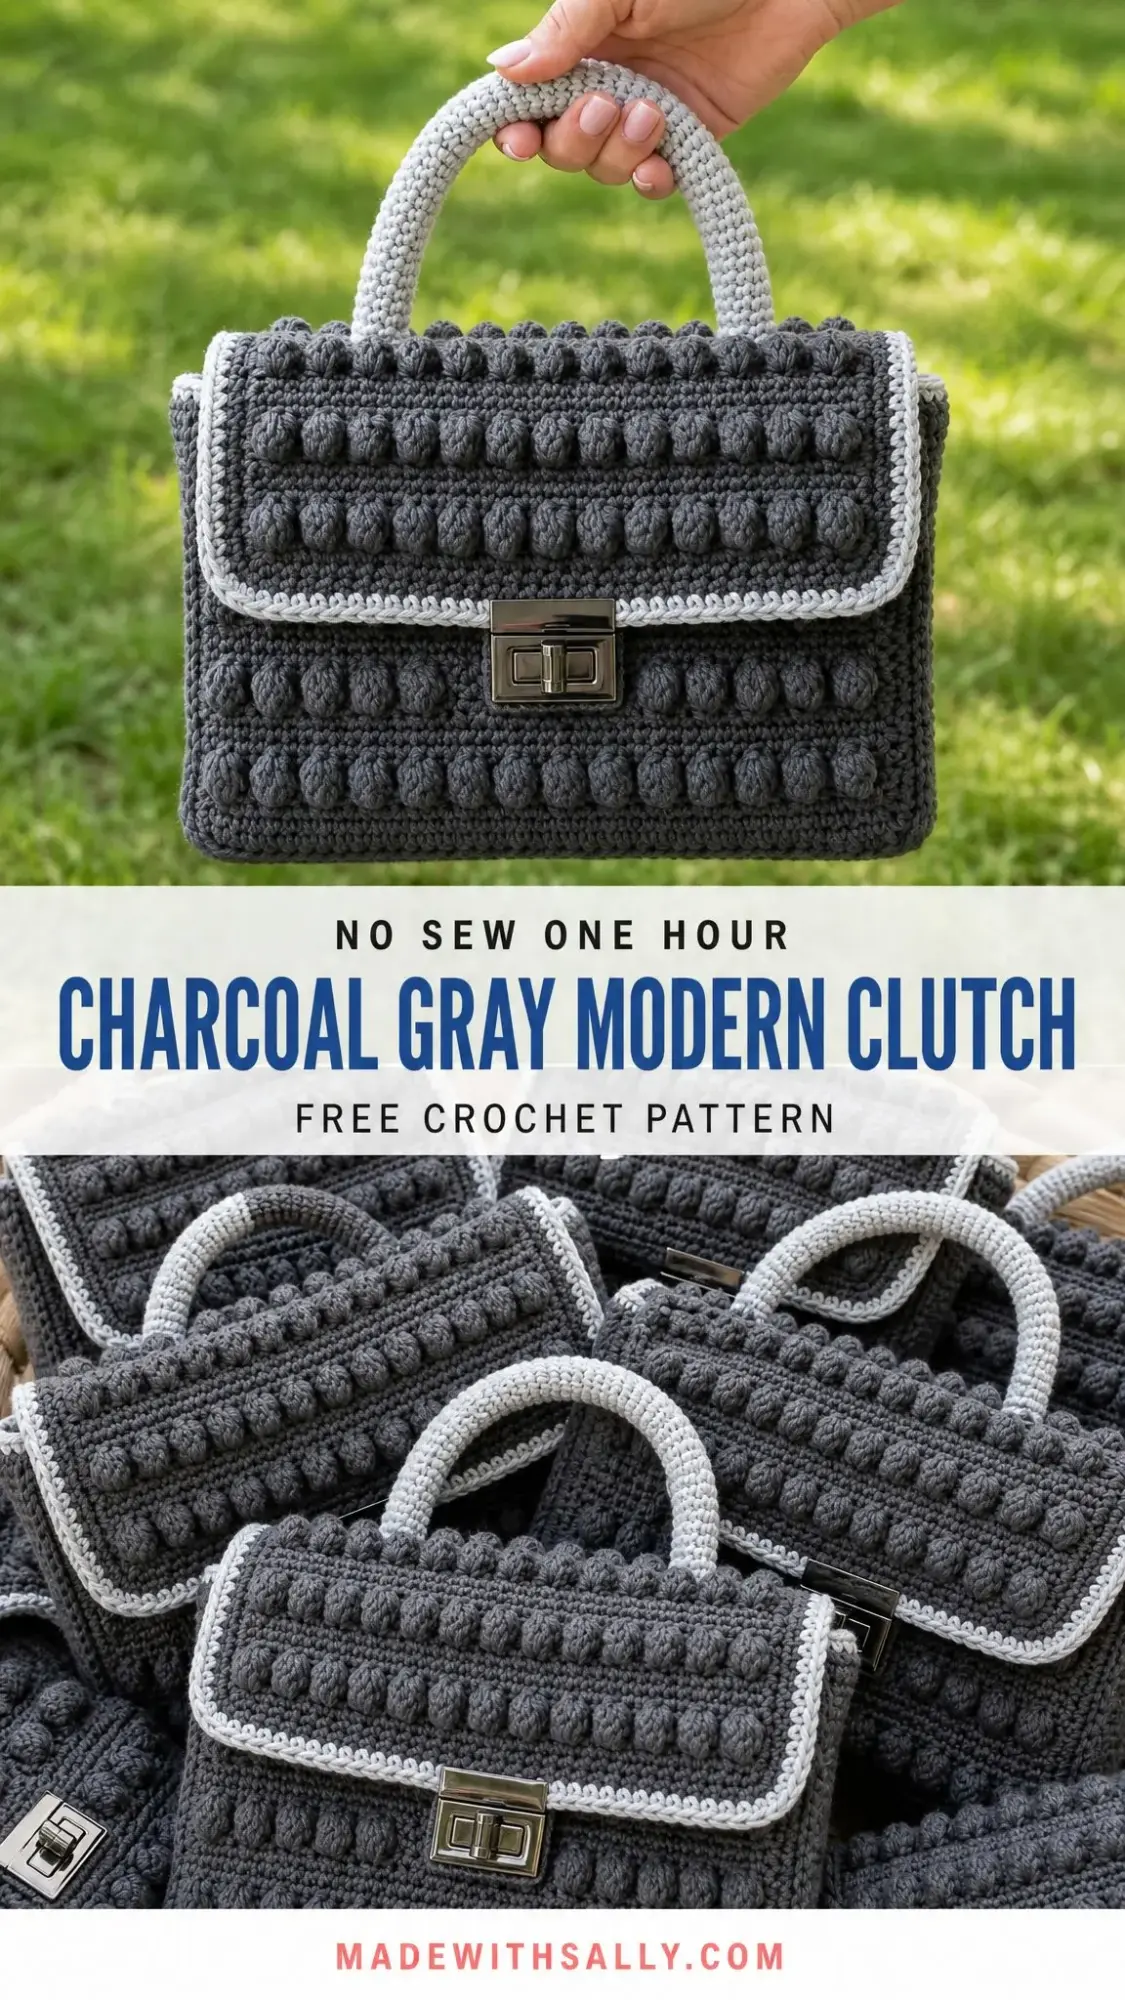
This structured bobble texture clutch is the project it has been waiting for. The construction is genuinely interesting, with flat panels seamed into a box shape, a contrast edging that pops, and a turn lock clasp that makes the whole piece look like something you would find in a boutique.
I will be honest with you. This one is labeled advanced beginner, and that is accurate. You need to be comfortable with bobbles, seaming, and installing hardware. But if you have made a few projects and want to level up, this is a fantastic next step.
About This Modern Clutch Pattern
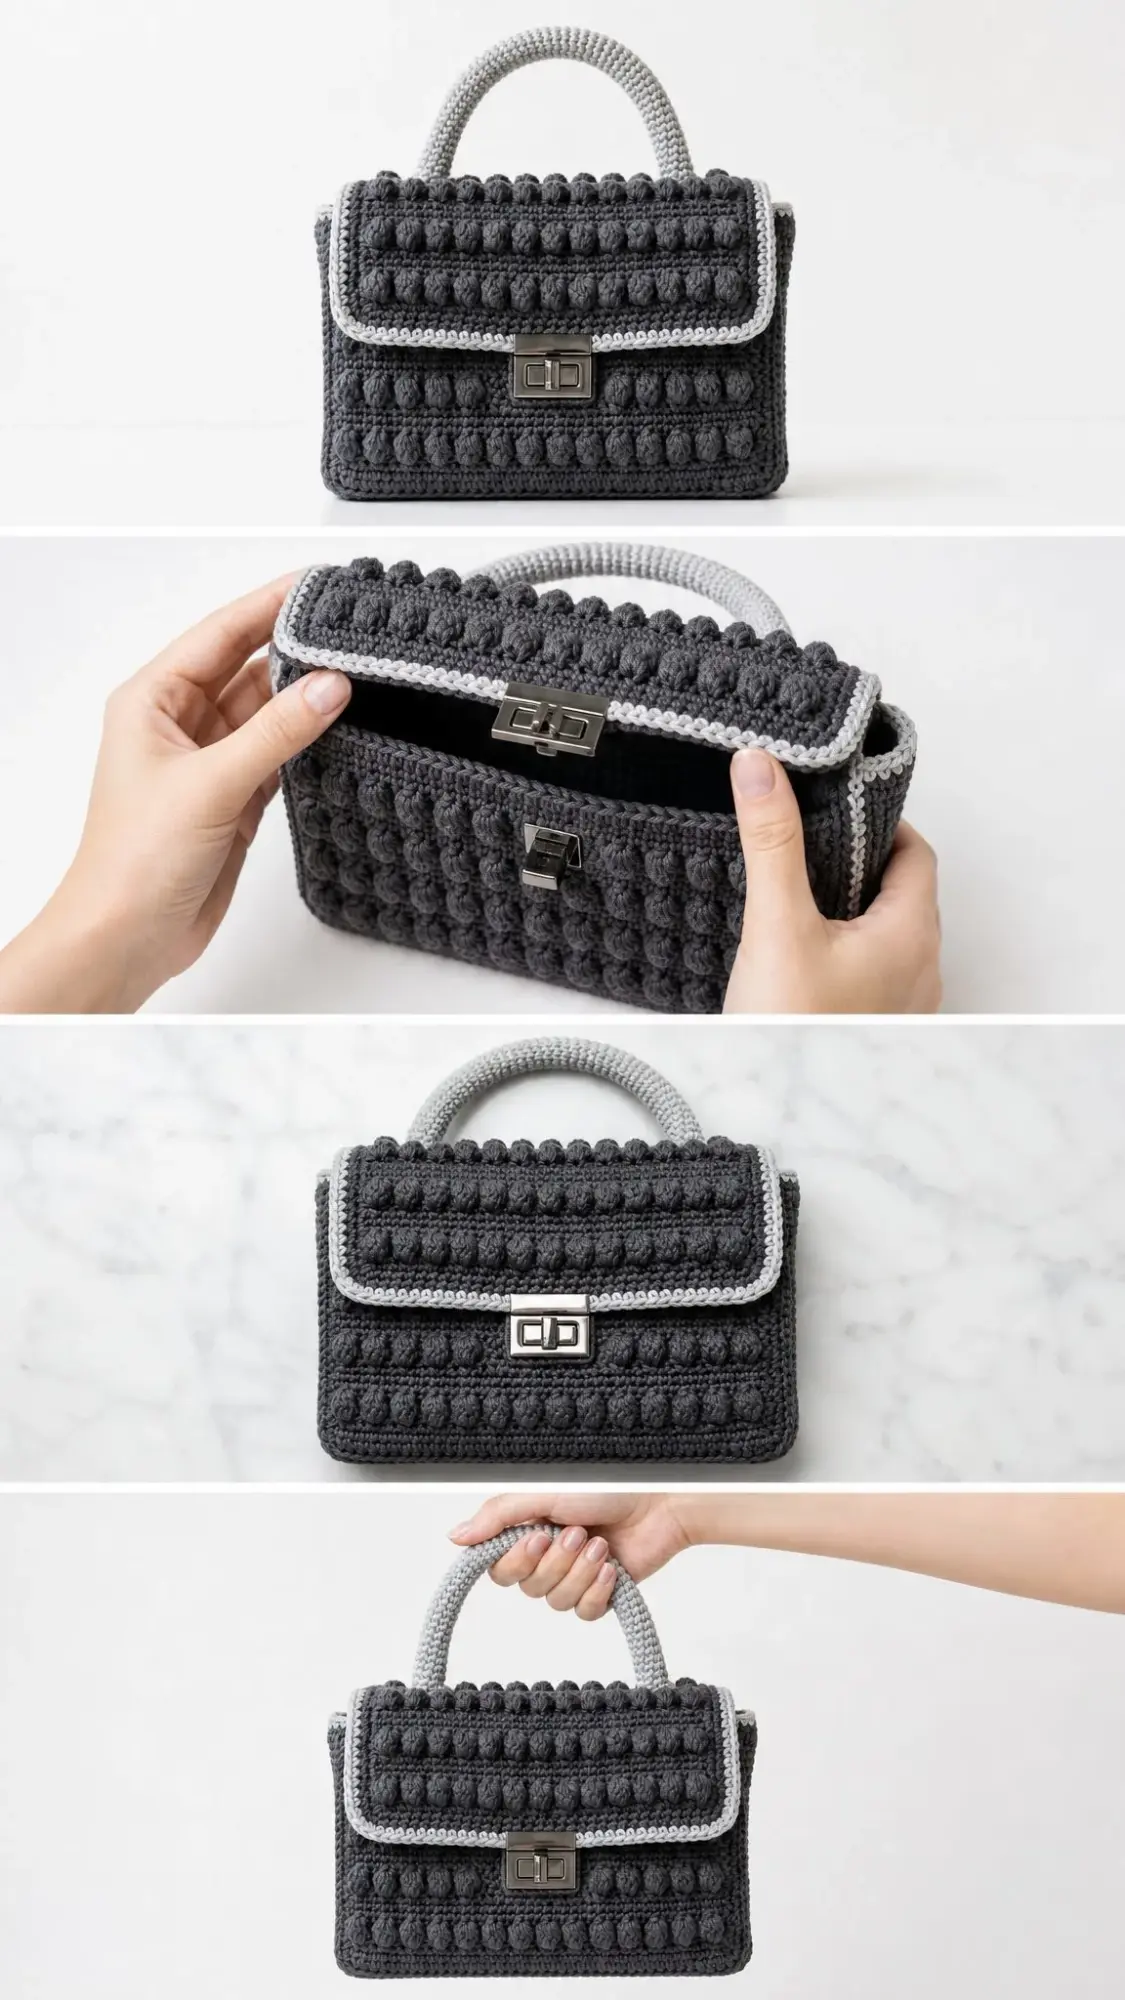
This charcoal gray clutch combines bobble texture rows with smooth single crochet sections to create a modern, dimensional fabric that looks far more complicated than it actually is. The raised bobbles pop outward on the right side rows, giving the bag that satisfying bumpy texture you see in high end accessories.
The bag is constructed from separate flat rectangles. You will make two main panels, two side gussets, one base panel, and one flap. Then you seam everything together into a structured box shape. A crocheted tube handle in light gray contrast color attaches to the top, and a turn lock clasp finishes the front for a polished look.
Finished measurements come out to approximately 9.5 inches wide by 3.5 inches deep by 7.9 inches tall including the handle. The body height before the handle is about 5 inches.
Materials You Will Need
Yarn: Worsted weight yarn, also called CYC 4. You will need charcoal gray as your Main Color (MC) at 260 yards or 238 meters, plus light gray as your Contrast Color (CC) at 45 yards or 41 meters.
Hook: US G-6 or 4.0 mm, or whatever size you need to match gauge.
Notions: Yarn needle, removable stitch markers, sharp scissors, sewing needle with matching thread, and pins or clips for assembly.
Hardware: One turn lock clasp approximately 1.37 inches or 3.5 cm wide in antique silver finish.
Structure (optional but recommended): Fabric lining, plastic canvas, bag stabilizer, or firm interfacing cut to fit the panels. This gives the clutch that structured boutique look.
Yarn Suggestions
If you need specific recommendations, these work beautifully for this project:
When substituting yarn, choose a worsted weight that creates a dense, structured fabric at gauge. Cotton blends make a firmer clutch while acrylic or wool blends create a softer result.
Gauge
16 stitches by 18 rows equals 4 inches or 10 cm in single crochet worked in the bobble pattern fabric after light blocking.
Matching gauge matters here. It affects hardware placement and the finished structure of your clutch. Take time to swatch before diving in.
Abbreviations and Terms
This pattern uses US crochet terms. If you typically work from UK patterns, note that US single crochet equals UK double crochet.
Special Stitches Explained
Bobble Stitch
This is the star of the show. In the indicated stitch, work the following: yarn over, insert hook in stitch, yarn over and pull up a loop, yarn over and pull through 2 loops. Repeat this sequence 5 times total. You will have 6 loops on your hook. Yarn over and pull through all 6 loops, then chain 1 to close.
The closing chain does not count as a stitch. This creates a puffy raised bobble that pops toward you.
Clean Edge Single Crochet
Insert your hook under both loops of the edge stitch. Pull up yarn with even tension and complete a normal single crochet. Keep edge stitches snug but not tight. This gives you neat edges for seaming.
Crocheted Tube Handle
Work a small continuous tube in spiral rounds over 6 stitches. You can stuff it lightly or work around a cord for firmness. More details in the handle section below.
Pattern Notes Before You Begin
Main Panels (Make 2)
Work these in Main Color. Each panel measures approximately 9.75 inches or 24.5 cm wide by 5 inches or 13 cm tall after light blocking.
Row 1: Chain 40. Single crochet in 2nd chain from hook and each chain across. Turn. (39 sc)
Row 2: Chain 1, single crochet across. Turn. (39 sc)
Row 3 (bobble row): Chain 1, single crochet in first 2 stitches, bobble in next stitch, single crochet in next stitch; repeat from 18 times, single crochet in last stitch. Turn. (39 sts with 18 bobbles)
Rows 4 through 6: Chain 1, single crochet across. Turn after each row. (39 sc)
Row 7: Repeat Row 3. (39 sts with 18 bobbles)
Rows 8 through 10: Chain 1, single crochet across. (39 sc)
Row 11: Repeat Row 3. (39 sts with 18 bobbles)
Rows 12 through 14: Chain 1, single crochet across. (39 sc)
Row 15: Repeat Row 3. (39 sts with 18 bobbles)
Rows 16 through 18: Chain 1, single crochet across. (39 sc)
Row 19: Repeat Row 3. (39 sts with 18 bobbles)
Rows 20 through 23: Chain 1, single crochet across. Fasten off after Row 23. (39 sc)
Checkpoint: Each panel should show 5 bobble rows with 18 bobbles across each row and measure about 9.75 inches or 24.5 cm wide before seaming.
Side Gussets (Make 2)
Work in Main Color.
Chain 16.
Row 1: Single crochet in 2nd chain from hook and each chain across. Turn. (15 sc)
Rows 2 through 23: Work as for Main Panel rows, using this bobble row: chain 1, single crochet in first 2 stitches, bobble in next stitch, single crochet in next stitch; repeat from 6 times, single crochet in last stitch. (15 sts with 6 bobbles)
Fasten off.
Base Panel (Make 1)
Work in Main Color.
Chain 40.
Row 1: Single crochet in 2nd chain from hook and each chain across. Turn. (39 sc)
Rows 2 through 15: Chain 1, single crochet across. Turn after each row. Fasten off. (39 sc)
Base measures approximately 9.75 inches or 24.5 cm by 3.5 inches or 9 cm.
Flap (Make 1)
Work in Main Color.
Chain 40.
Row 1: Single crochet in 2nd chain from hook and each chain across. Turn. (39 sc)
Row 2: Chain 1, single crochet across. (39 sc)
Row 3: Chain 1, single crochet in first 2 stitches, bobble in next stitch, single crochet in next stitch; repeat from 18 times, single crochet in last stitch. (39 sts with 18 bobbles)
Rows 4 through 6: Chain 1, single crochet across. (39 sc)
Row 7: Repeat Row 3. (39 sts with 18 bobbles)
Rows 8 through 11: Chain 1, single crochet across. Fasten off. (39 sc)
Flap Edging
With Main Color, single crochet evenly around the flap: 39 stitches along top, 3 single crochet in corner, 11 stitches down side, 3 single crochet in corner, 39 stitches along lower edge, 3 single crochet in corner, 11 stitches up side, 3 single crochet in corner. Join. (112 sc)
With Contrast Color, slip stitch in back loop only of each stitch around. Join and fasten off. (112 sl sts)
Checkpoint: The flap has 2 bobble rows, a smooth lower edge, and a light gray trim that frames the front closure area.
Assembly Instructions
Step 1: Block panels lightly to the listed measurements. Do not overstretch the bobbles.
Step 2: With wrong sides facing inward, pin the base panel to the lower edge of the front panel. Seam with mattress stitch or whipstitch through edge loops.
Step 3: Attach the back panel to the opposite long edge of the base.
Step 4: Sew one side gusset between front and back along the left side and base corner. Repeat for the right side.
Step 5: Weave in ends inside the bag. Check that the opening is square and the bag stands evenly.
Step 6: Sew the flap to the back top edge, centered across the full 39 stitch width. The bobble side faces outward and the contrast edge frames the front.
Step 7 (optional but recommended): Add lining or stabilizer before attaching hardware.
Top Opening Edge
With Contrast Color, join yarn at one back corner and work 1 round of single crochet evenly around the top opening. Place 1 single crochet in each top stitch and 1 single crochet in each side seam edge as needed to keep the edge flat. Join and fasten off. Target approximately 108 to 112 single crochet around the opening.
Checkpoint: The body should measure about 9.5 inches or 24 cm wide, 3.5 inches or 9 cm deep, and 5 inches or 13 cm tall before the handle.
Crocheted Tube Handle
With Contrast Color, chain 6 and join with slip stitch to form a ring, taking care not to twist.
Round 1: Chain 1, single crochet in each chain around. Do not join. Work in a spiral. (6 sc)
Rounds 2 through 52: Single crochet around. (6 sc each round)
Fasten off, leaving a long tail. Insert cord or light stuffing if desired. Shape into an arch approximately 6 inches or 15 cm wide and 3 inches or 7.5 cm tall.
Place handle ends on the top edge, about 2 inches or 5 cm in from each side seam. Sew securely through the handle end, top edge, and lining or stabilizer if used. Repeat several passes for strength.
Turn Lock Closure Installation
Close the flap and mark the center front. Install the turn lock clasp according to the hardware package directions. Reinforce the inside with felt, fabric, or stabilizer before tightening the clasp prongs or screws.
Final Finishing
Size Customization Tips
To change the width, add or subtract an even number of chains before Row 1. The working stitch count must remain odd for centered bobble rows. For every 2 stitches added, each bobble row gains 1 bobble.
To change the depth, add or subtract stitches from the side gussets and rows from the base panel equally.
To change the height, add or subtract 4 row repeats between bobble rows.
Adjust handle rounds to your preferred arch before sewing it down.
Troubleshooting Common Issues
Bobbles lean to one side: Tighten the single crochet immediately after each bobble and keep right side rows consistent.
Panel curls: Steam block lightly and check that bobble rows are not worked too tightly.
Bag feels soft: Add lining, plastic canvas, or interfacing before hardware installation.
Flap pulls upward: Move clasp hardware slightly lower or add one more plain single crochet row to the flap.
Edges ripple: Reduce picked up edging stitches along side edges.
Care Instructions
Hand wash cold only if hardware and lining allow washing. Do not bleach. Lay flat to dry. Do not iron. Do not tumble dry. Spot cleaning is recommended for best structure.
Thank you so much for choosing this pattern for your next project. I genuinely hope you love making this clutch as much as I loved designing it. If you finish one, I would absolutely love to see it. Tag me on Instagram or share a photo on Facebook so I can admire your work.
If this pattern is something you want to come back to later, go ahead and save it to your Pinterest boards so it is easy to find when you are ready to start. And if you make this clutch, please drop a comment below. I love hearing how your projects turn out and seeing all the color combinations you choose.
Want a Quick & Easy Printable Version?
Get a clean, beautifully formatted PDF of this pattern — easy to follow step by step, ready to print or save on any device. No scrolling, no distractions, just the pattern.
Get the Printable PDF →