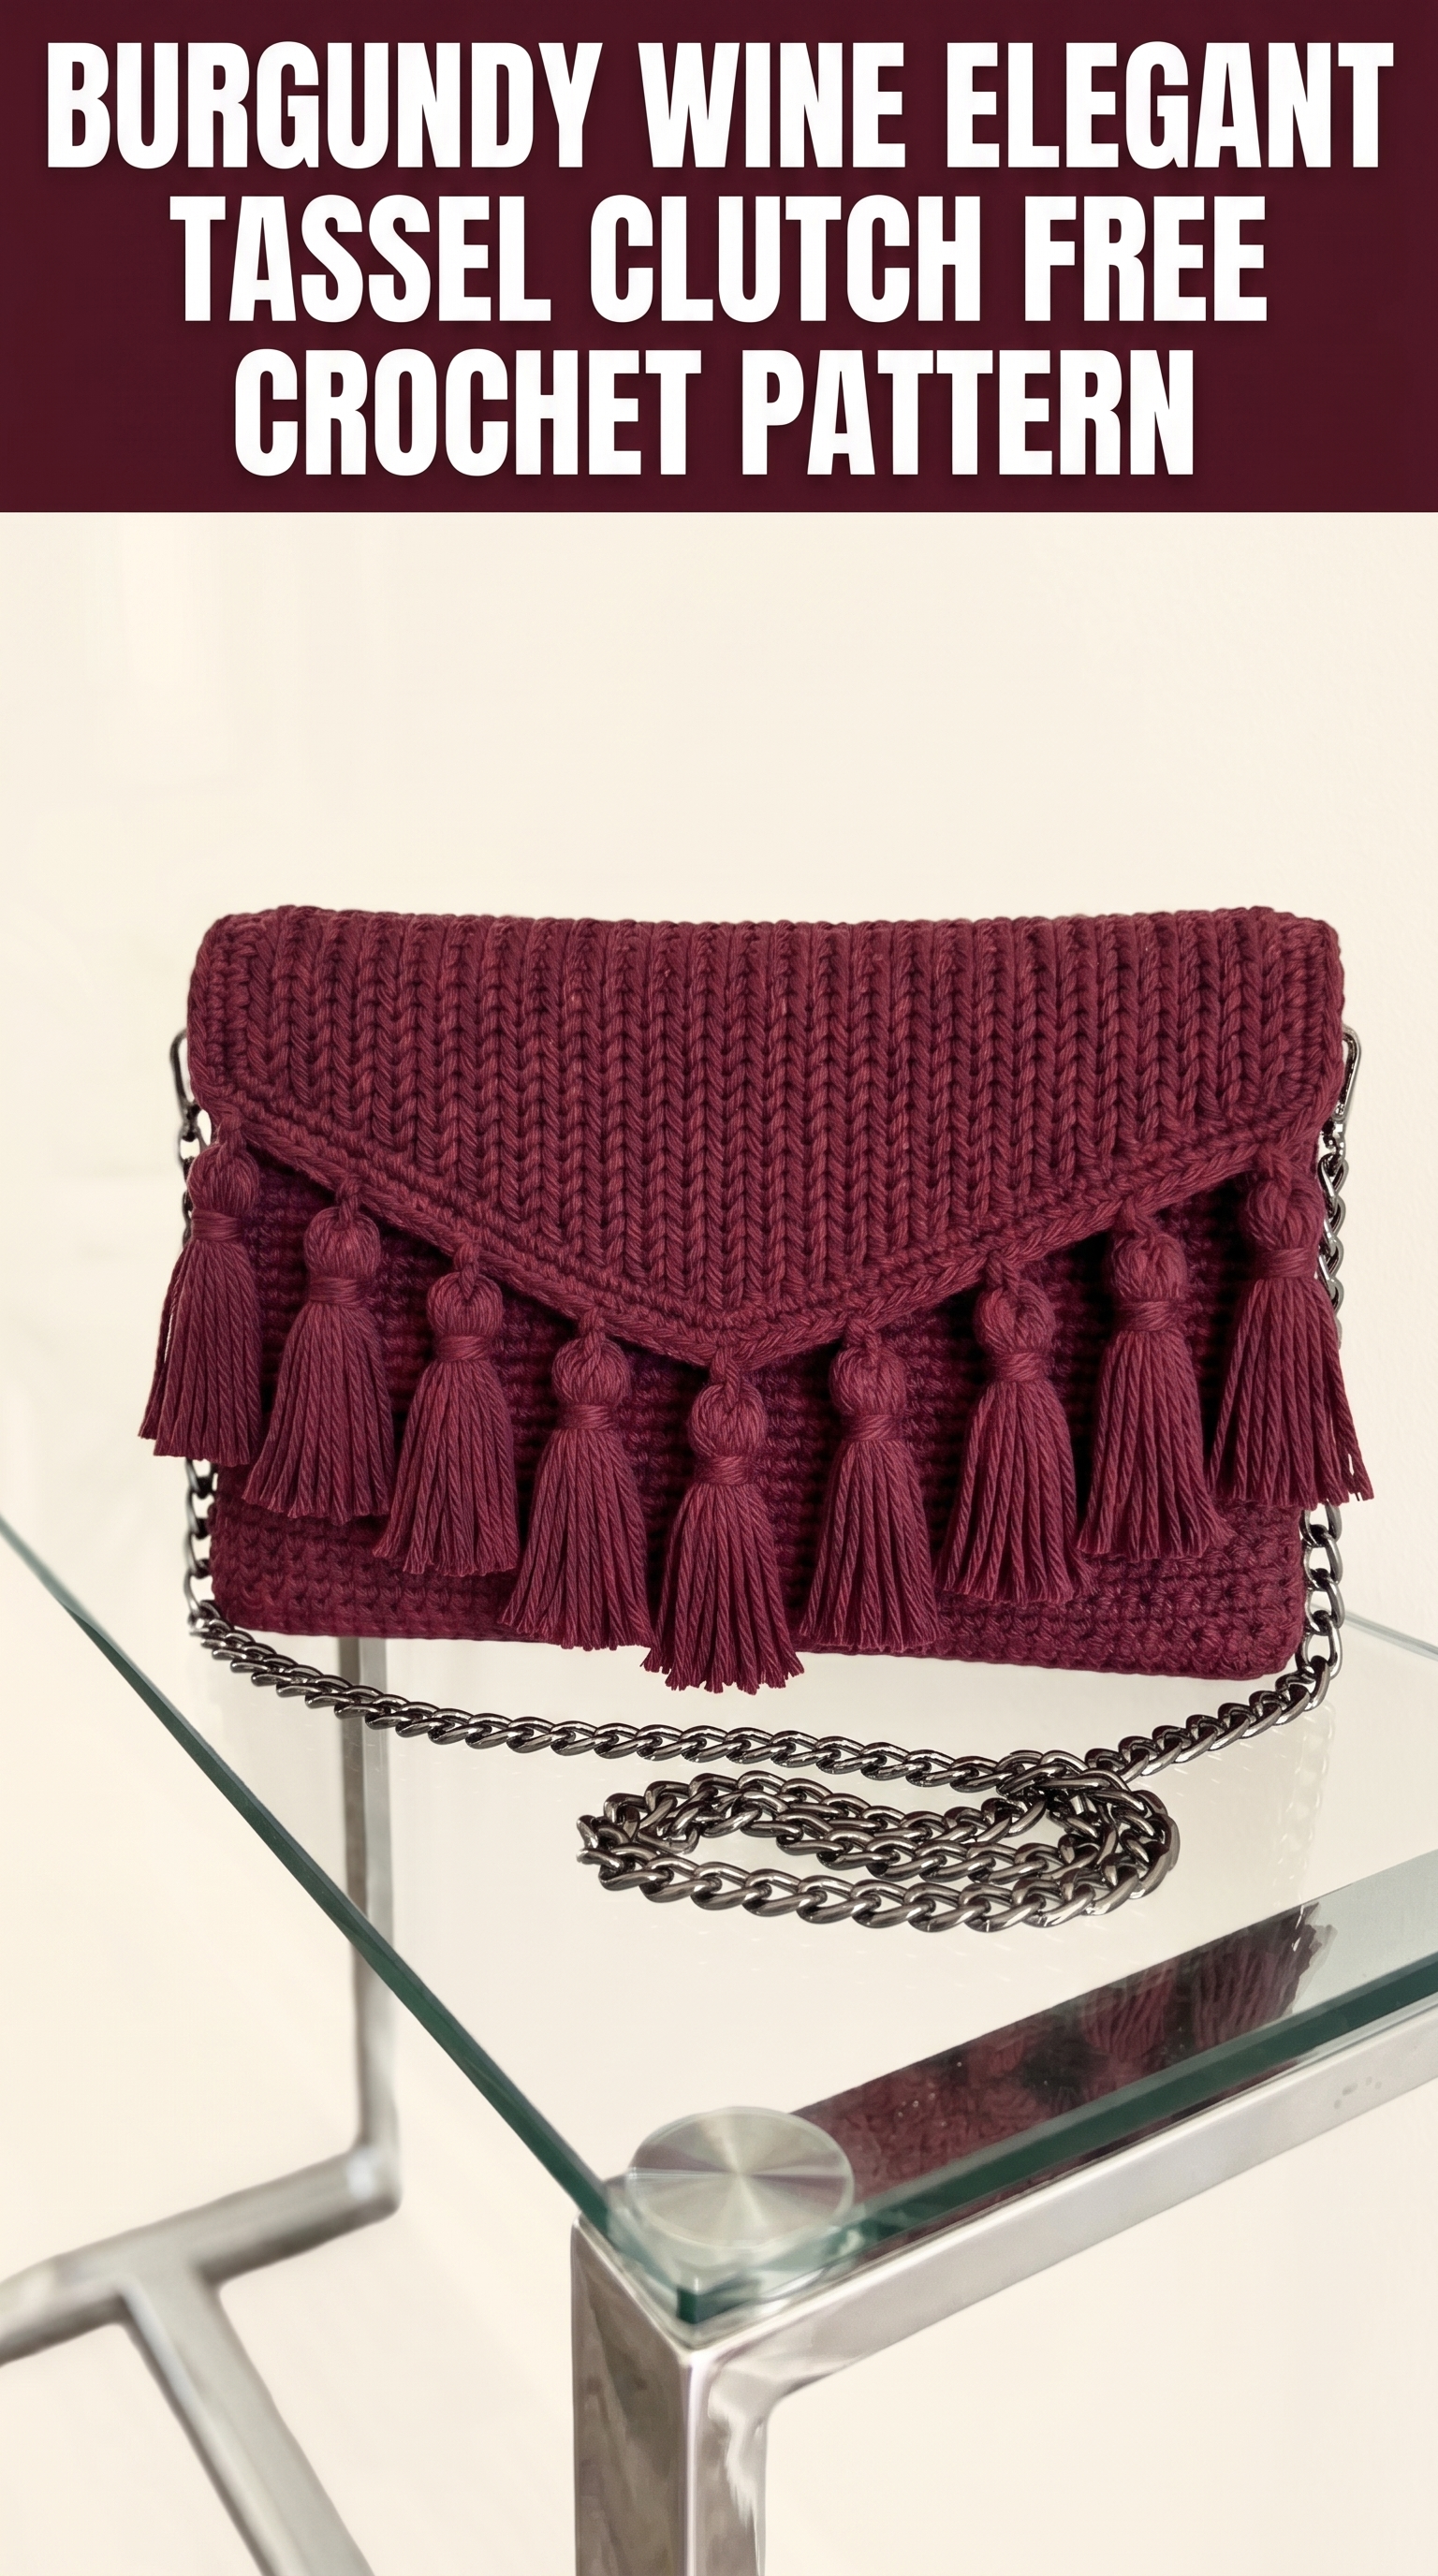
This stunning burgundy crochet clutch is about to become your new favorite accessory. I designed this elegant tassel clutch because I wanted something sophisticated enough for date night but still handmade and personal. The moment I finished those tassels and attached that silver chain, I knew this pattern was special.
Good news if you are feeling nervous. This crochet clutch pattern uses mostly basic stitches worked in rows. The knit-look texture comes from a simple technique I will walk you through completely. If you can chain and single crochet, you can absolutely make this bag.
Let me show you exactly how to create your own elegant tassel clutch from start to finish.
Why This Crochet Clutch Pattern Works So Well
The secret to this bag’s polished appearance is the waistcoat stitch. This technique creates that beautiful knit-like V pattern you see covering the entire clutch body and envelope flap. It looks complicated but I promise it is just a variation of single crochet.
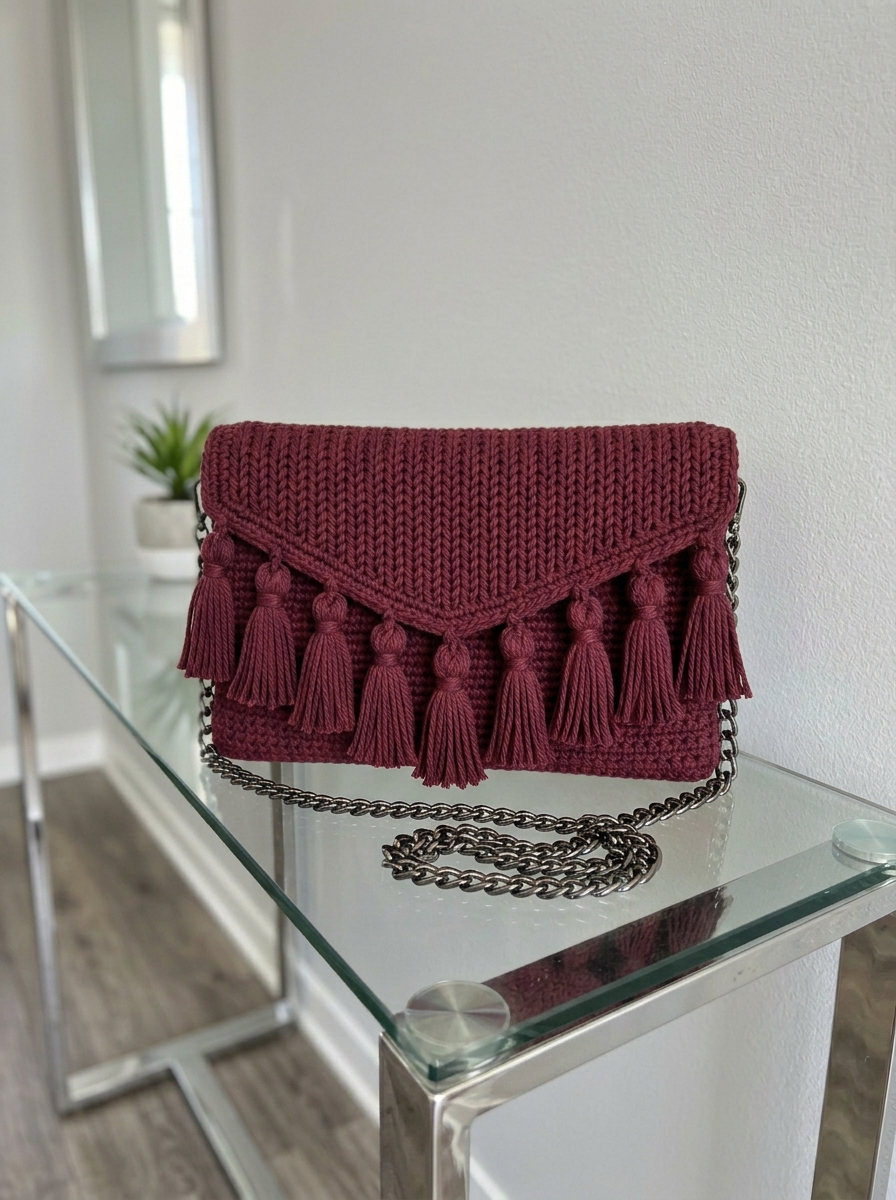
The structured rectangular shape makes construction straightforward. You will crochet a flat panel, fold it, seam the sides, add the triangular flap, then finish with those gorgeous tassels along the flap edge. The silver chain strap transforms this from a simple clutch into a crossbody bag.
This crochet tutorial breaks everything into manageable sections. Take your time and enjoy the process.
Materials You Will Need
Yarn:
Hook:
Notions:
Gauge:
Finished Dimensions
Skill Level
Confident beginner to intermediate. You should be comfortable with basic stitches and working in rows. The waistcoat stitch requires inserting your hook in a specific location, which I will explain thoroughly.
Abbreviations and Stitch Definitions
Before we begin, let me define every stitch and term you will encounter in this step by step crochet pattern.
ch = chain: Wrap yarn over hook and pull through the loop on your hook. This creates one chain stitch.
sc = single crochet: Insert hook into stitch, yarn over and pull up a loop (2 loops on hook), yarn over and pull through both loops.
ws = waistcoat stitch: A variation of single crochet where you insert your hook into the center V of the stitch below, between the two front legs, rather than under the top loops. This creates a knit-like appearance.
sl st = slip stitch: Insert hook into stitch, yarn over and pull through both the stitch and the loop on your hook in one motion.
sk = skip: Pass over the indicated stitch without working into it.
dec = decrease: Work two stitches together as one to reduce your stitch count. For waistcoat stitch decrease, insert hook into center V of next stitch, pull up loop, insert hook into center V of following stitch, pull up loop, yarn over and pull through all 3 loops.
st(s) = stitch(es)
RS = right side: The front or public side of your work.
WS = wrong side: The back or inside of your work.
Understanding the Waistcoat Stitch
This is the heart of the crochet clutch pattern, so let me explain it clearly.
When you look at a completed single crochet stitch from above, you see two loops forming a V shape. Normally you insert your hook under both of those loops. For the waistcoat stitch, instead you insert your hook directly into the center of that V, pushing between the two legs that form it.
This creates vertical V shapes on your fabric surface, mimicking the look of stockinette knitting. The fabric also becomes denser and more structured, which is perfect for a bag.
Helpful tip: Your first few rows might feel awkward. The stitch hole is smaller than what you are used to. Work slowly and make sure your hook goes completely through to the back of the fabric. It gets easier quickly.
Pattern Instructions
Clutch Body Panel
Foundation:
Row 1: Ch 42.
Row 2: Sc in 2nd ch from hook and in each ch across. (41 sts)
Row 3: Ch 1, turn. Working in waistcoat stitch, ws in each st across. (41 sts)
Rows 4 through 60: Repeat Row 3. (41 sts each row)
You now have a rectangular panel approximately 9 inches wide and 12 inches tall.
Note: The chain 1 at the beginning of each row does not count as a stitch. Always work your first waistcoat stitch into the first actual stitch.
Fasten off and weave in your starting tail. Leave a long tail at the end for seaming.
Folding and Seaming the Body
Lay your rectangle flat with the right side facing up.
Fold the bottom edge up approximately 6 inches. This creates the pocket of your clutch. The remaining fabric at the top will become your envelope flap.
Using your tapestry needle and the long tail (or a new length of yarn), whip stitch the side edges together. Work through both layers, keeping your stitches small and even.
Repeat on the other side using a new length of yarn.
Weave in all ends securely. You now have a basic envelope shape.
Triangular Envelope Flap Edging
The flap already exists from the folded body, but we need to shape the pointed triangular edge you see in the finished clutch.
With RS facing, join yarn at the right corner where the flap meets the body seam.
Shaping the point:
This creates the triangular shape by working decreases toward the center. You will work along the bottom edge of the flap.
Row 1: Ch 1, ws in each st across the flap edge. (41 sts)
Row 2: Ch 1, turn. Dec, ws in each st to last 2 sts, dec. (39 sts)
Rows 3 through 12: Repeat Row 2, decreasing one stitch at each end of every row.
Continue decreasing until you reach approximately 19 stitches, forming a pointed triangular shape.
Final row: Dec across until 3 sts remain. Ws3tog (work 3 stitches together). Fasten off.
Alternative approach: If the decreasing feels complicated, you can keep the flap rectangular. The tassels still look beautiful on a straight edge.
Border Around Flap (Optional)
For a more polished finish, work a single crochet border around the entire flap edge.
Join yarn at any corner. Sc evenly around the flap, working 3 sc in the point to help it lay flat. Sl st to first sc to join. Fasten off.
Making the Tassels
The tassels are what make this clutch truly special. You will make approximately 9 to 11 tassels depending on your spacing preference.
Step 1: Cut a piece of cardboard approximately 3 inches tall.
Step 2: Wrap yarn around the cardboard 15 to 20 times. More wraps create fuller tassels.
Step 3: Cut a 6 inch piece of yarn. Thread it under all the wrapped yarn at the top of the cardboard. Tie tightly with a double knot. This becomes your hanging loop.
Step 4: Carefully slide the wrapped yarn off the cardboard.
Step 5: Cut another 8 inch piece of yarn. Wrap it around the tassel bundle approximately half an inch below the top knot. Wrap 4 to 5 times, then tie securely. This creates the tassel head.
Step 6: Cut through the bottom loops of the tassel. Trim ends evenly.
Step 7: Use your tapestry needle to hide the wrapping tails inside the tassel body.
Repeat until you have enough tassels to space evenly along your flap edge.
Attaching the Tassels
Using your tapestry needle, thread the hanging loop tails through the edge of the triangular flap. Space tassels approximately 1 inch apart.
Pull tails to the wrong side of the flap and tie securely. Weave in ends.
Placement tip: Start by attaching one tassel at the center point. Then work outward, spacing evenly toward each corner. This ensures symmetrical placement.
Adding the Chain Strap
Attaching D-rings:
At each top corner of the clutch (where the flap folds over), use a small piece of yarn to securely attach a D-ring or jump ring.
Crochet a small tab by chaining 6, then working 2 rows of sc. Fold the tab through the D-ring and sew it firmly to the inside corner of the clutch.
Adding the chain:
Thread your silver chain through both D-rings. You can attach it permanently or leave it removable for versatility.
Chain length: A 45 to 50 inch chain creates a comfortable crossbody length. Adjust based on your preference.
Optional Closure
For security, install a magnetic snap closure on the inside of the flap and corresponding body section. Follow package instructions for placement.
Alternatively, sew a decorative button to the outside of the clutch body and create a small chain loop on the flap point.
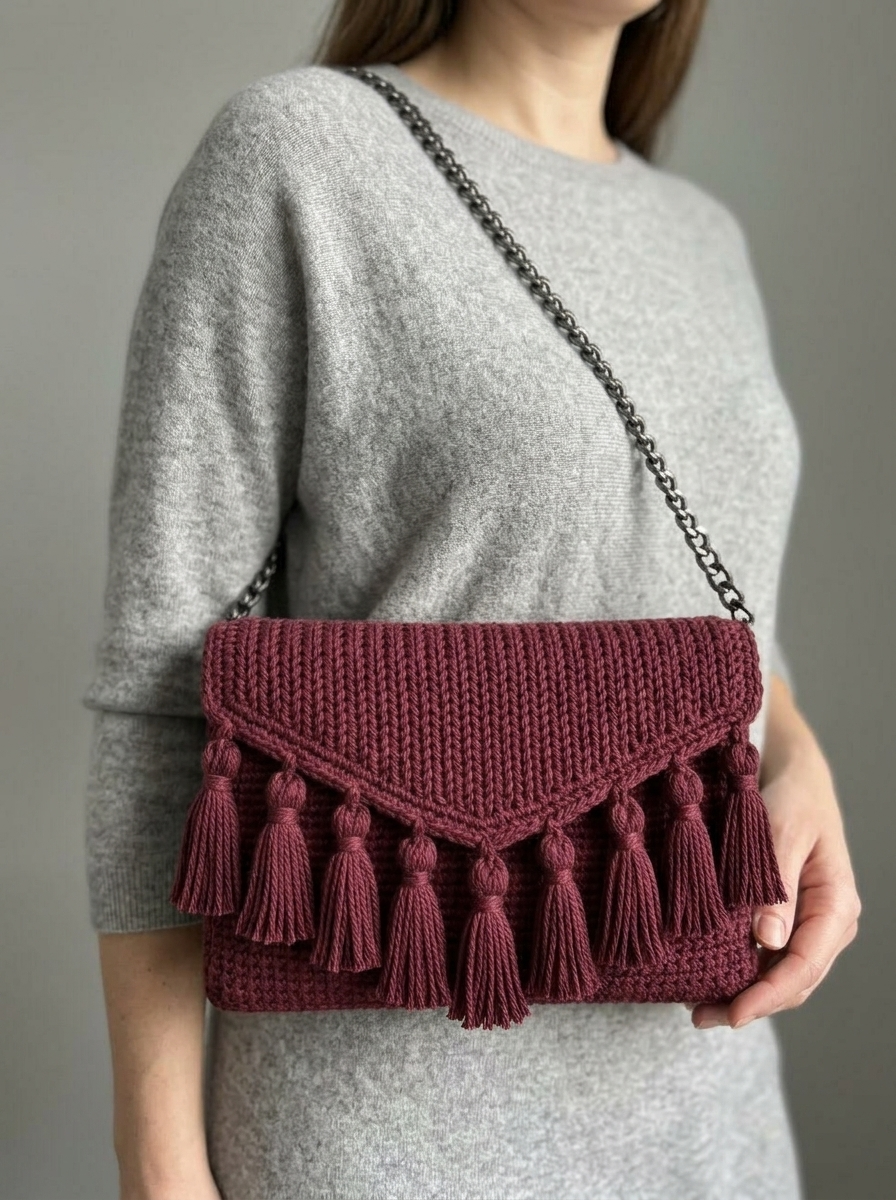
Styling Your Elegant Tassel Clutch
This beginner friendly crochet pattern creates a versatile accessory. Wear it crossbody for hands free convenience or tuck the chain inside and carry it as a clutch.
The burgundy wine color pairs beautifully with:
Troubleshooting Tips
Fabric too loose or floppy? Go down a hook size to create a firmer fabric. Bags need structure.
Waistcoat stitches look uneven? This improves with practice. Your first few rows might look different from later rows. Consider those your hidden interior.
Tassels look sparse? Add more wraps when making them, or make additional tassels to fill gaps.
Flap does not lay flat? Block your finished clutch by pinning it to shape and lightly steaming.
Final Thoughts on This Crochet Clutch Pattern
I hope you love making this elegant tassel clutch as much as I enjoyed designing it. There is something incredibly satisfying about creating an accessory that looks store bought but carries your personal touch.
This crochet pattern combines simple techniques with elegant results. The waistcoat stitch adds sophistication. The tassels bring personality. And that chain strap? Pure polish.
Thank you so much for choosing this pattern for your next project. I genuinely appreciate you trusting me with your crafting time.
When you finish your clutch, I would absolutely love to see it. Tag me on Instagram or share a photo in my Facebook group. Seeing your creations honestly makes my entire week.
Happy crocheting, friend. You have got this.
