
Crocheting a structured handbag feels intimidating. I get it. The hardware, the zipper, the precise shaping. It all sounds complicated until you break it down into manageable steps.
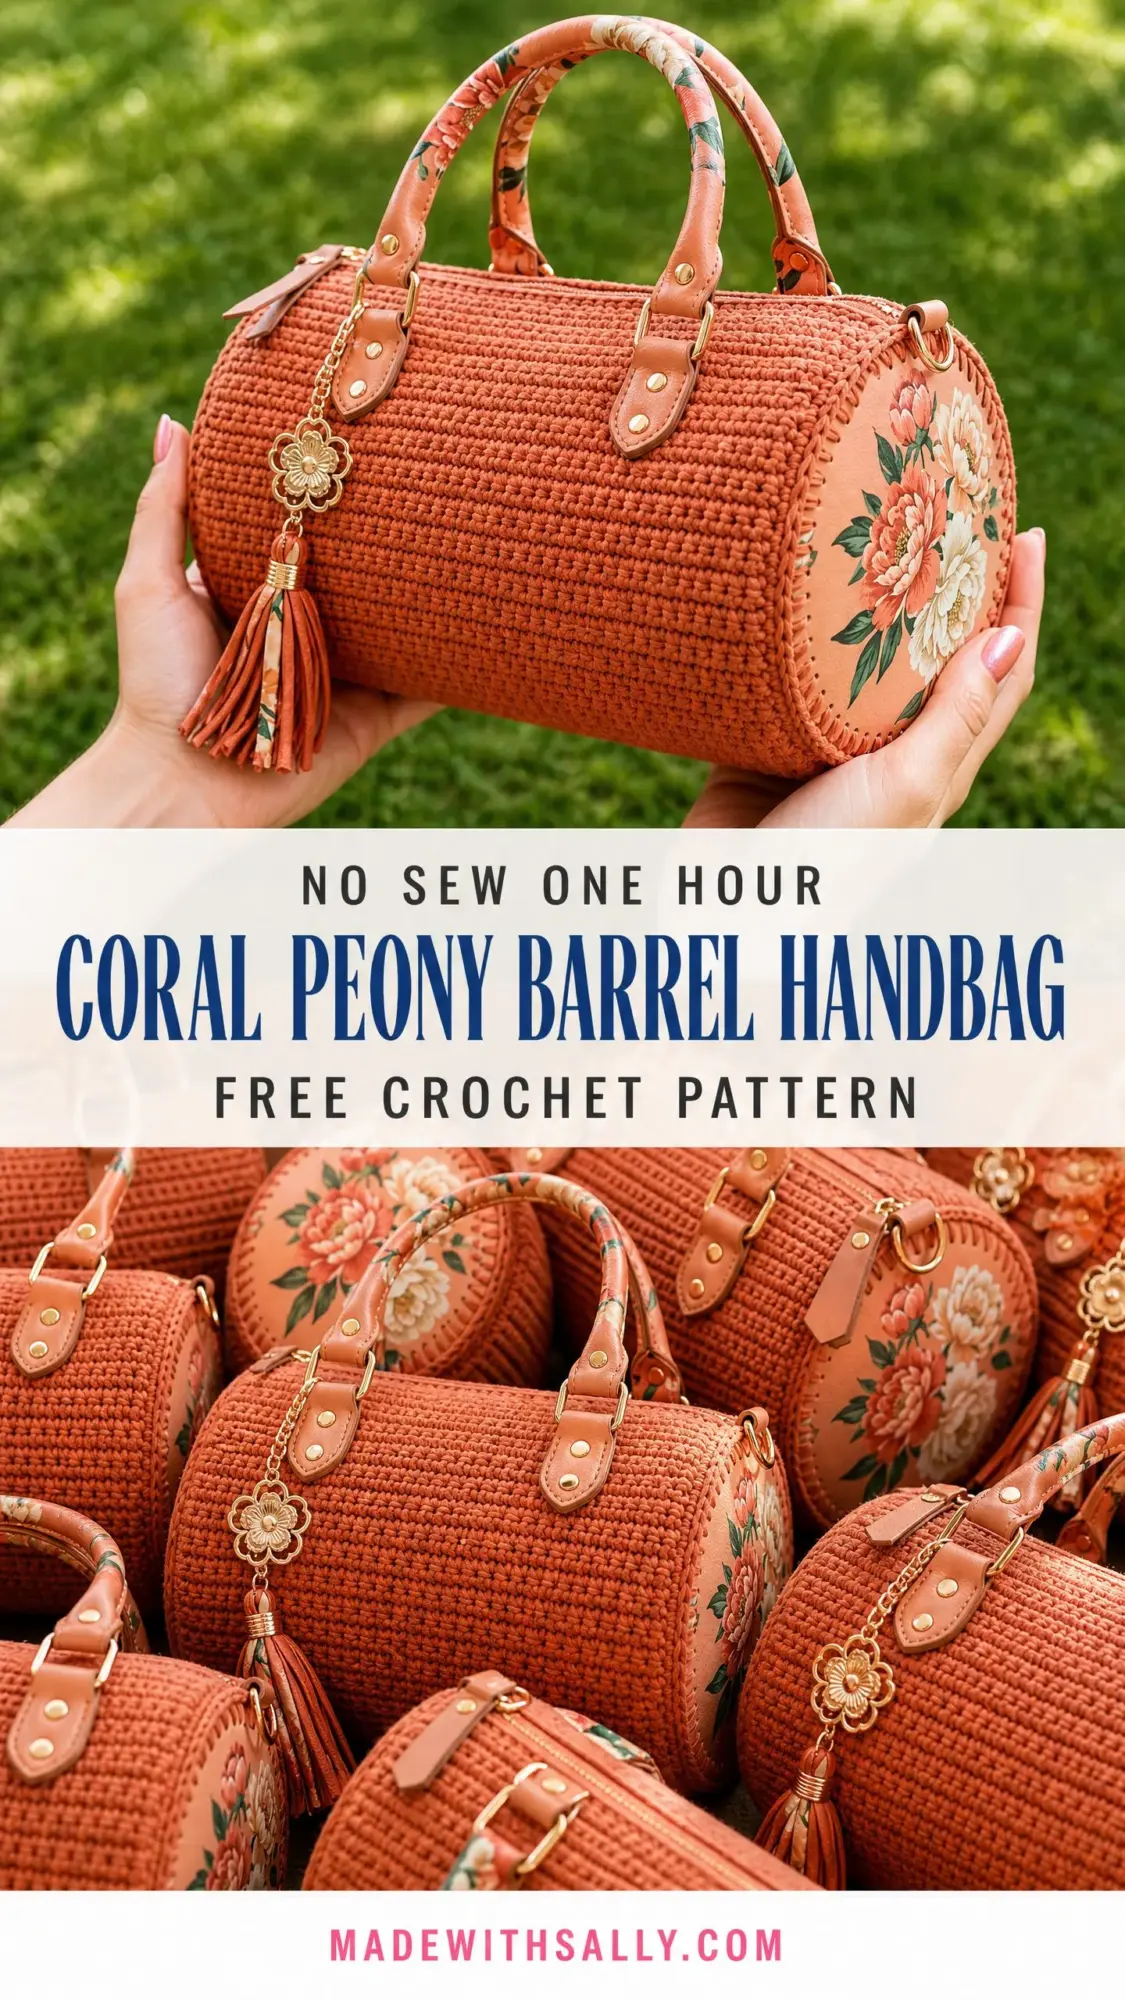
Here is the truth: if you can single crochet, you can make this bag. The barrel shape comes from basic flat circles and a simple rectangle worked back and forth. The fancy ridged texture? That is just working through the back loop only. Nothing scary. The hardware installation takes patience, not advanced skills.
This coral peony barrel handbag looks like a boutique purchase, but the construction is surprisingly straightforward. Whether you have been crocheting for decades or just mastered your first scarf, I am walking you through every single step. Let’s turn that gorgeous terracotta yarn into something truly special.
About This Barrel Handbag Crochet Pattern
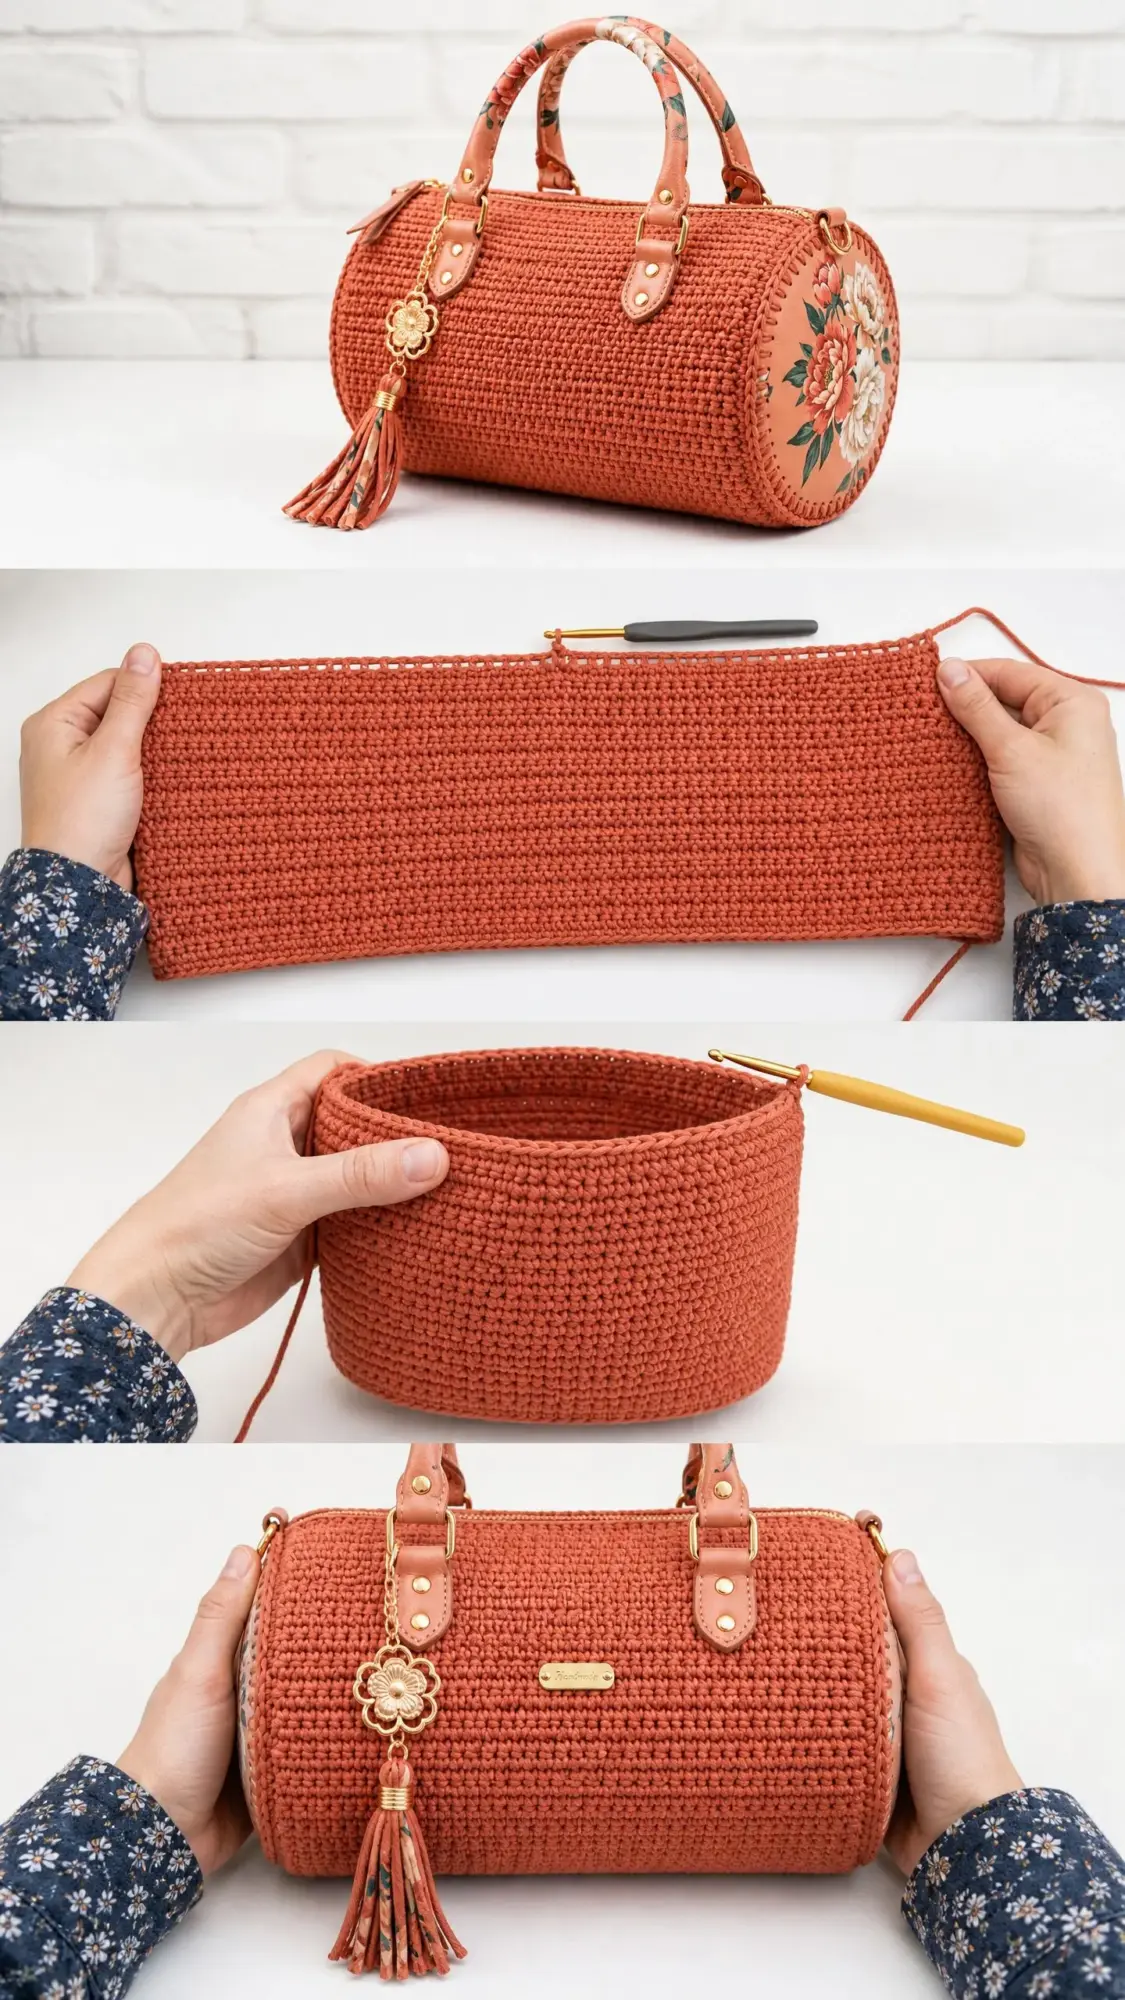
This structured cylindrical bag features a dense, ridged fabric that holds its shape beautifully. The main body is worked flat in rows using single crochet through the back loop only. This creates those lovely horizontal ridges you see in the finished piece. The two circular end panels are worked separately in the round, then whipstitched to the tube body.
The finished dimensions are generous but not overwhelming. The body measures 13 inches long and 7 inches in diameter at each end. The handle drop sits at 5.5 inches, making it comfortable to carry on your arm or in your hand.
Skill level: Intermediate. You need confidence with consistent stitch counts, basic seaming, and willingness to install simple bag hardware. The crochet itself is easy. The finishing requires attention to detail.
Time estimate: Plan for 16 to 22 hours total. The end panels take about 3 hours combined. The body tube needs 8 to 10 hours. Assembly and finishing add another 5 to 7 hours.
Materials You Will Need
Yarn
You will need approximately 650 yards of worsted weight yarn in terracotta or burnt coral. Cotton or cotton-blend yarn works best because it holds structure without stretching.
Recommended options:
Avoid wool blends. They stretch and will distort your barrel shape over time. Skip fluffy or textured novelty yarns too. You want smooth yarn with low elasticity and excellent stitch definition.
Hook
US Size H-8 / 5.0 mm crochet hook, or whatever size gives you correct gauge.
Notions
Gauge
16 single crochet x 18 rows = 4 inches, worked in single crochet through the back loop only, blocked and lightly starched.
After Round 6 of the end panel, your circle should measure approximately 3.75 inches in diameter.
Take time to check your gauge. The barrel shape depends on accurate stitch count and consistent tension. If your gauge is looser, go down a hook size. If tighter, go up.
Abbreviations
Special Techniques
BLO Single Crochet
Insert your hook under the back loop only of the stitch. That is the loop farthest from you when the work faces you. Yarn over, pull up a loop, yarn over, pull through both loops. This creates the horizontal ridge texture on the right side.
Magic Ring
Make a loop by crossing the yarn tail over the working yarn. Insert hook through the center from front to back, yarn over, pull up a loop, chain as directed. Work the first round of stitches into this ring. Pull the tail firmly to close the center hole, then slip stitch to join.
Invisible Join
Cut yarn leaving a 6-inch tail. Thread onto tapestry needle. Skip the joining slip stitch. Insert needle under both loops of the first stitch of the round from front to back. Pull through. Insert needle back down through the back loop only of the last stitch. Pull snug. This closes the round without a visible jog.
Whipstitch Seam
Hold two pieces together with right sides facing out. Insert tapestry needle through the outermost loop of the corresponding stitch on the front piece, then through the outermost loop on the back piece. Pull yarn through. Repeat, moving one stitch to the left each time. Keep stitches firm but not puckered.
Pattern Instructions
Part 1: End Panel (Make 2)
These circles will cap each end of your barrel. Work both panels identically.
Rnd 1: Using MC, create a magic ring. Ch 1. Work 8 sc into the ring. Pull ring closed. Sl st to first sc to join. (8 sc)
Rnd 2: Ch 1. Work 2 sc in each st around. Sl st to first sc to join. (16 sc)
Rnd 3: Ch 1. 2 sc in next st, 1 sc in next st. Rep from around. Sl st to first sc to join. (24 sc)
Rnd 4: Ch 1. 2 sc in next st, 1 sc in each of next 2 sts. Rep from around. Sl st to first sc to join. (32 sc)
Rnd 5: Ch 1. 2 sc in next st, 1 sc in each of next 3 sts. Rep from around. Sl st to first sc to join. (40 sc)
Rnd 6: Ch 1. 2 sc in next st, 1 sc in each of next 4 sts. Rep from around. Sl st to first sc to join. (48 sc)
Checkpoint: Your circle should measure approximately 3.75 inches in diameter. If larger, go down a hook size and restart. If smaller, go up a hook size.
Rnd 7: Ch 1. 2 sc in next st, 1 sc in each of next 5 sts. Rep from around. Sl st to first sc to join. (56 sc)
Rnd 8: Ch 1. 2 sc in next st, 1 sc in each of next 6 sts. Rep from around. Sl st to first sc to join. (64 sc)
Rnd 9: Ch 1. 2 sc in next st, 1 sc in each of next 7 sts. Rep from around. Sl st to first sc to join. (72 sc)
Rnd 10: Ch 1. 2 sc in next st, 1 sc in each of next 8 sts. Rep from around. Sl st to first sc to join. (80 sc)
Rnd 11: Ch 1. 2 sc in next st, 1 sc in each of next 9 sts. Rep from around. Sl st to first sc to join. (88 sc)
Fasten off. Leave a 24-inch tail on the second panel for seaming. Weave in the starting tail on both panels.
Finished diameter: approximately 7 inches. Circumference: approximately 22 inches.
Part 2: Body Tube
The tube is worked flat in rows. The width (88 stitches) matches the end panel circumference. The height (59 rows) creates the 13-inch barrel length.
Foundation chain: Ch 89.
Row 1 (RS): Ch 1, sc in second ch from hook and in each ch across. (88 sc)
Row 2: Ch 1, turn. BLO-sc in each st across. (88 sc)
Rows 3 through 59: Rep Row 2. Work through the back loop only of every stitch. (88 sc each row)
Do not fasten off. Continue to seaming.
Checkpoint: Your panel should measure approximately 13 inches tall and 22 inches wide laid flat.
Part 3: Seaming the Body Tube
Fold the body panel in half widthwise, matching the two short edges together with right sides facing out. This seam becomes the back center of your bag.
Using MC threaded on a tapestry needle, whipstitch the two short edges together. Work through the outermost loops of the row ends. Go from bottom edge to top edge. Pull snug but do not pucker.
You now have a cylinder.
Part 4: Attaching End Panels to Tube
Hold one end panel and one open end of the tube together with right sides facing outward. Align the 88 stitches of the end panel with the 88 stitches at the tube opening edge.
Tip: Divide both pieces into quarters and match quarter points with stitch markers before you begin.
Using the long tail from the end panel, whipstitch through the outer edge loop of each end panel stitch and through the corresponding row-end loop of the tube body. Work around the full circle. (88 whipstitches per end)
Repeat for the second end panel on the opposite end.
Checkpoint: Your completed cylinder should sit flat. The ends should be round without puckering. The back seam should be straight. Spray lightly with starch or bag stiffener if the body feels soft.
Part 5: Zipper Installation
Mark the top center of the barrel on front and back with stitch markers. The zipper spans the top from one end panel to the other.
Pin the 14-inch zipper along the top opening, centered between the end panels. The zipper coil should rest just inside the top edge.
Using sewing thread and a sharp needle, backstitch the zipper tape to the inside of the crocheted edge. Work through the innermost loops of the top row on both sides.
Part 6: Handle Attachment
Each handle attaches with two studs at front and two at back, for 8 studs total across both handles.
Mark attachment points: On the front top, measure 3 inches from each end panel and mark with a pin. This gives two front points approximately 7 inches apart. Repeat on the back.
To attach each handle:
1. Position the leather strap tab over the marked point on the outside.
2. Thread a D-ring through the strap tab if your design includes one.
3. Pierce through the crochet fabric with a sharp awl to open the weave.
4. Insert the Chicago screw through the strap tab and crochet from front to back.
5. Attach the back post from inside and press firmly.
The floral fabric wrapping should face upward and outward.
Part 7: Tassel Charm Attachment
Clip the flower-shaped gold charm to the D-ring at the front left handle attachment point. Thread the tassel loop through the bottom loop of the flower charm. Pull the tassel through its own loop to secure with a lark’s head knot.
The tassel should hang approximately 4 to 5 inches below the front handle attachment.
Part 8: Decorative End Panel Applique (Optional)
Cut two circles of peach-coral faux leather, each 6.75 inches in diameter.
Apply a peony floral motif to each vinyl circle. Options include iron-on floral decals, hand-painted designs, or printed transfers.
Apply a thin layer of fabric glue to the back of each vinyl circle. Press firmly onto the crocheted end panels, centered. Allow to cure for 24 hours under light weight.
Finishing and Blocking
Weave in all remaining ends securely.
Wet blocking: Submerge completed pieces briefly in cool water. Squeeze gently, do not wring. Roll in a towel to remove moisture. Shape to dimensions and air dry completely flat.
Stiffening: Apply bag stiffener spray or a 50/50 solution of white PVA glue and water. Shape by stuffing firmly with plastic bags while drying. Allow 12 to 24 hours to dry completely.
Optional lining: Cut two 7.25-inch circles and one 13.25 x 22 inch rectangle of lining fabric. Seam the rectangle into a tube. Sew circles to tube ends. Insert lining inside bag with wrong sides together. Slip stitch to the inside of the top opening.
Care Instructions
Hand wash in cool water with mild detergent. Do not machine wash. Reshape while damp and air dry stuffed with rolled towels. Store stuffed with tissue paper to maintain the barrel shape.
Size Customization Tips
For a larger barrel: Add stitches in multiples of 8 to the end panel rounds. Add the same number to the foundation chain.
For a longer barrel: Add rows to the body tube. Each 2 rows adds approximately 0.44 inch of length.
For a smaller bag: Stop the end panel rounds earlier. Reduce body tube rows to match.
I hope this coral peony barrel handbag crochet pattern brings you hours of satisfying crafting. The finished bag makes an incredible gift or a stunning addition to your own wardrobe. That terracotta color pairs beautifully with so many outfits.
If you found this crochet tutorial helpful, save it to your Pinterest boards so you can find it when you are ready to start. And please leave a comment below if you make one. I would absolutely love to see your finished handbags!
