
Last summer, I was staring at a plain linen dress in my closet and feeling completely underwhelmed. It needed something. A statement piece. Something that would pull the whole look together without screaming for attention. I remembered a vintage belt my grandmother used to wear, this gorgeous crocheted number with delicate circles that made every outfit look intentional and polished.
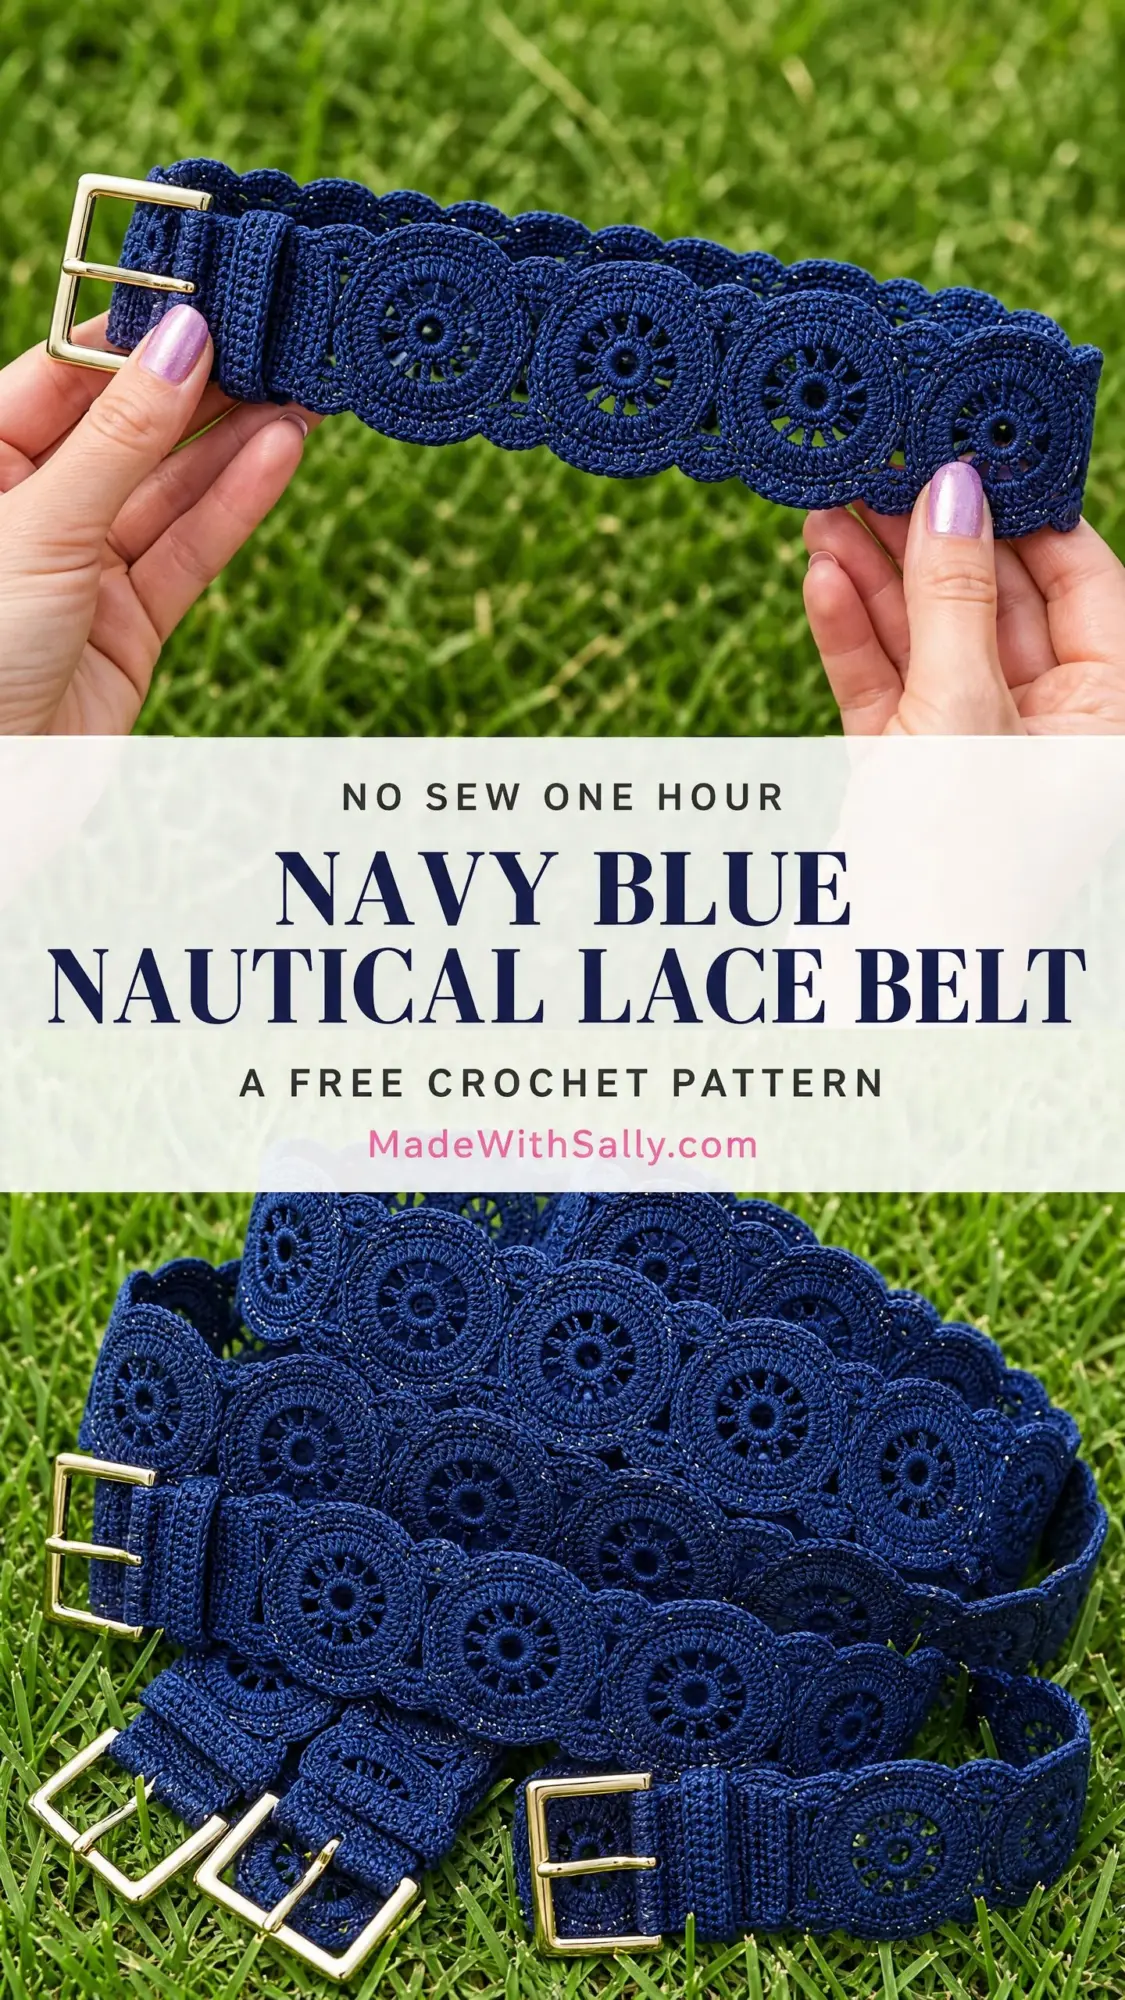
I spent the next few weeks obsessing over how to recreate that look. What emerged was this nautical lace belt, and I have to tell you, it exceeded every expectation I had. The circle motifs have that same vintage charm I remembered, but with a modern structure that actually stays put when you wear it.
Now I reach for this belt constantly. Over dresses, with high-waisted jeans, cinching cardigans. It goes with everything, and every single time someone asks where I got it. The answer is always my favorite: I made it.
Why You Will Love This Crochet Belt Pattern
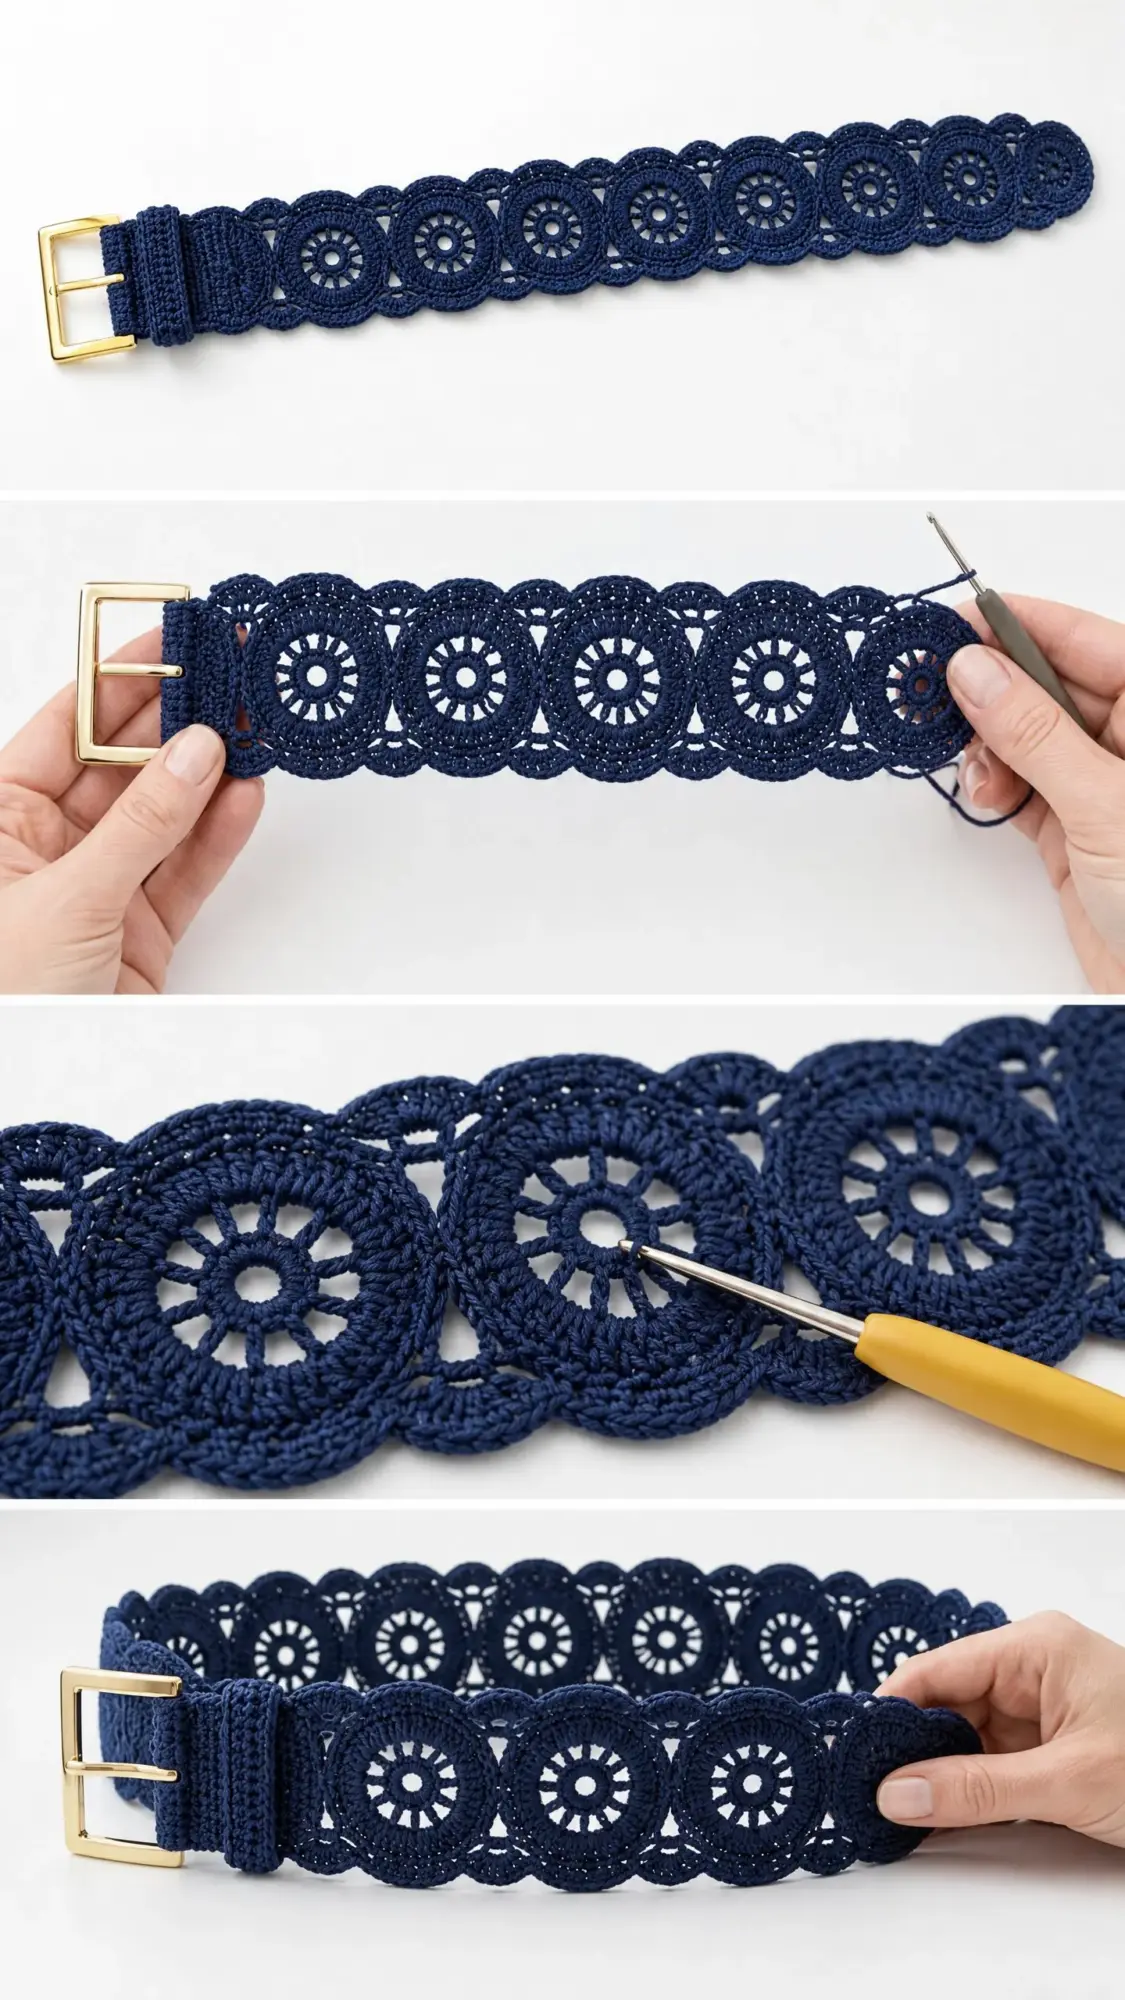
This belt combines elegance with practicality in a way that feels almost too good to be true. The construction uses individual circle motifs joined side by side, creating a continuous band of beautiful lace work. Each motif features an open eyelet center surrounded by shell stitches, giving the finished piece that airy, decorative quality you see in heirloom pieces.
The rectangular gold buckle adds a touch of polish that elevates the whole design. You are not just making a craft project here. You are creating a genuine fashion accessory that could easily pass for a boutique find.
What I particularly love about this design is its versatility. Wear it at your natural waist over a flowing dress for a bohemian vibe. Sling it low on your hips with jeans for something more casual. The navy blue works as a neutral, pairing beautifully with whites, creams, corals, and practically any color in your wardrobe.
Skill Level and Time Commitment
This pattern sits comfortably at the intermediate skill level. You should feel confident working in the round, joining motifs as you go, and adding a decorative border. Nothing here is overly complex, but precision matters. Your motifs need to be consistent in size for the belt to lie flat and look professional.
If you have made granny squares or any joined motif project before, you already have the skills you need. The main difference here is working with finer thread and a smaller hook, which takes a bit more attention but produces stunning results.
Time estimate: Plan for roughly 4 to 6 hours from start to finish. This includes making all the motifs, joining them, adding the scallop borders, constructing the strap, and finishing. I like to spread this across a few evenings. The motifs are wonderfully portable, making them perfect for travel projects or waiting room crochet.
Finished Measurements
Small/Medium (fits waist 26 to 32 inches):
Large/XL (fits waist 34 to 40 inches):
The beauty of this design is how customizable it is. Need it longer? Add more motifs. Shorter? Remove a few. Each circle motif adds approximately 1.75 inches (4.5 cm) to the band length.
Materials You Will Need
Yarn:
Size 10 crochet thread or fingering weight cotton yarn in navy blue
Hook:
Notions:
Recommended Yarn Options
Option 1: Lizbeth Size 10 Crochet Thread by Handy Hands in Navy Blue. This 100% Egyptian cotton produces crisp, defined stitches with beautiful drape. You will need two balls.
Option 2: DMC Petra Size 5 Crochet Cotton. One ball of this 100% mercerized cotton covers any size. Use with the US size B-1 (2.25 mm) hook for a slightly thicker motif.
Option 3: Aunt Lydia’s Classic Crochet Thread Size 10 in Navy. One ball gives you plenty of yardage with room to spare.
Substitution tip: Stick with smooth, tightly spun cotton thread or yarn. Avoid fuzzy or stretchy fibers. The open lace circle motifs need excellent stitch definition to really shine.
Gauge Information
One completed circle motif should measure 1.75 inches (4.5 cm) in diameter after light blocking, using size 10 crochet thread and a US size 7 steel hook.
To check your gauge, complete one motif through Round 4 and block it lightly. Measure across the widest point. If your motif is too large, try a smaller hook. Too small? Go up a hook size. Consistent gauge across all motifs is essential for even joining.
Abbreviations and Stitch Definitions
Let me walk you through every abbreviation you will encounter. If you are newer to reading patterns, bookmark this section.
Special Stitches for This Pattern
Picot: Chain 3, then slip stitch into the first chain you made. This creates a small decorative knot used in the scallop border.
Shell: Work 5 double crochet stitches all into the same stitch or chain space. This creates a beautiful fan-shaped cluster.
Circle Motif Join (Side Join): When working Round 4 of a new motif, instead of completing a ch-3 arch independently, work ch-1, insert hook into the corresponding ch-3 arch of the adjacent completed motif, draw up a loop, chain 1. This counts as the full ch-3 arch and joins the two motifs at that point. You will use two join points per motif pair: one on the upper arc and one on the lower arc.
Pattern Notes Before You Begin
The belt combines flat rounds for the motifs and flat rows for the strap section. All motifs are worked on the right side facing up throughout. Do not turn after motifs. The strap section is worked in rows and turned.
For Small/Medium, work 18 motifs. For Large/XL, work 21 motifs.
Starting with Motif 2, you will join each new motif to the previous one during Round 4 at two points: one on the upper arc and one on the lower arc. The motifs share two ch-3 arch points at each join, creating a flat, firm connection.
Weave in all ends from motifs before working the border. The border stitches will lock them in place nicely.
Step by Step Crochet Pattern Instructions
Section 1: Circle Motifs
Motif 1 (and all unjoined motifs)
Foundation: Magic ring, or ch-6 and join with sl st to form a ring.
Round 1: Ch 3 (counts as first dc here and throughout), work 15 dc into ring, join to top of ch-3 with sl st. (16 dc)
Round 2: Ch 1, sc in same st as join, ch 5, sk 1 dc, (sc in next dc, ch 5, sk 1 dc) 7 times, join to first sc with sl st. (8 sc, 8 ch-5 arches)
Round 3: Sl st into first ch-5 arch, ch 3, work 4 more dc into same arch (shell made), ch 2, (shell of 5 dc in next ch-5 arch, ch 2) 7 times, join to top of ch-3 with sl st. (8 shells, 8 ch-2 sps)
Round 4: Sl st across to ch-2 sp between first two shells, ch 1, sc in ch-2 sp, ch 3, (sc in next ch-2 sp between shells, ch 3) 7 times, join to first sc with sl st. (8 sc, 8 ch-3 arches)
Fasten off and weave in ends.
Checkpoint: Your motif should lie completely flat. If it cups upward, loosen your tension. If it ruffles, tighten up or try a smaller hook.
Motif 2 (First Joined Motif)
Work Rounds 1 through 3 exactly as Motif 1.
Round 4 (joining round): Sl st across to ch-2 sp between first two shells, ch 1, sc in ch-2 sp.
Work arch 1 (upper join arch): Ch 1, insert hook into any ch-3 arch of Motif 1 (choose an arch at the point where the two motifs will meet at the top), yo and pull up a loop, ch 1. This completes the join for arch 1, replacing ch-3.
Sc in next ch-2 sp of current motif.
Work arch 2 (lower join arch): Ch 1, insert hook into the next adjacent ch-3 arch of Motif 1 (the arch directly below the first join, at the bottom contact point), yo and pull up a loop, ch 1. This completes the join for arch 2.
Sc in next ch-2 sp of current motif, ch 3, (sc in next ch-2 sp, ch 3) 4 times, join to first sc with sl st. (8 sc, 6 independent ch-3 arches, 2 joined arches)
Fasten off and weave in ends.
Motifs 3 Through 18 (Small/Medium) or Through 21 (Large/XL)
Repeat Motif 2 instructions for each additional motif, always joining to the most recently completed motif. Each motif joins to its neighbor at two arches: one on the upper side and one on the lower side. The two join points should be the arches at the 9 o’clock position of the new motif, matching the 3 o’clock position arches of the previous motif.
Checkpoint: Your assembled motif band should measure approximately 31.5 inches (80 cm) for Small/Medium or 36.75 inches (93.5 cm) for Large/XL. Width should be approximately 2.75 inches (7 cm).
Section 2: Scallop Border
The border is worked in two passes: first along the top edge, then along the bottom edge. Both passes travel from the buckle end (Motif 1) to the strap hole end.
Top Border
With RS facing, join yarn to the leftmost free ch-3 arch on the top edge of Motif 1 (the arch at the 12 o’clock position).
Row 1: Work (sc, ch 3, sc) into the first ch-3 arch (this forms a scallop base), then work (sc, ch 3, sc) into each subsequent ch-3 arch along the entire top edge of all motifs, moving from motif to motif.
At each join point between two motifs along the top, work 1 sc into the join itself, then continue.
After completing the top edge across all motifs, work (sc, ch 3, sc) into the final arch at the far end. Fasten off.
Bottom Border
Repeat the top border instructions along the bottom edge of the motif strip. The bottom border mirrors the top.
Section 3: Buckle Strap
The strap attaches to the end of Motif 1.
Setup: With RS facing, join yarn to the bottom-right free arch at the right short end of Motif 1.
Row 1 (RS): Ch 1, work 16 sc evenly across the short end of Motif 1. Turn. (16 sc)
Rows 2 through 6: Ch 1, sc in each sc across. Turn. (16 sc)
Do not turn after Row 6.
Buckle attachment row: Fold the strap over the buckle bar so the WS of Row 6 meets the WS of Row 1 (the inside fold wraps around the bar). Pin in place. Working through both layers, sl st across all 16 sts to close the fold and secure the buckle permanently. (16 sl sts)
Fasten off and weave in ends.
Checkpoint: The buckle should be firmly attached. The strap fold should be flat and even, not twisted.
Section 4: Adjustment Holes
Extension setup: With RS facing, join yarn to the top-left free arch at the left short end of Motif 18 (or 21).
Row 1: Ch 1, work 16 sc evenly across the short end. Turn. (16 sc)
Row 2: Ch 1, sc in each sc across. Turn. (16 sc)
Continue in sc rows for a total of 6 inches (15 cm) from the motif edge, approximately 28 to 32 rows.
Belt hole row: Ch 1, sc 2, ch 3, sk 3, sc 3, ch 3, sk 3, sc 2, end. (16 sts including ch-3 sps)
Return row: Ch 1, sc in each sc and 3 sc into each ch-3 sp across. Turn. (16 sc)
Work 1 more sc row even. Fasten off.
Finishing and Blocking Your Belt
Weave in all remaining yarn ends, threading through at least 1 inch of stitches before trimming.
Wet blocking is strongly recommended. Submerge the finished belt in cool water for 5 to 10 minutes. Gently press out excess water in a clean towel without wringing. Lay flat on a foam blocking mat. Pin each motif open, stretching slightly to open the center hole and arches. Pin the border scallops flat. Allow to dry completely, at least 8 to 12 hours.
Care Instructions
Hand wash in cool water with gentle detergent. Do not wring or twist. Roll in a towel to remove excess water and lay flat to dry. Iron on low with a pressing cloth if needed. Store flat or loosely rolled.
Thank you so much for choosing this pattern for your next project. I truly hope you love making and wearing your new lace belt as much as I do mine. If you create one, I would absolutely love to see it. Tag me on Instagram or share a photo in our Facebook group.
If this pattern caught your eye, go ahead and pin it to your Pinterest boards so you can find it when you are ready to start. And please drop a comment below if you make one. I read every single comment and love hearing how your projects turn out.
