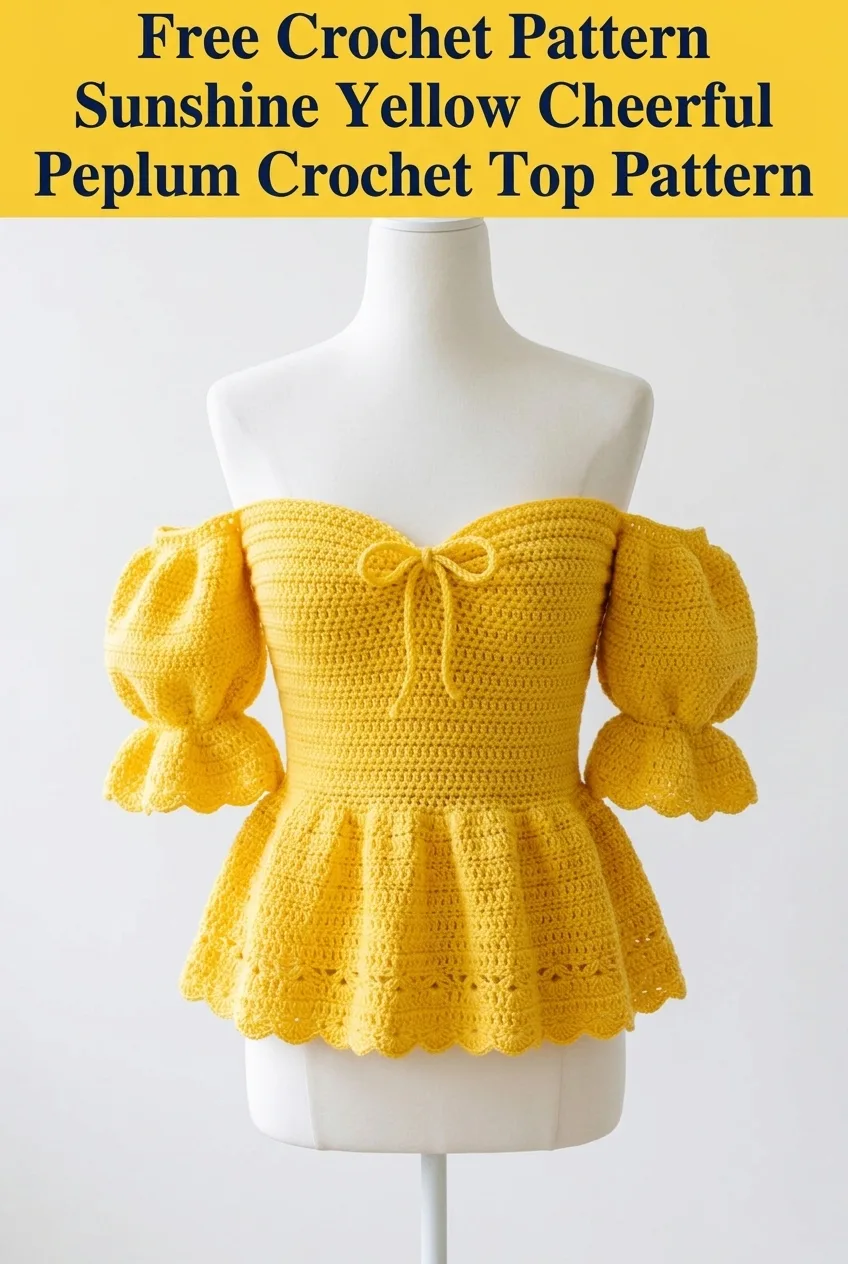
I’ve been looking for the perfect summer top pattern that combines romantic details with modern silhouette work, and this sunshine yellow peplum design is my absolute favourite find. The dramatic puff sleeves, sweetheart neckline, and flirty peplum hem create a showstopping piece that looks like it walked off a boutique runway. I rounded up all my best techniques for garment construction to bring you this complete crochet tutorial.
About This Cheerful Peplum Crochet Top Pattern
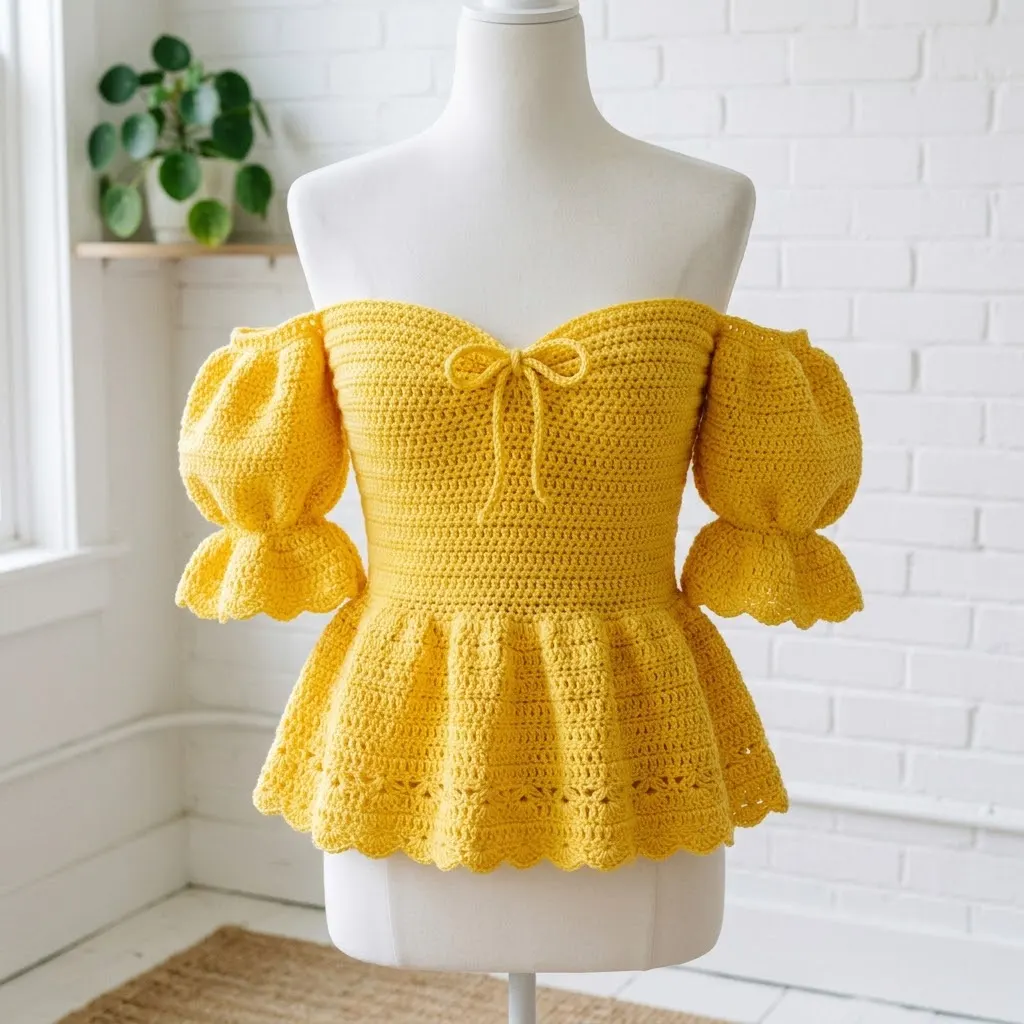
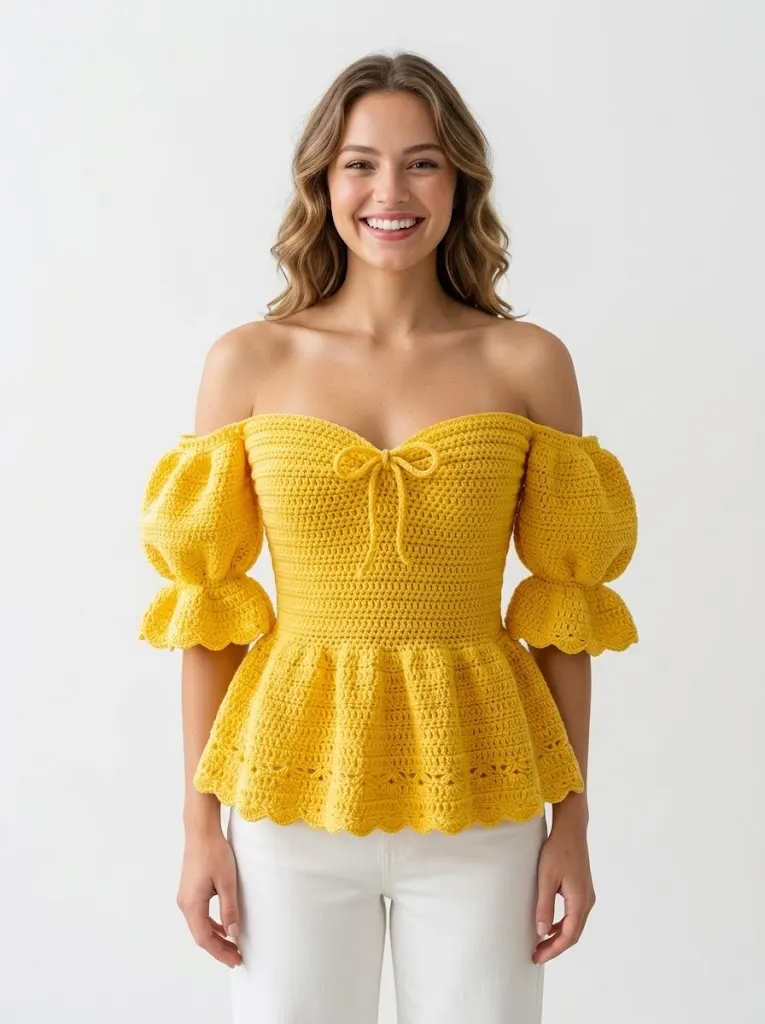
This off-the-shoulder peplum top features a fitted bodice with a sweetheart neckline, statement puff sleeves with scalloped cuffs, and a gathered peplum skirt section with lace detailing at the hem. The construction combines several intermediate techniques, but I’ve broken everything down into manageable sections so you can tackle each part with confidence.
The bodice uses a combination of single crochet and half double crochet stitches worked in rows to create the structured, slightly textured fabric you see. The peplum section transitions into a lovely shell stitch pattern near the bottom edge, adding that decorative scalloped finish. The puff sleeves are worked separately and attached, featuring gathered fabric that creates beautiful volume.
Skill Level: Intermediate. You should be comfortable with basic stitches, increasing and decreasing, working in the round, and seaming pieces together. If you’ve made a basic garment before, you can absolutely handle this cheerful peplum crochet top pattern.
Materials Needed
Yarn:
Hook:
Notions:
Gauge:
18 stitches and 20 rows = 4 inches in half double crochet
Check your gauge before starting. This garment needs to fit properly, so take the time to swatch.
Abbreviations and Stitch Definitions
Let me walk you through every stitch you’ll need for this project. If you’re newer to garment making, read through these definitions before starting.
ch = chain. Wrap yarn over hook, pull through loop on hook. This creates your foundation and turning chains.
sl st = slip stitch. Insert hook, yarn over, pull through stitch AND loop on hook in one motion. Used for joining rounds and creating invisible seams.
sc = single crochet. Insert hook into stitch, yarn over, pull up a loop (2 loops on hook), yarn over, pull through both loops. This is your shortest basic stitch.
hdc = half double crochet. Yarn over, insert hook into stitch, yarn over, pull up a loop (3 loops on hook), yarn over, pull through all 3 loops at once. Creates a slightly taller stitch with nice drape.
dc = double crochet. Yarn over, insert hook into stitch, yarn over, pull up a loop (3 loops on hook), yarn over, pull through 2 loops, yarn over, pull through remaining 2 loops. Taller than hdc with more open fabric.
inc = increase. Work 2 stitches into the same stitch to add width.
dec = decrease. Work 2 stitches together as one to remove width. For hdc decrease: yarn over, insert hook in first stitch, pull up loop, yarn over, insert hook in next stitch, pull up loop (5 loops on hook), yarn over, pull through all 5 loops.
shell = multiple stitches worked into the same stitch or space, typically 5 dc into one stitch for this pattern.
sk = skip. Pass over the indicated stitch without working into it.
Size Guide
This pattern is written for Size Small with adjustments for Medium and Large noted in parentheses.
Finished measurements are approximately 2 inches of negative ease for a fitted look. If you prefer a looser fit, size up.
Pattern Instructions
Part 1: Front Bodice Panel
The bodice is worked flat in rows, then shaped at the top for the sweetheart neckline.
Foundation: Ch 73 (81, 89).
Row 1: Hdc in 3rd ch from hook and in each ch across. Turn. (71, 79, 87 sts)
Rows 2 through 8: Ch 2 (does not count as stitch throughout), hdc in each st across. Turn. (71, 79, 87 sts)
You’re building the lower bodice section here. The fabric should feel firm but not stiff.
Row 9 (Decrease Row): Ch 2, hdc in first 33 (37, 41) sts, hdc dec over next 2 sts, hdc dec over next 2 sts, hdc in remaining 33 (37, 41) sts. Turn. (69, 77, 85 sts)
Rows 10 through 14: Ch 2, hdc in each st across. Turn.
Row 15 (Decrease Row): Ch 2, hdc in first 32 (36, 40) sts, hdc dec over next 2 sts, hdc dec over next 2 sts, hdc in remaining 32 (36, 40) sts. Turn. (67, 75, 83 sts)
Rows 16 through 20: Continue in hdc, maintaining stitch count.
Sweetheart Neckline Shaping
Here’s where the magic happens. Don’t worry if this looks complicated. We’re simply working each side separately.
Row 21 (Right Cup): Ch 2, hdc in first 30 (34, 38) sts. Turn. Leave remaining sts unworked.
Row 22: Ch 2, sk first st, hdc in each st to end. Turn. (29, 33, 37 sts)
Rows 23 through 26: Repeat Row 22, decreasing 1 st at neckline edge each row. (25, 29, 33 sts)
Row 27: Ch 2, hdc in each st across. Fasten off.
Row 21 (Left Cup): Skip center 7 sts for neckline, join yarn with sl st in next st.
Row 22: Ch 2, hdc in each st to last 2 sts, hdc dec. Turn. (29, 33, 37 sts)
Rows 23 through 26: Continue decreasing at neckline edge. (25, 29, 33 sts)
Row 27: Ch 2, hdc in each st across. Fasten off.
Part 2: Back Bodice Panel
The back is simpler since there’s no sweetheart shaping.
Foundation: Ch 73 (81, 89).
Work Rows 1 through 20 same as front bodice.
Rows 21 through 27: Continue in hdc without shaping. Fasten off.
Part 3: Peplum Skirt Section
This is my favourite part of the whole cheerful peplum crochet top pattern. The gathered effect happens naturally through increasing.
Setup: Seam front and back bodice panels at sides using mattress stitch or whip stitch. Leave top 4 inches open on each side for armholes.
Round 1: With right side facing, join yarn at side seam along bottom edge. Ch 2, hdc evenly around entire bottom edge, working approximately 142 (158, 174) sts total. Sl st to first hdc to join. Place marker.
Round 2 (Increase Round): Ch 2, *hdc in next st, 2 hdc in next st*. Repeat around. Sl st to join. (213, 237, 261 sts)
Rounds 3 through 5: Ch 2, hdc in each st around. Sl st to join.
Round 6 (Increase Round): Ch 2, *hdc in next 2 sts, 2 hdc in next st*. Repeat around. Sl st to join. (284, 316, 348 sts)
Rounds 7 through 10: Ch 2, hdc in each st around. Sl st to join.
Shell Stitch Border
Round 11: Ch 1, sc in same st, *sk 2 sts, 5 dc in next st (shell made), sk 2 sts, sc in next st*. Repeat around, adjusting at end if needed to complete pattern. Sl st to first sc.
Round 12: Ch 3, 2 dc in same st, *sc in center dc of shell, 5 dc in next sc*. Repeat around. Sl st to top of ch 3.
Round 13: Repeat Round 11. Fasten off.
Part 4: Puff Sleeves (Make 2)
These dramatic sleeves are what make this top truly special. They’re worked from the cuff up.
Cuff:
Round 1: Ch 40 (44, 48), sl st to first ch to form ring, being careful not to twist.
Round 2: Ch 2, hdc in each ch around. Sl st to join. (40, 44, 48 sts)
Rounds 3 through 6: Ch 2, hdc in each st around. Sl st to join.
Shell Cuff Edging:
Round 7: Ch 1, sc in same st, *sk 1 st, 3 dc in next st, sk 1 st, sc in next st*. Repeat around. Sl st to join. Fasten off. Set aside.
Puff Section:
Turn cuff inside out so you’re working from the opposite edge.
Round 1: Join yarn at any st. Ch 2, 2 hdc in each st around. Sl st to join. (80, 88, 96 sts)
Rounds 2 through 4: Ch 2, hdc in each st around. Sl st to join.
Round 5 (Increase Round): Ch 2, *hdc in next st, 2 hdc in next st*. Repeat around. Sl st to join. (120, 132, 144 sts)
Rounds 6 through 10: Ch 2, hdc in each st around. Sl st to join.
Round 11 (Decrease Round): Ch 2, *hdc in next st, hdc dec*. Repeat around. Sl st to join. (80, 88, 96 sts)
Rounds 12 through 14: Ch 2, hdc in each st around. Sl st to join.
Round 15 (Decrease Round): Ch 2, *hdc dec*. Repeat around. Sl st to join. (40, 44, 48 sts)
Leave a long tail for seaming.
Part 5: Tie Closure
Ch 150. Sl st in 2nd ch from hook and in each ch across. Fasten off.
Assembly and Finishing
1. Attach sleeves: Pin each puff sleeve to armhole opening, easing fabric to fit. The gathered top of the sleeve should create natural pleating. Whip stitch in place.
2. Thread tie: Weave the tie through the center front neckline, creating small holes with your hook if needed between stitches.
3. Weave all ends: Take your time here. This is a garment you’ll wear, so secure those tails properly by weaving through at least 2 inches of fabric.
4. Block gently: Wet block or steam block the finished top, paying special attention to the peplum and sleeve cuffs.
Customization Tips for Your Cheerful Peplum Top
Color choices: This pattern works beautifully in any solid color. Jewel tones like emerald or sapphire create drama, while neutrals like cream or blush feel softer and more versatile.
Adjust the peplum length: Add or remove rounds in the peplum section to customize the length. Each round adds approximately half an inch.
Simplify the sleeves: If puff sleeves feel too advanced, create simple cap sleeves by working the cuff section only and attaching directly to the armhole.
Add elastic: For extra security at the neckline, thread thin elastic through the top edge of the bodice.
Troubleshooting Common Issues
Bodice too loose? Go down a hook size or reduce your foundation chain by a multiple of 2.
Sleeves not puffy enough? Add another increase round in the puff section.
Peplum curling? This usually means your tension is too tight. The shell border typically fixes this, but blocking helps too.
Sweetheart shaping looks uneven? Make sure you’re decreasing at the same rate on both sides. Count your stitches after each decrease row.
Care Instructions
Hand wash this top in cool water with gentle detergent. Lay flat to dry on a towel, reshaping the peplum and sleeves while damp. Store folded rather than hung to prevent stretching at the shoulders.
I really hope you love making this cheerful peplum crochet top as much as I enjoyed designing it. This is the kind of project that feels like a real accomplishment when you finish, and you’ll get compliments every single time you wear it. Thank you for trusting me with your crafting time.
If this pattern caught your eye, save it to your Pinterest boards so you can find it when you’re ready to cast on. And please, drop a comment below if you make this top. I absolutely love seeing your finished projects and hearing which color you chose!
