
When I sat down to design this little bodysuit, I had a very specific vision in my head. I wanted something that looked absolutely stunning, felt soft against baby skin, and came together in a way that made sense for crocheters who have moved past basic scarves but are not quite ready for complicated garment construction. I also wanted it to work across multiple sizes so you could make one for a newborn and another for a toddler without hunting down a different pattern.
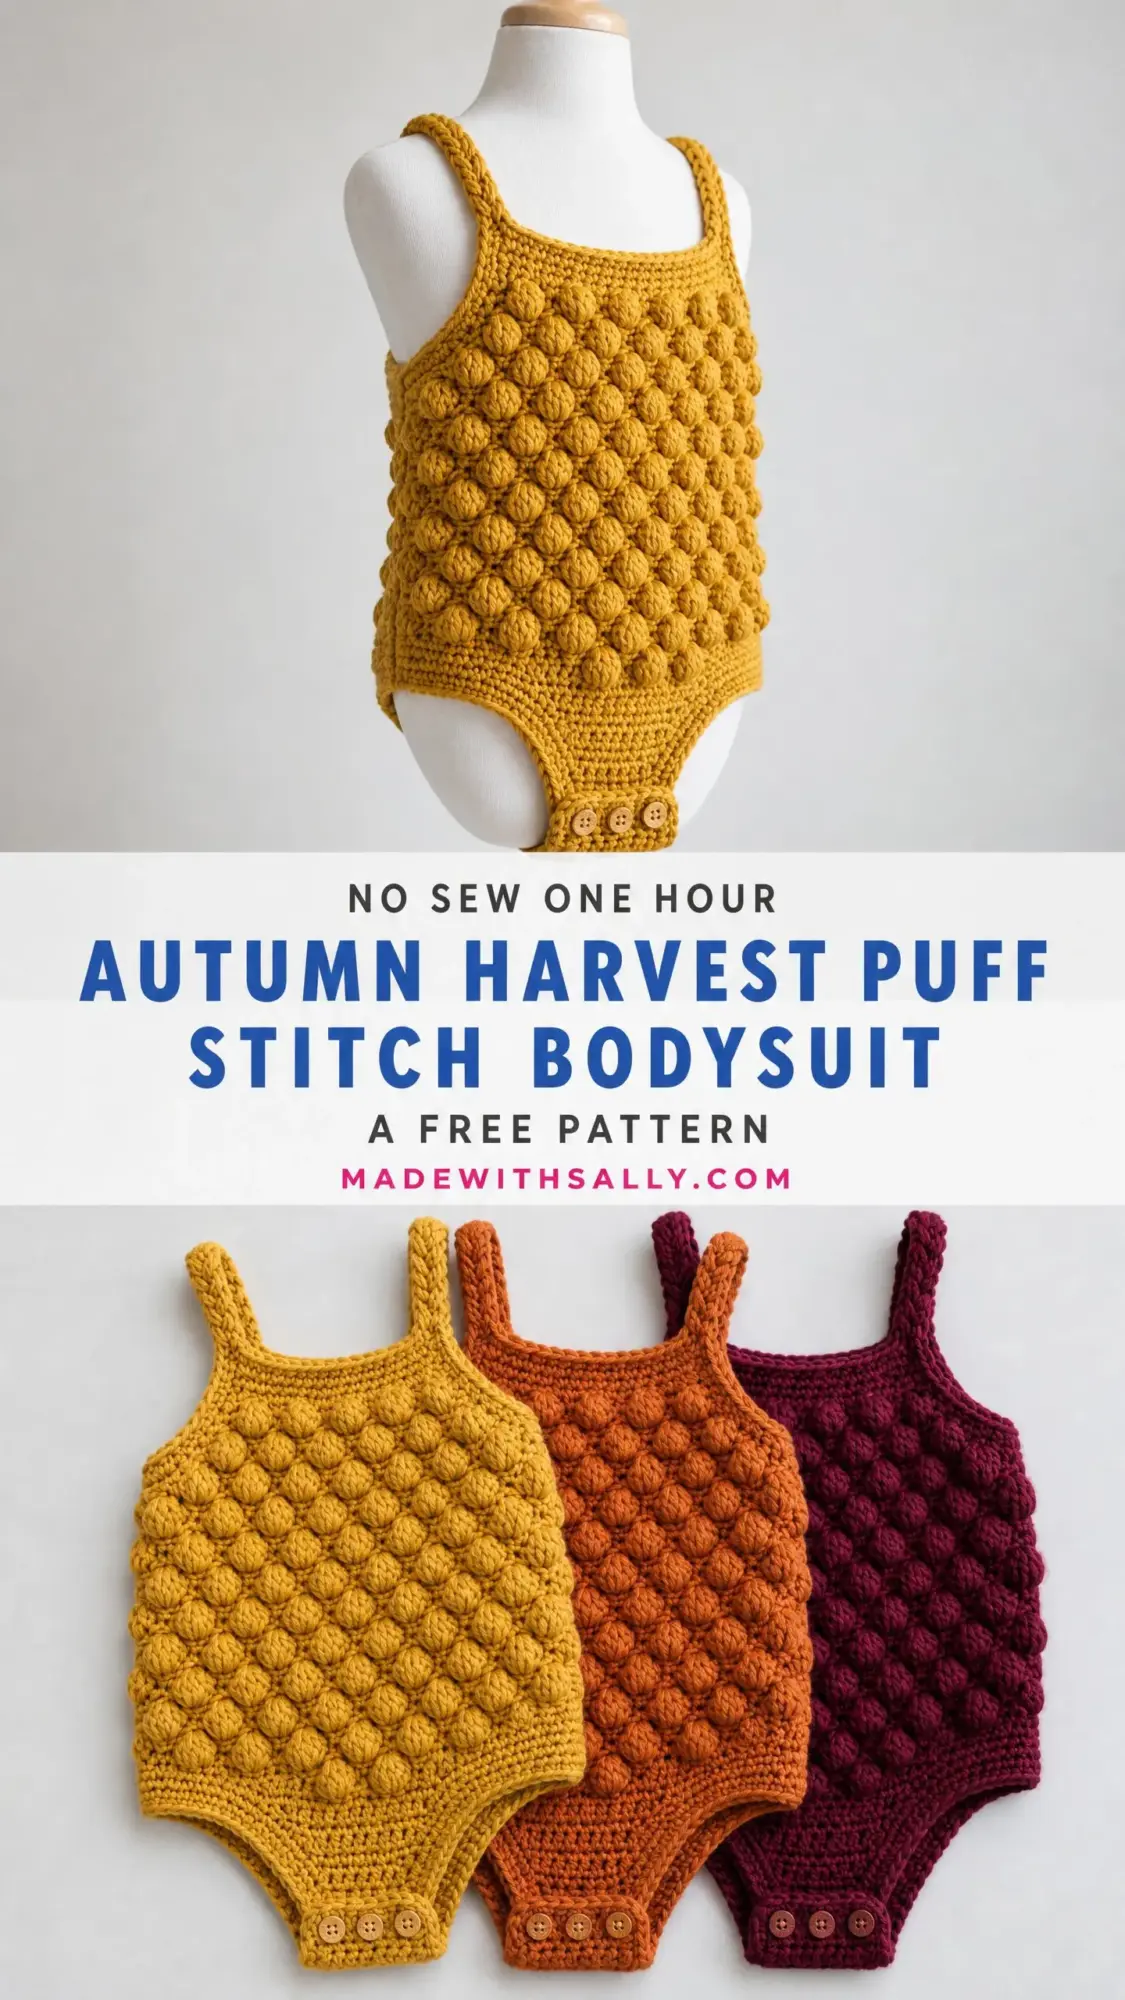
The result? This gorgeous puff stitch bodysuit with those satisfying braided straps and that beautiful quilted texture that makes people stop and ask if you really made that yourself. I am SO pleased with how it turned out.
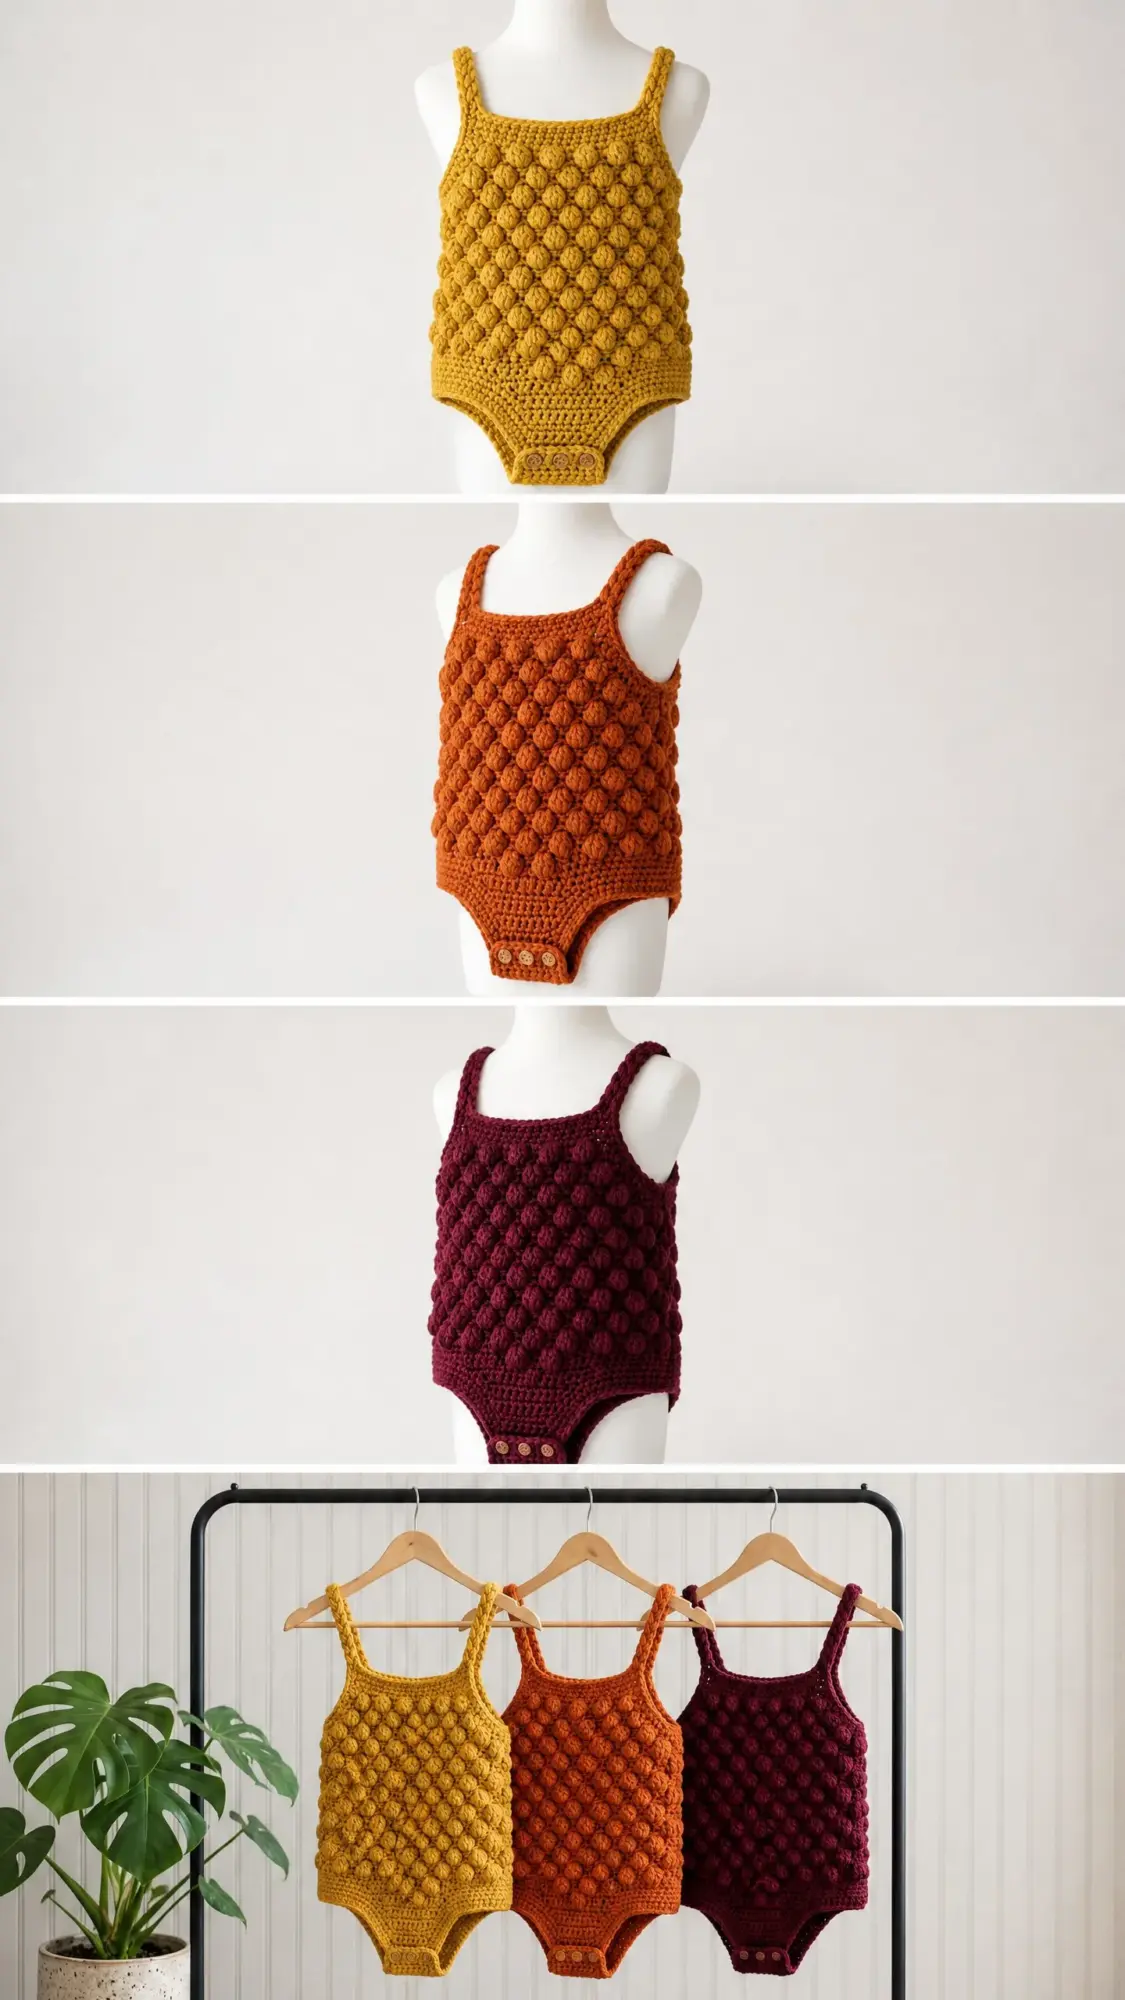
The diagonal puff stitch grid creates this incredible dimensional bubble effect that photographs beautifully and feels even better in person. Those warm autumn tones in the samples, the golden mustard, burnt orange, and deep burgundy, just make my heart happy. But honestly, this would look amazing in any color you choose.
What Makes This Bodysuit Special
This crochet pattern creates a fitted baby bodysuit with an all-over textured surface that looks far more complicated than it actually is. The puff stitch creates raised bubbles across the fabric, giving it that cozy quilted appearance you see in the photos. The construction is straightforward. You work two flat panels from the bottom up, shape the armholes and neckline, then join everything together at the sides.
The braided straps add a lovely handmade touch that elevates the whole piece. They sit nicely on little shoulders and connect the front panel to the back. The snap closure at the crotch makes diaper changes easy, which any parent will thank you for.
This bodysuit fits babies from newborn through 18 months, with four distinct sizes included. The puff stitch pattern stays consistent across all sizes. Only your starting chain count and row numbers change.
Skill Level and Time Investment
I would call this an intermediate crochet pattern. You need to be comfortable working puff stitches with even tension, creating flat panels with basic shaping, and seaming pieces together neatly. If you have made a few blankets and maybe a simple hat or two, you are ready for this project.
The key skill here is maintaining consistent puff stitch tension. Each puff needs to be roughly the same size as the others, or your fabric will look uneven. Once you get into the rhythm, it becomes almost meditative. But that first row or two might take some practice.
Plan for approximately 8 to 12 hours of work per bodysuit. Faster crocheters with puff stitch experience will finish toward the lower end. If this is your first puff stitch project, budget extra time for getting comfortable with the technique.
Finished Measurements
Size 0 to 3 months: chest 14 inches (35.5 cm), length shoulder to crotch snap 11 inches (28 cm)
Size 3 to 6 months: chest 15 inches (38 cm), length 11.75 inches (30 cm)
Size 6 to 12 months: chest 16 inches (40.5 cm), length 12.5 inches (31.75 cm)
Size 12 to 18 months: chest 17 inches (43 cm), length 13.25 inches (33.5 cm)
All measurements are taken after blocking. The garment includes 1 to 1.5 inches of positive ease so baby can move comfortably.
Throughout this pattern, instructions are written for size 0 to 3 months with changes for larger sizes in parentheses: 0 to 3 (3 to 6, 6 to 12, 12 to 18).
Materials You Will Need
Yarn: Worsted weight, 100% cotton or cotton blend, approximately 200 (230, 260, 290) yards per garment.
I recommend these specific yarns for best results:
Lion Brand 24/7 Cotton in Goldenrod, Terracotta, or Cranberry works beautifully. This 100% mercerized cotton gives excellent stitch definition. Each skein contains 186 yards, so you will need 2 skeins for all sizes.
Paintbox Yarns Simply DK used at worsted tension is another great choice. It is soft, drapey, and has gorgeous color saturation. Plan for 2 balls for smaller sizes, 3 for larger.
WeCrochet Dishie also performs well here. The slight mercerized finish makes puff stitches look polished. Two skeins covers all sizes.
Substitution tip: Choose any smooth worsted weight cotton that achieves gauge. Avoid fuzzy or hairy yarns because they will hide your beautiful puff stitch texture. I do not recommend acrylic for baby garments that will sit against skin, though a very soft acrylic can work if you prefer it.
Hook: US size G-6 (4.0 mm), or whatever size you need to match gauge.
Notions:
Gauge
18 stitches and 12 rows = 4 inches (10 cm) in puff stitch pattern after blocking.
Please make a gauge swatch. I know, I know. But this is a fitted garment. Chain 24, work the puff stitch pattern for 16 rows, block your swatch, then measure. If your swatch is too big, try a smaller hook. Too small means you need a larger hook.
Abbreviations
Let me walk you through every abbreviation you will see in this pattern:
ch = chain (wrap yarn and pull through loop on hook)
sl st = slip stitch (insert hook, yarn over, pull through stitch and loop on hook in one motion)
sc = single crochet (insert hook, pull up loop, yarn over, pull through both loops)
st(s) = stitch(es)
RS = right side (the public-facing side of your work)
WS = wrong side (the back of your work)
PS = puff stitch (see special stitch instructions below)
sc2tog = single crochet two together, a decrease stitch
t-ch = turning chain
Special Stitches
Puff Stitch (PS)
This is the signature stitch that creates all that beautiful texture. Here is how to work it:
1. Insert your hook into the designated stitch.
2. Yarn over and pull up a loop to about half an inch tall. You now have 3 loops on your hook.
3. Insert hook into the same stitch again.
4. Yarn over and pull up another loop to the same height. You now have 5 loops.
5. Insert hook into the same stitch one more time.
6. Yarn over and pull up another loop. You now have 7 loops.
7. Yarn over and draw through all 7 loops at once.
8. Chain 1 to close and lock the puff.
That closing chain 1 does NOT count as a stitch. It just secures your puff. One completed puff stitch takes up one stitch position.
Tension tip: Pull each loop up to the same height every time. This is what gives you even, uniform puffs across your fabric.
Single Crochet Decrease (sc2tog)
1. Insert hook into the next stitch, yarn over, pull up a loop. Two loops on hook.
2. Insert hook into the following stitch, yarn over, pull up a loop. Three loops on hook.
3. Yarn over and draw through all three loops.
This counts as 1 stitch and decreases your stitch count by one.
Braided Strap
Make 3 separate chains of the required length. Hold all three together and braid loosely from one end to the other. Secure each end with a slip stitch through all three chains.
Alternative method: Make a single chain double the required length, fold in half, and let it twist on itself. Both methods appear in the sample photos.
Pattern Notes Before You Begin
Read through these notes before starting. They will save you confusion later.
The front and back panels are worked identically from the crotch up to the underarm. After that, they diverge slightly for neckline shaping. Work both panels before joining.
The puff stitch pattern happens on right side rows only. On wrong side rows, you work single crochet across, going into the top of each puff stitch. This creates that diagonal grid effect.
On wrong side rows, work 1 sc into the top of each puff stitch. Skip the chain 1 closing space. This maintains your stitch count.
Your turning chain at the beginning of each right side row counts as equivalent to single crochet height, not as a stitch. Begin your first puff stitch in the first actual stitch.
For cleaner edges, work the first and last stitch of every right side row as single crochet rather than puff stitch. This makes seaming much easier.
Crochet Pattern Instructions
Body Panel (Make 2, Front and Back Identical)
Foundation Chain: Chain 33 (35, 37, 39).
Row 1 (WS, setup row): Starting in 2nd chain from hook, sc across. Turn. 32 (34, 36, 38) sc.
Now you will begin the puff stitch pattern.
Right Side Rows: Ch 1, sc in first st, (PS in next st, sc in next st) across to last st, sc in last st. Turn.
Wrong Side Rows: Ch 1, sc in each st across. Turn.
Continue alternating these two rows until your body panel measures:
This works out to approximately 42 (44, 48, 50) total rows.
End after completing a wrong side row so your next row will be right side.
Checkpoint: Your piece should measure 7 (7.5, 8, 8.5) inches from the foundation chain and be 32 (34, 36, 38) stitches wide.
Armhole Shaping
Armhole Setup Row (RS): Slip stitch across first 3 stitches, ch 1, sc in same stitch as last slip stitch (this is now your first working stitch), work puff stitch pattern across to last 3 stitches. Leave last 3 stitches unworked. Turn. 26 (28, 30, 32) sts.
Next Row (WS): Ch 1, sc across. Turn. 26 (28, 30, 32) sc.
Work even in puff stitch pattern with no more shaping until piece measures:
This upper body section is approximately 12 (12, 14, 14) rows.
End after completing a wrong side row.
Checkpoint: Your panel should now measure 9.25 (9.75, 10.5, 11) inches from the foundation chain and be 26 (28, 30, 32) stitches wide.
Neckline Shaping
The neckline is a simple square shape. The strap sections are 4 stitches wide on each side. The neckline opening is 18 (20, 22, 24) stitches in the center.
Neckline Divide Row (RS): Ch 1, work puff stitch pattern across first 4 stitches only for the first strap section. Turn, leaving remaining stitches on hold with a stitch marker. 4 sts.
First Strap Section
Work even in puff stitch pattern on these 4 stitches for 5 (5, 6, 6) rows, alternating right side and wrong side rows.
Fasten off leaving a 12 inch tail for seaming.
Second Strap Section
With right side facing, skip the center 18 (20, 22, 24) stitches. These form your neckline opening. Rejoin yarn to the next stitch with a slip stitch, ch 1.
Work puff stitch pattern across last 4 stitches. Turn. 4 sts.
Work even for 5 (5, 6, 6) rows to match the first strap section.
Fasten off leaving a 12 inch tail.
Crotch Tabs (Make 2)
With right side facing, join yarn at the center bottom of one panel. Work into the center 10 (10, 12, 12) stitches of the foundation chain.
Row 1 (RS): Ch 1, sc across 10 (10, 12, 12) sts. Turn. 10 (10, 12, 12) sc.
Rows 2 through 6: Ch 1, sc across. Turn. 10 (10, 12, 12) sc.
Row 7 (RS): Ch 1, sc2tog, sc to last 2 sts, sc2tog. Turn. 8 (8, 10, 10) sc.
Row 8: Ch 1, sc across. Turn. 8 (8, 10, 10) sc.
Row 9 (RS): Ch 1, sc2tog, sc to last 2 sts, sc2tog. Turn. 6 (6, 8, 8) sc.
Rows 10 through 12: Ch 1, sc across. Turn. 6 (6, 8, 8) sc.
Fasten off.
Repeat crotch tab on the second panel. The front tab will overlap the back tab when snapped.
Braided Straps (Make 2)
Each strap connects a front strap section to the corresponding back strap section, going over the shoulder.
For each strap, make 3 chains that measure 14 (15, 16, 17) inches long. At approximately 4 chains per inch, this is roughly 56 (60, 64, 68) chains per strand.
Hold all 3 chain strands together and braid loosely. Secure each end with a slip stitch or tight knot.
The finished braid should measure 12 (13, 14, 15) inches after braiding. Braiding shortens the length by about 15 percent.
Assembly Instructions
Side Seams
Place both panels with right sides facing each other. Align the side edges carefully. Using your yarn needle and either mattress stitch or whip stitch, join the side seams from the underarm edge down to the bottom of the body panel. Leave the crotch tab area unjoined. Your seam should be neat and invisible from the right side. Repeat for both sides.
Neckline Edging
With right side facing, join yarn at any corner of the neckline opening. Work 1 round of single crochet evenly around the entire neckline. Work approximately 1 sc per stitch across the horizontal edges and 1 sc per row along the vertical edges. Slip stitch to join. Fasten off.
Armhole Edging
With right side facing, join yarn at the underarm edge of one armhole. Work 1 round of single crochet evenly around the armhole opening. Slip stitch to join. Fasten off. Repeat for the second armhole.
Attach Straps
Thread one end of a braided strap through the stitches at the top of the front right strap section. Whipstitch the strap end securely to the anchor section over at least 0.75 inches, weaving back and forth multiple times for security. Carry the strap over the right shoulder and attach the other end to the back right strap section. Repeat for the left shoulder.
Crotch Closure
Position the front crotch tab over the back crotch tab so they overlap evenly. Mark snap placement at left, center, and right of the tab, spacing 3 snaps evenly across. Sew snaps securely through both layers.
If you prefer buttons, work 3 buttonholes on the front tab during construction by working (ch 2, skip 2) on the final row. Sew 3 matching buttons to the back tab.
Blocking Your Finished Bodysuit
Wet blocking is essential for cotton yarn and will transform your finished piece. Soak the completed bodysuit in cool water for 10 to 15 minutes. Gently squeeze out excess water without wringing or twisting.
Lay flat on a blocking mat. Shape to the stated finished measurements. Pin the neckline corners and bottom edge to maintain crisp square angles. Allow to dry completely, which takes about 24 hours.
Blocking evens out your puff stitches dramatically. Unblocked puff stitches look lumpy and uneven. Blocked puff stitches look intentional, structured, and professional.
Weave in all ends before blocking, working at least 3 to 4 inches of each tail in a figure-eight path to prevent pulling out during washing.
Care Instructions
Machine wash cold on gentle cycle, inside out. Lay flat to dry. Do not tumble dry, as heat and agitation can shrink cotton and distort your puff stitch texture.
Never iron directly on puff stitches. The heat and pressure will permanently flatten your dimensional texture. If you need to iron flat areas, use a pressing cloth and low heat.
Store folded rather than hung to prevent shoulder stretching.
Customizing the Size
To resize beyond the provided measurements, measure baby’s chest and add 1 inch of ease. Divide by 2 for single panel width. Multiply by 4.5 stitches per inch to find your starting chain count. Round to an even number because the puff stitch pattern needs an even number of interior stitches.
To adjust length, measure from shoulder to crotch snap point. Subtract about 1.5 inches for the strap anchor section. The remainder is your body panel length. Multiply by 3 rows per inch to determine how many rows to work before armhole shaping.
I hope you love making this Autumn Harvest Puff Stitch Bodysuit as much as I loved designing it. Those little puffs are so satisfying to create, and the finished result looks like something from a boutique shop.
If you found this crochet pattern helpful, I would love it if you saved it to your Pinterest boards so you can find it easily when you are ready to start. And please leave a comment below if you make one. I always love seeing your finished projects and hearing which colorway you chose.
