
I don’t know about you, but I absolutely love a swimsuit that feels like it belongs in a mermaid’s wardrobe. All the whimsy of an ocean-inspired piece with none of the impossible construction. This Pastel Rainbow Shell Bikini delivers exactly that vibe, and honestly, it’s more approachable than you might think.
Get the Ad-Free PDF Pattern
You can find the free pattern below, or you can purchase the ad-free printable PDF from my shop.
Get the Printable PDF →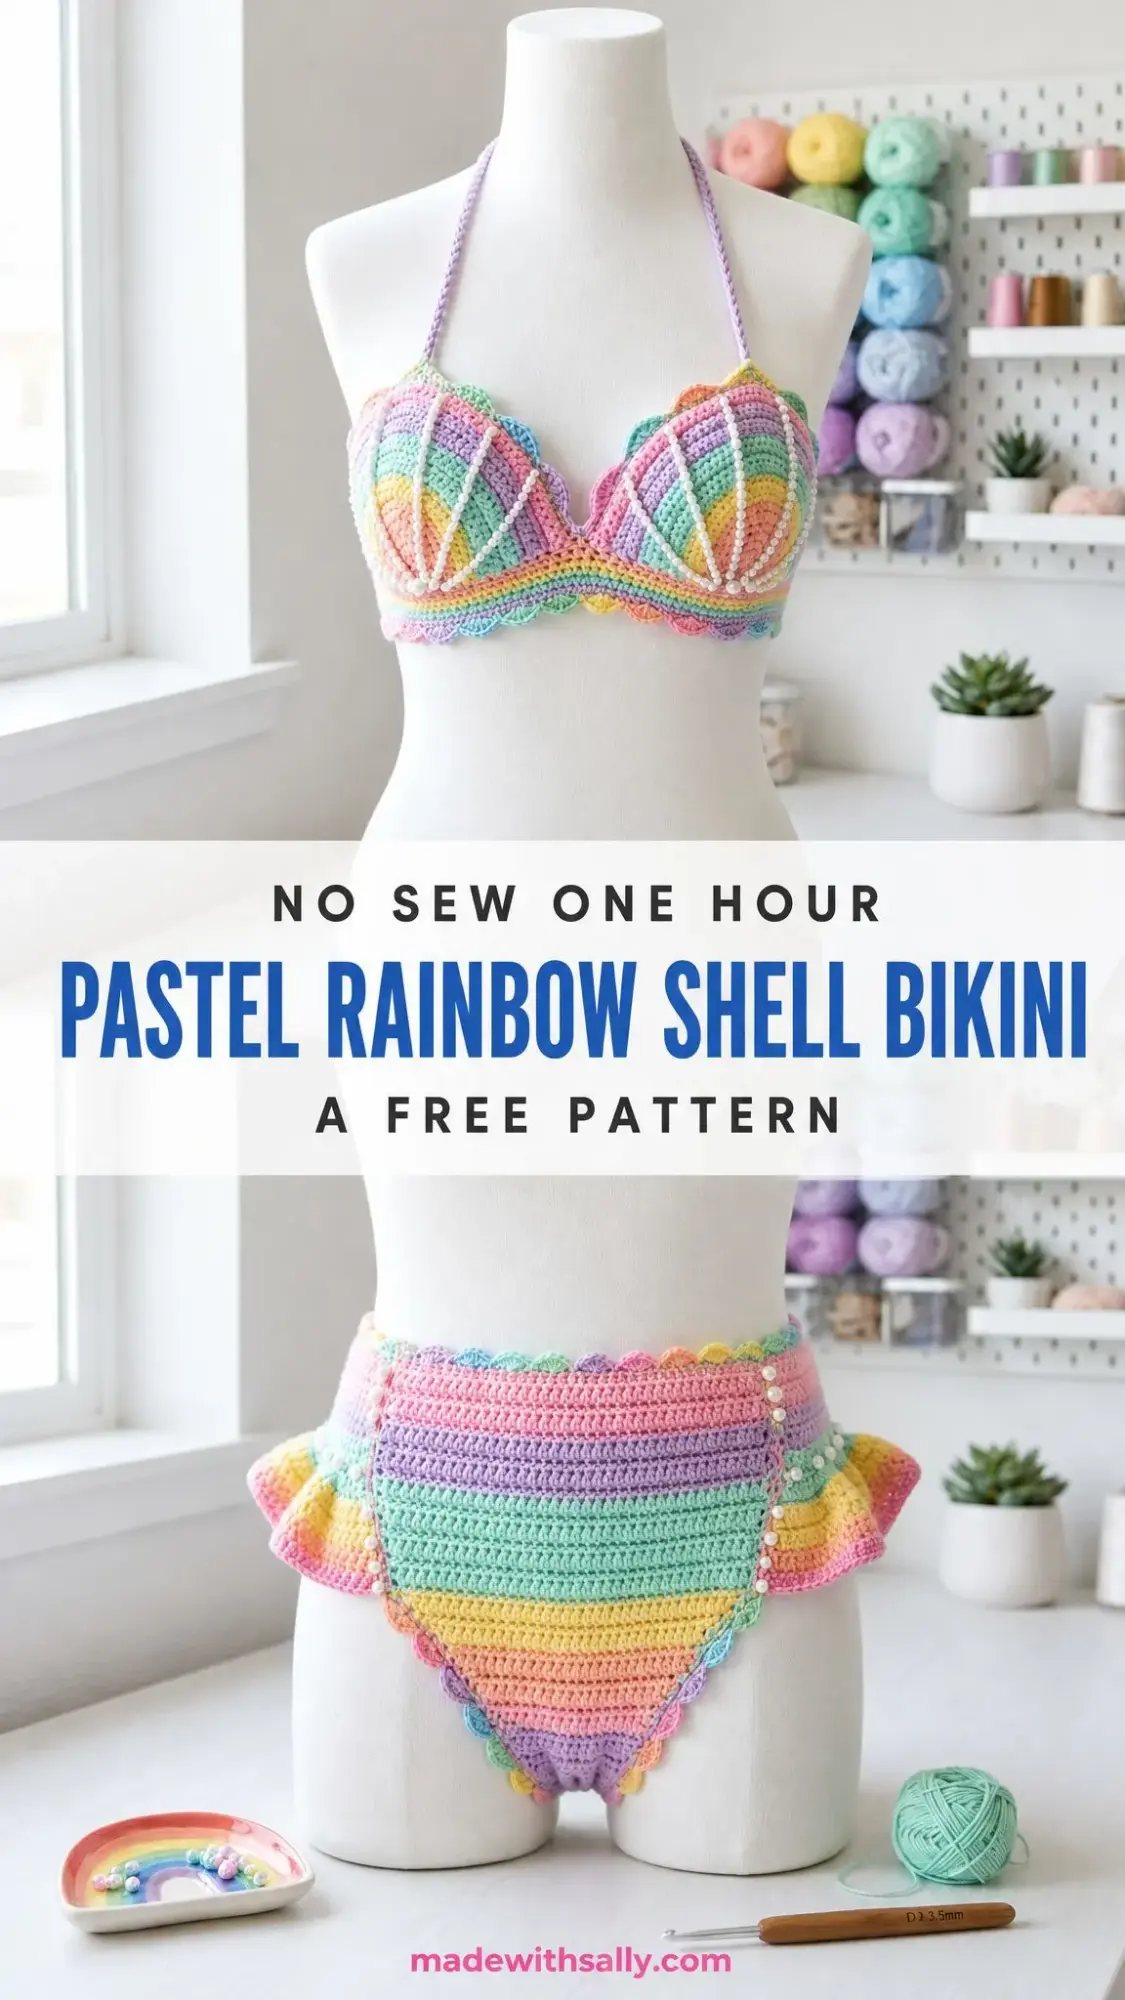
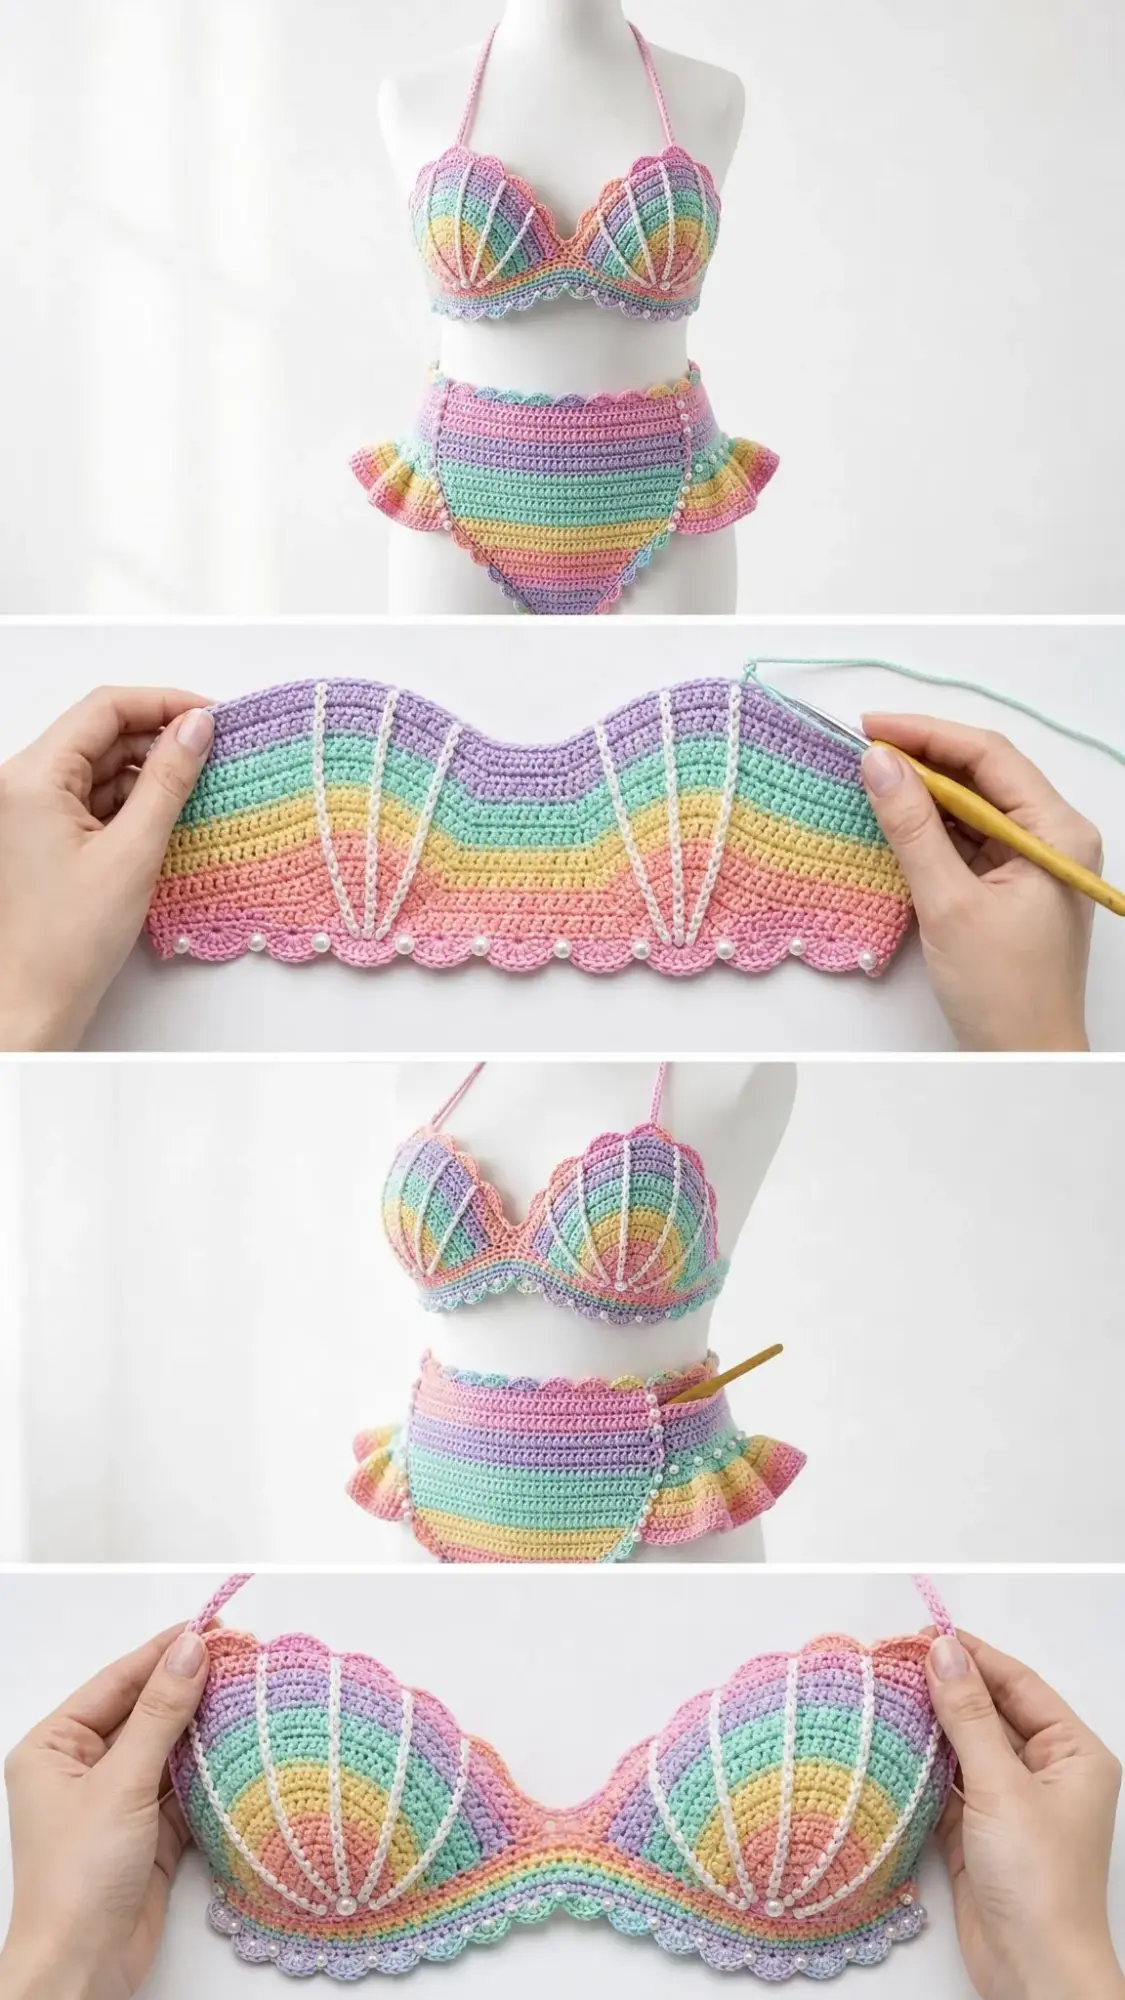
When I first saw this design, I thought there was no way I could pull off those gorgeous seashell cups with the radiating pearl spokes. But here’s the thing: the entire top is built from a simple triangle that grows outward row by row. The decorative details? They’re added at the very end, so you’re never juggling complicated techniques while trying to count stitches. The rainbow stripes practically work themselves once you get into the rhythm of changing colors every two rows.
Let me walk you through everything you need to create this stunning two-piece from start to finish.
What Makes This Bikini Pattern Special
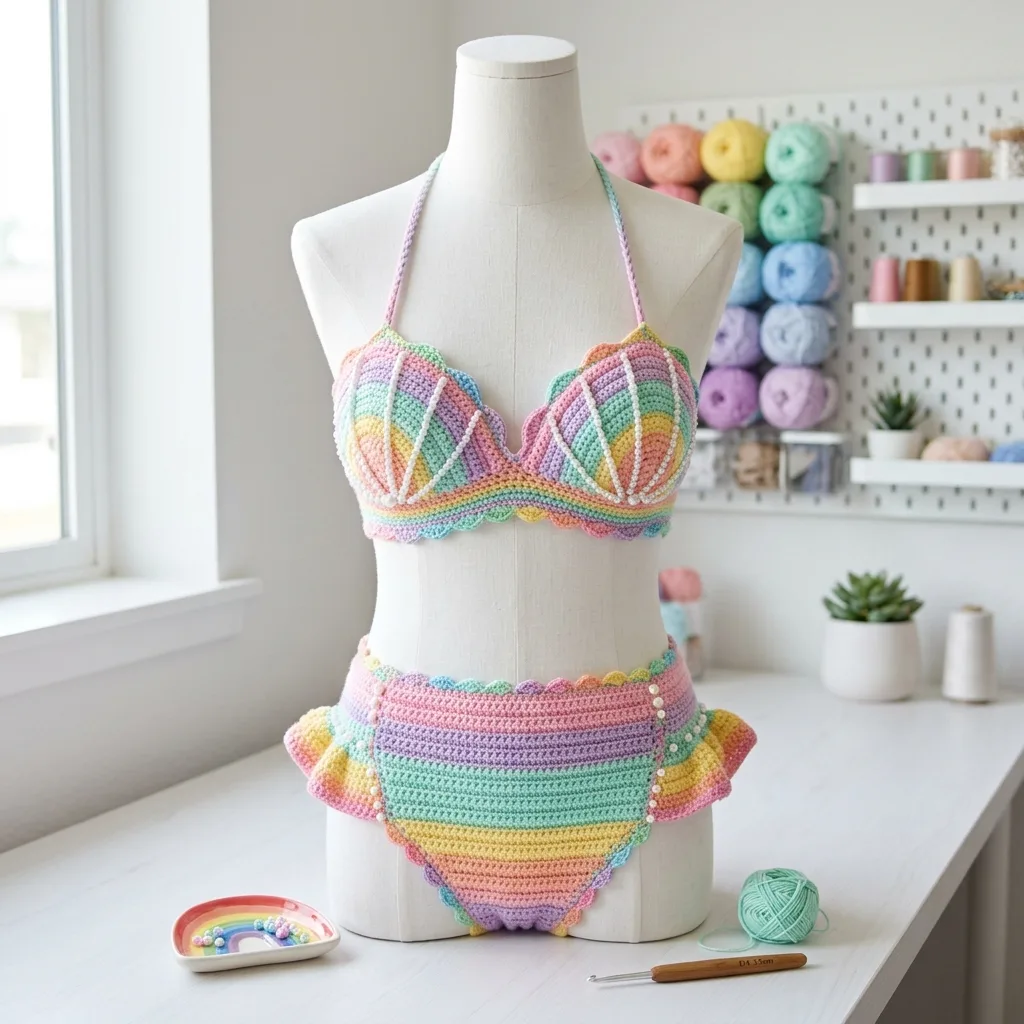
This Pastel Rainbow Shell Bikini crochet pattern combines several eye-catching elements into one cohesive beach-ready look. The cups are shaped like seashells with five pearl-style spokes radiating from the center point to the upper edge. Scalloped edging runs along the lower curves of each cup, giving that classic shell silhouette.
The bottom features the same soft rainbow striping as the top, with a higher back for comfortable coverage. Side ruffles add a playful feminine touch, and pearl buttons along the side tabs create an adjustable, secure fit. Tie closures at the halter, back, and hips mean you can customize the fit to your exact measurements.
The color palette uses five pastel shades: pink, peach, yellow, mint, and lavender. You’ll rotate through these colors every two rows, creating those beautiful rainbow bands that catch the light.
Skill Level and Time Investment
This pattern is rated intermediate. You should feel comfortable with:
If you’ve made a few garments or shaped accessories before, you have the skills for this project. The construction is actually quite logical once you understand the flow.
Time estimate: Plan for 10 to 14 hours total. The cups work up fairly quickly since they start small and grow gradually. The bottom takes a bit longer because you’re working two separate pieces (front and back) from the same starting chain.
Finished Measurements
Each cup measures approximately 7.75 inches (19.5 cm) wide and 4.75 inches (12 cm) tall before edging.
The bottom fits approximately 34 to 36 inches (86 to 91.5 cm) at the hip with adjustable side ties. The pattern is designed with slight negative ease at the bikini bottom, meaning it will fit snugly and stretch to conform to your body. The bust fit is fully adjustable through the halter and back ties.
Materials You’ll Need
Yarn:
Great yarn options include Paintbox Cotton DK, Scheepjes Catona held singly, or Lion Brand 24/7 Cotton DK. Look for a smooth DK cotton that holds stitch definition well and dries quickly, which is essential for swimwear.
Hook:
Notions:
Gauge
18 hdc x 14 rows = 4 inches (10 cm) after light blocking.
Please swatch before starting. Every finished measurement depends on matching this gauge. If your swatch is too small, go up a hook size. If it’s too large, go down a hook size.
Abbreviations and Stitch Definitions
| US Term | Meaning |
|---|---|
| ch | chain |
| sl st | slip stitch |
| sc | single crochet (insert hook, yarn over, pull up loop, yarn over, pull through both loops) |
| hdc | half double crochet (yarn over, insert hook, pull up loop, yarn over, pull through all 3 loops) |
| dc | double crochet |
| st(s) | stitch(es) |
| RS/WS | right side/wrong side |
| inc | increase: 2 hdc in same stitch |
| sc2tog | single crochet 2 together (decrease) |
UK crocheters: US sc equals UK dc. US hdc equals UK htr. US dc equals UK tr.
Special Stitches
Hdc Increase
Yarn over, insert hook in indicated stitch, yarn over and pull up a loop, yarn over and pull through all 3 loops. Work a second half double crochet (hdc) in the same stitch. Count this increase as 2 hdc.
Scallop Edging
This stitch creates a beautiful rounded shell edge. Work over a multiple of 4 stitches: slip stitch in next stitch, skip 1 stitch, 5 dc in next stitch, skip 1 stitch. Repeat from across.
Pearl-Style Spoke
Cut pearl trim to length, or string pearl beads on sturdy thread. Lay one spoke from the lower cup center to the upper edge. Stitch down invisibly between crochet columns. Repeat 5 times per cup for that classic seashell rib look.
Surface-Crochet Rib Option (Alternative to Pearl Trim)
If you prefer yarn instead of pearl trim, use white or cream yarn. Join at the lower cup center. Insert hook through the fabric surface, pull up a loop, and slip stitch along a diagonal line to the upper edge. Keep tension relaxed so the cup does not pucker.
Color Sequence
Work 2 rows or rounds in each pastel color, rotating through: pink, peach, yellow, mint, lavender. Then start again with pink.
Carry yarn only where it will be covered by edging. Otherwise, fasten off cleanly at color changes to avoid bulky floats on the wrong side.
Shell Cups Instructions (Make 2)
Chain 4 to begin. Work in rows. Chain 1 to turn. The turning chain does not count as a stitch. Change color every 2 rows.
| Row | Instruction | Count |
|---|---|---|
| 1 | Hdc in 2nd ch from hook and next 2 ch | 3 hdc |
| 2 | Inc in first st, hdc across to last st, inc in last st | 5 hdc |
| 3 | Inc in first st, hdc across to last st, inc in last st | 7 hdc |
| 4 | Inc in first st, hdc across to last st, inc in last st | 9 hdc |
| 5 | Inc in first st, hdc across to last st, inc in last st | 11 hdc |
| 6 | Inc in first st, hdc across to last st, inc in last st | 13 hdc |
| 7 | Inc in first st, hdc across to last st, inc in last st | 15 hdc |
| 8 | Inc in first st, hdc across to last st, inc in last st | 17 hdc |
| 9 | Inc in first st, hdc across to last st, inc in last st | 19 hdc |
| 10 | Inc in first st, hdc across to last st, inc in last st | 21 hdc |
| 11 | Inc in first st, hdc across to last st, inc in last st | 23 hdc |
| 12 | Inc in first st, hdc across to last st, inc in last st | 25 hdc |
| 13 | Inc in first st, hdc across to last st, inc in last st | 27 hdc |
| 14 | Inc in first st, hdc across to last st, inc in last st | 29 hdc |
| 15 | Inc in first st, hdc across to last st, inc in last st | 31 hdc |
| 16 | Inc in first st, hdc across to last st, inc in last st | 33 hdc |
| 17 | Inc in first st, hdc across to last st, inc in last st | 35 hdc |
Cup Edging
With RS facing, work sc evenly around each cup: 17 sc along the left side edge, 35 sc across the top, 17 sc along the right side edge, and 3 sc in the lower point. Join. (72 sc total)
Lower Scallop
Work scallop edging only along the 35-stitch lower/top curved edge. Use 32 stitches for 8 scallops, easing the remaining 3 stitches at the outer ends. Keep the neckline edge smooth.
Decorative Ribs
Add 5 pearl-style spokes per cup, spacing them evenly from the lower point to the upper edge. Secure all ends on the wrong side.
Ties
Halter ties: Join yarn at the outer upper corner, chain 72, slip stitch back in each chain, fasten off. Repeat for the other cup.
Back ties: Join yarn at the outer lower corner of each cup, chain 90, slip stitch back in each chain, fasten off.
Cup checkpoint: Each blocked cup should measure about 7.75 inches (19.5 cm) wide and 4.75 inches (12 cm) tall before straps.
Bikini Bottom Instructions
Work the front from the crotch chain, then rotate and work the back from the unused foundation loops. Chain 9 to begin.
Front Panel
| Row | Instruction | Count |
|---|---|---|
| 1 | Hdc in 2nd ch from hook and next 7 ch | 8 hdc |
| 2-5 | Hdc in each st across | 8 hdc |
| 6 | Inc in first st, hdc across to last st, inc in last st | 10 hdc |
| 7 | Inc in first st, hdc across to last st, inc in last st | 12 hdc |
| 8 | Inc in first st, hdc across to last st, inc in last st | 14 hdc |
| 9 | Inc in first st, hdc across to last st, inc in last st | 16 hdc |
| 10 | Inc in first st, hdc across to last st, inc in last st | 18 hdc |
| 11 | Inc in first st, hdc across to last st, inc in last st | 20 hdc |
| 12 | Inc in first st, hdc across to last st, inc in last st | 22 hdc |
| 13 | Inc in first st, hdc across to last st, inc in last st | 24 hdc |
| 14 | Inc in first st, hdc across to last st, inc in last st | 26 hdc |
| 15 | Inc in first st, hdc across to last st, inc in last st | 28 hdc |
| 16 | Inc in first st, hdc across to last st, inc in last st | 30 hdc |
| 17 | Inc in first st, hdc across to last st, inc in last st | 32 hdc |
| 18 | Inc in first st, hdc across to last st, inc in last st | 34 hdc |
| 19 | Inc in first st, hdc across to last st, inc in last st | 36 hdc |
| 20 | Inc in first st, hdc across to last st, inc in last st | 38 hdc |
| 21 | Inc in first st, hdc across to last st, inc in last st | 40 hdc |
| 22 | Inc in first st, hdc across to last st, inc in last st | 42 hdc |
Back Panel
With RS facing, join yarn in the first unused loop of the starting chain at the crotch. Chain 1.
| Row | Instruction | Count |
|---|---|---|
| 1 | Hdc in each of 8 unused loops | 8 hdc |
| 2-4 | Hdc in each st across | 8 hdc |
| 5-27 | Inc in first st, hdc across to last st, inc in last st | Increases by 2 each row |
Continue increasing until Row 27 ends with 54 hdc.
Bottom checkpoint: Front top edge equals 42 hdc. Back top edge equals 54 hdc. At gauge, front width is about 9.25 inches (23.5 cm) and back width is about 12 inches (30.5 cm) before side ties.
Waist, Legs, and Side Details
Top Waistband
With RS facing and color sequence continuing, work sc across the front top edge and back top edge separately. Work 3 rows of sc on each edge. Stitch counts stay at front 42 sc and back 54 sc.
Waist Scallops
Work scallop edging across the front top over 40 stitches for 10 scallops, easing 1 stitch at each end. Work across the back over 52 stitches for 13 scallops, easing 1 stitch at each end.
Leg Openings
Pick up 64 sc evenly around each leg opening. Use approximately 3 stitches for every 2 row ends along curves and 1 stitch in each crotch edge stitch. Join. Work 1 round of sc, then work scallop edging over all 64 stitches for 16 scallops per leg.
Side Ties
At each of the 4 waist corners, join yarn, chain 70, slip stitch back in each chain, fasten off. For a buttoned look, sew 3 pearl buttons along each front side edge and use the back ties as loops.
Side Ruffles (Make 2)
Join yarn at the side hip between front and back.
Row 1: Sc 12 evenly along the side edge. (12 sc)
Row 2: Ch 1, turn, inc in each st across. (24 sc)
Row 3: Work scallop edging over 24 stitches for 6 scallops. Fasten off.
Optional Elastic
Thread clear elastic through the wrong side of the waistband and leg sc rounds. Do not pull tight. Use it only to support the edge and prevent stretching over time.
Customizing Your Fit
Cup Size Adjustments
For more coverage, add 2 more increase rows to each cup: Row 18 equals 37 hdc, Row 19 equals 39 hdc.
For less coverage, stop after Row 15 equals 31 hdc.
Keep both cups identical!
Bottom Fit Adjustments
Add or remove side-tie chain length in 5-chain increments for hip adjustment.
For a taller rise, add even rows (no increases) before the shaping begins.
For wider coverage, add paired increases for 1 to 3 extra rows on the front and/or back.
Finishing Your Bikini
Blocking
Steam lightly or wet block flat. Pin the scallops open to help them hold their shape, and allow the pieces to dry fully before attaching pearl trim.
Weaving Ends
Weave all ends securely on the wrong side. Take extra time with the color changes to prevent any tails from working loose during wear.
Attaching Pearl Trim
Sew pearl trim with small stitches through the fabric, not around the whole strand. This keeps the cups flexible and comfortable.
Reinforcing Ties
Add several whipstitches at the points where ties attach to the main pieces. These areas take the most stress during wear.
Care Instructions
Hand wash cold, reshape flat, and air dry. Avoid wringing, which can stretch the fabric unevenly.
If you actually swim in this bikini (which is totally an option with cotton yarn), rinse it promptly in fresh water to remove chlorine or salt. Dry flat away from direct heat or sunlight.
Troubleshooting Common Issues
Cup ripples: Your increases may be too loose. Block gently and keep the edging relaxed.
Cup curls inward: Go up a hook size or add one even row (no increases) before edging.
Leg opening pulls or puckers: Pick up more stitches before the scallop round, keeping a multiple of 4.
Waist feels loose: Add elastic thread on the wrong side or shorten the ties.
Pearl spokes pucker the fabric: Restitch with more slack and secure only every 0.5 inches (1.25 cm) instead of tacking down the entire length.
A Note for Left-Handed Crocheters
Work the same instructions as written. The decorative spokes and button plackets will mirror naturally. Place side buttons on whichever edge is easiest for you to fasten.
Final Thoughts on This Pastel Rainbow Shell Bikini Crochet Pattern
This project brings together so many satisfying techniques: simple shaping, colorful stripes, decorative edging, and those show-stopping pearl accents. Once you’ve finished, you’ll have a completely unique handmade swimsuit that looks like it belongs in a boutique window.
The step by step construction makes even the trickier elements manageable. Build your cups first, add the pearl spokes, then move on to the bottom. Breaking it into stages keeps the whole process enjoyable rather than overwhelming.
I hope this crochet tutorial gives you everything you need to create your own mermaid-worthy bikini. Whether you stick with the pastel rainbow palette or choose your own color combination, this design is sure to turn heads.
If you loved working on this Pastel Rainbow Shell Bikini, I’d be thrilled if you saved this pattern to your Pinterest boards so you can find it easily later. And please drop a comment below if you make one! I absolutely love seeing your finished projects and hearing how the pattern worked up for you.
Want a Quick & Easy Printable Version?
Get a clean, beautifully formatted PDF of this pattern — easy to follow step by step, ready to print or save on any device. No scrolling, no distractions, just the pattern.
Get the Printable PDF →