
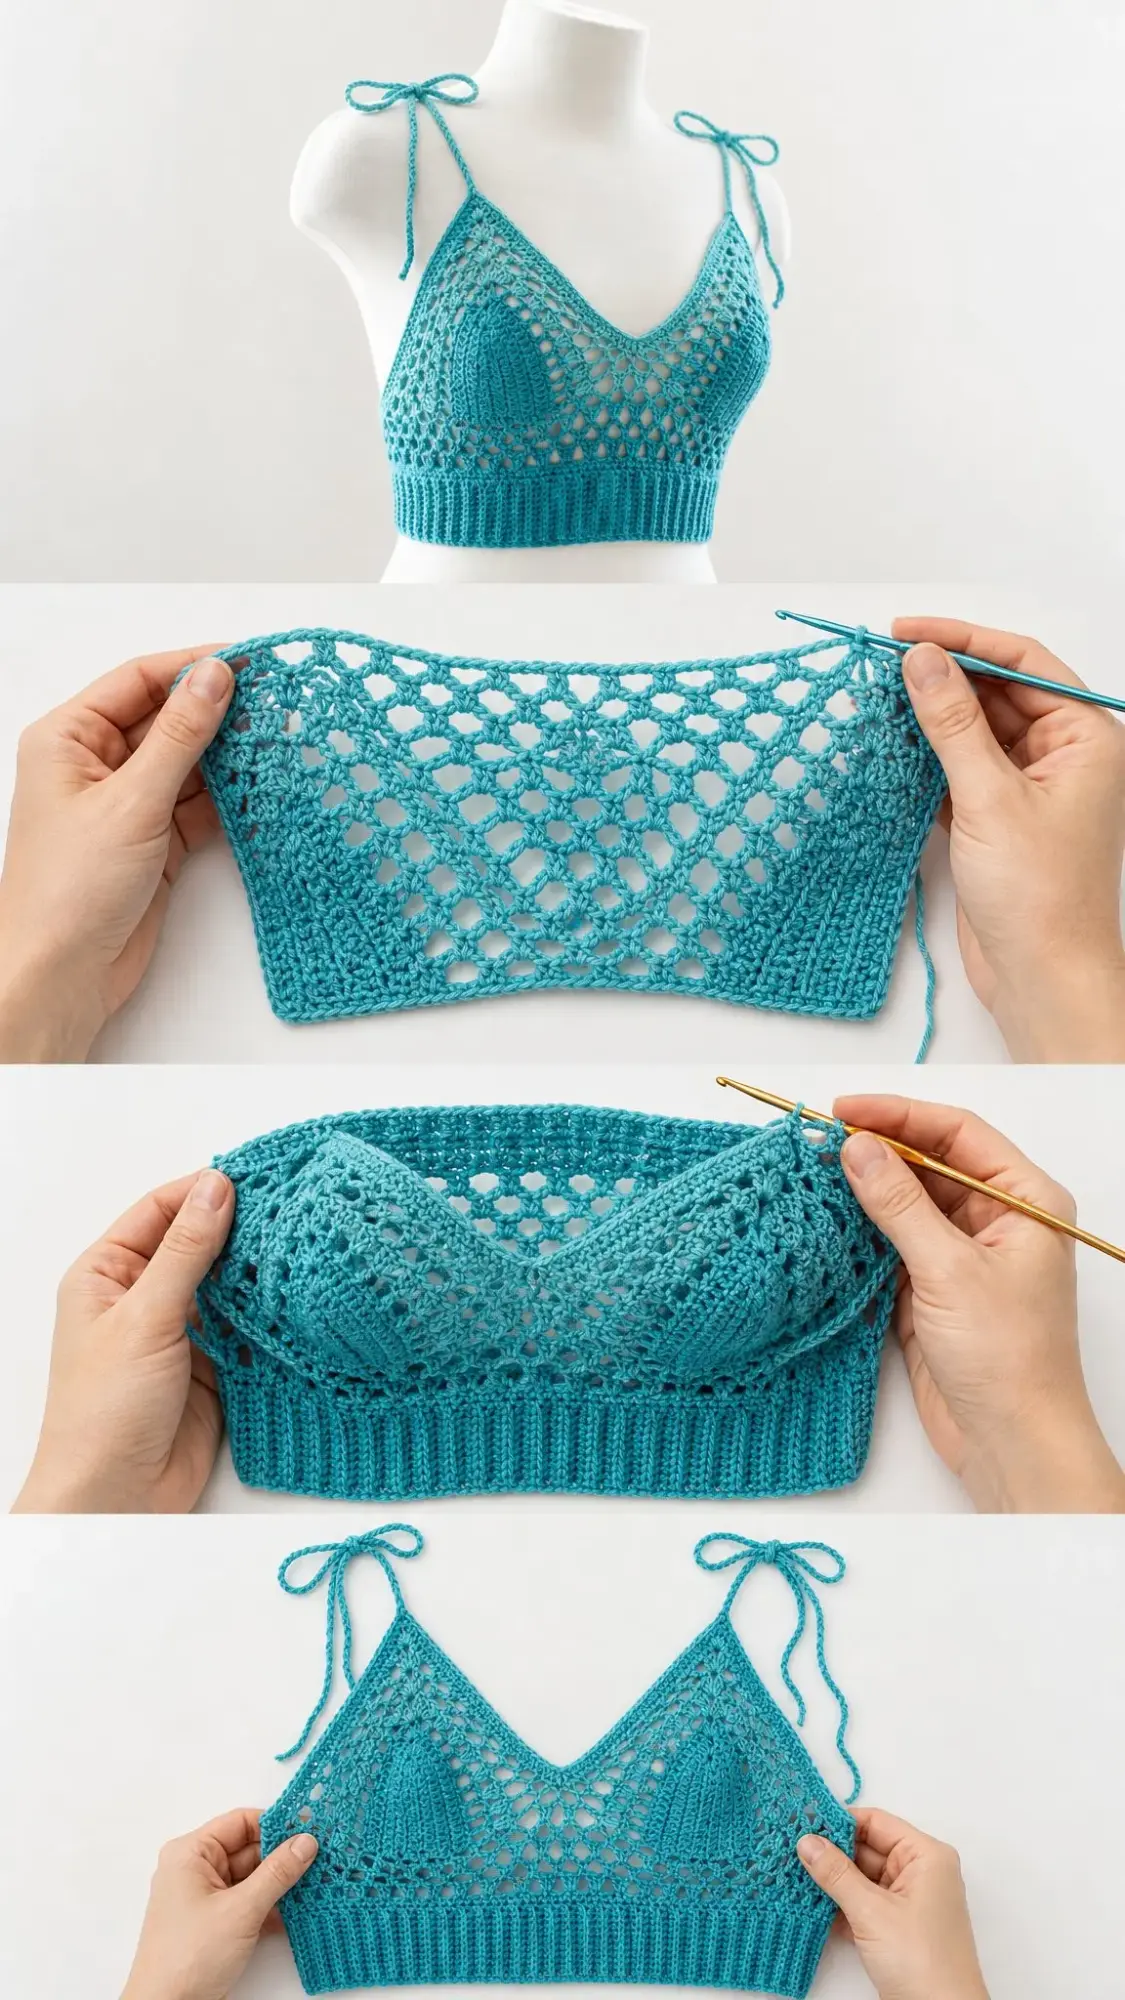
This cropped summer top uses simple stitches to create a breezy lace bodice with adjustable tie straps. The construction is straightforward. You start with a stretchy ribbed band, work upward into an open mesh body, then shape the front panels into a flattering V-neck. If you can single crochet, double crochet, and follow a basic repeat, you can make this top.
Get the Ad-Free PDF Pattern
You can find the free pattern below, or you can purchase the ad-free printable PDF from my shop.
Get the Printable PDF →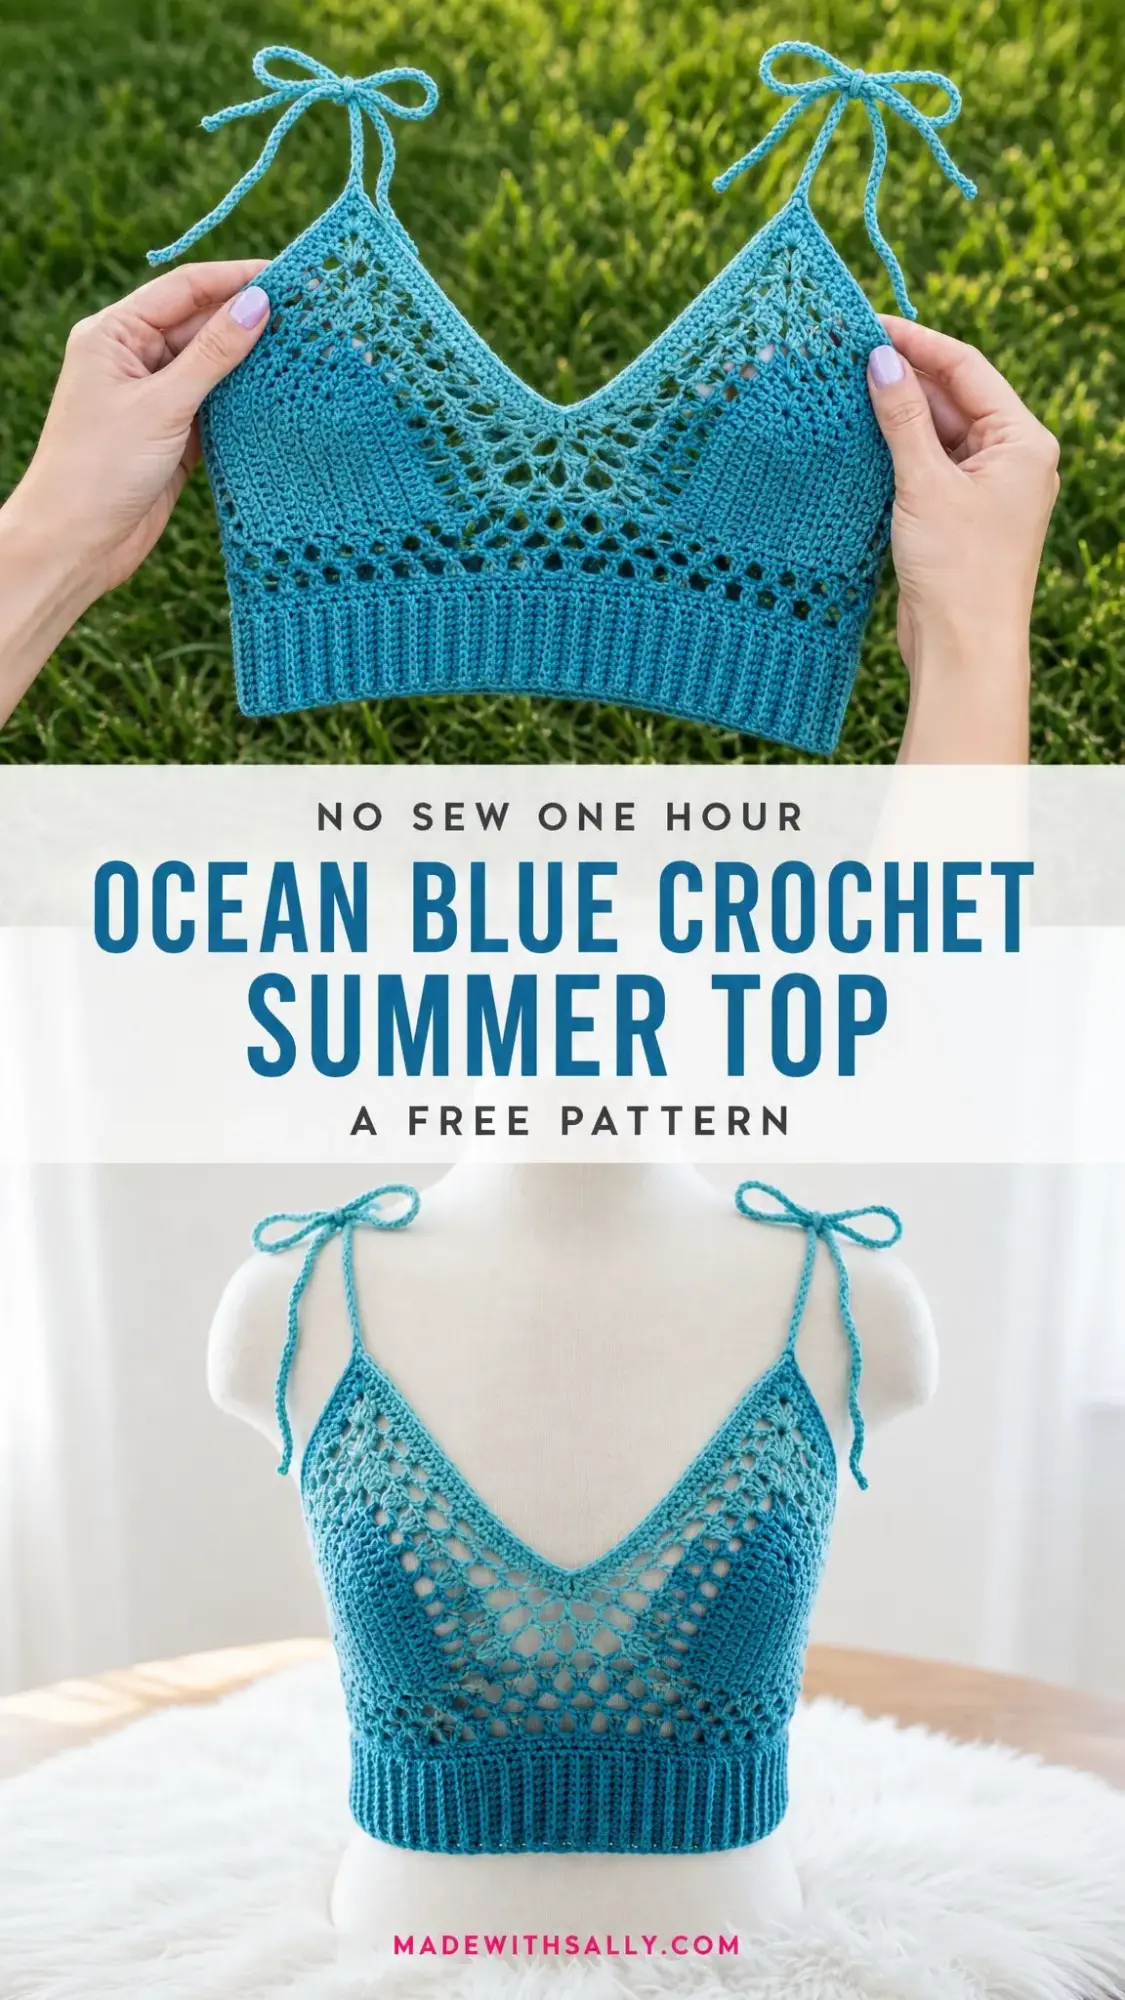
About This Crochet Summer Top Pattern
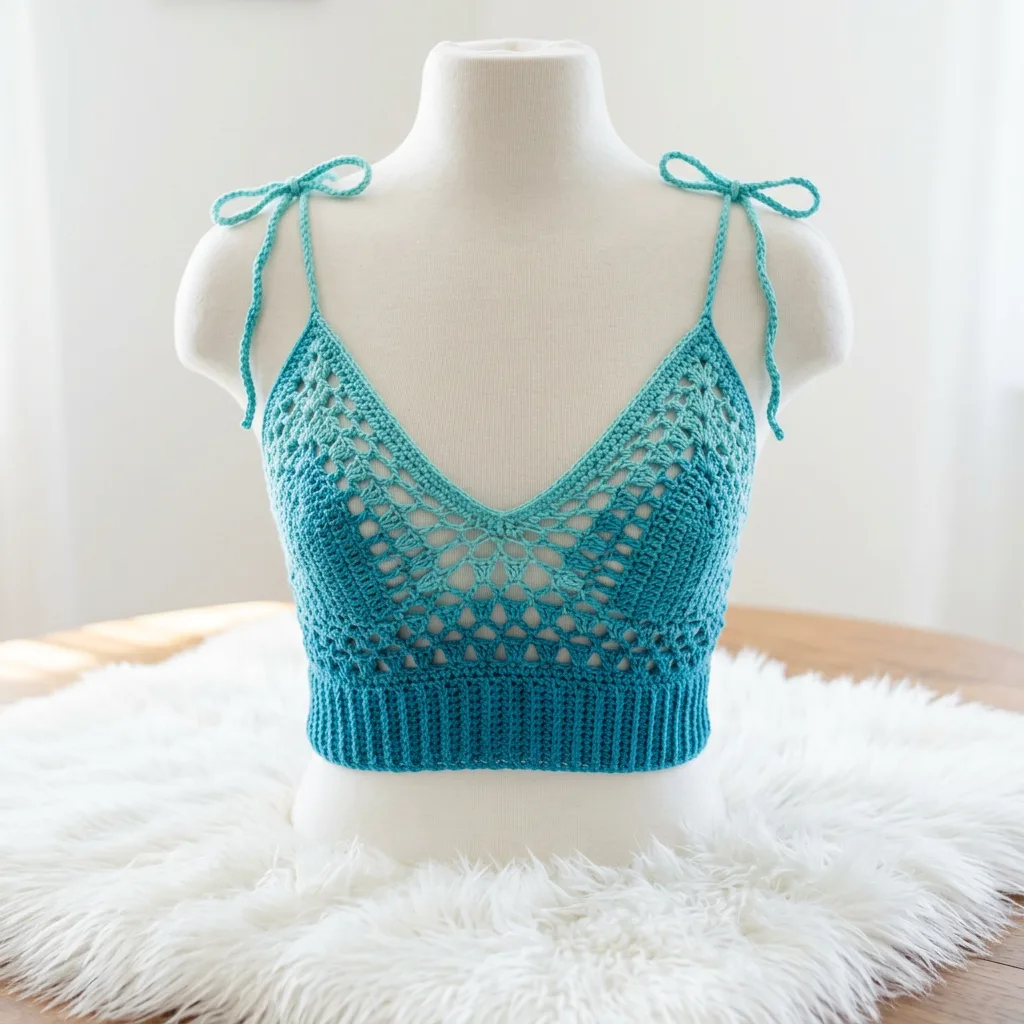
The Ocean Blue Crochet Summer Top is an intermediate-level project that comes together in about 6 to 8 hours. The design features a vertical ribbed band that hugs comfortably at the underbust, an airy shell mesh lace section for the body, and long shoulder ties that let you customize the fit.
The back panel is worked straight across, while the front splits into two mirrored panels with soft V-neck shaping. This creates that classic bralette silhouette that looks beautiful layered over a tank or worn on its own at the beach.
Finished measurements: The band measures 27.5 inches (70 cm) unstretched and comfortably fits a 30 to 34 inch (76 to 86.5 cm) bust. Body height from the top of the band to the shoulder edge is about 7 inches (18 cm). Each tie measures approximately 20 inches (51 cm).
Intended ease: This top is designed with 2 to 5 inches (5 to 12.5 cm) of negative ease at the ribbed band. This means the band should measure smaller than your actual body measurement so it stays secure while you wear it.
Materials You Will Need
Gather these supplies before you begin:
Yarn: 350 to 430 yards (320 to 393 meters) of sport weight or light DK weight cotton or cotton-bamboo blend yarn in ocean blue or teal. The pattern suggests Paintbox Cotton DK, Hobbii Rainbow Cotton 8/6, or Lion Brand Coboo. Choose a smooth plant-fiber yarn with clear stitch definition.
Hook: US E/4 (3.5 mm) crochet hook, or the size needed to match gauge.
Notions: 4 stitch markers, yarn needle, scissors, measuring tape, and rustproof pins with blocking mats.
Important substitution note: Avoid heavy worsted weight yarn. It will enlarge the lace openings and reduce the support the top provides. If you want to use this as swimwear or beachwear, choose a fiber blend that tolerates washing and drying flat.
Gauge Information
Swatch before starting. Gauge matters for fit, especially in a garment like this.
In BLO ribbing: 14 rows by 12 single crochet stitches equals 4 inches (10 cm), lightly blocked.
In lace body: 18 stitches by 8 rows equals 4 inches (10 cm).
Match both stitch gauge and row gauge for the best fit. If your gauge is off, try going up or down a hook size.
Abbreviations and Stitch Guide
Here are all the abbreviations used in this crochet summer top pattern. I have included plain-English definitions so you know exactly what each one means.
UK crocheters note: US single crochet equals UK double crochet. US double crochet equals UK treble.
Special Stitches Explained
Shell Mesh Repeat: This is worked over 6 stitches. Double crochet in the next 2 stitches, chain 2, skip 2 stitches, double crochet in the next 2 stitches. On the following solidifying row, work 1 single crochet in each double crochet and 2 single crochet in each chain-2 space.
Tie Cord: Chain to the required length, then slip stitch in the back bump of the 2nd chain from hook and each chain across. This creates a firm rounded cord.
Pattern Notes Before You Begin
Step by Step Pattern Instructions
Part 1: Ribbed Band
The band is worked flat in rows, then joined into a ring.
Row 1: Chain 13. Single crochet in the 2nd chain from hook and in each chain across. Turn. (12 sc)
Rows 2 through 96: Chain 1, single crochet in the back loop only of each stitch across. Turn. (12 sc each row; 96 rows total)
Checkpoint: Your band should measure about 27.5 inches (70 cm) along the long edge and 3.25 inches (8 cm) tall, unstretched. If it is too big or too small, adjust the number of rows in multiples of 6.
Join: With right sides together, slip stitch the first and last short edges together through matching loops to form a ring. Do not fasten off.
Part 2: Foundation Around Band
Now you will pick up stitches around the top edge of your band and begin working in the round.
Round 1: Chain 1. Working around the top edge, place 1 single crochet in the end of each rib row. Join with a slip stitch to the first single crochet. (96 sc)
Round 2: Chain 3, double crochet in each stitch around. Join. (96 dc)
Round 3: Chain 3, double crochet in next stitch, chain 2, skip 2 stitches. Double crochet in next 2 stitches, chain 2, skip 2 stitches. Repeat from * around. Join. (16 shell-mesh repeats; 64 dc + 16 ch-2 spaces)
Round 4: Chain 1, single crochet in each double crochet and 2 single crochet in each chain-2 space around. Join. (96 sc)
Round 5: Repeat Round 3. (16 repeats)
Round 6: Repeat Round 4. (96 sc)
Body checkpoint: After Round 6, the work should measure about 2.75 inches (7 cm) above the band. Now mark your sections: first 24 stitches for left front, next 48 stitches for back, and final 24 stitches for right front.
Part 3: Back Panel
Work the back panel over the center 48 stitches. Turn after each row.
Back Row 1 (RS): Join yarn at right back marker. Chain 3, double crochet in next stitch, chain 2, skip 2. Double crochet in next 2, chain 2, skip 2. Repeat across 48 stitches. Turn. (8 repeats; 32 dc + 8 ch-2 spaces)
Back Row 2 (WS): Chain 1, single crochet in each double crochet and 2 single crochet in each chain-2 space across. Turn. (48 sc)
Back Rows 3 through 6: Repeat Rows 1 and 2 twice more. (Row 3: 8 repeats; Row 4: 48 sc; Row 5: 8 repeats; Row 6: 48 sc)
Back Row 7 (RS): Chain 1, single crochet in each stitch across. Fasten off. (48 sc)
Checkpoint: The back panel should be about 4.25 inches (11 cm) above the marked divide.
Part 4: Front Left Panel
Join yarn at the left side/front marker. Work over 24 stitches toward center front.
Row 1 (RS): Chain 3, double crochet in next stitch, chain 2, skip 2. Double crochet in next 2, chain 2, skip 2. Repeat across. Turn. (4 repeats; 16 dc + 4 ch-2 spaces)
Row 2 (WS): Chain 1, single crochet in each double crochet and 2 single crochet in each chain-2 space across. Turn. (24 sc)
Row 3 (RS), neck decrease: Chain 1, sc2tog, single crochet across. Turn. (23 sc)
Row 4 (WS): Chain 1, single crochet across to last 2 stitches, sc2tog. Turn. (22 sc)
Rows 5 through 12: Continue decreasing 1 stitch at the neck edge every row, keeping the side edge straight. Your stitch counts will be: Row 5 (21), Row 6 (20), Row 7 (19), Row 8 (18), Row 9 (17), Row 10 (16), Row 11 (15), Row 12 (14 sc). Fasten off.
Part 5: Front Right Panel
Join yarn at center front and work toward the right side marker so the shaping mirrors the left panel.
Row 1 (RS): Chain 3, double crochet in next stitch, chain 2, skip 2. Double crochet in next 2, chain 2, skip 2. Repeat across 24 stitches. Turn. (4 repeats; 16 dc + 4 ch-2 spaces)
Row 2 (WS): Chain 1, single crochet in each double crochet and 2 single crochet in each chain-2 space across. Turn. (24 sc)
Row 3 (RS), neck decrease: Chain 1, single crochet across to last 2 stitches, sc2tog. Turn. (23 sc)
Row 4 (WS): Chain 1, sc2tog, single crochet across. Turn. (22 sc)
Rows 5 through 12: Continue decreasing 1 stitch at the neck edge every row, keeping the side edge straight. Stitch counts: Row 5 (21), Row 6 (20), Row 7 (19), Row 8 (18), Row 9 (17), Row 10 (16), Row 11 (15), Row 12 (14 sc). Fasten off.
Part 6: Top Edge and Ties
Join yarn at center back. Chain 1, then single crochet evenly around the back top, armhole edge, front V edge, opposite front V edge, and second armhole edge. Use about 3 single crochet for every 4 row ends along shaped edges so the edging lies flat.
At each front shoulder corner and each back shoulder corner, make a tie: Chain 72, slip stitch in the back bump of 2nd chain from hook and each chain back to the top edge, then continue edging.
Each tie will be about 20 inches (51 cm) before tying.
Join to first single crochet. Fasten off and weave in all ends.
Size Customization Tips
This crochet summer top pattern can be adjusted to fit different body sizes.
Band circumference is controlled by the number of rib rows. Add or remove rows in multiples of 6 to preserve the 6-stitch shell mesh repeat after pickup.
Each 6-row change adjusts the band by about 1.7 inches (4.3 cm) at the stated gauge.
For more coverage: Work 2 extra foundation rounds before dividing for front and back, or reduce only 8 rows per front instead of 10.
For larger busts: Make the band to your high-bust measurement minus 2 to 4 inches (5 to 10 cm), then pick up a multiple of 6 stitches around the top edge.
Finishing and Blocking
Steam block or wet block gently. Pin the V-neck, back top edge, and tie straps straight while drying.
Do not overstretch the lace while blocking. Open it just enough to show the shell motifs clearly.
Weave your ends through the dense ribbing and side edges for extra strength.
Try the top on before final blocking. Adjust tie length or side-edge edging tension as needed.
Troubleshooting Common Issues
Band too loose: Remove 6 to 12 rib rows or use a smaller hook for the ribbing section only.
Lace ruffles: You have too many picked-up edging stitches. Use the 3-for-4 row-end ratio.
V-neck pulls inward: Add one extra single crochet at the center V point on the edging round.
Top lacks coverage: Add 2 straight rows before beginning the front decreases.
Care Instructions
Hand wash your finished top in cool water with mild soap. Roll it in a towel to remove excess water.
Lay flat to dry and reshape the lace while damp.
Store folded rather than hanging. Hanging may stretch the ties and band over time.
You Did It!
Thank you so much for choosing this crochet summer top pattern for your next project. I hope the step by step instructions made it easy to follow along, and I cannot wait to see your finished tops.
If you make this Ocean Blue Crochet Summer Top, I would love to see it! Share your photos on Instagram or Facebook and tag me so I can admire your work.
Save this pattern to your Pinterest boards so you can find it whenever you are ready to start. And if you have any questions or want to share how yours turned out, drop a comment below. Happy crocheting!
Want a Quick & Easy Printable Version?
Get a clean, beautifully formatted PDF of this pattern — easy to follow step by step, ready to print or save on any device. No scrolling, no distractions, just the pattern.
Get the Printable PDF →