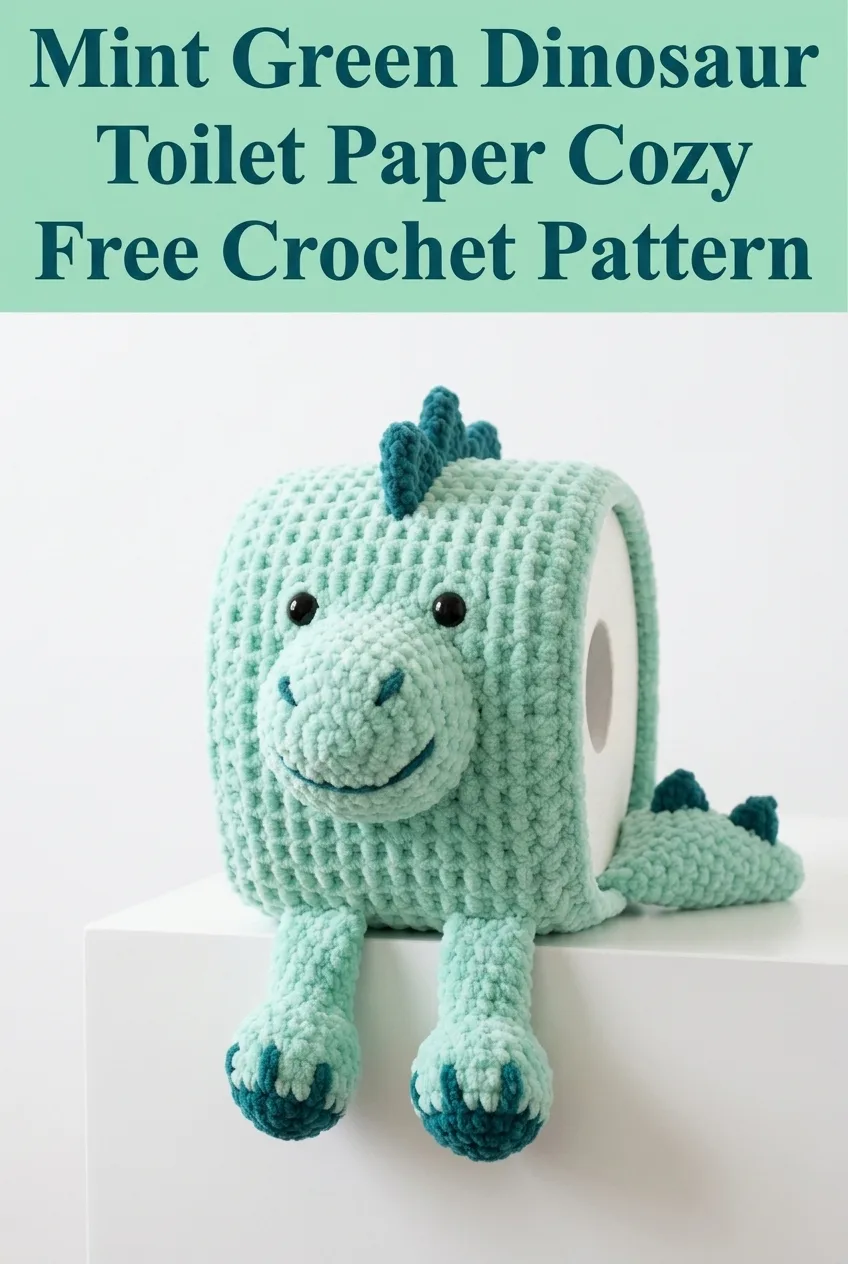
THIS is the project that will make everyone who visits your bathroom stop and laugh with delight! I’m talking SUPER quick to work up, absolutely adorable, and the kind of handmade gift that people remember forever. This mint green dinosaur toilet paper cozy took me just one afternoon to complete, and honestly, it might be the most fun I’ve had crocheting in months. If you’ve got a dinosaur-obsessed kiddo, a bathroom that needs some personality, or you just want to make something that sparks joy every single time you see it, this is your project.
Why You’ll Love This Dinosaur Toilet Paper Cozy Crochet Pattern
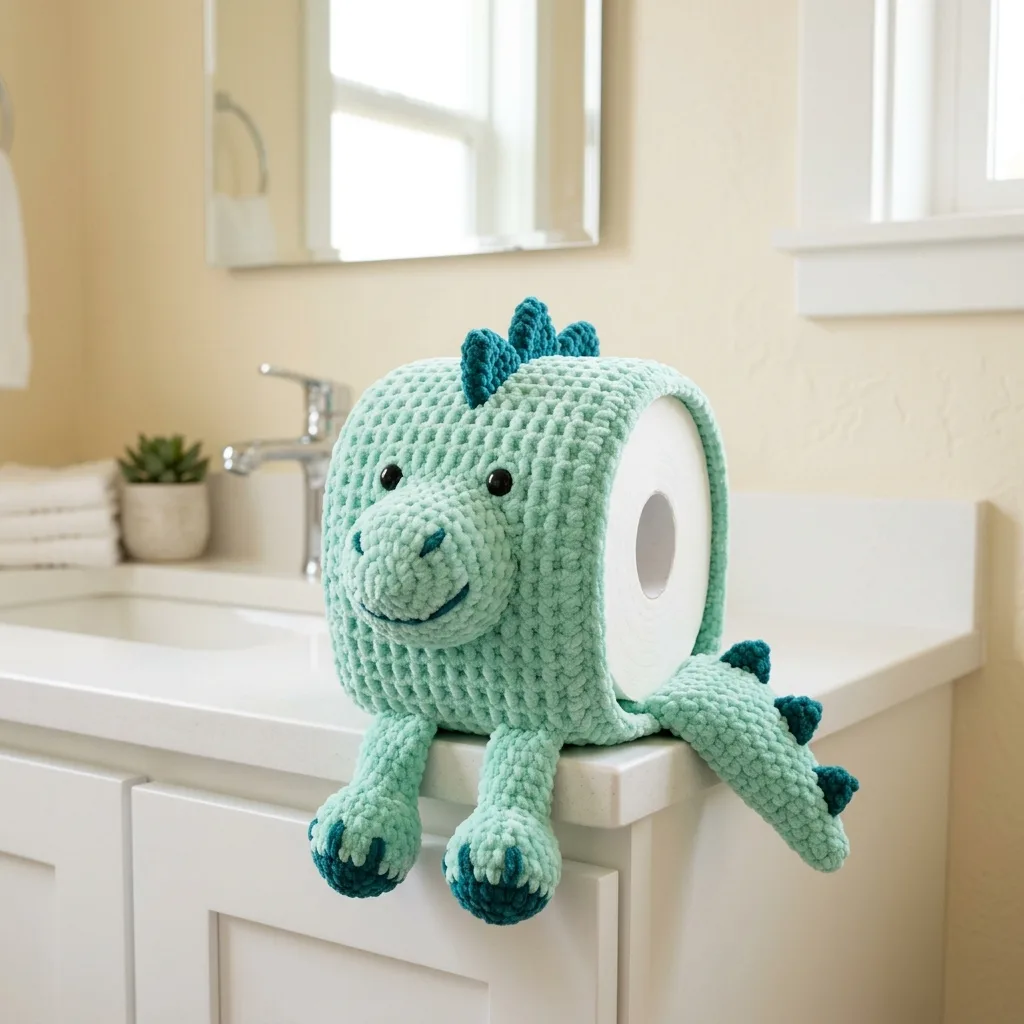
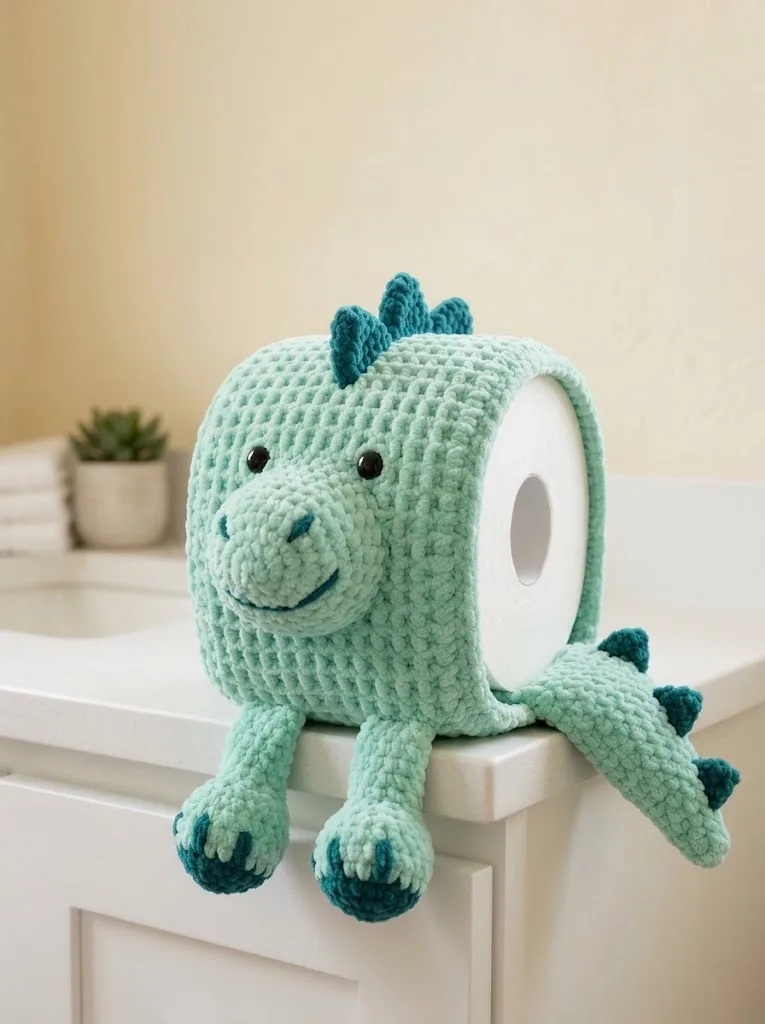
Let me tell you, bathroom crochet projects don’t get nearly enough love. This chunky chenille dinosaur is functional, hilarious, and genuinely impressive looking. The chubby body wraps perfectly around a standard toilet paper roll while the sweet little face, dangling legs, and spiky back plates give it all that prehistoric charm.
The best part? This crochet pattern uses basic stitches throughout. If you can single crochet in the round, you can absolutely make this dinosaur. The chunky yarn does most of the heavy lifting, creating that plush, squishy texture that makes amigurumi projects so satisfying.
This makes an incredible gift for housewarming parties, kids’ bathrooms, or anyone who appreciates a good dose of whimsy in their daily routine. Trust me, you’ll want to make more than one.
Materials Needed
Yarn:
A yarn like Bernat Blanket or similar chunky chenille works perfectly here. The plush texture creates that soft, huggable dinosaur look you see in the photo.
Hook:
Notions:
Gauge:
Gauge is flexible for this project, but approximately 10 single crochet stitches and 11 rows equals 4 inches in chenille yarn. Your dinosaur should fit snugly around a standard toilet paper roll (approximately 4.5 inches diameter).
Finished Dimensions:
Approximately 6 inches tall, 5 inches wide, designed to fit a standard toilet paper roll
Skill Level:
Easy to Intermediate. You should be comfortable working in continuous rounds and basic shaping.
Abbreviations and Stitch Definitions
Ch = Chain: Wrap yarn over hook and pull through the loop on your hook. This creates the foundation for most crochet work.
Sc = Single crochet: Insert hook into stitch, yarn over and pull up a loop (2 loops on hook), yarn over and pull through both loops.
Inc = Increase: Work 2 single crochet stitches into the same stitch. This makes your work wider.
Dec = Invisible decrease: Insert hook through the front loops only of the next 2 stitches, yarn over and pull through both front loops, yarn over and pull through both loops on hook. This creates a nearly invisible decrease that looks cleaner than a standard decrease.
Sl st = Slip stitch: Insert hook into stitch, yarn over and pull through both the stitch and the loop on your hook in one motion.
FO = Fasten off: Cut yarn and pull the tail through the final loop to secure your work.
Step by Step Crochet Pattern Instructions
Main Body (Toilet Paper Cover)
The body is worked in continuous rounds. Do not join rounds. Use a stitch marker to track the beginning of each round.
With mint green yarn:
Round 1: Create a magic ring. Work 6 sc into the ring, pull tight. (6 sts)
Round 2: Inc in each st around. (12 sts)
Round 3: *Sc 1, inc* repeat around. (18 sts)
Round 4: *Sc 2, inc* repeat around. (24 sts)
Round 5: *Sc 3, inc* repeat around. (30 sts)
Round 6: *Sc 4, inc* repeat around. (36 sts)
Round 7: *Sc 5, inc* repeat around. (42 sts)
Round 8: *Sc 6, inc* repeat around. (48 sts)
Round 9: *Sc 7, inc* repeat around. (54 sts)
Don’t worry if your circle is a bit wavy at this point. That’s completely normal with chenille yarn, and it will smooth out as you continue.
Rounds 10-30: Sc in each st around. (54 sts)
This creates the tube portion that wraps around your toilet paper roll. Try fitting it over a roll around Round 20 to check sizing. If it feels too tight, continue increasing one more round before working the tube section.
Round 31: Sl st in next st. FO and weave in ends.
The bottom remains open so you can slide the toilet paper roll in and out easily.
Dinosaur Head
With mint green yarn:
Round 1: Create a magic ring. Work 6 sc into the ring. (6 sts)
Round 2: Inc in each st around. (12 sts)
Round 3: *Sc 1, inc* repeat around. (18 sts)
Round 4: *Sc 2, inc* repeat around. (24 sts)
Round 5: *Sc 3, inc* repeat around. (30 sts)
Rounds 6-12: Sc in each st around. (30 sts)
Round 13: *Sc 3, dec* repeat around. (24 sts)
Install safety eyes between Rounds 8 and 9, approximately 8 stitches apart. Position them so they face forward with a sweet, friendly expression.
Round 14: *Sc 2, dec* repeat around. (18 sts)
Begin stuffing the head firmly with fiberfill.
Round 15: *Sc 1, dec* repeat around. (12 sts)
Add more stuffing as needed.
Round 16: Dec around. (6 sts)
FO, leaving a long tail for sewing. Close the hole by weaving through the front loops of remaining stitches and pulling tight.
Snout
With mint green yarn:
Round 1: Create a magic ring. Work 6 sc into the ring. (6 sts)
Round 2: Inc in each st around. (12 sts)
Round 3: *Sc 1, inc* repeat around. (18 sts)
Rounds 4-6: Sc in each st around. (18 sts)
Sl st in next st. FO, leaving a long tail for sewing.
Stuff the snout lightly. It should be puffy but not rock hard.
Nostrils (make 2):
With teal yarn:
Round 1: Create a magic ring. Work 4 sc into the ring. (4 sts)
Round 2: Inc in each st around. (8 sts)
Sl st in next st. FO, leaving a tail for sewing.
Front Legs (Make 2)
With mint green yarn:
Round 1: Create a magic ring. Work 6 sc into the ring. (6 sts)
Round 2: Inc in each st around. (12 sts)
Rounds 3-5: Sc in each st around. (12 sts)
Round 6: *Sc 1, dec* repeat around. (8 sts)
Rounds 7-14: Sc in each st around. (8 sts)
Sl st in next st. FO, leaving a long tail. Stuff lightly, keeping them floppy enough to drape over surfaces.
Back Legs (Make 2)
With mint green yarn:
Round 1: Create a magic ring. Work 6 sc into the ring. (6 sts)
Round 2: Inc in each st around. (12 sts)
Round 3: *Sc 1, inc* repeat around. (18 sts)
Rounds 4-6: Sc in each st around. (18 sts)
Round 7: *Sc 1, dec* repeat around. (12 sts)
Rounds 8-12: Sc in each st around. (12 sts)
Sl st in next st. FO, leaving a long tail. Stuff feet portion lightly.
Tail
With mint green yarn:
Round 1: Create a magic ring. Work 4 sc into the ring. (4 sts)
Round 2: Inc in each st around. (8 sts)
Round 3: Sc in each st around. (8 sts)
Round 4: *Sc 1, inc* repeat around. (12 sts)
Rounds 5-8: Sc in each st around. (12 sts)
Round 9: *Sc 2, inc* repeat around. (16 sts)
Rounds 10-12: Sc in each st around. (16 sts)
Sl st in next st. FO, leaving a long tail. Stuff lightly.
Back Spikes (Make 3)
These are the adorable teal spikes that run along the dinosaur’s head and back.
With teal yarn:
Round 1: Create a magic ring. Work 4 sc into the ring. (4 sts)
Round 2: *Sc 1, inc* repeat around. (6 sts)
Round 3: Sc in each st around. (6 sts)
Round 4: *Sc 1, inc* repeat around. (9 sts)
Round 5: Sc in each st around. (9 sts)
Sl st in next st. FO, leaving a tail. Stuff very lightly or leave unstuffed for a more flexible look.
Toe Details (Make 8)
These tiny teal accents go on the front and back feet.
With teal yarn:
Ch 3. Starting in 2nd ch from hook, sc 2. FO, leaving a tail.
Alternatively, you can embroider these directly onto the feet using teal yarn and a yarn needle.
Tail Spikes (Make 3)
With teal yarn:
Round 1: Create a magic ring. Work 4 sc into the ring. (4 sts)
Round 2: Sc in each st around. (4 sts)
Round 3: *Sc 1, inc* repeat around. (6 sts)
Sl st in next st. FO, leaving a tail.
Mouth
Using teal yarn and a yarn needle, embroider a simple curved smile on the snout using a backstitch or running stitch.
Assembly Instructions
Take your time with assembly. This is where your dinosaur really comes to life!
1. Attach the snout to the front of the head, centered below the eyes. Sew securely using a whip stitch.
2. Add the nostrils to the top front of the snout, spacing them evenly.
3. Position and sew the head to the front upper portion of the body. The head should tilt forward slightly, giving your dinosaur that curious, friendly look.
4. Attach the three back spikes in a row along the top of the head, starting just behind the eyes and spacing evenly toward the back of the head.
5. Sew the front legs to the front sides of the body, positioned so they hang down naturally. They should dangle over edges when the cozy sits on a surface.
6. Attach the back legs to the lower sides of the body, toward the back. Position them so the feet stick out to the sides.
7. Sew the tail to the back bottom of the body. It should curve downward and rest on surfaces.
8. Add tail spikes along the top of the tail, spacing evenly.
9. Attach toe details to each foot, placing 2 on each front foot and 2 on each back foot.
10. Embroider the mouth using a simple curved line in teal.
Weave in all remaining ends securely. Chenille yarn can be slippery, so I recommend weaving each tail through several stitches and doubling back.
Tips for Success
Working with chenille yarn can feel different from regular yarn. It’s slippery and can split easily. Go slowly, especially when working decreases. A hook with a more defined throat helps catch the yarn better.
Continuous rounds mean you never join or turn. Just keep spiraling upward. Your stitch marker is your best friend here.
Safety eyes must be installed before closing the head. Once the backing is on, they cannot be removed without cutting. Triple check placement before securing.
Stuffing should be firm in the head and snout, light everywhere else. Overstuffed limbs will stick out stiffly instead of draping naturally.
Pattern Variations
Want to customize your dinosaur toilet paper cozy? Try these ideas:
I really hope you love making this dinosaur toilet paper cozy as much as I loved designing it. It’s one of those projects that brings genuine smiles, and that’s what handmade is all about.
If you make this crochet pattern, I would absolutely love to see it! Tag me on Instagram or share a photo in my Facebook group. Seeing your creations truly makes my day.
Save this pattern to your Pinterest boards so you can find it when you’re ready to start stitching, and drop a comment below if you give it a try. I’d love to hear how it turned out for you!
