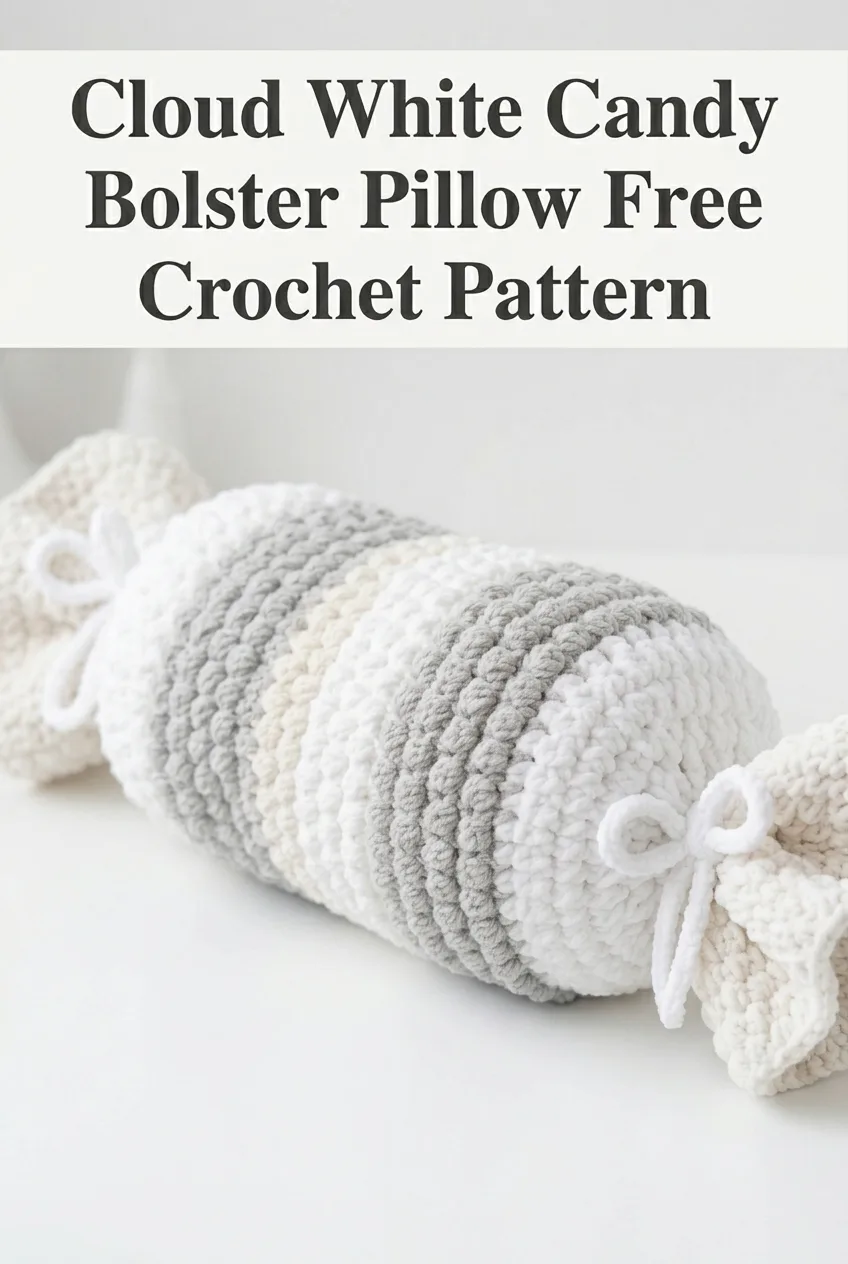
I’ve been dreaming about designing a bolster pillow that looks like those wrapped candies you see in fancy boutiques. You know the ones with the gathered ends tied with pretty bows? I wanted to create something that felt luxurious but used simple stitches that any crocheter could tackle. The goal was a plush, squishy pillow with soft neutral stripes and those adorable candy wrapper ends. I am SO pleased with how this turned out! The texture is incredible, the size is perfect for a daybed or couch, and those little tied bows at each end make it look like something from a high-end home decor store.
Why You’ll Love This Candy Bolster Pillow Crochet Pattern
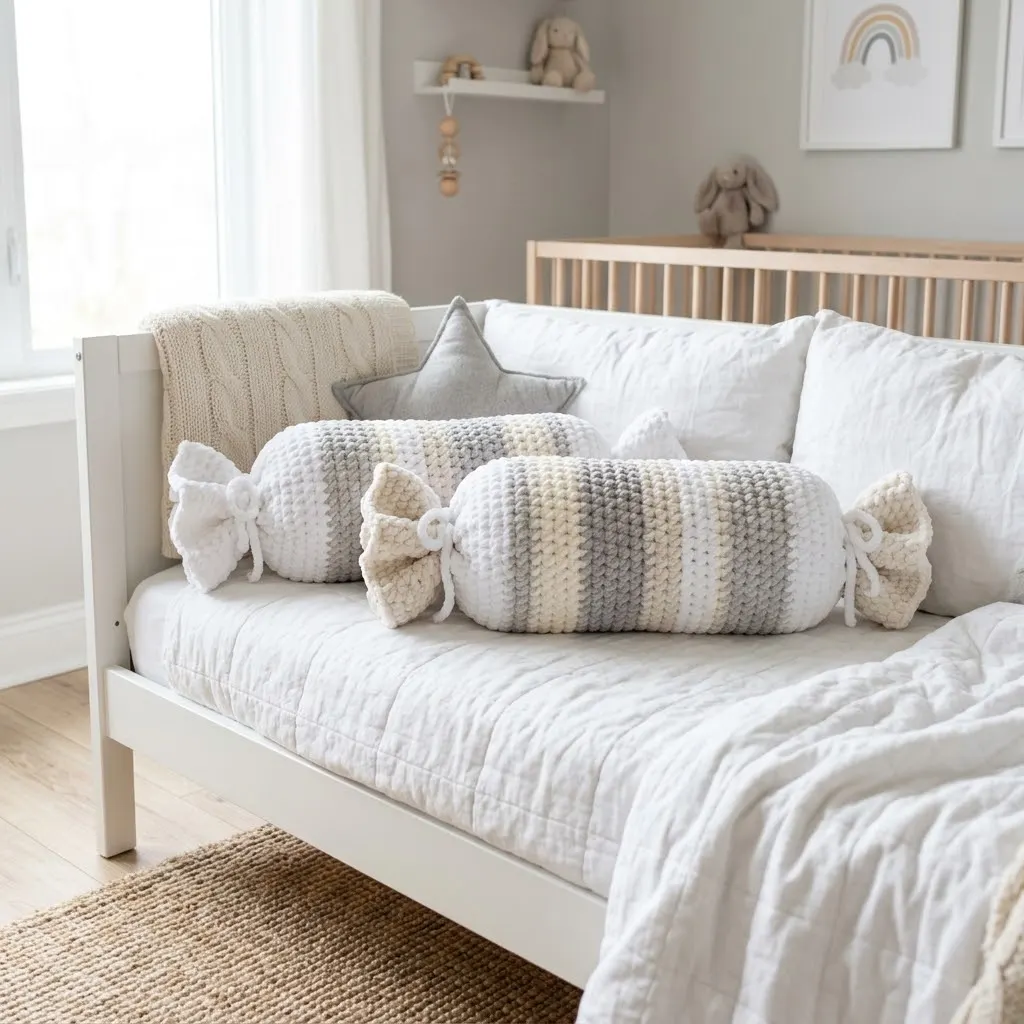
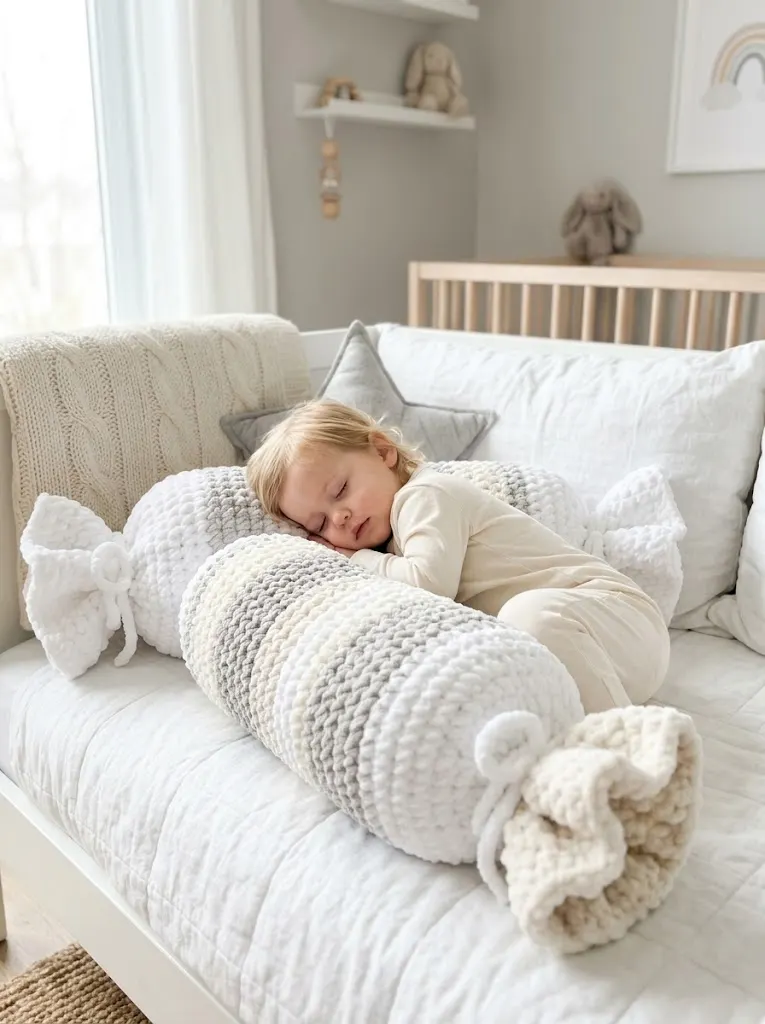
This candy bolster pillow crochet pattern creates a stunning decorative accent that works in nurseries, living rooms, guest bedrooms, or anywhere you want a touch of cozy elegance. The cylindrical shape provides excellent neck and back support while looking absolutely adorable.
What makes this pillow special is the construction. You’ll work the main body in joined rounds using a beautifully textured stitch, then create gathered "wrapper" ends that cinch closed with crocheted ties. The whole project comes together faster than you might think.
The neutral color palette I chose includes soft white, warm cream, and gentle gray. These colors work with virtually any decor style. But honestly? This pattern would look stunning in pastels for a baby’s room, bold jewel tones for a moody living space, or even variegated yarn for a completely different vibe.
Skill Level
Confident Beginner to Intermediate
If you can crochet in the round, change colors, and work basic stitches, you can absolutely make this pillow. The construction involves a few different techniques, but I’ll walk you through each one step by step.
Finished Dimensions
Materials Needed
Yarn:
I used a chenille-style super bulky yarn for that plush, velvety texture you see in the photos. Bernat Blanket or similar velvet yarns work beautifully. The soft hand of chenille yarn makes this pillow irresistibly squeezable.
Hook:
Notions:
Gauge
10 stitches x 8 rows = 4 inches (10 cm) in single crochet
Gauge is helpful but not critical for this project. A slightly different gauge will simply result in a slightly larger or smaller pillow.
Abbreviations and Stitch Definitions
Let me break down every stitch and term you’ll encounter in this pattern:
Special Techniques
Working in the Round
This pillow is worked in continuous spiral rounds for the body. You won’t join at the end of each round. Instead, you’ll use a stitch marker to track the beginning of each round. Move your marker up as you complete each round.
Back Loop Only (BLO) Texture
Working in the back loop only creates those beautiful horizontal ridges you see running around the pillow. This technique is easier than it looks. Just make sure you’re consistently working into only the back loop of each stitch.
Color Changes
When switching colors, complete your last stitch of the old color until two loops remain on your hook. Then yarn over with the new color and pull through. Carry the unused yarn loosely inside the pillow, or cut and weave in ends at each color change.
The Pattern
Main Body
Foundation Round:
With Color A (White), ch 50. Being careful not to twist, sl st to the first ch to form a ring.
Rnd 1: Ch 1 (does not count as a stitch), sc in each ch around. Do not join. Place stitch marker in first st to mark beginning of round. (50 sts)
Rnds 2-6: Sc in BLO of each st around. (50 sts)
At the end of Rnd 6, change to Color C (Gray) in the last stitch.
Rnds 7-12: With Color C, sc in BLO of each st around. (50 sts)
At the end of Rnd 12, change to Color B (Cream).
Rnds 13-18: With Color B, sc in BLO of each st around. (50 sts)
At the end of Rnd 18, change to Color A (White).
Rnds 19-24: With Color A, sc in BLO of each st around. (50 sts)
At the end of Rnd 24, change to Color C (Gray).
Rnds 25-30: With Color C, sc in BLO of each st around. (50 sts)
At the end of Rnd 30, change to Color B (Cream).
Rnds 31-36: With Color B, sc in BLO of each st around. (50 sts)
At the end of Rnd 36, change to Color A (White).
Rnds 37-42: With Color A, sc in BLO of each st around. (50 sts)
Sl st to next st to join. Fasten off and weave in ends.
Quick tip: Don’t stress if your stripe widths vary slightly. The gathered ends will hide any minor inconsistencies, and honestly, handmade charm is part of the beauty.
Wrapper Ends (Make 2)
These ruffled ends create that signature candy wrapper look. You’ll make two identical pieces.
Foundation Round:
With Color A (White), ch 60. Sl st to first ch to form a ring, being careful not to twist.
Rnd 1: Ch 1, sc in each ch around. Sl st to first sc to join. (60 sts)
Rnd 2: Ch 1, sc in BLO of each st around. Sl st to first sc to join. (60 sts)
Rnds 3-5: Repeat Rnd 2. (60 sts)
Rnd 6 (Decrease Round): Ch 1, *sc in next 4 sts, sc2tog* repeat around. Sl st to first sc to join. (50 sts)
The sc2tog (single crochet two together) is a decrease stitch. Insert your hook in the first stitch, yarn over and pull up a loop. Insert hook in the next stitch, yarn over and pull up a loop. You now have 3 loops on your hook. Yarn over and pull through all 3 loops. You’ve turned two stitches into one.
Rnds 7-10: Ch 1, sc in BLO of each st around. Sl st to first sc to join. (50 sts)
Fasten off, leaving a 12-inch tail for sewing.
Drawstring Ties (Make 2)
With Color B (Cream):
Ch 80. Sl st in 2nd ch from hook and in each ch across. (79 sl sts)
Fasten off. These long ties will cinch the wrapper ends closed.
Bow Embellishments (Make 2)
These adorable bows add the finishing touch.
Bow Center:
With Color A (White), ch 6.
Row 1: Sc in 2nd ch from hook and in each ch across. Ch 1, turn. (5 sts)
Rows 2-4: Sc in each st across. Ch 1, turn. (5 sts)
After Row 4, fasten off leaving a 10-inch tail.
Bow Loops:
With Color A (White), ch 25.
Row 1: Hdc in 3rd ch from hook (first 2 chains count as turning chain) and in each ch across. (23 hdc)
Fasten off leaving a 6-inch tail.
Assembly Instructions
Now comes the fun part. Putting it all together!
Step 1: Attach Wrapper Ends to Body
Take one wrapper end piece and align its edge (where you have 50 stitches) with one end of the main body tube (also 50 stitches). Using your tapestry needle and the long tail, whip stitch the two pieces together. Work through corresponding stitches all the way around.
Repeat with the second wrapper end on the opposite side of the body.
Step 2: Insert Pillow Form
Before cinching the ends closed, slide your bolster pillow insert into the body. If you’re using fiberfill instead, stuff the pillow firmly but not so tight that it loses its soft, squishy feel.
Step 3: Gather the Ends
Thread one drawstring tie through the stitches around the open edge of a wrapper end. You can weave it in and out through the stitch tops, or simply run it through the round about an inch from the edge.
Pull the tie firmly to gather the fabric closed, creating that candy wrapper effect. Tie in a secure knot, then tie a bow on top.
Repeat on the other end.
Step 4: Add Bow Embellishments
Take your bow loops piece and fold it in half to create two loops. Pinch the center together.
Wrap the small bow center piece around the pinched middle. Use the tail to sew the center piece closed at the back, securing the bow shape.
Sew the completed bow onto the gathered wrapper end, right over where your drawstring tie creates its bow. This gives a layered, more dimensional look.
Repeat for the second end.
Step 5: Final Touches
Weave in all remaining ends. Fluff and shape your pillow by gently squeezing and rotating it. The chenille yarn may shed a bit initially, which is totally normal.
Customization Ideas
Different Sizes:
For a smaller neck roll, reduce your starting chain to 40 stitches and work fewer rounds. For a longer bolster, simply add more stripe repeats.
Color Variations:
Try ombre effects with graduating shades, bold two-tone stripes, or rainbow sequences. This pattern adapts beautifully to any palette.
Different Yarn:
Cotton yarn creates a more structured pillow perfect for outdoor spaces. Acrylic works well for easy-care options. Just adjust your hook size to match the yarn weight.
Care Instructions
If using chenille or velvet yarn, spot clean when possible. For full washing, use a gentle cycle with cold water and tumble dry on low. Remove the pillow insert before washing the cover.
Troubleshooting Tips
My tube is twisting: This sometimes happens when working in continuous rounds. Block your finished piece by spraying it lightly with water and letting it dry flat.
My stripes aren’t even: The BLO technique can sometimes cause slight variations in row height. This adds character! If it bothers you, try keeping your tension very consistent.
The wrapper ends don’t gather smoothly: Make sure your drawstring is woven evenly around the circumference. Adjust the position as needed before pulling tight.
Final Thoughts on This Candy Bolster Pillow Crochet Pattern
This candy bolster pillow crochet tutorial has become one of my absolute favorites to share. Something about those sweet gathered ends and plush texture just makes people smile. Whether you’re making one for your own home or stitching up a thoughtful handmade gift, this project delivers impressive results without overwhelming complexity.
The step by step construction breaks down into manageable pieces. Work the body, work the ends, add the ties and bows, and assemble. Before you know it, you’ll have a gorgeous accent pillow that looks like it came from a designer home goods store.
I hope you enjoy making this pattern as much as I enjoyed designing it. Thank you so much for choosing to spend your crafting time here with me. I’d absolutely love to see your finished pillows! Tag me on Instagram or share in my Facebook group so I can admire your beautiful work.
If this candy bolster pillow pattern caught your eye, go ahead and pin it to your Pinterest boards so you can find it when you’re ready to start. And please drop a comment below if you make one. I read every single comment and genuinely love hearing how your projects turn out!
