OKAY, this one is STUNNING and I cannot wait to share it with you! This Midnight Navy Celestial Lace Maxi Skirt crochet pattern looks like it belongs on a runway, but I promise you can absolutely make this at home. We’re talking gorgeous ombre colorwork, intricate cable panels, and a dreamy lace hem that will have everyone asking where you bought it. Set aside a few weekends for this beauty because it’s a showstopper gift for yourself or someone you adore. If you’ve been wanting to level up your crochet garment skills, THIS is the project.
About This Maxi Skirt Crochet Pattern
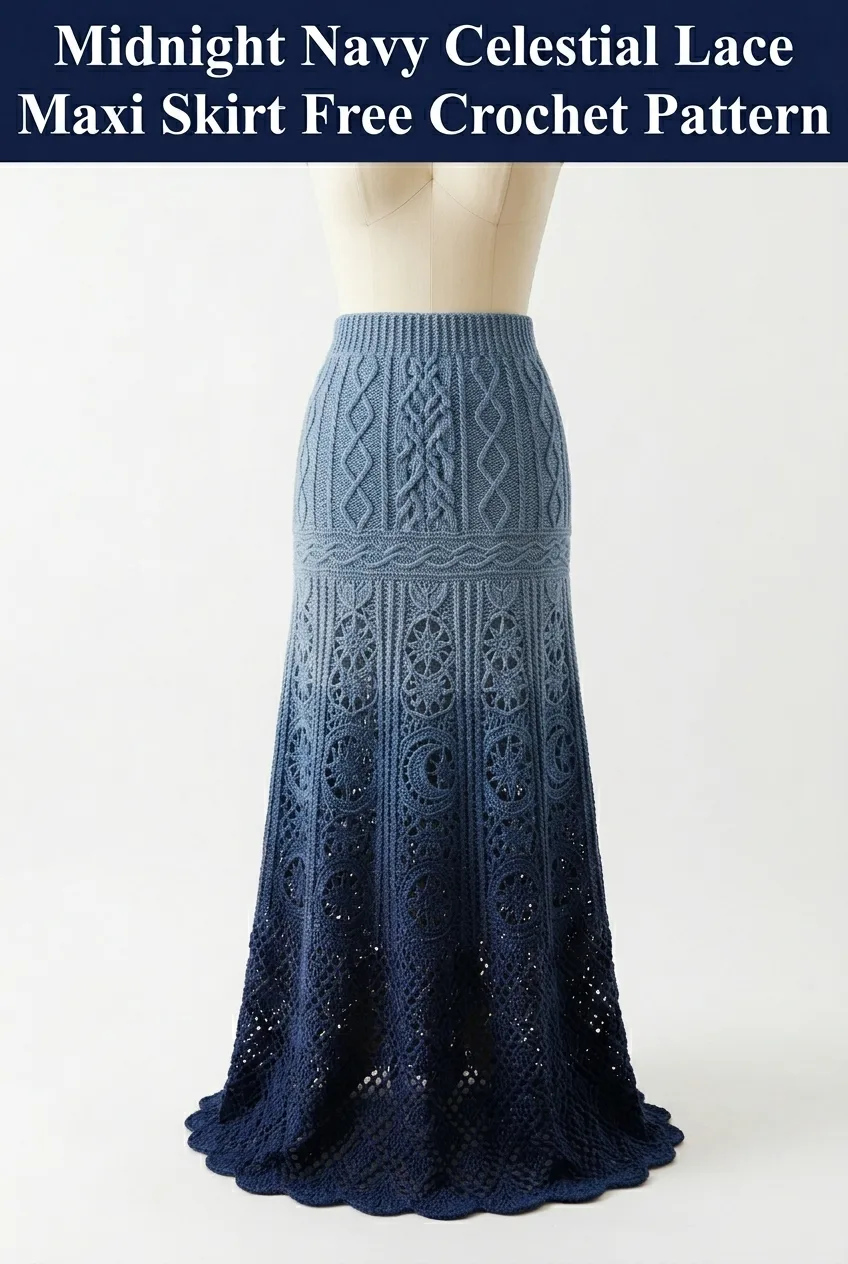
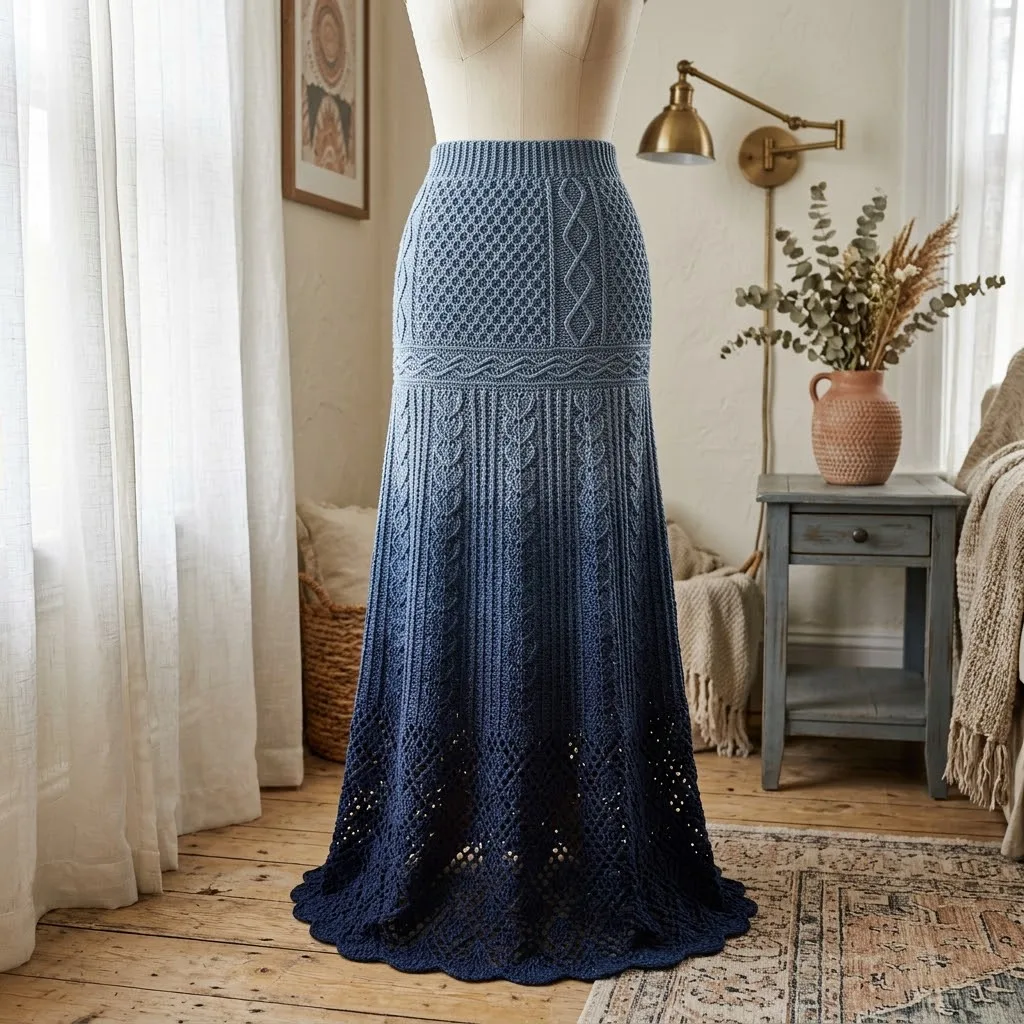
This elegant floor-length skirt features four distinct design sections that create visual interest from waist to hem. The fitted waistband uses a textured honeycomb-style stitch pattern with vertical cable panels. Below that sits a decorative wave border band that transitions into the dramatic lower skirt section. The body of the skirt showcases vertical cable columns with ribbed texture between them. Finally, the lace hem opens up into an airy lattice pattern with scalloped edging.
The ombre effect moves from a dusty blue-gray at the waist down to a rich midnight navy at the hem. This gradient adds depth and sophistication to an already stunning piece.
Skill Level
This is an advanced intermediate to advanced crochet pattern. You should be comfortable with cables, post stitches, working in the round, and following multi-section instructions. Don’t let that intimidate you though. If you can work front post and back post stitches, you have the foundation for everything here. I’ll walk you through each section step by step.
Materials Needed
Yarn:
Hook:
Notions:
Gauge
With 4.0mm hook in double crochet:
18 stitches and 10 rows = 4 inches
With 3.5mm hook in waistband pattern:
20 stitches and 12 rows = 4 inches
Please, please check your gauge. For a garment like this, fit matters enormously. Make a 5-inch swatch and measure the center 4 inches to confirm.
Finished Measurements
This pattern is written for Size Medium with a 28 to 30 inch waist.
To size up or down, add or subtract stitches in multiples of 12 for the cable repeat sections.
Abbreviations and Stitch Definitions
Let me define every stitch we’ll use so you have everything in one place.
Ch = Chain. Wrap yarn over hook and pull through the loop on your hook. This creates one chain stitch.
Sl st = Slip stitch. Insert hook, yarn over, pull through stitch AND the loop on your hook in one motion.
Sc = Single crochet. Insert hook, yarn over and pull up a loop (2 loops on hook), yarn over and pull through both loops.
Hdc = Half double crochet. Yarn over, insert hook, yarn over and pull up a loop (3 loops on hook), yarn over and pull through all 3 loops.
Dc = Double crochet. Yarn over, insert hook, yarn over and pull up a loop (3 loops on hook), yarn over and pull through 2 loops, yarn over and pull through remaining 2 loops.
Tr = Treble crochet. Yarn over twice, insert hook, yarn over and pull up a loop (4 loops on hook), [yarn over and pull through 2 loops] 3 times.
FPdc = Front post double crochet. Yarn over, insert hook from front to back to front around the POST of the stitch below (not into the top of the stitch), complete as a regular dc. This creates a raised stitch on the front.
BPdc = Back post double crochet. Yarn over, insert hook from back to front to back around the POST of the stitch below, complete as a regular dc. This creates a raised stitch on the back.
FPtr = Front post treble crochet. Same as FPdc but worked as a treble crochet around the post.
Cable Cross (worked over 4 stitches): Skip 2 stitches, FPtr around next 2 stitches, working in front of stitches just made, FPtr around the 2 skipped stitches. This creates the twisted cable effect.
Sk = Skip
St(s) = Stitch(es)
PM = Place marker
Pattern Instructions
Section 1: Waistband (Honeycomb Texture with Cable Panels)
Using 3.5mm hook and lightest color, ch 136 loosely. Join with sl st to form a ring, being careful not to twist.
Foundation Round: Ch 1, sc in each ch around. Join with sl st to first sc. (136 sts)
Round 1 (Setup): Ch 2 (does not count as st throughout), *FPdc around next st, BPdc around next st* repeat around. Join with sl st. (136 sts)
Round 2: Ch 2, *BPdc around FPdc, FPdc around BPdc* repeat around. Join. (136 sts)
This creates the honeycomb texture. The stitches alternate each round to create those little raised bumps you see in the image.
Rounds 3 through 6: Repeat Rounds 1 and 2 twice more.
Round 7 (Cable Panel Setup): Ch 2, work 30 sts in honeycomb pattern, PM, work 8 sts for cable panel (all FPdc), PM, work 30 sts honeycomb, PM, work 8 sts cable panel, PM, work remaining sts in honeycomb. Join. (136 sts)
Round 8 (First Cable Cross): Work in pattern to first marker, work Cable Cross over next 4 sts, FPdc in next 4 sts, continue in honeycomb to next marker, repeat cable panel, continue around. Join.
Rounds 9 through 12: Continue honeycomb pattern, working cable crosses every 4th round on the cable panels.
Rounds 13 through 24: Repeat pattern, maintaining honeycomb texture and cable panel placement. (136 sts)
The waistband should measure approximately 5 inches at this point.
Section 2: Wave Border Band
Switch to 4.0mm hook if needed for different gauge. Continue with same color or transition to second color.
Round 25: Ch 3 (counts as dc), dc in each st around. Join with sl st to top of ch-3. (136 sts)
Round 26 (Wave Setup): Ch 3, dc in next 3 sts, *2 dc in next st, dc in next 5 sts, sk next st, dc in next 5 sts, 2 dc in next st, dc in next 4 sts* repeat around, adjusting final repeat to join evenly. Join. (136 sts)
Round 27: Ch 3, working in back loops only, dc in each st around. Join. (136 sts)
Round 28: Ch 1, sc in each st around. Join. (136 sts)
Rounds 29 through 32: Repeat wave pattern, creating undulating texture. The back loop only rounds create the ridge lines visible in the image.
Section 3: Cable Column Body
This is where the skirt really starts to take shape. You’ll create vertical cable columns separated by ribbed texture.
Transition to third color here if using separate skeins.
Round 33 (Increase Round): Ch 3, dc in same st, dc in next 10 sts, *2 dc in next st, dc in next 10 sts* repeat around. Join. (148 sts)
Round 34 (Column Setup): Ch 2, *work 4 FPdc for cable column, work 8 sts in rib pattern (FPdc, BPdc alternating)* repeat around. Join. PM at beginning of each cable column. (148 sts)
Round 35: Ch 2, *work Cable Cross over cable column, continue rib pattern between cables* repeat around. Join. (148 sts)
Rounds 36 through 38: Work cable columns in FPdc without crossing, maintain rib pattern between.
Round 39: Work Cable Cross round.
Rounds 40 through 60: Continue pattern, working Cable Cross every 4th round. At Round 48, transition to darkest color.
Round 61 (Increase for Flare): Ch 3, dc in same st, dc in next 12 sts, *2 dc in next st, dc in next 12 sts* repeat around. Join. (160 sts)
Rounds 62 through 75: Continue cable column pattern on increased stitch count. (160 sts)
Section 4: Lace Hem
Now for the gorgeous open lacework at the bottom. This creates that airy, feminine finish.
Round 76 (Lace Setup): Ch 4 (counts as dc plus ch 1), sk next st, dc in next st, *ch 1, sk next st, dc in next st* repeat around. Join with sl st to 3rd ch of beginning ch-4. (80 dc, 80 ch-1 spaces)
Round 77: Ch 4, dc in next dc, *ch 1, dc in next dc* repeat around. Join. (80 dc, 80 ch-1 spaces)
Round 78 (Diamond Start): Ch 5 (counts as dc plus ch 2), sk next ch-1 space, dc in next dc, *ch 2, sk next space, dc in next dc* repeat around. Join. (80 dc, 80 ch-2 spaces)
Rounds 79 through 82: Increase chain spaces gradually. Round 79 uses ch-3 spaces. Round 80 uses ch-3 spaces with some ch-4 for shaping. Continue opening up the lacework.
Round 83 (Large Lattice): Ch 6, sk next 2 dc, dc in next dc, *ch 5, sk next 2 dc, dc in next dc* repeat around, adjusting as needed for even spacing. Join.
Rounds 84 through 88: Continue lattice pattern, working dc into chain spaces of previous round.
Round 89 (Scallop Edge): *Sc in dc, 7 dc in next ch-space, sc in next dc, 7 dc in next ch-space* repeat around. This creates the scalloped hem you see in the image. Join with sl st. Fasten off.
Finishing
Waistband Elastic Casing
Fold the top edge of the waistband down approximately 1 inch to the inside. Using yarn needle and matching yarn, whipstitch the edge down, leaving a 2-inch opening. Thread elastic through the casing using a safety pin. Overlap elastic ends by 1 inch and stitch securely. Close the opening.
Weaving Ends
You’ll have quite a few ends from color changes. Weave each end through at least 2 inches of stitches on the wrong side, then double back for security. Trim close to the fabric.
Blocking
For a garment this size, I recommend wet blocking. Soak the skirt in cool water with a drop of wool wash for 15 minutes. Gently squeeze out water (never wring). Lay flat on blocking mats or clean towels, shaping the lace hem to open up the pattern. Pin if needed. Allow to dry completely.
Styling Tips
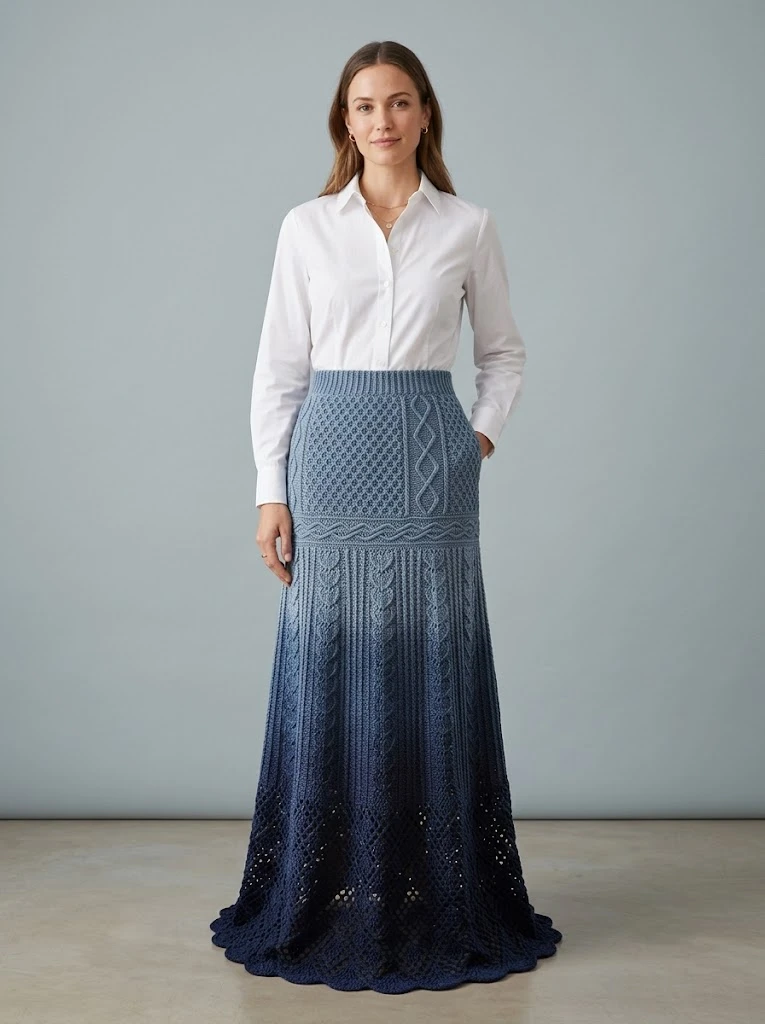
This maxi skirt pairs beautifully with fitted tops and tucked-in blouses. The waistband sits at your natural waist, so crop tops work wonderfully too. For a boho look, add a wide belt at the waist. The deep navy hem grounds the look while the lighter top keeps it airy.
Consider adding a fabric lining slip underneath for more coverage through the lace section. A simple A-line slip in navy or nude works perfectly.
Troubleshooting Common Issues
Cables look twisted the wrong way: Make sure you’re working the front stitches OVER the back stitches when crossing. The direction matters.
Waistband too tight: Go up a hook size for the waistband only, or add 12 more chains to your foundation (this adds one full pattern repeat).
Lace section curling: This usually resolves with blocking. Make sure you’re not pulling too tightly on your chain spaces.
Color transitions look choppy: Try carrying both colors for 2 rounds, alternating which yarn you use, for a more gradual blend.
I truly hope you love making this Midnight Navy Celestial Lace Maxi Skirt crochet pattern as much as I loved designing it. The combination of textures and that stunning ombre effect makes this a piece you’ll reach for again and again. Thank you so much for being here and for trusting me with your creative time.
If you make this skirt, I would absolutely love to see it! Tag me on Instagram or share in my Facebook group so I can cheer you on. There’s nothing better than seeing your beautiful finished projects come to life.
Don’t forget to save this pattern to your Pinterest boards so you can find it when you’re ready to cast on! And if you do make this maxi skirt, please drop a comment below. I read every single one and love hearing about your yarn choices, modifications, and finished pieces.
