I call this one the Willow Shrug, named after my grandmother’s favorite tree in her backyard where I spent countless summer afternoons learning to crochet. I actually sketched the first version of this design in a worn notebook about three years ago, but it sat there waiting for the right moment. When I finally pulled out that sage green yarn last month, I knew it was time to bring Willow to life. The open mesh reminded me of sunlight filtering through willow branches, and honestly, I think Grandma would have loved how airy and feminine it turned out.
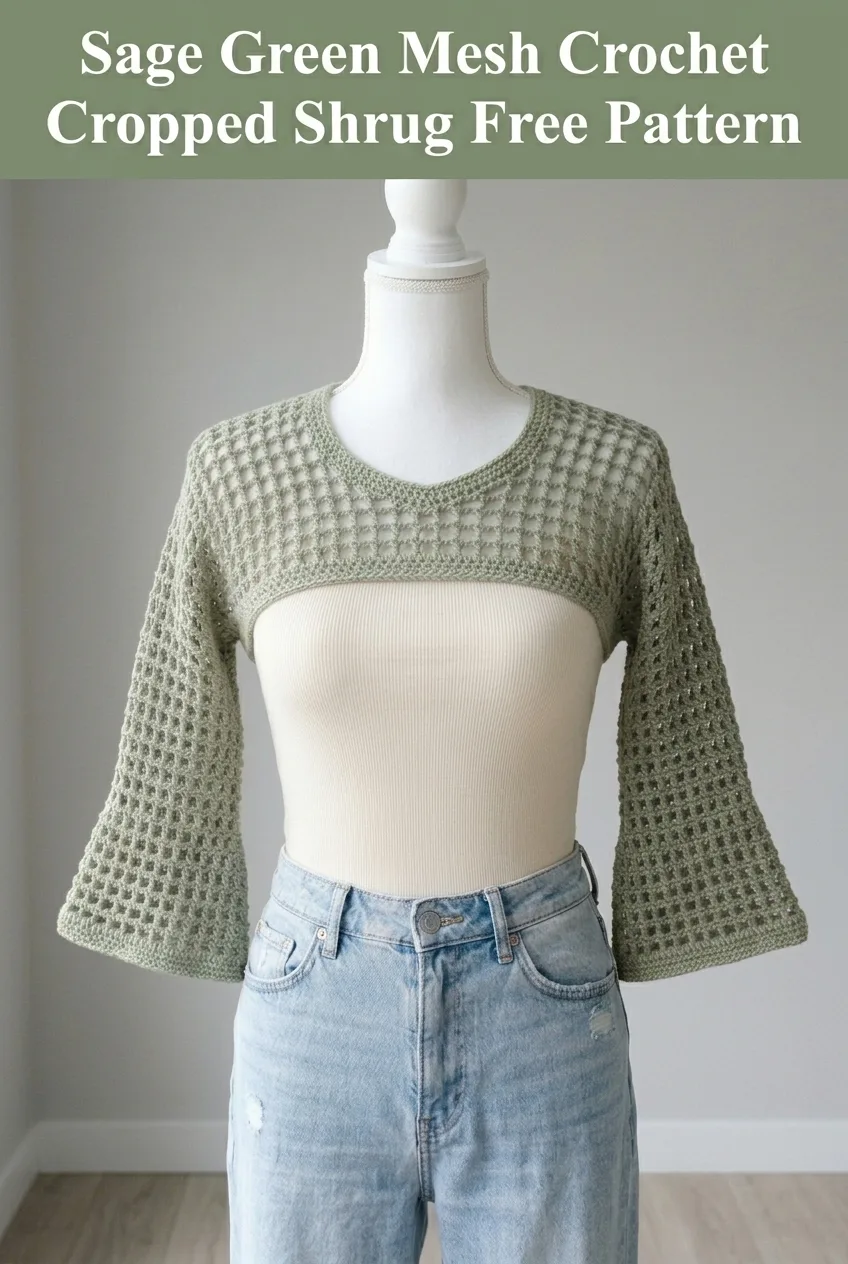
This sage green mesh crochet cropped shrug pattern is everything I wanted it to be. Delicate but not fussy. Modern but timeless. Perfect for layering over a tank top or bralette on those in-between weather days when you want just a little something on your shoulders.
About This Crochet Cropped Shrug Pattern
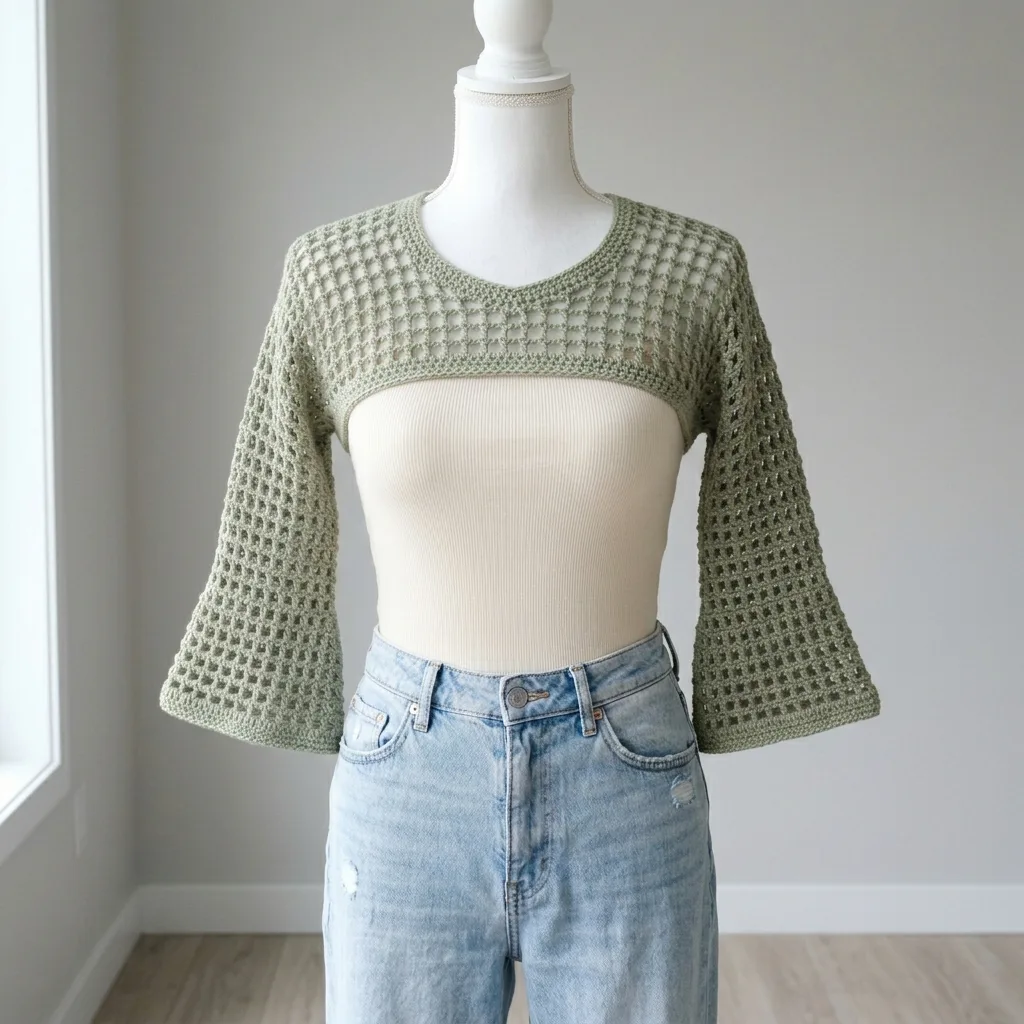
This stunning cropped shrug sits at the upper chest, creating that trendy cropped silhouette that pairs beautifully with high-waisted jeans or skirts. The construction uses an open mesh stitch pattern that creates a grid-like texture with lovely square openings throughout. You will love how quickly this works up thanks to all those chain spaces.
The design features wide bell sleeves that hit right around the elbow, giving it a bohemian vibe without being too dramatic. The rounded neckline is finished with a clean ribbed border that adds structure and a polished look to the entire piece.
What makes this crochet shrug tutorial special is the construction method. You will work the body and sleeves as separate flat panels, then seam them together. This approach makes the pattern much more approachable than trying to work complicated shaping in the round.
Skill Level
This pattern is rated intermediate level. If you have made a basic sweater or garment before, you will feel right at home here. The mesh stitch itself is actually quite simple once you get the rhythm, but keeping track of your stitch counts in an open pattern requires a bit of attention.
New to garment making? Do not let that scare you off. I will walk you through every step, and the repetitive nature of the mesh pattern means you will find your groove quickly. Just take your time with the assembly at the end.
Materials Needed
Yarn:
Hook:
Notions:
Gauge
Using your H/8 hook and the mesh stitch pattern:
4 mesh squares = approximately 3 inches wide
4 mesh rows = approximately 2.5 inches tall
Please, please check your gauge. I know it feels tedious, but garment fit depends entirely on matching gauge. Work a small swatch of at least 8 mesh squares wide and 6 rows tall. If your squares are too big, go down a hook size. Too small? Go up a hook size.
Finished Measurements
This pattern is written for size Small/Medium with an approximate bust of 34 to 38 inches.
Abbreviations and Stitch Definitions
Let me break down every stitch you will need for this step by step crochet pattern.
Ch = Chain. This is your foundation stitch. Wrap yarn over hook, pull through loop on hook. One chain made.
Sl st = Slip stitch. Insert hook into stitch, yarn over, pull through both the stitch and the loop on your hook in one motion. Used for joining and creating a flat seam.
Sc = Single crochet. Insert hook into stitch, yarn over and pull up a loop (two loops on hook), yarn over and pull through both loops. This creates a short, tight stitch.
Dc = Double crochet. Yarn over, insert hook into stitch, yarn over and pull up a loop (three loops on hook), yarn over and pull through two loops, yarn over and pull through remaining two loops. This is a taller stitch that creates the structure of your mesh.
Sk = Skip. Pass over the indicated number of stitches without working into them.
Sp = Space. The open area created by chain stitches. You will work into these spaces rather than into individual stitches.
Understanding the Mesh Stitch Pattern
Before we dive into the full pattern, let me explain how this beautiful open mesh crochet stitch works. It is simpler than it looks, I promise.
The basic mesh unit is: Dc, ch 1, sk 1. This creates one small square opening. When you work the next row, you place your double crochet into the chain-1 space below, not into the top of the previous double crochet.
Think of it like building a grid. Each double crochet is a vertical bar, and each chain-1 is a horizontal connector. Once you see it that way, counting becomes much easier.
Pattern Instructions
Back Panel
Foundation Row:
With your H/8 hook, ch 70.
Row 1 (Right Side):
Dc in 4th ch from hook (the skipped chains count as your first dc). *Ch 1, sk 1 ch, dc in next ch.* Repeat from * to * across. (34 dc, 33 ch-1 spaces)
Row 2:
Ch 3 (counts as first dc here and throughout), turn. *Dc in next ch-1 sp, ch 1.* Repeat from * to * across. Dc in top of turning chain. (34 dc, 33 ch-1 spaces)
Rows 3 through 18:
Repeat Row 2.
Your back panel should measure approximately 10 inches tall and 20 inches wide. Fasten off and weave in ends.
Front Panel
Work exactly the same as the Back Panel. You will have two identical rectangular mesh panels.
Sleeves (Make 2)
Foundation Row:
With your H/8 hook, ch 58.
Row 1 (Right Side):
Dc in 4th ch from hook. *Ch 1, sk 1 ch, dc in next ch.* Repeat from * to * across. (28 dc, 27 ch-1 spaces)
Row 2:
Ch 3, turn. *Dc in next ch-1 sp, ch 1.* Repeat from * to * across. Dc in top of turning chain. (28 dc, 27 ch-1 spaces)
Rows 3 through 24:
Repeat Row 2.
Each sleeve should measure approximately 14 inches long and 14 inches wide. The extra length accommodates the bell sleeve effect. Fasten off.
Assembly
Now comes the fun part where your flat pieces become a wearable garment. Grab your tapestry needle and let us put this crochet cropped shrug together.
Step 1: Join Shoulder Seams
Lay your front and back panels with right sides facing each other. Using a whip stitch or mattress stitch, seam approximately 4 inches from each outer edge along the top. This creates your shoulder seams and leaves the center open for your neckline.
Step 2: Attach Sleeves
Find the center of one sleeve’s long edge. Match this center point to the shoulder seam. Pin in place. Seam the sleeve to the body, working about 7 inches down each side of the shoulder seam (14 inches total opening for each sleeve).
Step 3: Close Side and Sleeve Seams
Fold the garment so front and back align at the sides. Starting at the bottom corner, seam up the side of the body (about 10 inches) and continue seamlessly up the underarm of the sleeve (about 14 inches). Repeat for the other side.
Neckline Border
Switch to your G/6 hook for a slightly tighter edge.
Round 1:
Join yarn at the back center of the neckline with a sl st. Ch 1, work sc evenly around the entire neckline opening, placing approximately 3 sc for every 2 rows and 1 sc in each stitch across the top edges. Join with sl st to first sc.
Round 2:
Ch 1, sc in each sc around. Join with sl st. (This creates a clean ribbed look)
Round 3:
Repeat Round 2. Fasten off.
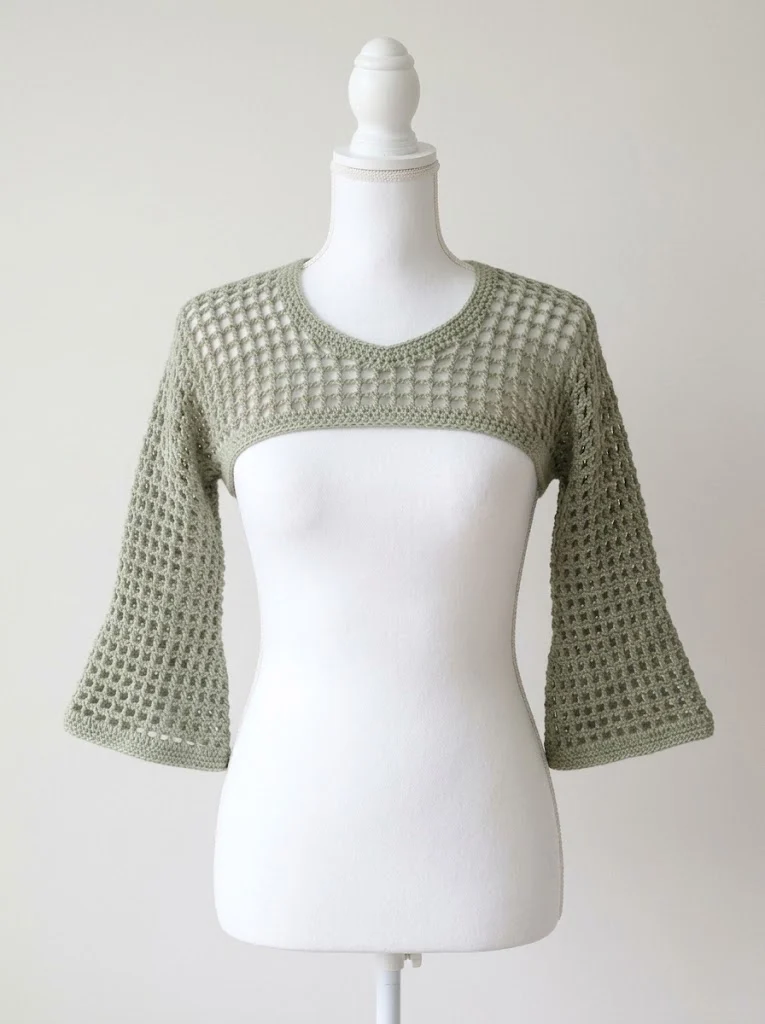
The double round of single crochet creates that polished border you see in the finished piece. It also helps the neckline hold its shape and prevents stretching.
Bottom Border
Switch to your G/6 hook.
Round 1:
Join yarn at one side seam along the bottom edge. Ch 1, work sc evenly across the entire bottom of both front and back panels, placing 1 sc in each dc and 1 sc in each ch-1 sp. Join with sl st.
Round 2:
Ch 1, sc in each sc around. Join with sl st. Fasten off.
Sleeve Cuffs
Repeat the border instructions for each sleeve opening, working 2 rounds of sc evenly around the bell sleeve edges.
Finishing Tips
Block your finished shrug for the best results. Since this is likely cotton or a cotton blend, wet blocking works beautifully. Soak the shrug in lukewarm water for about 15 minutes, gently squeeze out excess water (never wring), and lay flat to dry on a blocking mat. Pin the neckline and sleeves to your desired shape.
The mesh fabric is naturally drapey, so blocking helps even out your tension and gives the garment a professional finish.
Styling Your Mesh Shrug
This sage green crochet shrug is incredibly versatile. Wear it over a fitted tank top for a casual lunch date. Layer it over a bralette or bandeau for a festival-ready look. The neutral sage tone works beautifully with denim, white, cream, black, or even soft pink.
For cooler weather, try layering it over a long-sleeve fitted top. The mesh creates visual interest without adding bulk.
Customization Ideas
Want to make this pattern your own? Here are some easy modifications.
Longer length: Add more rows to the body panels before assembly. Each additional row adds roughly half an inch.
Shorter sleeves: Stop working sleeve rows earlier. For a cap sleeve effect, work only 10 to 12 rows instead of 24.
Different colors: This pattern looks stunning in cream, dusty rose, navy, or even black for an edgier vibe.
Tighter mesh: Use a smaller hook throughout for a denser fabric with smaller openings.
Common Questions
Can beginners make this pattern?
If you are comfortable with double crochet and have made at least one or two projects, you can absolutely tackle this. Take it slow, count carefully, and do not be afraid to use lots of stitch markers.
What if my shrug is too big or small?
Adjust your starting chain count. Add or subtract in multiples of 2 to maintain the mesh pattern. Remember that each mesh unit equals approximately 0.75 inches.
Can I use a different weight yarn?
Yes, but your gauge and finished measurements will change. Lighter yarn creates a more delicate look. Heavier yarn creates a chunkier, warmer shrug.
I truly hope you enjoy making the Willow Shrug as much as I loved designing it. There is something so satisfying about watching those mesh squares stack up row after row. Thank you for trusting me with your crafting time. I would absolutely love to see your finished shrugs, so please tag me on Instagram or share in our Facebook group when yours is complete.
If this crochet cropped shrug pattern is calling your name but you are not quite ready to start today, go ahead and pin it to your favorite Pinterest board so you can find it easily later. And if you do make one, please drop a comment below and tell me all about it. I read every single one.
