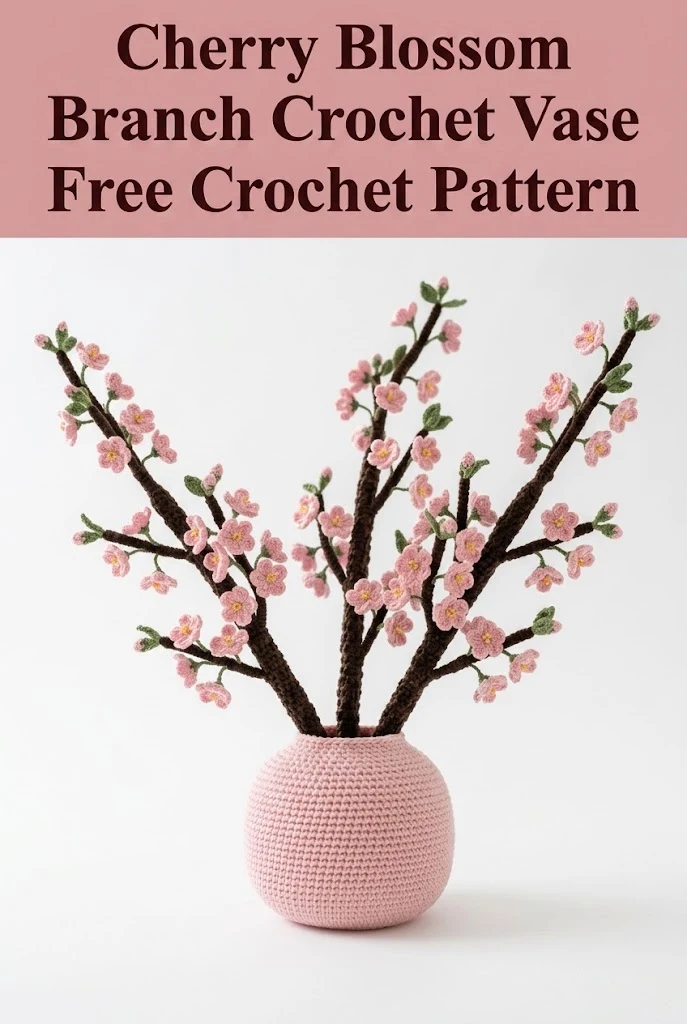
Alright, yarn lovers, this is your sign to dig into that stash. You know the one. That soft blush pink cotton you’ve been saving for something special? The dark brown you bought on a whim? Today’s the day they finally meet their destiny. This cherry blossom branch arrangement with a matching crocheted vase combines simple amigurumi techniques with delicate flower construction. The branches use basic single crochet worked around wire for structure, and the vase is a straightforward sphere worked in continuous rounds. I’ll be honest with you. This project takes patience and a bit of time, but every individual stitch is beginner friendly. If you can single crochet and work in the round, you can absolutely make this stunning home decor piece.
Why You’ll Love This Cherry Blossom Crochet Pattern
This crochet cherry blossom vase arrangement makes a stunning centerpiece that never wilts, never needs water, and never drops petals on your furniture. The soft pink blossoms against dark brown branches create that iconic spring look we all crave, and the coordinating crocheted vase ties everything together beautifully.
What makes this project special is how impressive it looks compared to how simple the techniques actually are. Each component uses basic stitches. The magic comes from assembling them thoughtfully. You’ll create multiple small flowers, attach them to wrapped branches, and display everything in a handmade vase that looks like it belongs in a boutique home store.
This crochet pattern works wonderfully as a handmade gift for housewarmings, Mother’s Day, or anyone who appreciates everlasting florals. It’s also a fantastic stash buster since each component uses small amounts of yarn.
Materials Needed for Your Cherry Blossom Crochet Project
Yarn:
Tools:
Gauge:
Working in continuous single crochet rounds: 5 stitches and 5 rows = 1 inch. Gauge is not critical for this decorative project, but a tight gauge keeps the stuffing hidden.
Abbreviations and Stitch Definitions
Let me walk you through every abbreviation before we begin. No surprises here.
Ch = Chain. Wrap yarn over hook, pull through loop. This creates your foundation.
Sl st = Slip stitch. Insert hook, yarn over, pull through stitch AND loop on hook in one motion. Used for joining.
Sc = Single crochet. Insert hook into stitch, yarn over, pull up a loop (2 loops on hook), yarn over, pull through both loops. This is your main stitch throughout.
Inc = Increase. Work 2 single crochet stitches into the same stitch. This adds one stitch to your count.
Dec = Decrease (invisible decrease preferred). Insert hook through front loops only of next 2 stitches, yarn over, pull through both front loops, yarn over, pull through both loops on hook. This removes one stitch.
Magic ring = Adjustable starting loop. Wrap yarn around fingers, insert hook, pull up loop, chain 1, then work stitches into the ring. Pull tail to close the center hole completely.
FLO = Front loop only. Work into just the front loop of the stitch instead of both loops.
BLO = Back loop only. Work into just the back loop of the stitch.
Skill Level
Intermediate beginner. You should be comfortable with:
If you’ve made a simple amigurumi ball or a crocheted basket, you have all the skills needed.
Step by Step Crochet Pattern Instructions
Part 1: The Crocheted Vase
The vase is essentially a large amigurumi sphere with a narrow opening at the top. We’ll work from the bottom up in continuous rounds. Place a stitch marker at the beginning of each round and move it up as you go.
Using pale pink yarn and 3.0mm hook:
Round 1: Make a magic ring, work 6 sc into ring, pull tight. (6 sts)
Round 2: Inc in each st around. (12 sts)
Round 3: *Sc 1, inc* repeat around. (18 sts)
Round 4: *Sc 2, inc* repeat around. (24 sts)
Round 5: *Sc 3, inc* repeat around. (30 sts)
Round 6: *Sc 4, inc* repeat around. (36 sts)
Round 7: *Sc 5, inc* repeat around. (42 sts)
Round 8: *Sc 6, inc* repeat around. (48 sts)
Round 9: *Sc 7, inc* repeat around. (54 sts)
Round 10: *Sc 8, inc* repeat around. (60 sts)
Rounds 11 through 20: Sc in each st around. (60 sts) Work these 10 rounds even to create the widest part of your vase.
Now we begin shaping the top curve:
Round 21: *Sc 8, dec* repeat around. (54 sts)
Round 22: Sc in each st around. (54 sts)
Round 23: *Sc 7, dec* repeat around. (48 sts)
Round 24: Sc in each st around. (48 sts)
Round 25: *Sc 6, dec* repeat around. (42 sts)
Round 26: Sc in each st around. (42 sts)
Round 27: *Sc 5, dec* repeat around. (36 sts)
Rounds 28 through 30: Sc in each st around. (36 sts)
At this point, stuff your vase firmly with fiberfill. Add weighted pellets at the bottom if you want extra stability to hold the branches upright.
Round 31: *Sc 4, dec* repeat around. (30 sts)
Rounds 32 through 34: Sc in each st around. (30 sts)
Sl st to next stitch. Fasten off and weave in ends.
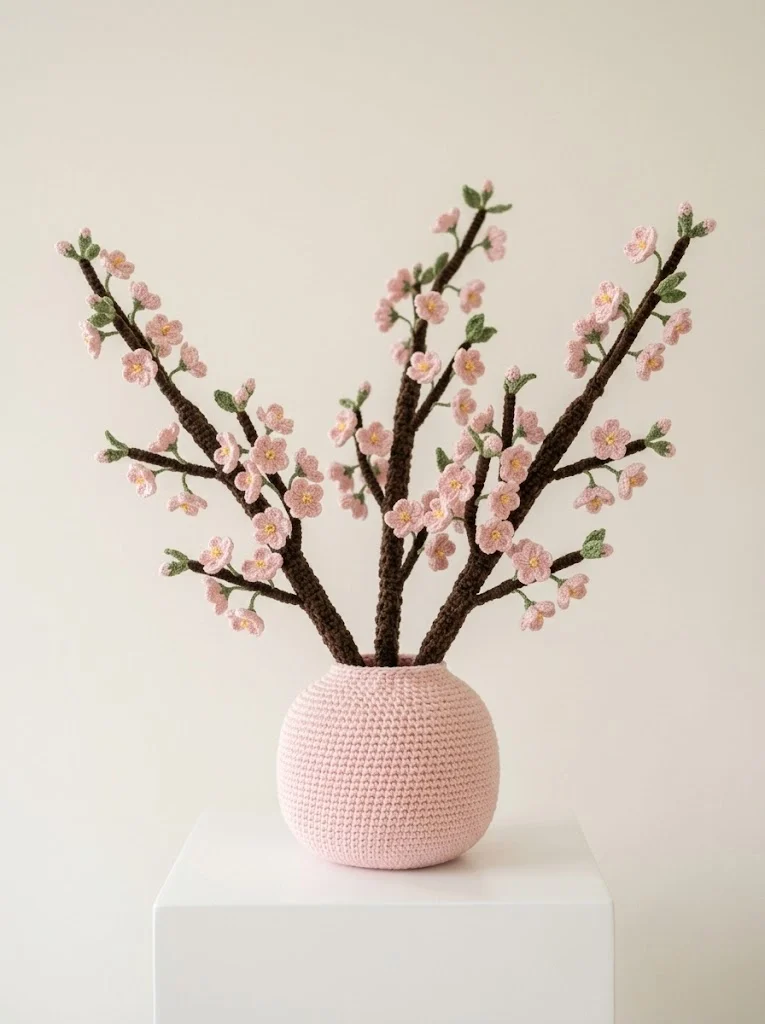
Your finished vase should measure approximately 4 to 5 inches tall and 5 inches wide at the widest point.
Part 2: The Cherry Blossom Flowers (Make 35 to 50)
Don’t let the number scare you. These tiny flowers work up in about 3 minutes each once you get the rhythm. Put on a podcast and enjoy the process.
Using light pink yarn and 2.5mm or 3.0mm hook:
Magic ring, ch 2.
*Petal 1: Dc 2 into ring, ch 2, sl st into ring.*
Repeat the petal instructions 4 more times. You’ll have 5 petals total.
Pull magic ring closed. Sl st to first ch-2 space to join. Fasten off, leaving a 6 inch tail for attaching.
Adding the yellow center:
Thread yellow yarn onto needle. Make 3 to 4 small straight stitches in the center of each flower, creating a tiny starburst effect. This mimics the stamens. Knot securely on the back.
Variation tip: For visual interest, make some flowers slightly more open by using a larger hook, and some tighter buds using just 3 petals. Real cherry blossom branches have flowers in different stages of bloom.
Part 3: The Leaves (Make 20 to 30)
Using olive green yarn and 3.0mm hook:
Ch 6.
Starting in 2nd ch from hook: sl st, sc, hdc, sc, sl st.
Fasten off, leaving a 4 inch tail.
These tiny leaves add realistic detail when tucked between flowers on the branches.
Part 4: The Branches (Make 5 to 7)
This is where the wire comes in. We’ll wrap each piece of floral wire with crocheted cord to create sturdy, poseable branches.
Using dark brown yarn and 3.0mm hook:
For the crocheted cord:
Ch 2.
Row 1: Sc in 2nd ch from hook, turn. (1 st)
Rows 2 onward: Ch 1, sc in back bump of previous sc, turn. (1 st)
Continue until your cord measures approximately 15 inches long for main branches, or 8 inches for smaller offshoots.
Fasten off, leaving a long tail.
Wrapping the wire:
Lay your crocheted cord alongside the floral wire. Using the long tail, whip stitch the cord around the wire in a spiral pattern, encasing the wire completely. The single crochet cord should wrap naturally around the wire, hiding all metal.
Creating branch shapes:
For realistic branches, bend each wrapped wire at natural angles. Create 2 to 3 smaller offshoots per main branch by cutting shorter wire pieces, wrapping them, and attaching at various points along the main stem.
Part 5: Assembly
This is the fun part where everything comes together.
Attaching flowers to branches:
Using the tails left on each flower, sew flowers to the branches at intervals. Cluster 2 to 3 flowers together in some spots, leave single flowers in others. Place more flowers toward the outer ends of branches, with buds and leaves filling the inner sections.
Securing with hot glue (optional):
For extra durability, add a small dot of hot glue behind each flower after sewing. This is especially helpful if the arrangement will be moved frequently.
Attaching leaves:
Tuck leaves between flower clusters. Sew or glue in place. Position them at slight angles for a natural look.
Arranging in the vase:
Insert branch ends through the vase opening. The stuffing inside will grip the branches and hold them upright. Bend and adjust each branch until you achieve a pleasing, natural spray pattern.
Helpful Tips for This Crochet Tutorial
Choosing your yarn: Cotton works best for this project because it holds its shape beautifully and shows stitch definition clearly. Acrylic will work but may look slightly less crisp.
Wire alternatives: If you can’t find floral wire, pipe cleaners work for smaller branches. They’re easier to handle but less sturdy for larger arrangements.
Customizing colors: White flowers with pale green branches create a dogwood look. Deep pink flowers make a more dramatic statement. Make it your own.
Stitch count issues: If you’re losing count on the vase, place a stitch marker every 10 stitches. Count at the end of each round. Trust me, this saves frustration.
Flower consistency: Your first few flowers might look different from your last ones. This is normal and actually adds charm. Real flowers aren’t identical either.
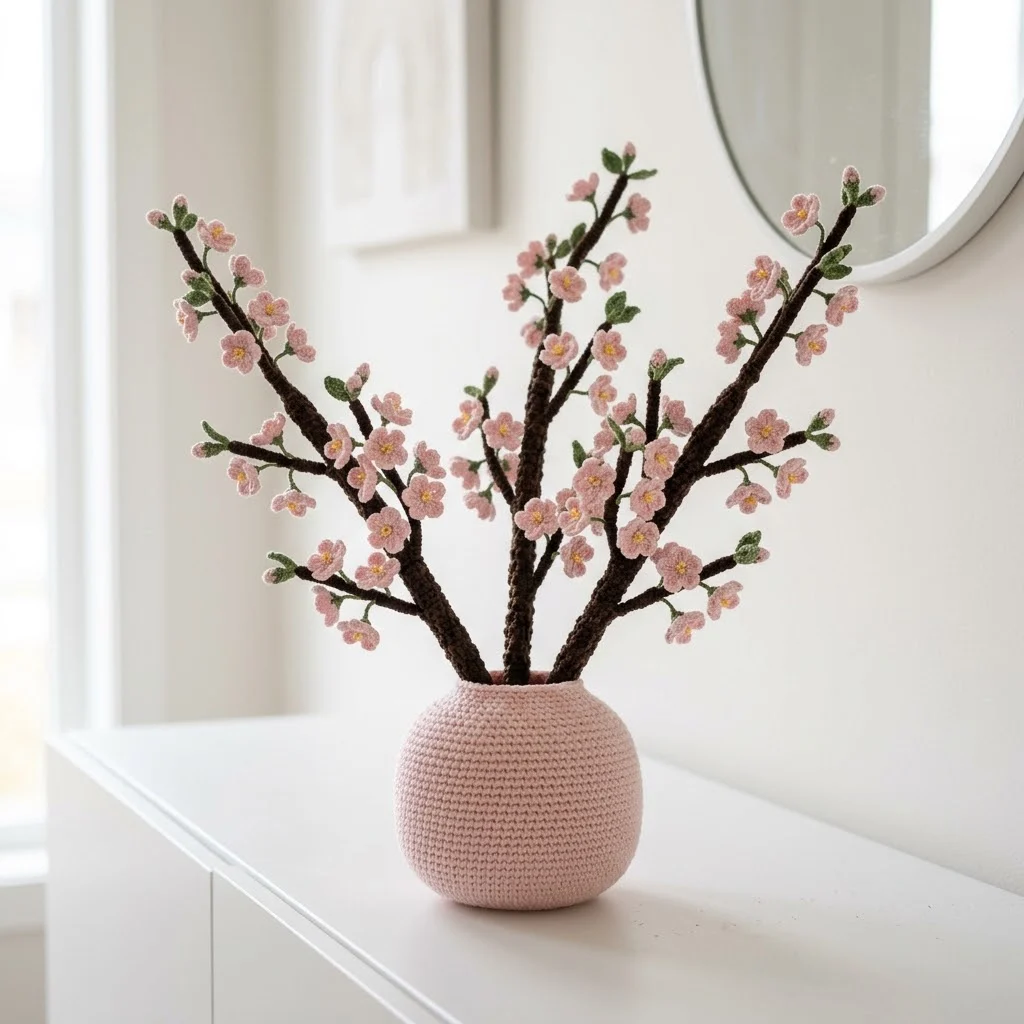
How to Display Your Finished Cherry Blossom Arrangement
This crocheted cherry blossom vase looks beautiful on mantels, entryway tables, bathroom counters, or bedroom dressers. The pale pink color scheme keeps it versatile for most decor styles.
Because everything is yarn and wire, you can gently dust with a lint roller or use a blow dryer on cool setting to remove dust. Avoid placing in direct sunlight for extended periods, as some yarns may fade over time.
Wrapping Up This Cherry Blossom Crochet Pattern
I hope this crochet pattern brings a little bit of spring into your home, no matter what season it actually is outside. Making each tiny blossom feels meditative, and watching the arrangement come together is incredibly satisfying. This project proves that simple stitches can create something truly elegant when assembled with care.
Whether you’re making this for yourself or gifting it to someone who loves handmade decor, I know you’ll enjoy the process. Take your time with it. There’s no rush.
Thank you so much for choosing this pattern. It means the world to me that you’re here, making beautiful things with your own two hands. If you make this cherry blossom arrangement, I would absolutely love to see it. Tag me on Instagram or share a photo in our Facebook group. Seeing your creations is genuinely the best part of my day.
If this pattern inspired you, go ahead and save it to your Pinterest boards so you can find it easily when you’re ready to start. And please drop a comment below if you give it a try. I love hearing how projects turn out and answering any questions along the way. Happy crocheting, friend.
