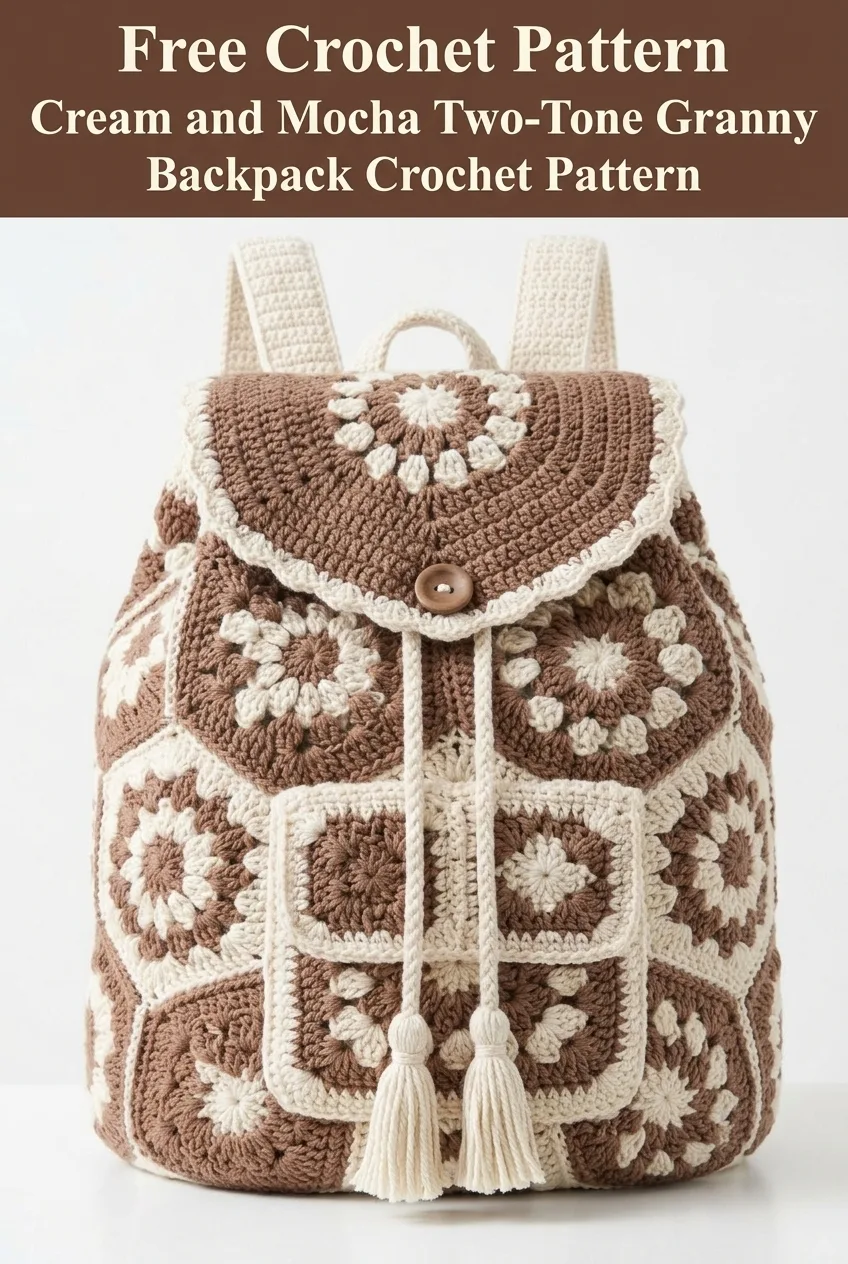
I have been dreaming about designing a hexagon backpack for months now. I wanted something that looked impressive but used familiar techniques, something that would work as a statement piece without being fussy to make. The goal was to combine classic granny hexagons with a structured bag shape, neutral tones that go with everything, and a drawstring closure that actually functions. I am SO pleased with how this turned out! The cream and mocha color palette feels modern and earthy, and the construction is way more straightforward than it looks.
Why You Will Love This Crochet Backpack Pattern
This granny hexagon backpack crochet pattern combines the nostalgic charm of traditional granny motifs with a practical, wearable design. The two-tone color scheme keeps the busy hexagon pattern from feeling overwhelming. Instead, each motif pops against its neighbor in a satisfying patchwork arrangement.
Here is what makes this project special:
This crochet tutorial walks you through every step, from making individual hexagons to assembling the final bag. Even if you have never crocheted a bag before, you can absolutely make this.
Skill Level
Intermediate. You should be comfortable with basic stitches, working in the round, changing colors, and seaming pieces together. If you have made granny squares before, you already have most of the skills needed. The hexagon shape requires a bit more attention to stitch placement, but I will walk you through it.
Finished Dimensions
Materials Needed
Yarn:
I recommend using 100% cotton yarn or a cotton blend for this project. Cotton provides the structure bags need and holds its shape beautifully over time. Acrylic will work but may stretch with use.
Suggested yarn brands: Lily Sugar’n Cream, Drops Paris, Paintbox Yarns Cotton DK, or any worsted weight cotton.
Hook:
Notions:
Gauge
One completed hexagon measures approximately 4 inches (10 cm) from flat edge to flat edge.
Gauge matters for this project! Your hexagons need to be consistent so they fit together properly. Make one test hexagon before starting and adjust your hook size if needed.
Abbreviations and Stitch Definitions
Before we begin, let me explain every stitch abbreviation you will encounter:
The Pattern
Part 1: Granny Hexagon Motifs
You will need a total of 19 hexagons for this backpack. I recommend making them in batches and alternating color placement for visual variety.
Make:
Mocha Center Hexagon (Make 10)
Round 1: With Color A, create a magic ring. Ch 3 (counts as first dc throughout), work 11 dc into ring. Sl st to top of ch-3 to join. Pull ring closed. (12 dc)
Round 2: Ch 3, dc in same st, 2 dc in each st around. Sl st to top of ch-3 to join. (24 dc)
Round 3: Ch 3, dc in same st, dc in next st, *2 dc in next st, dc in next st* repeat around. Sl st to join. Change to Color B. (36 dc)
Round 4: Ch 3, dc in next 2 sts, *3 dc in next st (corner made), dc in next 5 sts* repeat 5 more times, 3 dc in next st, dc in last 2 sts. Sl st to join. (48 dc, 6 corners)
Round 5: Ch 3, dc in next 3 sts, *3 dc in corner st, dc in next 7 sts* repeat 5 more times, 3 dc in corner st, dc in last 3 sts. Sl st to join. Fasten off and weave in ends. (60 dc)
Cream Center Hexagon (Make 9)
Follow the same instructions above, but start with Color B for Rounds 1 through 3, then switch to Color A for Rounds 4 and 5. This creates the alternating effect you see in the finished bag.
Helpful tip: Block your hexagons lightly before joining. This makes assembly much easier and gives you cleaner seams.
Part 2: Joining the Hexagons
This is where the magic happens! Lay out your hexagons in a pleasing arrangement before joining. Alternate colors so no two same-colored centers touch each other.
Layout for the body:
Joining Method (Whip Stitch):
1. Hold two hexagons with right sides facing each other
2. Using Color B and your yarn needle, insert through the back loops only of corresponding stitches on each hexagon
3. Whip stitch across the shared edge, keeping tension even
4. Continue until all hexagons are connected
Alternative joining method: You can also use a single crochet join on the right side for a more decorative seam. Work through both layers, creating a raised ridge.
Part 3: Drawstring Top Border
Once your hexagon body is assembled, you will create the drawstring channel at the top opening.
Round 1: Join Color B at any corner of the top edge. Ch 1, sc evenly around the entire top opening, working approximately 72 sc total. Adjust as needed to keep the edge flat. Sl st to join. (72 sc)
Round 2: Ch 3, skip next st, *dc in next st, ch 1, skip next st* repeat around. Sl st to top of ch-3. This creates the eyelets for your drawstring. (36 dc, 36 ch-1 spaces)
Round 3: Ch 1, sc in each dc and each ch-1 space around. Sl st to join. (72 sc)
Round 4: Ch 1, sc in each st around. Sl st to join. Fasten off. (72 sc)
Part 4: Rounded Flap
The flap adds both function and style to your crochet backpack. It covers the drawstring opening and buttons closed for security.
Row 1: With Color A, ch 25. Dc in 4th ch from hook and each ch across. Turn. (22 dc)
Rows 2-8: Ch 3, dc in each st across. Turn. (22 dc)
Row 9 (begin shaping): Ch 3, dc2tog over next 2 sts, dc across to last 3 sts, dc2tog, dc in last st. Turn. (20 dc)
Rows 10-12: Repeat Row 9, decreasing 2 stitches each row. (14 dc after Row 12)
Row 13: Ch 3, dc2tog, dc across to last 3 sts, dc2tog, dc in last st. (12 dc)
Scalloped Edging:
Join Color B at the corner of the flap. Ch 1, sc evenly down the side, across the straight edge, and up the other side. When you reach the curved bottom edge, work scallops as follows: *skip 1 st, 5 dc in next st, skip 1 st, sl st in next st* repeat around the curve. Fasten off.
Add button loop: At the center bottom of the flap curve, join Color B and ch 8, sl st back into the same stitch to create a loop. Fasten off and weave in ends.
Part 5: Backpack Straps (Make 2)
The straps need to be sturdy, so work them tightly. Consider dropping down a hook size if your tension tends to be loose.
Row 1: With Color B, ch 8. Sc in 2nd ch from hook and each ch across. Turn. (7 sc)
Rows 2-100 (or desired length): Ch 1, sc in each st across. Turn. (7 sc)
Fasten off, leaving a long tail for sewing.
Pro tip: Try on the bag body with pins to determine your ideal strap length before finishing. Everyone carries bags differently!
Part 6: Top Loop
This small loop attaches at the top center back for hanging or carrying.
Row 1: With Color B, ch 6. Sc in 2nd ch from hook and each ch across. Turn. (5 sc)
Rows 2-20: Ch 1, sc in each st across. Turn. (5 sc)
Fasten off, leaving a tail for sewing.
Part 7: Drawstring Cord
Make a simple chain cord: With Color B, ch 150 or until cord measures approximately 40 inches. Sl st in 2nd ch from hook and each ch across. Fasten off.
Create tassels (make 2): Cut 20 strands of Color B, each about 8 inches long. Fold in half, loop through the end of the drawstring cord, and pull ends through the loop. Trim evenly.
Part 8: Assembly
Now comes the satisfying part, putting it all together!
1. Attach the base hexagon to the bottom of the hexagon cylinder using whip stitch or single crochet join.
2. Sew the flap to the top back of the bag, centered over the drawstring channel. The scalloped edge should hang down over the front.
3. Sew the button to the front of the bag body, positioned so the flap loop reaches it comfortably.
4. Attach straps: Sew the top of each strap to the back of the bag, approximately 3 inches apart and 1 inch below the top edge. Sew the bottom of each strap to the back bottom corners of the bag.
5. Attach the top loop: Fold in half and sew both ends to the top center back, between the strap attachment points.
6. Thread the drawstring: Using a safety pin, weave the cord through the eyelet round. Both ends should exit at the front center. Add tassels to each end.
7. Optional lining: For extra durability and to protect your belongings, consider sewing a simple fabric lining. Cut fabric to match the bag interior, sew side seams, and hand stitch to the inside of the bag at the top edge.
Customization Ideas
This crochet backpack pattern works beautifully in countless color combinations. Consider trying:
You can also adjust the size by adding or removing hexagon rows. One additional row of hexagons adds approximately 4 inches of height.
Care Instructions
Hand wash your finished backpack in cool water with mild detergent. Gently squeeze out excess water without wringing. Reshape and lay flat to dry. If using cotton yarn, your bag may need occasional reshaping after washing.
For everyday maintenance, spot clean as needed and store stuffed with tissue paper to help maintain shape.
Final Thoughts on This Granny Hexagon Backpack Crochet Pattern
You did it! You now have everything you need to create this stunning two-tone granny backpack from start to finish. This step by step crochet pattern takes a bit of time, I will not pretend otherwise, but the result is a truly unique handmade accessory you will reach for again and again. Whether you make it for yourself or as an unforgettable gift, this bag is sure to get compliments everywhere you go.
Thank you so much for choosing this pattern. I genuinely hope you enjoy making it as much as I enjoyed designing it! If you finish your backpack, I would absolutely love to see it. Tag me on Instagram or share a photo in my Facebook group. Seeing your creations is the best part of this whole thing.
If this granny hexagon backpack crochet pattern caught your eye, go ahead and save it to your Pinterest boards so you can find it when you are ready to start. And please drop a comment below if you make one! I love hearing which colors you chose and how the project turned out for you.
