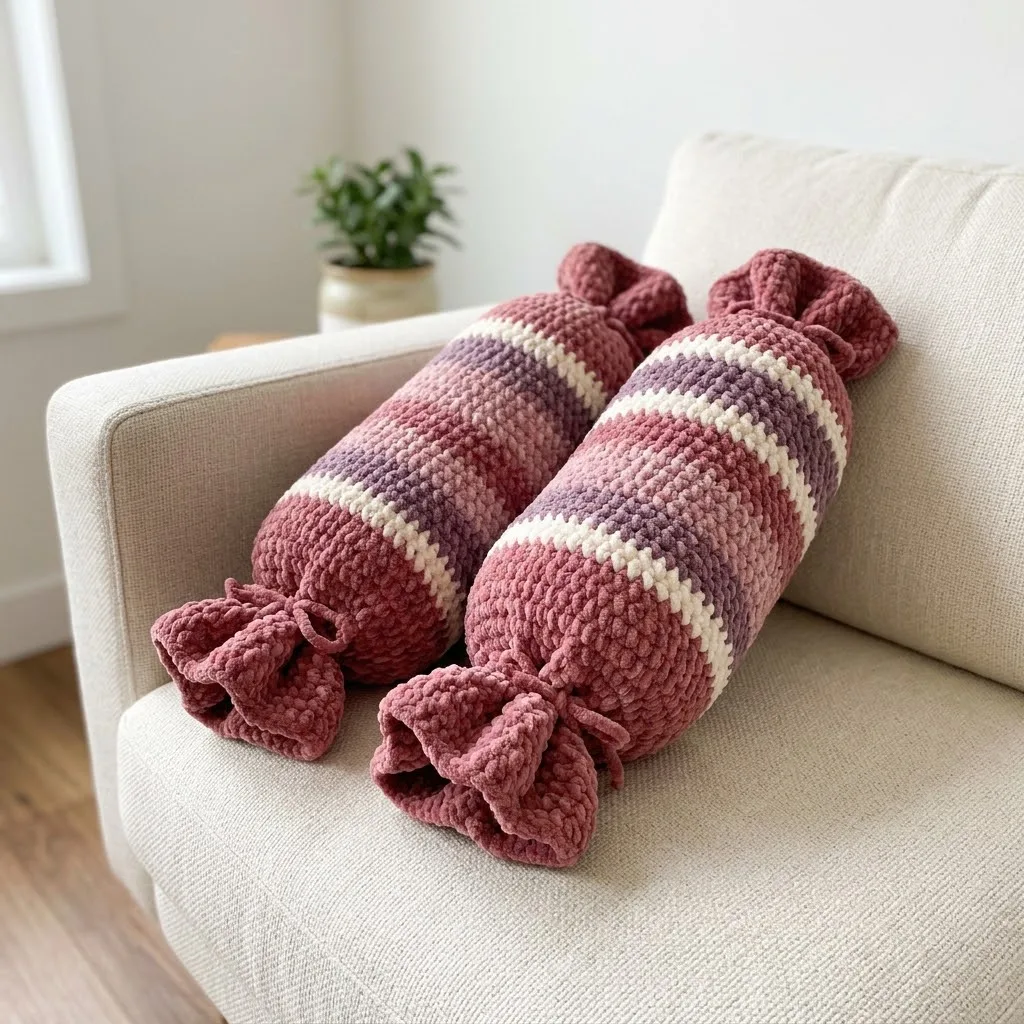
Looking for a cozy home decor project that works up fast and makes an incredible gift? This candy-shaped bolster pillow uses super bulky chenille yarn and simple single crochet stitches to create a plush, squishy pillow perfect for your couch, bed, or reading nook. The adorable twisted candy wrapper ends add whimsy without complicated techniques. Whether you are making this for yourself or as a housewarming present, you will have a finished pillow in just a few hours.

Why You Will Love This Crochet Bolster Pillow Pattern
This Berry Blush Candy Bolster Pillow combines practicality with playful design. The cylindrical shape provides excellent neck and lumbar support. Those gathered candy wrapper ends? They are just fabric cinched with a simple tie. No tricky decreases or shaping required.
The striped colorwork looks impressive but only requires carrying yarn up the side. You never have to weave in dozens of ends or manage complicated color changes mid-row.
I designed this pillow using chenille yarn, which gives that plush, velvety texture you see in the photos. The stitches sink into each other beautifully, creating a dense fabric that holds its shape and feels incredibly soft against your skin.
Skill Level
Beginner friendly. If you can chain and single crochet, you can make this pillow. The construction is a simple flat rectangle that gets seamed into a tube. The candy wrapper ends are just gathered fabric tied with scrap yarn.
Finished Dimensions
Approximately 18 inches long by 6 inches in diameter (not including the gathered ends). The twisted candy wrapper sections add about 4 inches to each side, making the total length around 26 inches.
Want a longer bolster? Simply add more rows to the main body. Want it wider? Add chains to your foundation in multiples of one.
Materials Needed
Yarn:
I used a weight 6 super bulky chenille yarn similar to Bernat Blanket yarn. Any plush chenille in this weight will work beautifully. The softness of chenille makes this pillow irresistible to touch.
Hook:
Notions:
Gauge
10 single crochet stitches and 12 rows = 4 inches in single crochet with super bulky chenille yarn.
Gauge matters here because it affects the final pillow size. If your gauge is off, your pillow will be larger or smaller than intended. Take a few minutes to check. Trust me, it is worth it.
Abbreviations and Stitch Definitions
Let me break down every abbreviation you will see in this pattern:
Pattern Notes
Working in rows: This entire pillow is worked flat in rows, then seamed into a tube. No working in the round required.
Color changes: When changing colors, complete the last single crochet of the old color until you have 2 loops on your hook. Yarn over with the new color and pull through both loops. This creates a clean color transition.
Carrying yarn: For the stripe pattern, you can carry unused colors loosely up the side of your work instead of cutting and rejoining. This saves time and reduces ends to weave in.
Chenille yarn tips: Chenille can be slippery and sometimes splits. Work slowly, especially on color changes. If you lose a stitch, it can be tricky to find. Count your stitches at the end of each row until you feel confident.
Berry Blush Candy Bolster Pillow Crochet Pattern
Candy Wrapper End (Make 2)
These sections create the gathered twisted ends of the candy.
With Color A, ch 46.
Row 1: Sc in 2nd ch from hook and in each ch across. (45 sts)
Rows 2-12: Ch 1, turn. Sc in each st across. (45 sts)
FO, leaving a long tail for seaming.
You will have a small rectangle approximately 18 inches wide by 4 inches tall. Set these aside for now.
Main Pillow Body
This is the center section with the beautiful stripe pattern.
With Color A, ch 46.
Row 1: Sc in 2nd ch from hook and in each ch across. (45 sts)
Rows 2-8: Ch 1, turn. Sc in each st across. (45 sts)
*Change to Color B at the end of Row 8.*
Rows 9-10: Ch 1, turn. Sc in each st across. (45 sts)
*Change to Color C at the end of Row 10.*
Rows 11-16: Ch 1, turn. Sc in each st across. (45 sts)
*Change to Color B at the end of Row 16.*
Rows 17-18: Ch 1, turn. Sc in each st across. (45 sts)
*Change to Color A at the end of Row 18.*
Rows 19-26: Ch 1, turn. Sc in each st across. (45 sts)
*Change to Color B at the end of Row 26.*
Rows 27-28: Ch 1, turn. Sc in each st across. (45 sts)
*Change to Color C at the end of Row 28.*
Rows 29-34: Ch 1, turn. Sc in each st across. (45 sts)
*Change to Color B at the end of Row 34.*
Rows 35-36: Ch 1, turn. Sc in each st across. (45 sts)
*Change to Color A at the end of Row 36.*
Rows 37-44: Ch 1, turn. Sc in each st across. (45 sts)
FO, leaving a very long tail for seaming (approximately 36 inches).
Your main body panel should measure approximately 18 inches wide by 15 inches tall.
Stripe Sequence Summary
For easy reference, here is the complete stripe pattern:
This creates a symmetrical pattern that looks polished from every angle.
Assembly Instructions
Now comes the fun part. You will transform these flat pieces into an adorable candy-shaped pillow.
Step 1: Join the Candy Wrapper Ends to the Main Body
Lay your main body panel flat with the right side facing up. Take one candy wrapper rectangle and place it at the top edge, right sides together.
Using your tapestry needle and matching yarn, whip stitch the short edge of the candy wrapper piece to the top edge of the main body. Keep your stitches even and not too tight.
Repeat with the second candy wrapper piece at the bottom edge of the main body.
You now have one long rectangular panel with the striped section in the center and solid dusty rose sections on each end.
Step 2: Create the Tube
Fold your entire panel in half lengthwise with right sides together. The long edges should meet.
Using the long tail from your main body and your tapestry needle, whip stitch or mattress stitch the long edges together. Start from one end and work your way to the other, keeping tension even.
Take your time here. A neat seam makes a professional-looking pillow.
Step 3: Turn and Stuff
Turn your tube right side out. The seam should now be on the inside.
Stuff the center striped section firmly with polyfill. You want it plump and supportive but not so stuffed that the stitches stretch. The pillow should feel squishy and hold its cylindrical shape.
Do not stuff the solid colored end sections. These will become the gathered candy wrapper twists.
Step 4: Create the Candy Wrapper Twists
This is where the magic happens.
Cut two lengths of Color A yarn, each approximately 24 inches long.
At the point where the stuffing ends and the empty fabric begins, cinch the fabric tightly with one piece of yarn. Wrap the yarn around several times and tie securely with a double knot.
The unstuffed fabric will naturally gather and twist, creating that adorable candy wrapper look.
Repeat on the other end.
Trim the tying yarn close to the knot and tuck the ends inside if desired.
Step 5: Fluff and Shape
Adjust the gathered ends so they fan out attractively. You can gently twist them to enhance the candy wrapper effect.
Give the stuffed section a good squeeze and pat to distribute the filling evenly.
Customization Ideas
Size variations: For a longer pillow, add more rows to the main body in multiples of 8 to maintain the stripe symmetry. For a wider pillow, increase your starting chain.
Color combinations: Try these fun alternatives:
Solid version: Skip the stripes entirely for a quicker project. Use one color throughout and let the texture shine.
Tips for Working with Chenille Yarn
Chenille yarn is gorgeous but can be tricky. Here are my best tips:
Count religiously. Chenille stitches blend together visually. Count at the end of every row until you are comfortable.
Use good lighting. The plush texture makes it hard to see individual stitches in dim light.
Do not frog aggressively. Chenille does not unravel neatly. If you need to undo stitches, go slowly and gently.
Block with steam. A light steam can even out any uneven stitches, but do not press directly with an iron.
How to Care for Your Bolster Pillow
Spot clean when possible. If the pillow needs a full wash, remove the stuffing first (if you left an opening), wash the cover on gentle cycle, and air dry flat.
Chenille can get matted in the dryer, so air drying is always the safest choice.
Why This Candy Bolster Makes a Perfect Gift
Handmade home decor gifts always feel special. This pillow works beautifully for:
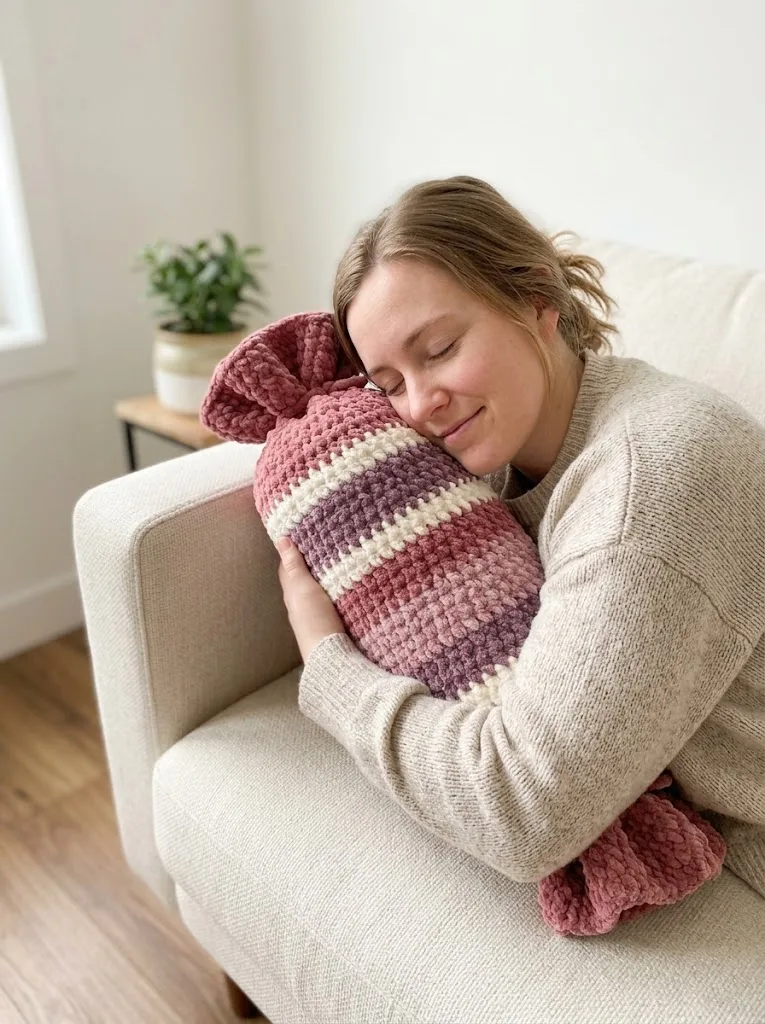
The playful candy shape makes recipients smile every time. It is decorative but also genuinely useful for neck support during reading or movie nights.
Troubleshooting Common Issues
My pillow is too floppy: You likely understuffed. Add more polyfill to the center section until it holds its shape firmly.
My seam shows: Try the mattress stitch instead of whip stitch for a nearly invisible seam. Work slowly and match stitches carefully.
My stripes are uneven: Check your gauge and stitch count. Chenille can stretch, so tension consistency matters.
The candy wrapper ends look messy: Cinch tighter at the gathering point and arrange the folds by hand until they look balanced.
Final Thoughts on This Crochet Tutorial
This Berry Blush Candy Bolster Pillow crochet pattern is perfect for anyone who wants impressive results without complicated techniques. The step by step instructions guide you through every detail, from the first chain to the final twist.
Whether you are a confident beginner looking to expand your skills or an experienced crocheter wanting a quick satisfying project, this pillow delivers. The chenille yarn creates instant coziness, and the candy shape adds personality to any space.
I hope you love making this pillow as much as I loved designing it. It is one of those projects that feels indulgent to work on and looks beautiful when finished.
Thank you so much for choosing this pattern. I truly appreciate you being here. If you make this bolster pillow, I would absolutely love to see it. Tag me on Instagram or share a photo in my Facebook group. Seeing your creations is honestly the best part of my day.
If this pattern inspired you, save it to your Pinterest boards so you can find it whenever you are ready to start. And please drop a comment below if you make one. I read every single comment and love hearing how your projects turn out.
