
I call this one "Sally’s Garden Party Top" because it reminds me of something you would wear to an afternoon gathering with lemonade and tiny sandwiches. I sketched the first version of this design in a notebook about two years ago, inspired by a vintage camisole I found at an estate sale. The original had delicate pintucks and a faded ribbon at the waist, and I kept thinking about how to capture that same romantic feeling in crochet. After several attempts and a lot of frogging, this pattern finally came together exactly how I imagined it.
Get the Ad-Free PDF Pattern
You can find the free pattern below, or you can purchase the ad-free printable PDF from my shop.
Get the Printable PDF →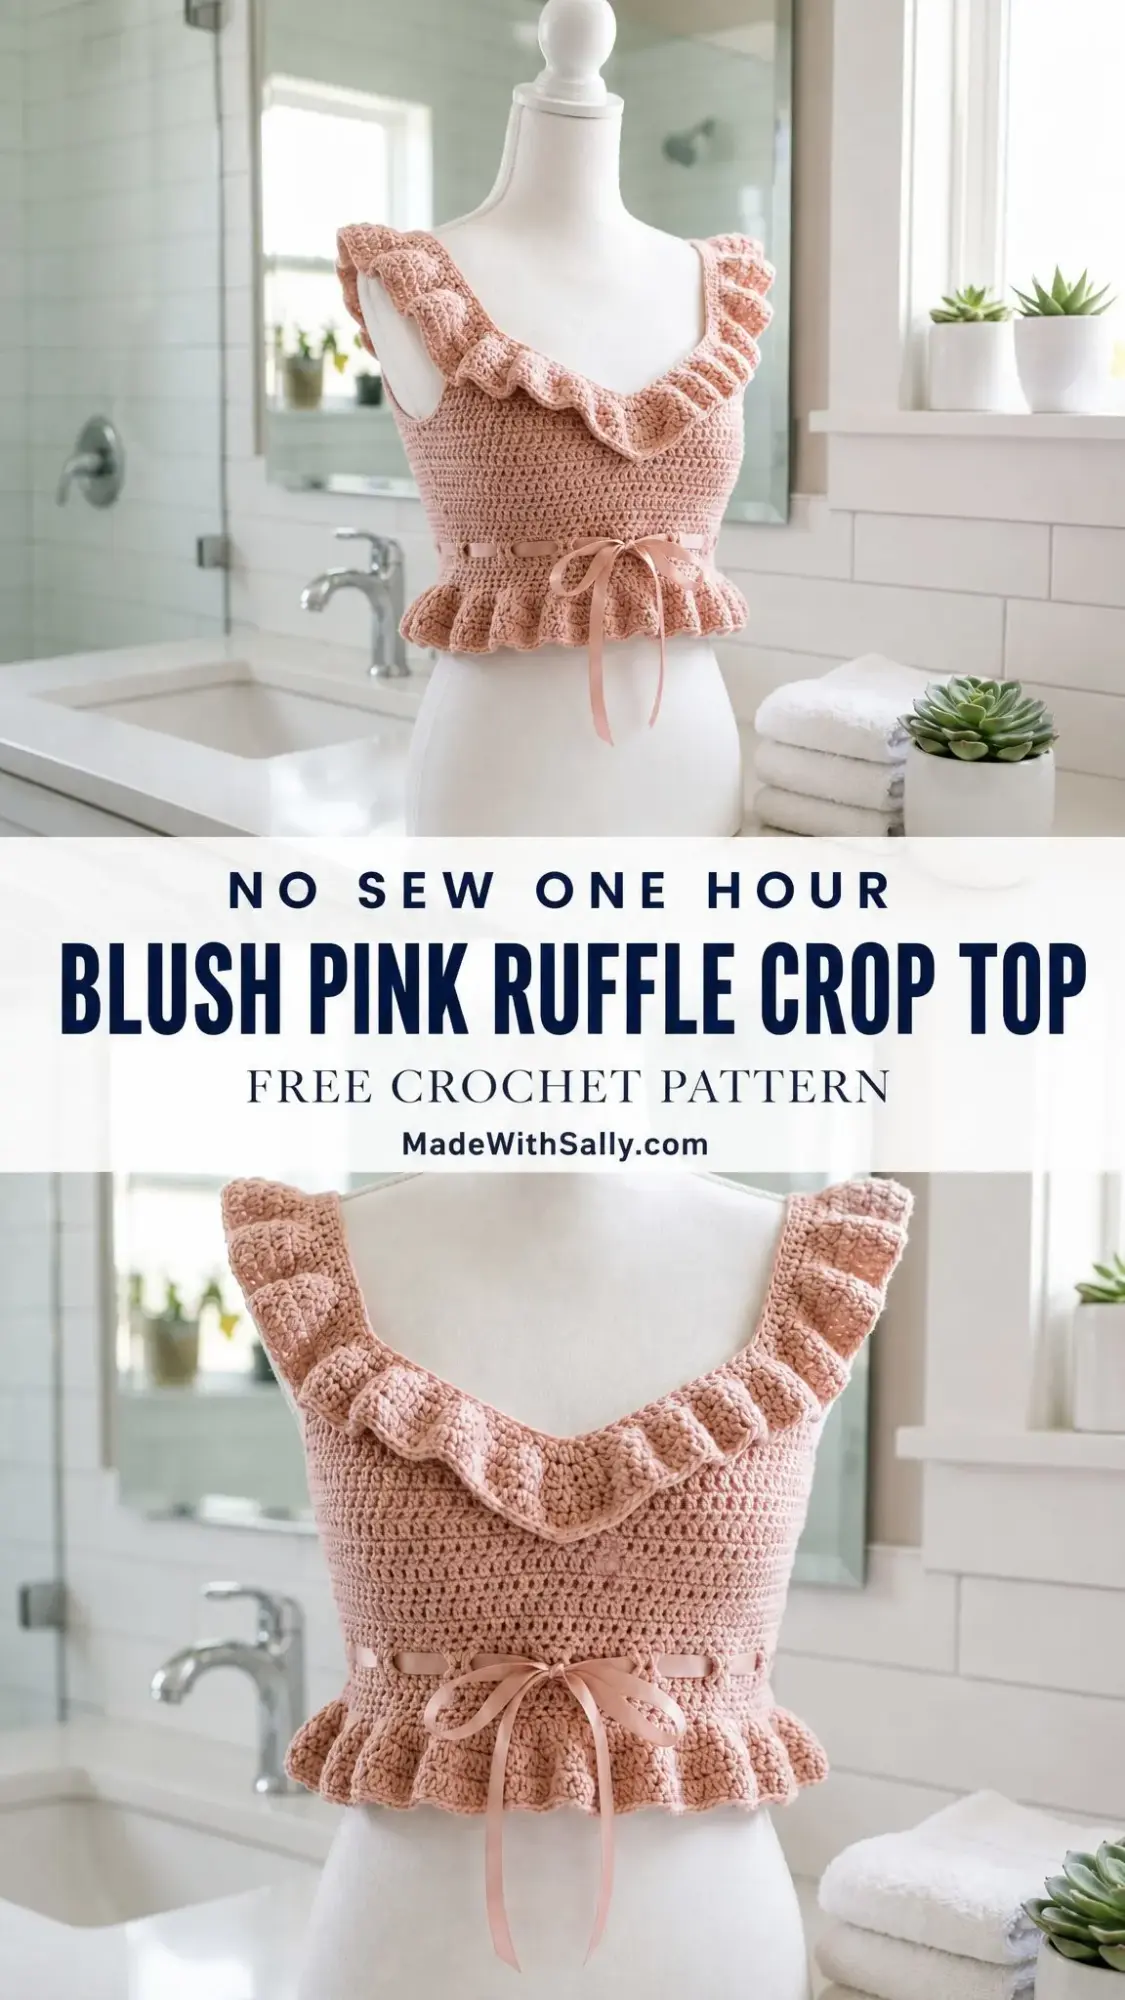
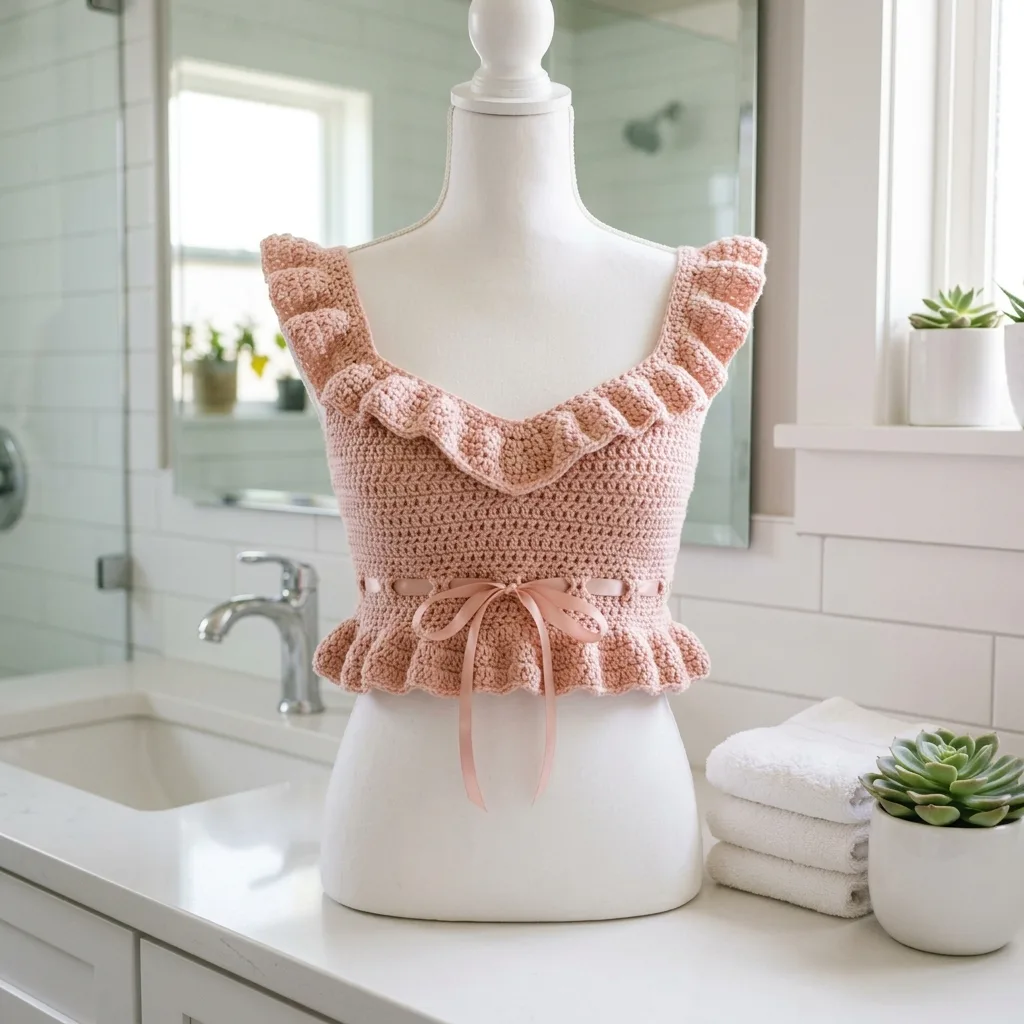
This cropped camisole features a softly scooped back, a shaped V front, gathered ruffle trim along the neckline and straps, a bottom flounce, and a ribbon-tied waist. The whole piece is worked in DK cotton with clean single crochet (sc) texture and playful dimensional edging. If you have been wanting to try garment construction but feel intimidated by complicated shaping, this is a wonderful place to start. The techniques are straightforward, and I will walk you through every step.
About This Crochet Pattern
This top is rated intermediate because it uses simple stitches, but the fit depends on matching gauge, mirrored neckline shaping, accurate seaming, and evenly applied ruffles. If you have made a few scarves or blankets and want to try something more structured, you are ready for this project.
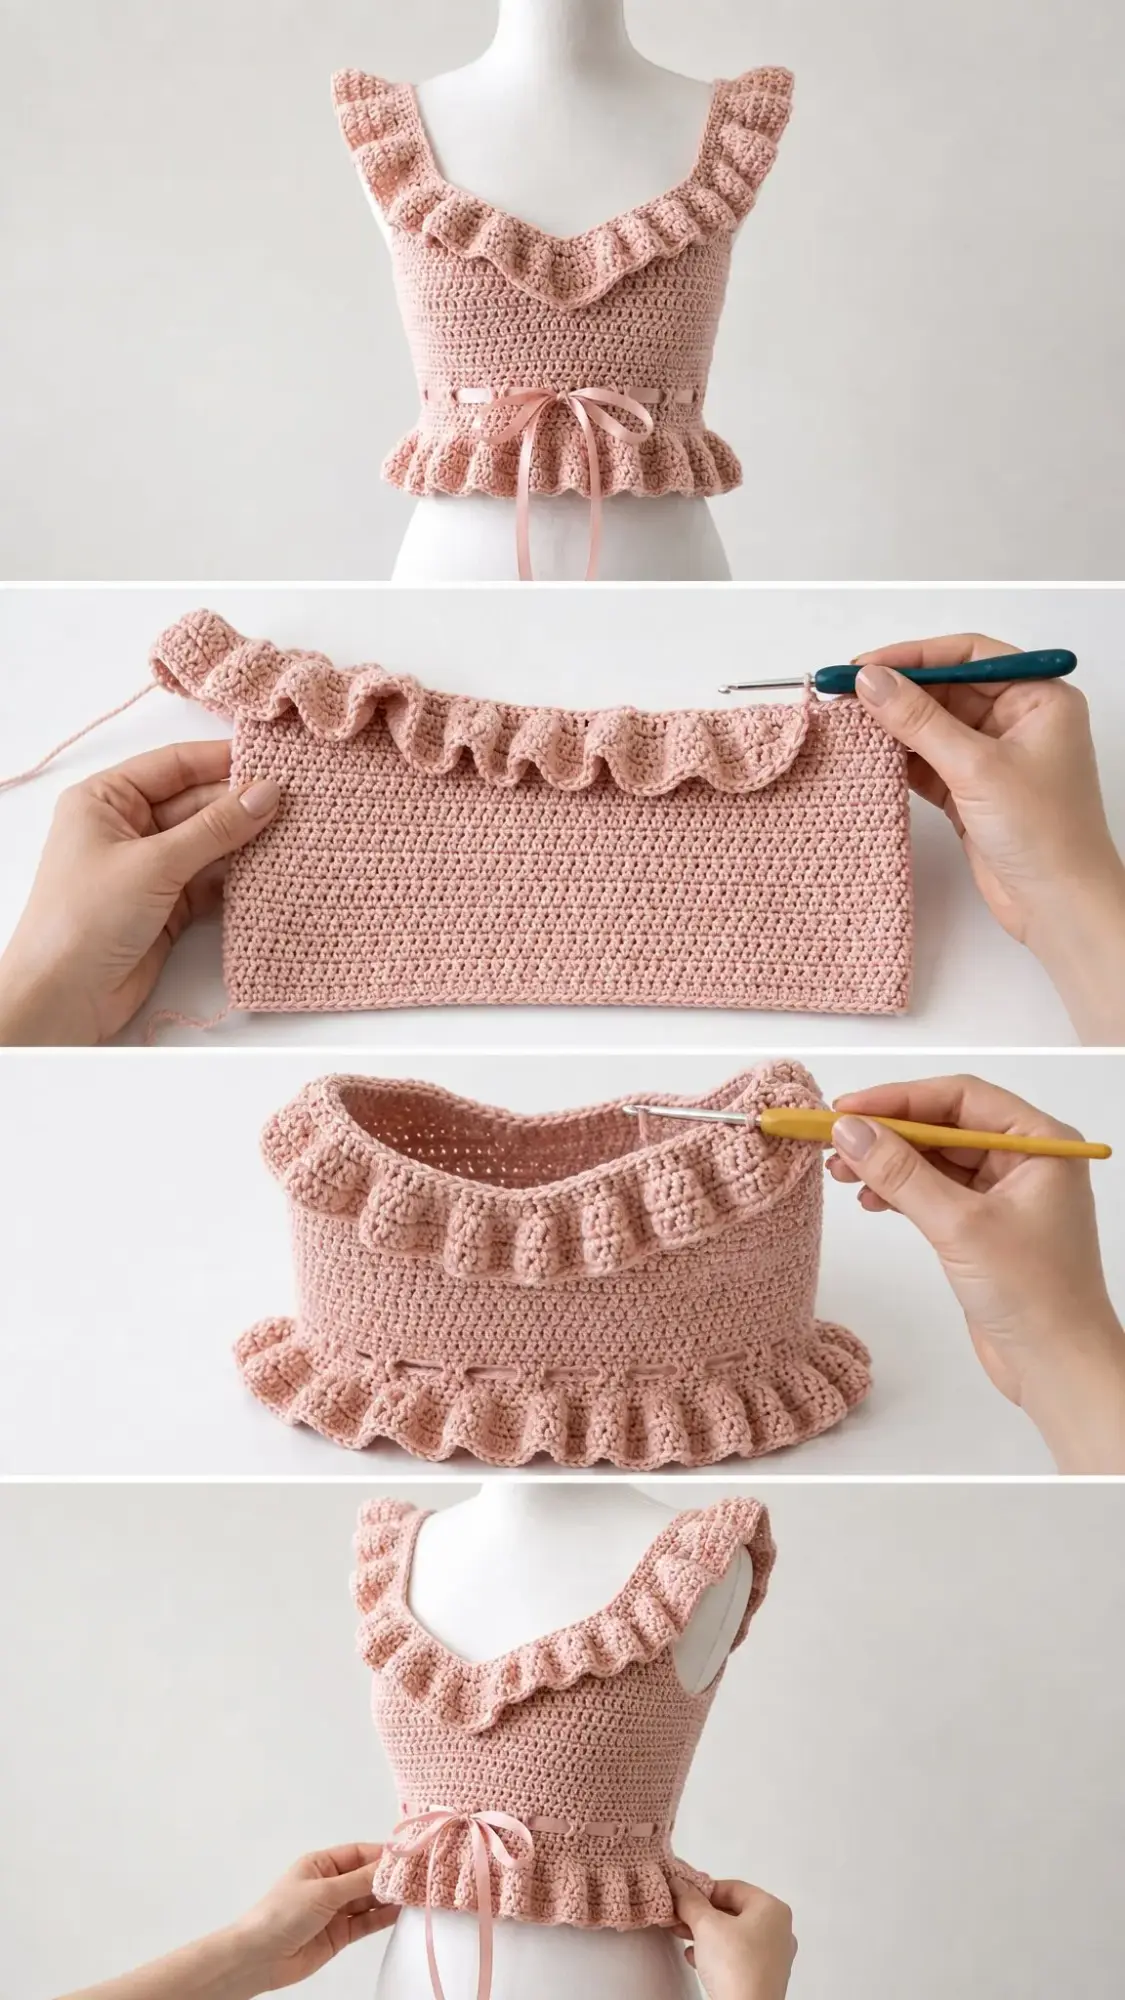
The construction is logical and manageable. You will crochet a front panel and a back panel separately, then join them at the side seams. After seaming, you will work the bottom flounce in joined rounds so it flows continuously around the hem. The straps are made separately, attached, and then trimmed with ruffles. Finally, you will weave a satin ribbon through the eyelet row at the waist.
Time estimate: About 8 to 12 relaxed hours, plus blocking and finishing time. This is a perfect weekend project or something to work on over several evenings.
Finished Measurements
Before you begin, here are the finished dimensions so you can check if this size will work for you:
This pattern is designed for a fitted look with slight negative ease, meaning the finished measurement is slightly smaller than your actual body measurement. The ribbon at the waist allows you to cinch it tighter or leave it looser depending on your preference.
Materials You Will Need
Gather these supplies before you start:
Yarn Suggestions
I recommend choosing a smooth DK cotton or cotton-blend yarn with enough structure to hold the ruffles. Here are some options that work beautifully:
Substitution note: Avoid very stretchy acrylics unless you swatch carefully. This top relies on firm fabric and clean edges to maintain its shape and structure.
Gauge
Getting gauge right is essential for this pattern because the fit depends on it.
18 sc x 20 rows = 4 inches / 10 cm in single crochet after light blocking.
You must swatch and match both stitch gauge and row gauge before starting. All pattern measurements are calculated from this gauge.
Gauge checkpoint: 80 sc should measure about 17.75 inches / 45 cm. 34 rows should measure about 6.8 inches / 17 cm.
If your swatch is too small, try going up a hook size. If it is too large, go down a hook size. Taking a few extra minutes to get gauge right will save you frustration later.
Abbreviations and Stitch Guide
This pattern uses US crochet terms. If you typically work from UK patterns, remember that US sc equals UK dc, and US dc equals UK tr.
Special Stitches
sc2tog (single crochet two together): This is how you decrease. Insert hook in next stitch, yarn over and pull up a loop. Insert hook in following stitch, yarn over and pull up a loop. Yarn over and pull through all 3 loops on hook. One stitch decreased.
Eyelet repeat: Work sc in 3 stitches, chain 2, skip 2 stitches, sc in 3 stitches. Each repeat uses 8 stitches and maintains an 8-stitch count when the ch-2 is counted as part of the row. These eyelets create the holes for your ribbon.
Ruffle increase: Work 2 dc in each stitch for the bottom flounce, or 3 dc in each picked-up edge stitch for the neckline and strap ruffles. This is what creates that beautiful wavy ruffle effect.
Left-handed note: Work the same instructions from left to right. For the front neckline, mirror the shaping so the decrease always sits at the inner V edge.
Pattern Notes Before You Begin
Read through these notes before starting. They will help everything make sense as you work.
Construction Order
Here is the sequence you will follow:
1. Crochet front panel with eyelets and V shaping
2. Crochet back panel with matching eyelets
3. Block panels, seam sides, and work bottom flounce
4. Crochet straps, attach them, and add ruffle trim
5. Weave ribbon, finish ends, and steam/block lightly
Front Panel Instructions
Chain 81.
Row 1 (RS): Sc in 2nd ch from hook and in each ch across. Turn. (80 sc)
Rows 2 through 8: Ch 1, sc in each st across. Turn. (80 sc)
Row 9, ribbon eyelets: Ch 1, sc in next 3 sts, ch 2, sk 2 sts, sc in next 3 sts; repeat from 10 times. Turn. (80 sts, counting each ch-2 as 2 sts)
Row 10: Ch 1, sc in next 3 sc, 2 sc in ch-2 sp, sc in next 3 sc; repeat from 10 times. Turn. (80 sc)
Rows 11 through 24: Ch 1, sc in each st across. Turn. (80 sc)
Shape Front V, Left Side
Place a marker after stitch 40. Work the first 40 stitches only and leave the remaining 40 stitches unworked for the right side.
Row 25: Ch 1, sc in next 38 sts, sc2tog over last 2 sts at center neck. Turn. (39 sc)
Row 26: Ch 1, sc in next 37 sts, sc2tog over last 2 sts at center neck. Turn. (38 sc)
Row 27: Ch 1, sc in next 36 sts, sc2tog over last 2 sts at center neck. Turn. (37 sc)
Row 28: Ch 1, sc in next 35 sts, sc2tog over last 2 sts at center neck. Turn. (36 sc)
Row 29: Ch 1, sc in next 34 sts, sc2tog over last 2 sts at center neck. Turn. (35 sc)
Row 30: Ch 1, sc in next 33 sts, sc2tog over last 2 sts at center neck. Turn. (34 sc)
Row 31: Ch 1, sc in next 32 sts, sc2tog over last 2 sts at center neck. Turn. (33 sc)
Row 32: Ch 1, sc in next 31 sts, sc2tog over last 2 sts at center neck. Turn. (32 sc)
Row 33: Ch 1, sc in next 30 sts, sc2tog over last 2 sts at center neck. Turn. (31 sc)
Row 34: Ch 1, sc in next 29 sts, sc2tog over last 2 sts at center neck. Turn. (30 sc)
Shape Front V, Right Side
With RS facing, join yarn at center neck edge of the remaining 40 stitches.
Row 25: Ch 1, sc2tog over first 2 sts at center neck, sc in next 38 sts. Turn. (39 sc)
Row 26: Ch 1, sc2tog over first 2 sts at center neck, sc in next 37 sts. Turn. (38 sc)
Row 27: Ch 1, sc2tog over first 2 sts at center neck, sc in next 36 sts. Turn. (37 sc)
Row 28: Ch 1, sc2tog over first 2 sts at center neck, sc in next 35 sts. Turn. (36 sc)
Row 29: Ch 1, sc2tog over first 2 sts at center neck, sc in next 34 sts. Turn. (35 sc)
Row 30: Ch 1, sc2tog over first 2 sts at center neck, sc in next 33 sts. Turn. (34 sc)
Row 31: Ch 1, sc2tog over first 2 sts at center neck, sc in next 32 sts. Turn. (33 sc)
Row 32: Ch 1, sc2tog over first 2 sts at center neck, sc in next 31 sts. Turn. (32 sc)
Row 33: Ch 1, sc2tog over first 2 sts at center neck, sc in next 30 sts. Turn. (31 sc)
Row 34: Ch 1, sc2tog over first 2 sts at center neck, sc in next 29 sts. Turn. (30 sc)
Back Panel Instructions
Chain 81.
Row 1 (RS): Sc in 2nd ch from hook and in each ch across. Turn. (80 sc)
Rows 2 through 8: Ch 1, sc in each st across. Turn. (80 sc)
Row 9, ribbon eyelets: Ch 1, sc in next 3 sts, ch 2, sk 2 sts, sc in next 3 sts; repeat from 10 times. Turn. (80 sts, counting each ch-2 as 2 sts)
Row 10: Ch 1, sc in next 3 sc, 2 sc in ch-2 sp, sc in next 3 sc; repeat from 10 times. Turn. (80 sc)
Rows 11 through 34: Ch 1, sc in each st across. Turn. (80 sc)
Notice the back panel does not have the V shaping. It stays straight across the top, which creates the softly scooped back look.
Blocking and Seaming
Before seaming, lightly block both panels to the same width. Do not stretch the V neckline.
With RS together, seam side edges from Row 1 to Row 34 using mattress stitch or whip stitch. Whichever method you prefer will work fine.
Important: Align Row 9 eyelets at both side seams so the ribbon can travel smoothly around the waist without catching on the seam.
Checkpoint: Seamed circumference should measure about 35.5 inches / 90 cm. Front V should be centered and symmetrical, with 30 sc remaining on each upper front side.
Bottom Flounce
Join yarn at one side seam along the lower edge. Work in joined rounds.
Round 1: Ch 3 (counts as dc), dc in same st, 2 dc in each remaining lower-edge st around. Join with sl st to top of beginning ch-3. (320 dc)
Round 2: Ch 3 (counts as dc), dc in each st around. Join. (320 dc)
Round 3: Ch 1, sc in each st around. Join and fasten off. (320 sc)
This creates that lovely peplum-style ruffle at the bottom of the top.
Straps, Make 2
Chain 53.
Row 1: Sc in 2nd ch from hook and in each ch across. Turn. (52 sc)
Rows 2 through 8: Ch 1, sc in each st across. Turn. (52 sc)
Fasten off, leaving a long tail for seaming. Each strap should measure about 11.5 x 1.6 inches / 29 x 4 cm.
Attaching the Straps
Ruffle Trim
Strap Ruffles
With RS facing, join yarn along the outer long edge of one strap. Ch 3, work 2 dc in same edge st, then 3 dc in each of the next 51 edge sts. Fasten off. (156 dc)
Repeat for second strap.
Front V Ruffle
With RS facing, pick up 15 sc evenly along right V edge, 1 sc in center V, and 15 sc along left V edge. (31 sc)
Next row: Ch 3, work 2 dc in same st, then 3 dc in each remaining st across. Fasten off. (93 dc)
Placement tip: The front V ruffle should sit like a soft collar. Steam lightly and tack the center point in place if needed.
Finishing and Final Details
Starting at center front, weave ribbon through the Row 9 eyelets around the full waist. Tie into a bow at center front. Trim ribbon ends at an angle and seal with a lighter or fray check if your ribbon frays.
Weave in all yarn ends on the wrong side. Steam block the ruffles with your fingers, encouraging waves rather than flattening them completely. You want that dimensional, romantic look.
Size Customization Tips
Width: Add or subtract multiples of 8 stitches per panel to preserve the eyelet repeat. Each 8-stitch change equals about 1.75 inches / 4.5 cm per panel, or 3.5 inches / 9 cm around the bust.
Length: Add or remove plain sc rows before the V shaping. Every 5 rows changes height by about 1 inch / 2.5 cm.
Straps: Add or subtract chains before crocheting the strap. Every 5 chains changes strap length by about 1 inch / 2.5 cm.
Ruffles: For softer ruffles, work 2 dc in each picked-up stitch. For fuller ruffles, keep 3 dc in each stitch.
Troubleshooting Common Issues
Top feels too loose: Shorten the ribbon, tighten side seams slightly, or remake panels with 8 fewer stitches each.
V neckline curls: Pick up fewer edge stitches or block the neckline flat before adding the ruffle.
Ruffle is too wavy: Use 2 dc per stitch instead of 3 dc, or go down one hook size for the ruffle only.
Straps slip: Move back strap placement slightly inward and tack ruffle edges after trying on.
Care Instructions
Hand wash in cool water with mild soap. Roll in a towel to remove excess water, reshape, and dry flat. Store folded to protect the straps and ribbon. With proper care, this top will last for many seasons.
Maker Checkpoints
Use these measurements to make sure you are on track:
Thank you so much for making this pattern with me. I truly hope you love your finished top as much as I love mine. If you make one, I would be absolutely thrilled to see it. Tag me on Instagram or share a photo in our Facebook group.
If this pattern is calling to you, go ahead and save it to your Pinterest boards so you can find it when you are ready to start. And please drop a comment below if you give it a try. I love hearing how your projects turn out and seeing what color combinations you choose.
Want a Quick & Easy Printable Version?
Get a clean, beautifully formatted PDF of this pattern — easy to follow step by step, ready to print or save on any device. No scrolling, no distractions, just the pattern.
Get the Printable PDF →