
Grab that gorgeous skein of cotton you have been saving for something special. You know the one. This one-shoulder crop top is exactly the kind of project that deserves your favorite yarn. The construction is surprisingly straightforward, with two flat panels worked from the bottom up, shaped with a clean diagonal neckline, and finished with a braided-look border that gives it that boutique polish. It is rated for confident beginners to intermediate crocheters, so if you can maintain stitch counts and work flat rows, you are ready for this.
Get the Ad-Free PDF Pattern
You can find the free pattern below, or you can purchase the ad-free printable PDF from my shop.
Get the Printable PDF →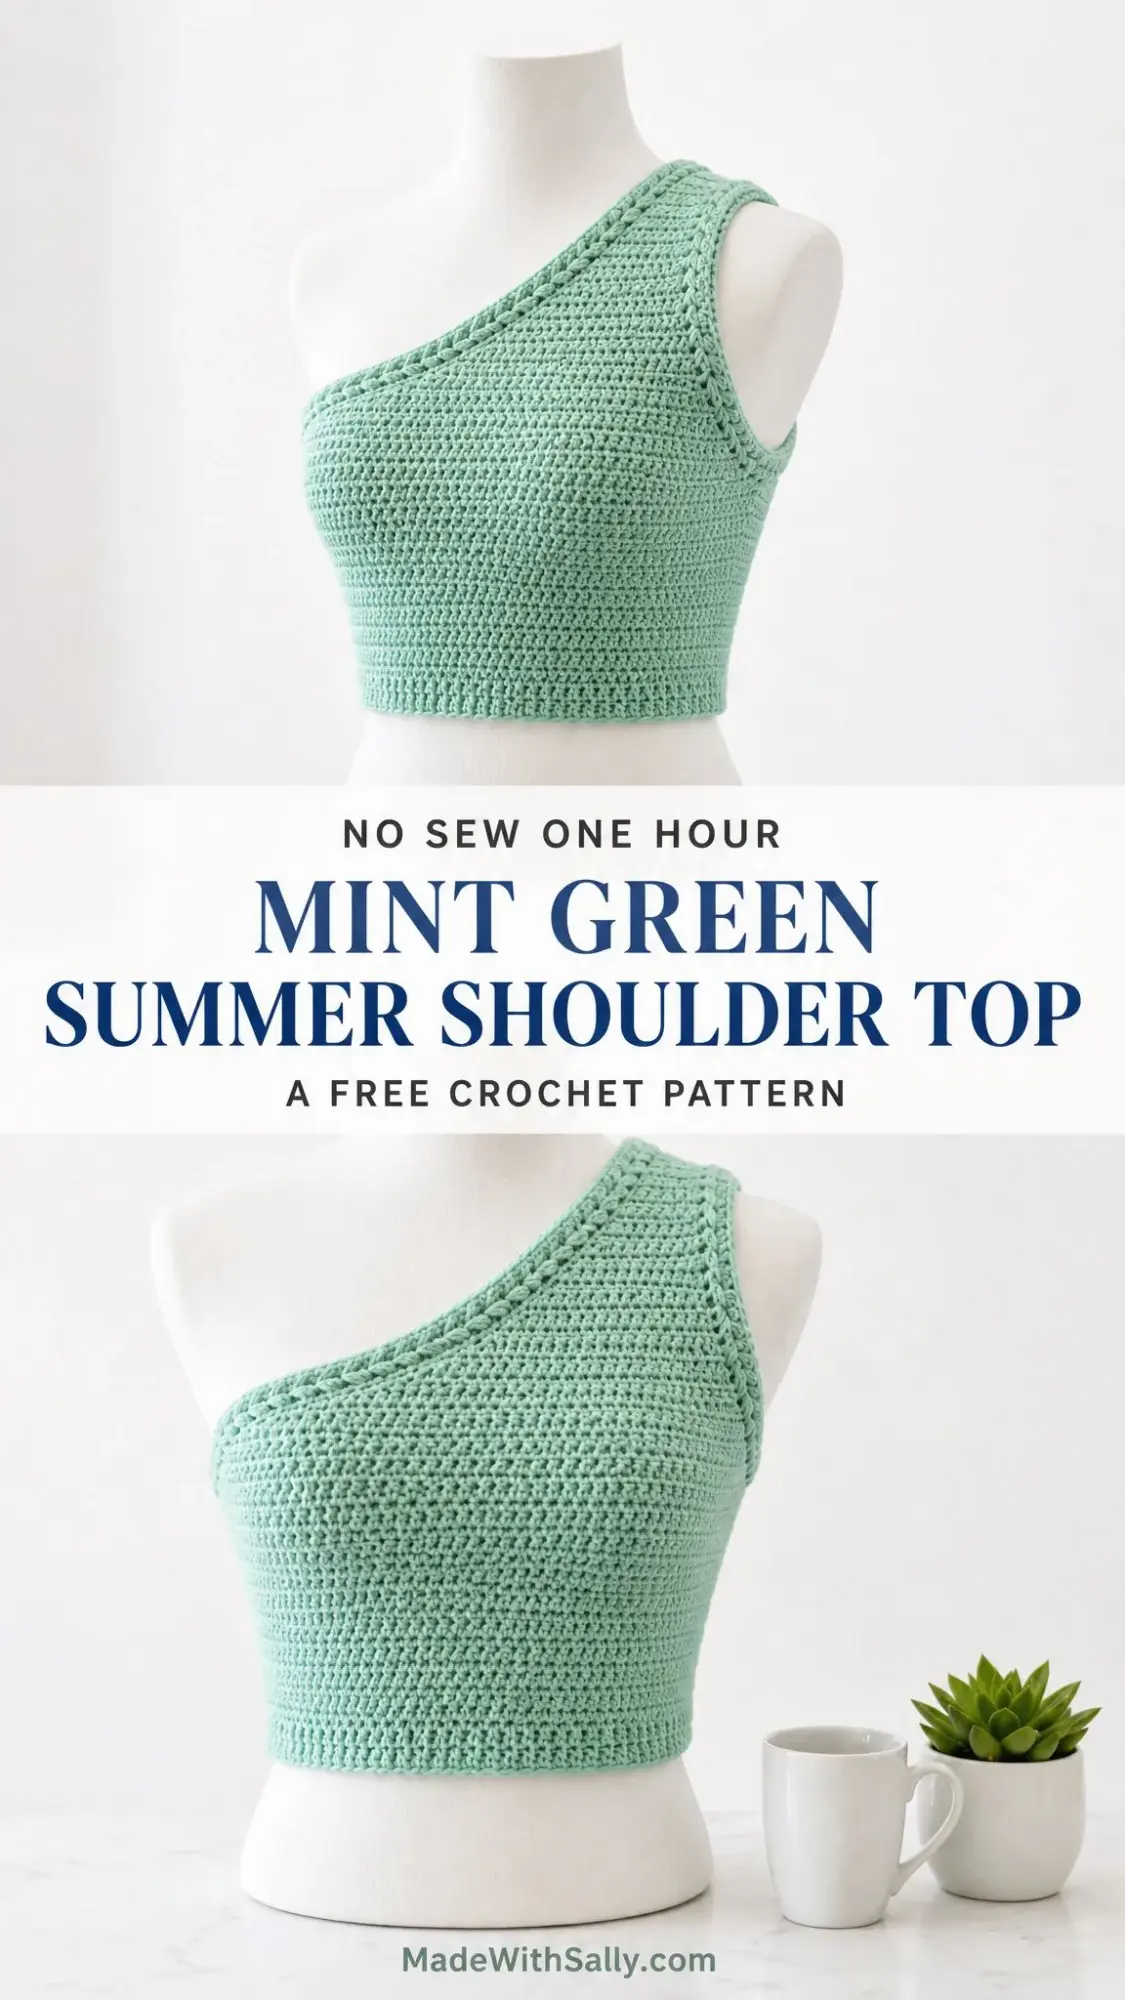
About This Mint Green Summer Shoulder Top Crochet Pattern
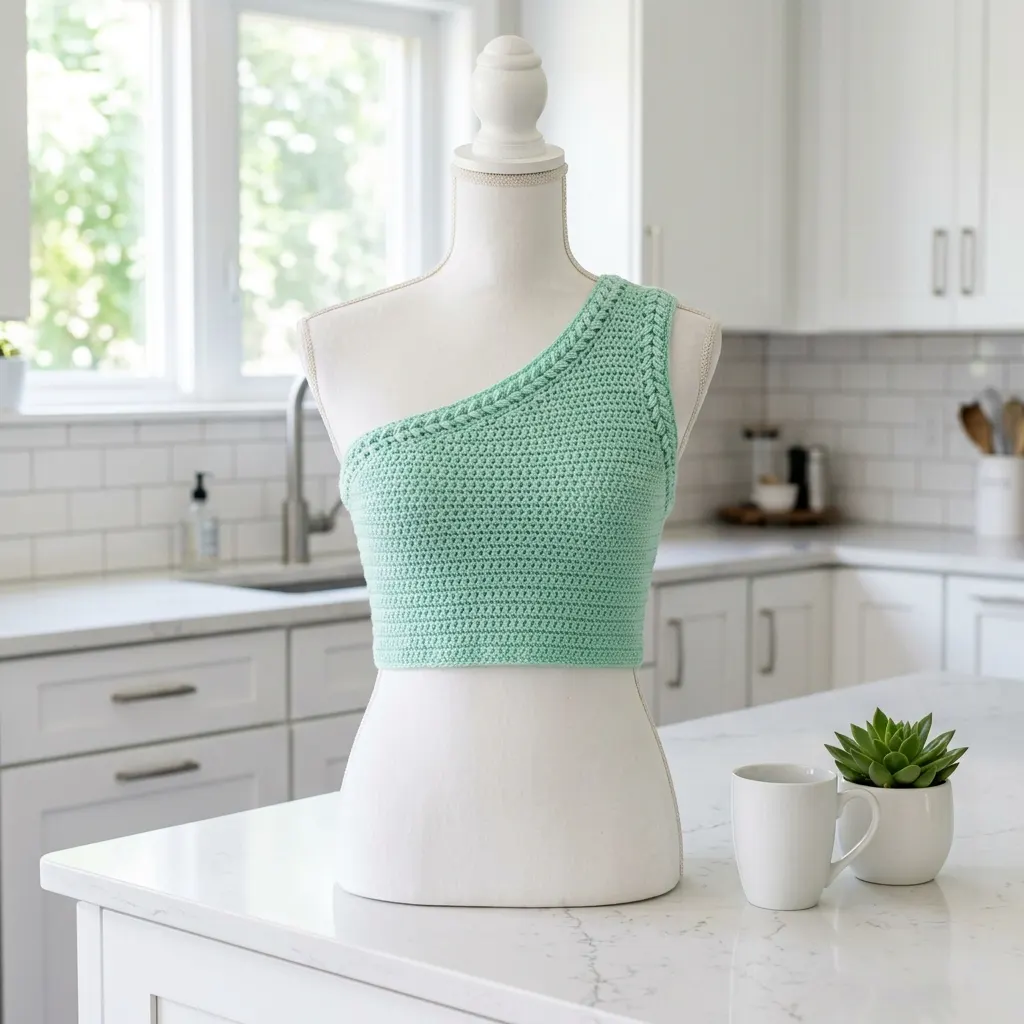
This fitted crop top features a soft lemon-texture stitch pattern that creates a subtle pebbled effect across the entire garment. The asymmetrical design puts all the visual interest in that gorgeous diagonal neckline and single shoulder strap. What makes this crochet pattern special is how the braided-look edging frames everything, turning a simple shape into something that looks far more complicated than it actually is.
The finished piece measures approximately 34 inches around the bust with 12 inches from the lower edge to the high shoulder. It is designed with 0 to 2 inches of negative ease for that close crop-top fit that is perfect for summer layering or wearing on its own.
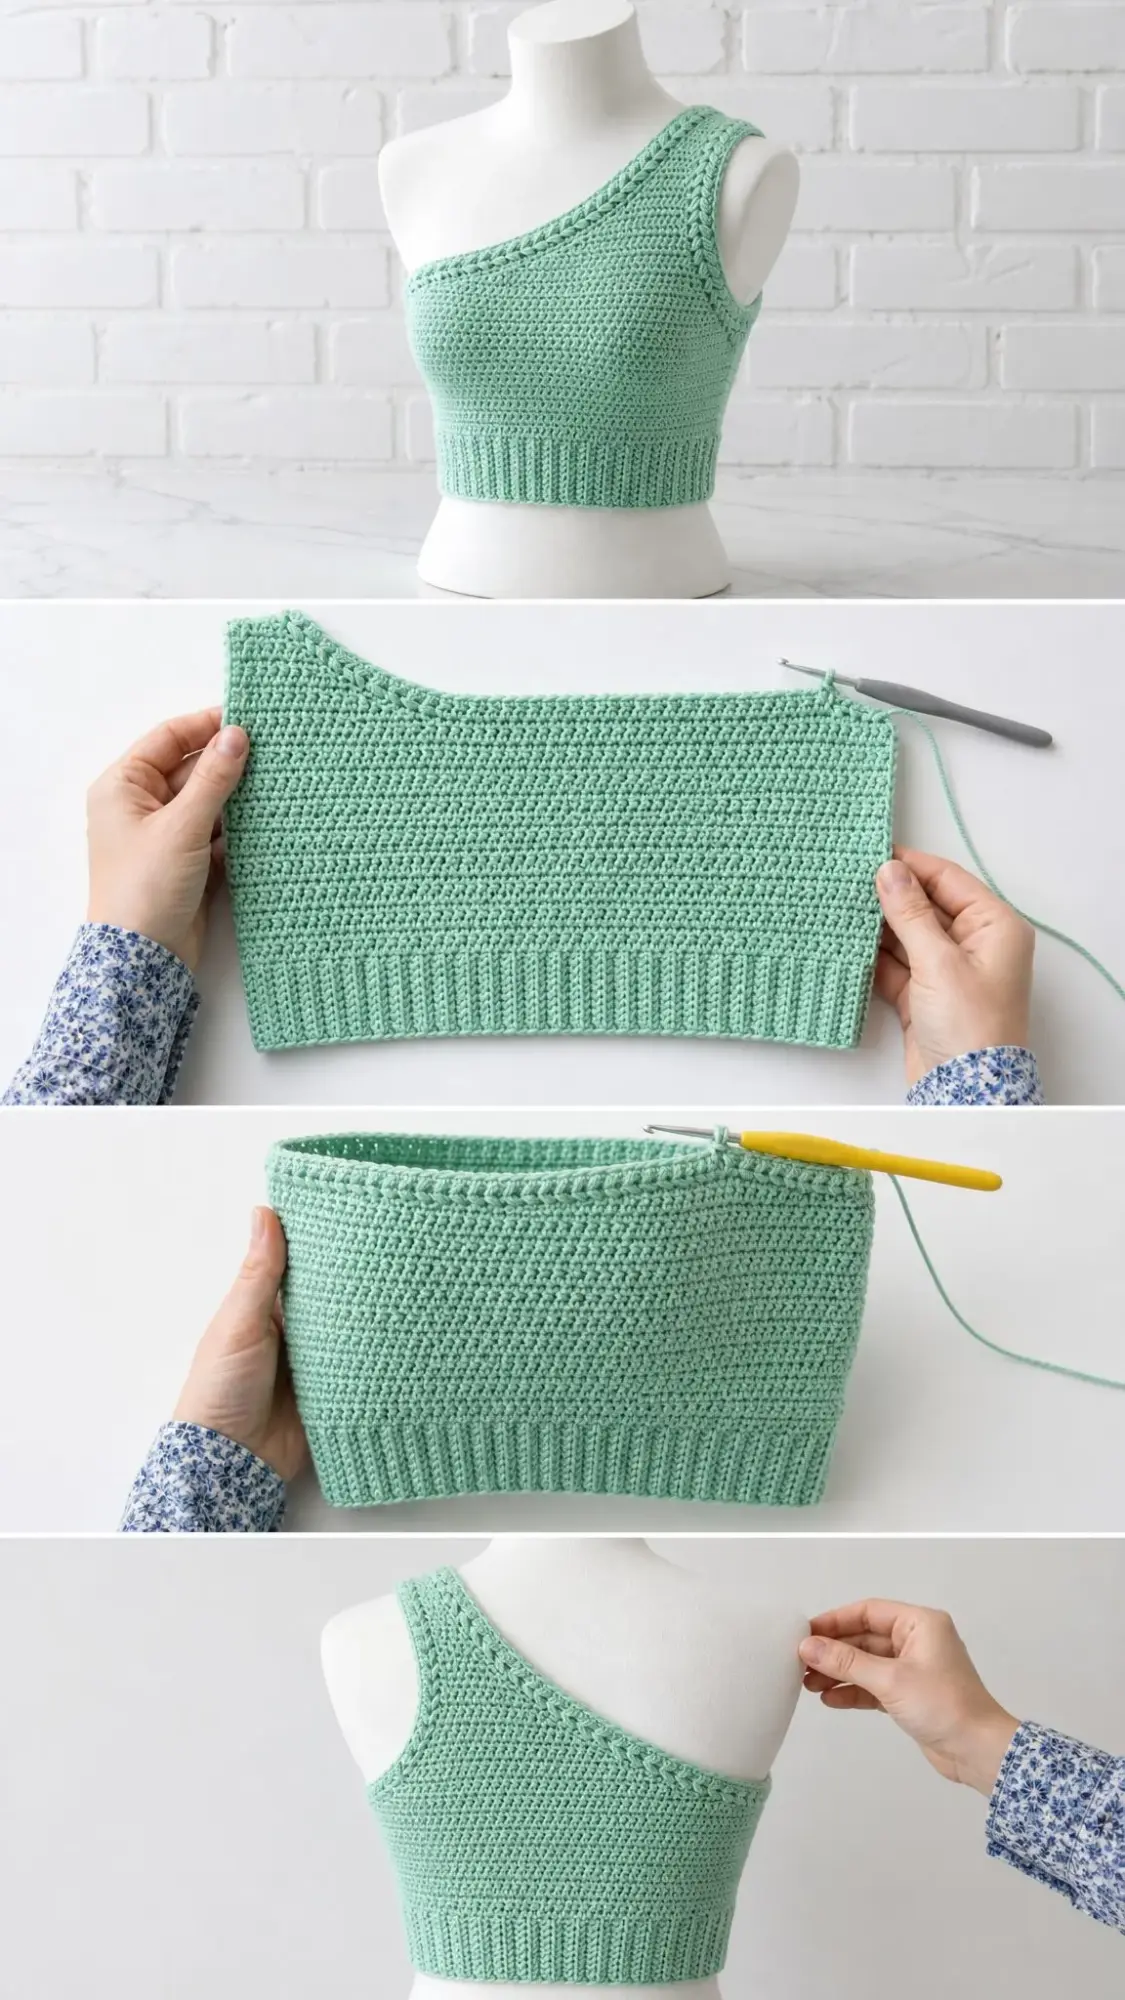
Construction overview: You will crochet two shaped flat panels from the lower edge upward. After seaming the sides and shoulder, you will add the braided border around all the openings. The whole project takes roughly 6 to 9 relaxed hours, making it a satisfying weekend project.
Materials You Will Need
Before you begin this crochet tutorial, gather these supplies:
Yarn: 400 to 520 yards of DK weight cotton or cotton-bamboo yarn in mint green. The pattern works beautifully with smooth, breathable yarns that show stitch definition clearly.
Recommended yarn options:
You can substitute any DK cotton, bamboo-cotton, or cotton-linen yarn. Avoid very stretchy acrylics unless you swatch carefully, as they may not hold the fitted shape as well.
Hook: US G/6 or 4.0 mm crochet hook, or whatever size you need to achieve gauge
Notions: 4 stitch markers, tapestry needle, sharp scissors, measuring tape, and optionally a removable marker for right-side orientation
Gauge
20 stitches x 20 rows = 4 inches (10 cm) in the lemon-texture pattern after light blocking
I cannot stress this enough: gauge is essential for this fitted garment. Make a swatch at least 5 inches square, wash or steam-block it exactly as you plan to treat the finished top, then measure the center 4 inches. Your hook size may need to go up or down to match.
Gauge checkpoint: Each panel should measure about 17 inches wide after the body section. When you seam both panels together, you will get the 34-inch finished bust measurement.
Stitch Abbreviations and Definitions
This pattern uses US crochet terms. If you are working from UK terms, note that US single crochet (sc) equals UK double crochet (dc), and US double crochet (dc) equals UK treble crochet (tr).
ch = chain. The foundation loops you create at the start
sc = single crochet. Insert hook, yarn over and pull up a loop (2 loops on hook), yarn over and pull through both loops
dc = double crochet. Yarn over, insert hook, yarn over and pull up a loop (3 loops on hook), yarn over and pull through 2 loops, yarn over and pull through remaining 2 loops
hdc = half double crochet. Yarn over, insert hook, yarn over and pull up a loop (3 loops on hook), yarn over and pull through all 3 loops at once
sl st = slip stitch. Insert hook, yarn over, pull through both the stitch and the loop on your hook in one motion
st/sts = stitch or stitches
RS/WS = right side or wrong side
rep = repeat
Understanding the Lemon-Texture Row
This is the main stitch pattern that creates the beautiful pebbled texture across your top. Here is how it works:
Work a single crochet (sc) in each double crochet (dc) from the previous row, and work a double crochet (dc) in each single crochet (sc) from the previous row.
Basically, you are alternating the stitch heights in a checkerboard pattern. Where there was a tall stitch, you make a short one. Where there was a short stitch, you make a tall one. This creates the lovely textured surface.
Understanding Edge Shaping
To shape the diagonal neckline, you will remove stitches at one edge. There are two ways this happens:
1. At the start of a row: Slip stitch across the first 4 stitches before beginning your pattern stitches
2. At the end of a row: Simply stop working 4 stitches before you reach the end
The active stitch count listed in the pattern is the number of texture stitches you actually work after shaping, not including any slip stitches.
Understanding the Braided-Look Edging
This two-round border creates that gorgeous crossed, rope-like edge you see in the photos:
Round 1: Single crochet evenly around the opening
Round 2: Skip the next stitch, half double crochet in the following stitch, then working in front of that half double crochet you just made, work another half double crochet in the skipped stitch. Repeat this all the way around. If one stitch remains at the end, just work a half double crochet in it.
The crossing motion is what creates the braided appearance. It looks impressive but becomes rhythmic once you get going.
Pattern Notes Before You Begin
Left-handed crocheters: You may follow these same written directions. Your diagonal will mirror naturally as you work. Just place a marker on the shoulder side named in the instructions so your front and back pieces still meet correctly when you assemble them.
Front Panel Instructions
Ch 86.
Row 1: Sc in 2nd ch from hook, dc in next ch, sc in next ch; rep from across. Turn. (85 sts)
Rows 2 through 36: Ch 1, work lemon texture across. Turn. (85 sts)
Fit checkpoint: After Row 36, your panel should measure about 17 inches wide and 7.25 inches tall.
Now you will begin shaping the diagonal neckline. The decreases alternate between the start and end of rows.
Row 37: Neckline edge at start. Sl st across first 4 sts, ch 1, work lemon texture across. (81 sts)
Row 38: Work lemon texture across, stopping 4 sts before the end of the row. (77 sts)
Row 39: Neckline edge at start. Sl st across first 4 sts, ch 1, work lemon texture across. (73 sts)
Row 40: Work lemon texture across, stopping 4 sts before the end of the row. (69 sts)
Row 41: Neckline edge at start. Sl st across first 4 sts, ch 1, work lemon texture across. (65 sts)
Row 42: Work lemon texture across, stopping 4 sts before the end of the row. (61 sts)
Row 43: Neckline edge at start. Sl st across first 4 sts, ch 1, work lemon texture across. (57 sts)
Row 44: Work lemon texture across, stopping 4 sts before the end of the row. (53 sts)
Row 45: Neckline edge at start. Sl st across first 4 sts, ch 1, work lemon texture across. (49 sts)
Row 46: Work lemon texture across, stopping 4 sts before the end of the row. (45 sts)
Row 47: Neckline edge at start. Sl st across first 4 sts, ch 1, work lemon texture across. (41 sts)
Row 48: Work lemon texture across, stopping 4 sts before the end of the row. (37 sts)
Row 49: Neckline edge at start. Sl st across first 4 sts, ch 1, work lemon texture across. (33 sts)
Row 50: Work lemon texture across, stopping 4 sts before the end of the row. (29 sts)
Row 51: Neckline edge at start. Sl st across first 4 sts, ch 1, work lemon texture across. (25 sts)
Row 52: Work lemon texture across, stopping 4 sts before the end of the row. (21 sts)
Row 53: Neckline edge at start. Sl st across first 4 sts, ch 1, work lemon texture across. (17 sts)
Rows 54 through 56: Ch 1, work lemon texture evenly across the shoulder strap. (17 sts)
Fasten off and weave in your end. Your front panel is complete.
Second fit checkpoint: After Row 56, the shaped side should rise about 4 inches higher, and the shoulder strap area should be approximately 3.25 inches wide.
Back Panel Instructions
Work the back panel to match the front panel, but mirror the shaping so the strap sits on the same shoulder when worn. This means you will work your decreases on the opposite edge compared to the front.
Ch 86.
Row 1: Sc in 2nd ch from hook, dc in next ch, sc in next ch; rep from across. Turn. (85 sts)
Rows 2 through 36: Ch 1, work lemon texture across. Turn. (85 sts)
Row 37: Work lemon texture across, stopping 4 sts before the neckline edge. (81 sts)
Row 38: Neckline edge at start. Sl st across first 4 sts, ch 1, work lemon texture across. (77 sts)
Row 39: Work lemon texture across, stopping 4 sts before the neckline edge. (73 sts)
Row 40: Neckline edge at start. Sl st across first 4 sts, ch 1, work lemon texture across. (69 sts)
Row 41: Work lemon texture across, stopping 4 sts before the neckline edge. (65 sts)
Row 42: Neckline edge at start. Sl st across first 4 sts, ch 1, work lemon texture across. (61 sts)
Row 43: Work lemon texture across, stopping 4 sts before the neckline edge. (57 sts)
Row 44: Neckline edge at start. Sl st across first 4 sts, ch 1, work lemon texture across. (53 sts)
Row 45: Work lemon texture across, stopping 4 sts before the neckline edge. (49 sts)
Row 46: Neckline edge at start. Sl st across first 4 sts, ch 1, work lemon texture across. (45 sts)
Row 47: Work lemon texture across, stopping 4 sts before the neckline edge. (41 sts)
Row 48: Neckline edge at start. Sl st across first 4 sts, ch 1, work lemon texture across. (37 sts)
Row 49: Work lemon texture across, stopping 4 sts before the neckline edge. (33 sts)
Row 50: Neckline edge at start. Sl st across first 4 sts, ch 1, work lemon texture across. (29 sts)
Row 51: Work lemon texture across, stopping 4 sts before the neckline edge. (25 sts)
Row 52: Neckline edge at start. Sl st across first 4 sts, ch 1, work lemon texture across. (21 sts)
Row 53: Work lemon texture across, stopping 4 sts before the neckline edge. (17 sts)
Rows 54 through 56: Ch 1, work lemon texture evenly across the shoulder strap. (17 sts)
Fasten off and weave in your end. Your back panel is complete.
Seaming and Finishing Your Summer Shoulder Top
Step 1: Block First
Lightly block both panels to the same measurements before seaming. This is important for a professional finish. Do not stretch the diagonal neckline. Instead, just smooth it gently into shape and let it dry flat.
Step 2: Seam the Sides
With right sides together, seam the side edges from the lower edge up to Row 36 on both sides. Use whipstitch or mattress stitch, whichever you prefer. Leave the shaped upper diagonal edges open.
Step 3: Seam the Shoulder
Join the 17-stitch shoulder strap edges using whipstitch or mattress stitch. Match stitch to stitch for a clean join.
Step 4: Bottom Edging
Join yarn at one side seam. Single crochet in each foundation stitch around the lower edge, then join with a slip stitch. Work 1 more round of single crochet for a clean finished band. (170 sc total)
Step 5: Neckline and Armhole Edging
Work 1 setup round of single crochet around the large diagonal neckline and strap opening. Pick up about 3 single crochets for every 4 row ends along the diagonal, and 1 single crochet in each shoulder stitch. Adjust by 1 to 2 stitches if needed so the edge lies flat.
Then work 1 round of braided-look edging as described in the stitch guide.
Edging checkpoint: The border should sit smooth, not ripple or pull inward. If it ruffles, remove a few setup-round stitches. If it cups or pulls, add a few stitches at the diagonal.
How to Customize the Fit
Width: Add or subtract chains in multiples of 2 per panel to keep an odd stitch count after Row 1. Every 2 stitches changes one panel by about 0.4 inches at gauge.
Length: Add or remove body rows before shaping begins. Five rows change length by about 1 inch.
Strap width: For a wider strap, stop shaping earlier at 21 or 25 stitches. For a slimmer strap, continue reducing by 4 stitches per row until 13 stitches remain.
Mirror option: Want to wear the strap on the opposite shoulder? Simply swap the front and back shaping edges.
Troubleshooting Tips
Texture looks uneven: Check that you are working sc into dc and dc into sc on every single row. This alternating pattern is what creates the texture.
Diagonal edge looks stair-stepped: This is completely normal before you add the edging. The setup round of single crochet smooths out that line beautifully.
Top feels loose: Recheck your gauge. Cotton tends to relax with wear, so block gently and seam securely.
Armhole pulls: Add 2 to 4 stitches to the setup round along the curved area before working the braid round.
Care Instructions
Hand wash your finished top in cool water with gentle soap. Press water out by rolling in a towel. Do not wring. Lay flat and reshape to dry. Store folded rather than hanging to protect the shoulder shape over time.
Enjoy Your Handmade Summer Top
Thank you so much for choosing this step by step crochet pattern for your next project. I hope you love wearing this top as much as I loved designing it. There is something incredibly satisfying about creating a garment that looks like it came from a boutique but was made entirely by your own hands.
If you make this mint green summer shoulder top, I would absolutely love to see it. Tag me on Instagram or share a photo in our Facebook group. Seeing your finished projects genuinely makes my day.
If this pattern caught your eye, go ahead and save it to your Pinterest boards so you can find it when you are ready to start. And please drop a comment below if you make one. I love hearing how your projects turn out and seeing the colors you choose.
Want a Quick & Easy Printable Version?
Get a clean, beautifully formatted PDF of this pattern — easy to follow step by step, ready to print or save on any device. No scrolling, no distractions, just the pattern.
Get the Printable PDF →