
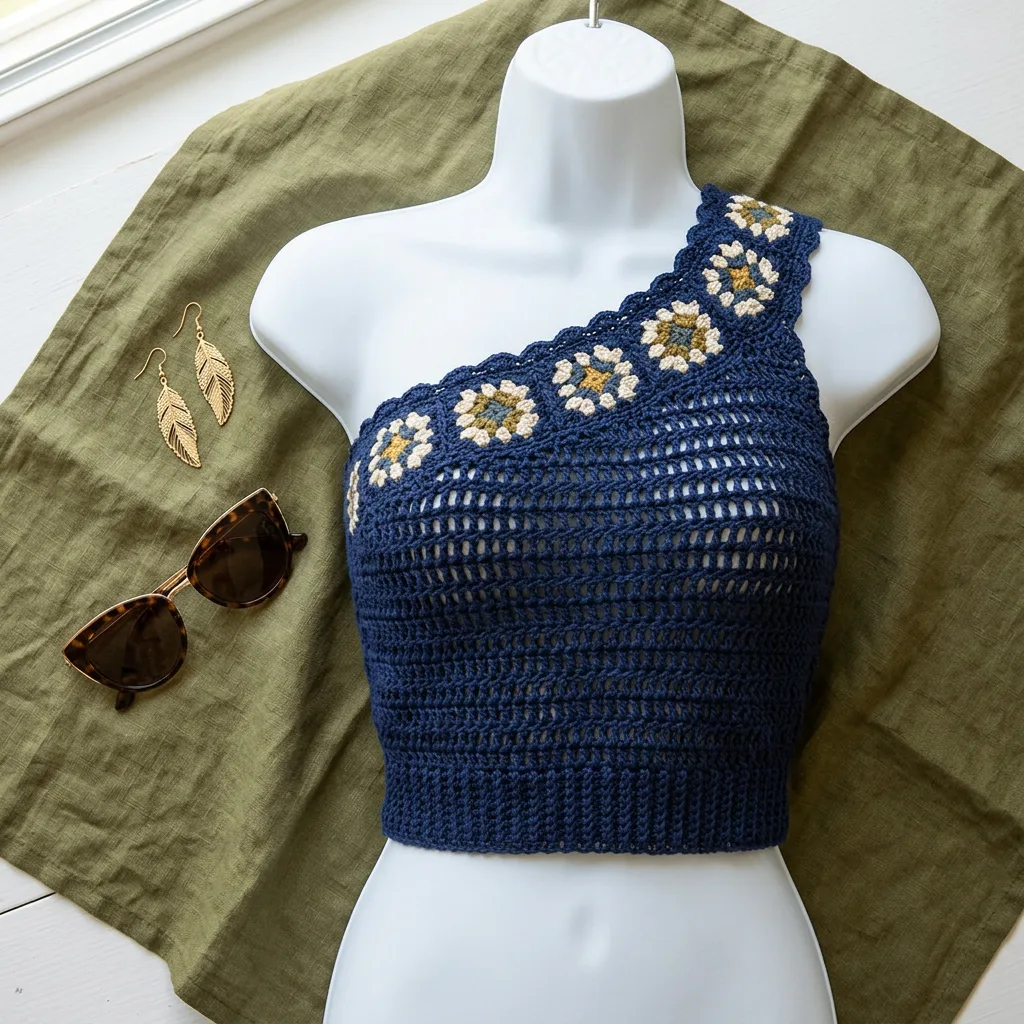
I’ve been on the lookout for the perfect summer crochet top pattern, and this one immediately caught my eye. The diagonal floral strap creates such a stunning boho vibe, and the airy mesh bodice is exactly what you want for warm weather wear. This is my favourite kind of project: interesting enough to keep you engaged, but not so complicated that you want to throw your hook across the room.
Get the Ad-Free PDF Pattern
You can find the free pattern below, or you can purchase the ad-free printable PDF from my shop.
Get the Printable PDF →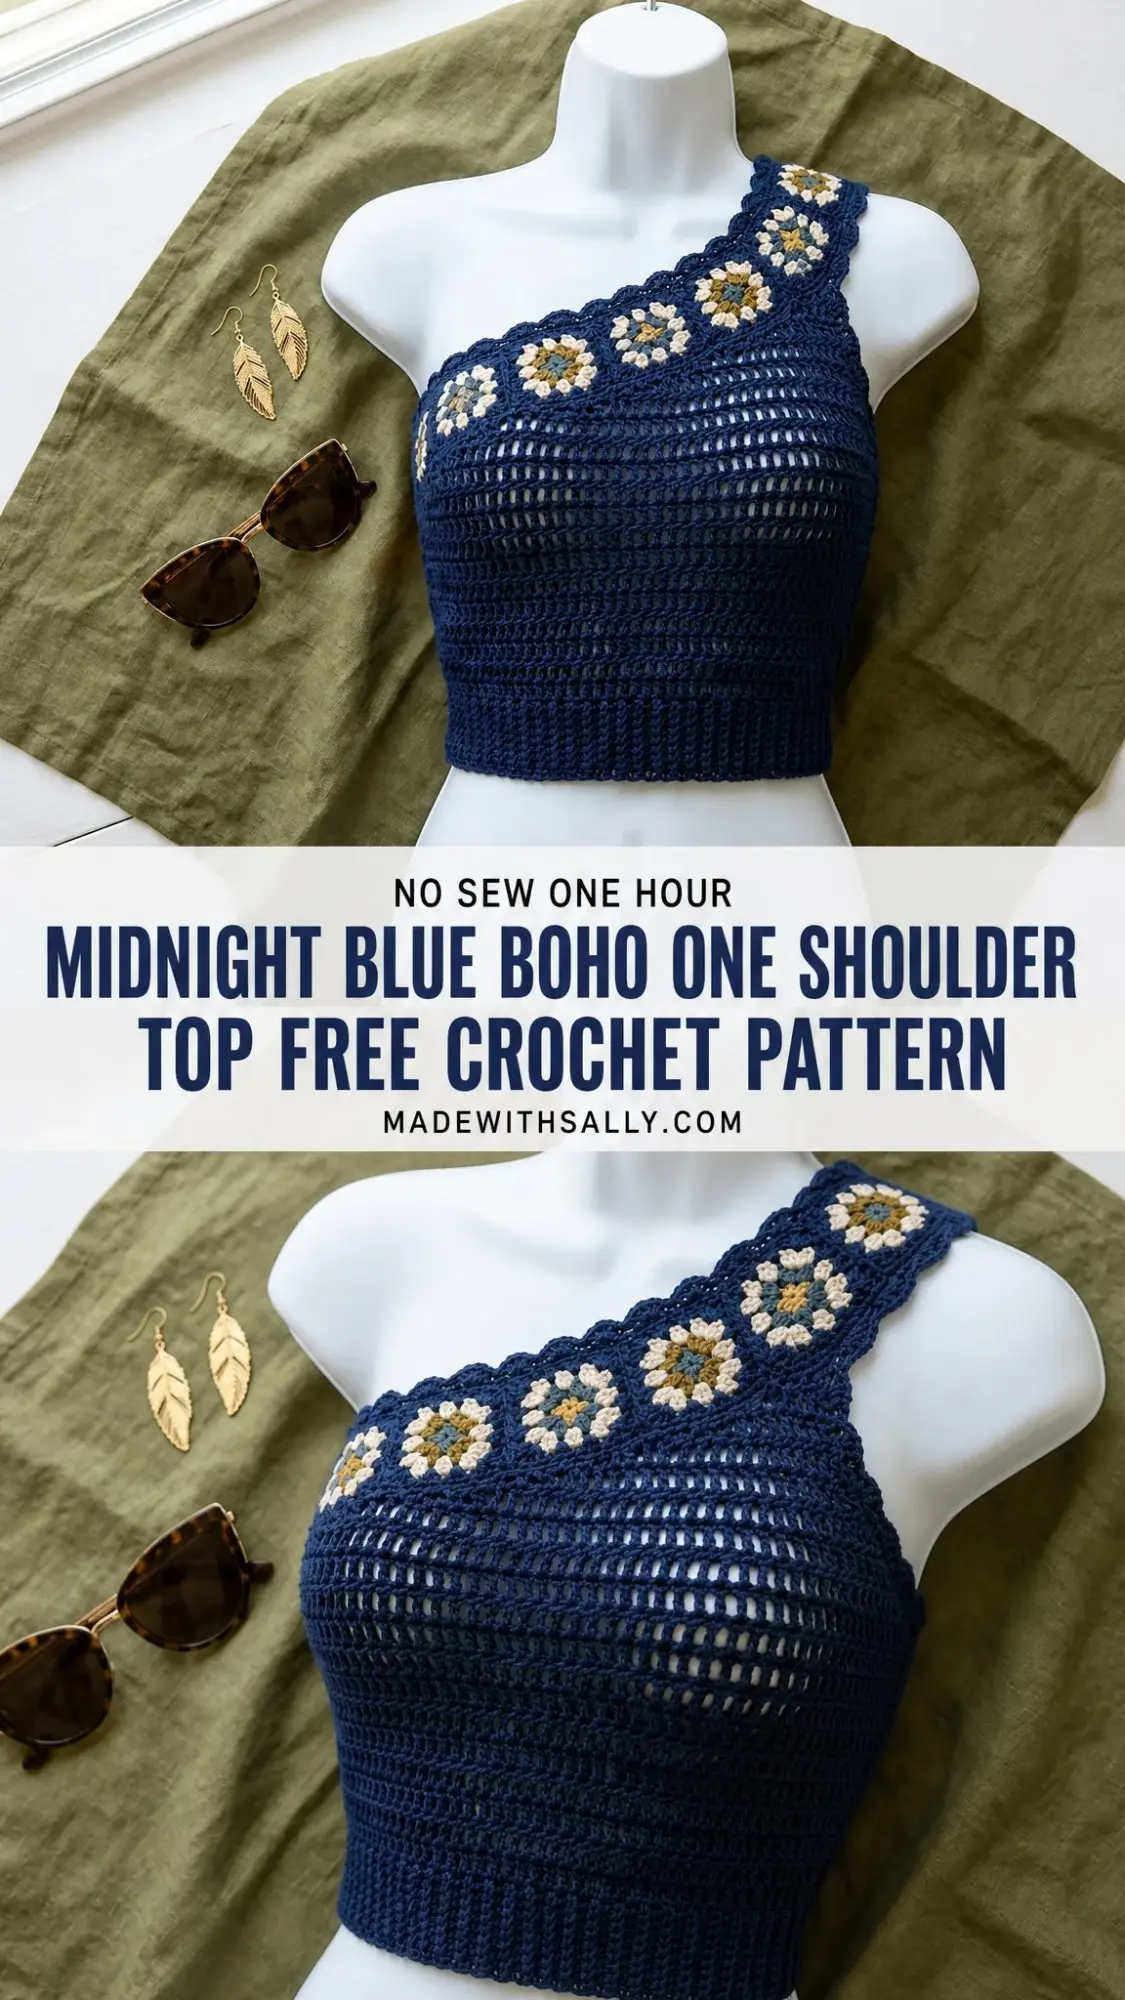
This fitted crop top combines a stretchy ribbed band with open mesh construction and gorgeous granny flower motifs that form the signature one shoulder strap. The navy base with cream, golden ochre, and dusty blue accents gives it a sophisticated look that works just as well at a summer festival as it does for a casual dinner out.
About This Crochet Pattern
The Midnight Blue Boho One Shoulder Top is designed for the adventurous intermediate crocheter. You should be comfortable working ribbing, joined rounds, mesh, color changes, simple granny square motifs, seaming, and fitting a garment with negative ease. If those terms feel familiar to you, you are ready for this project.
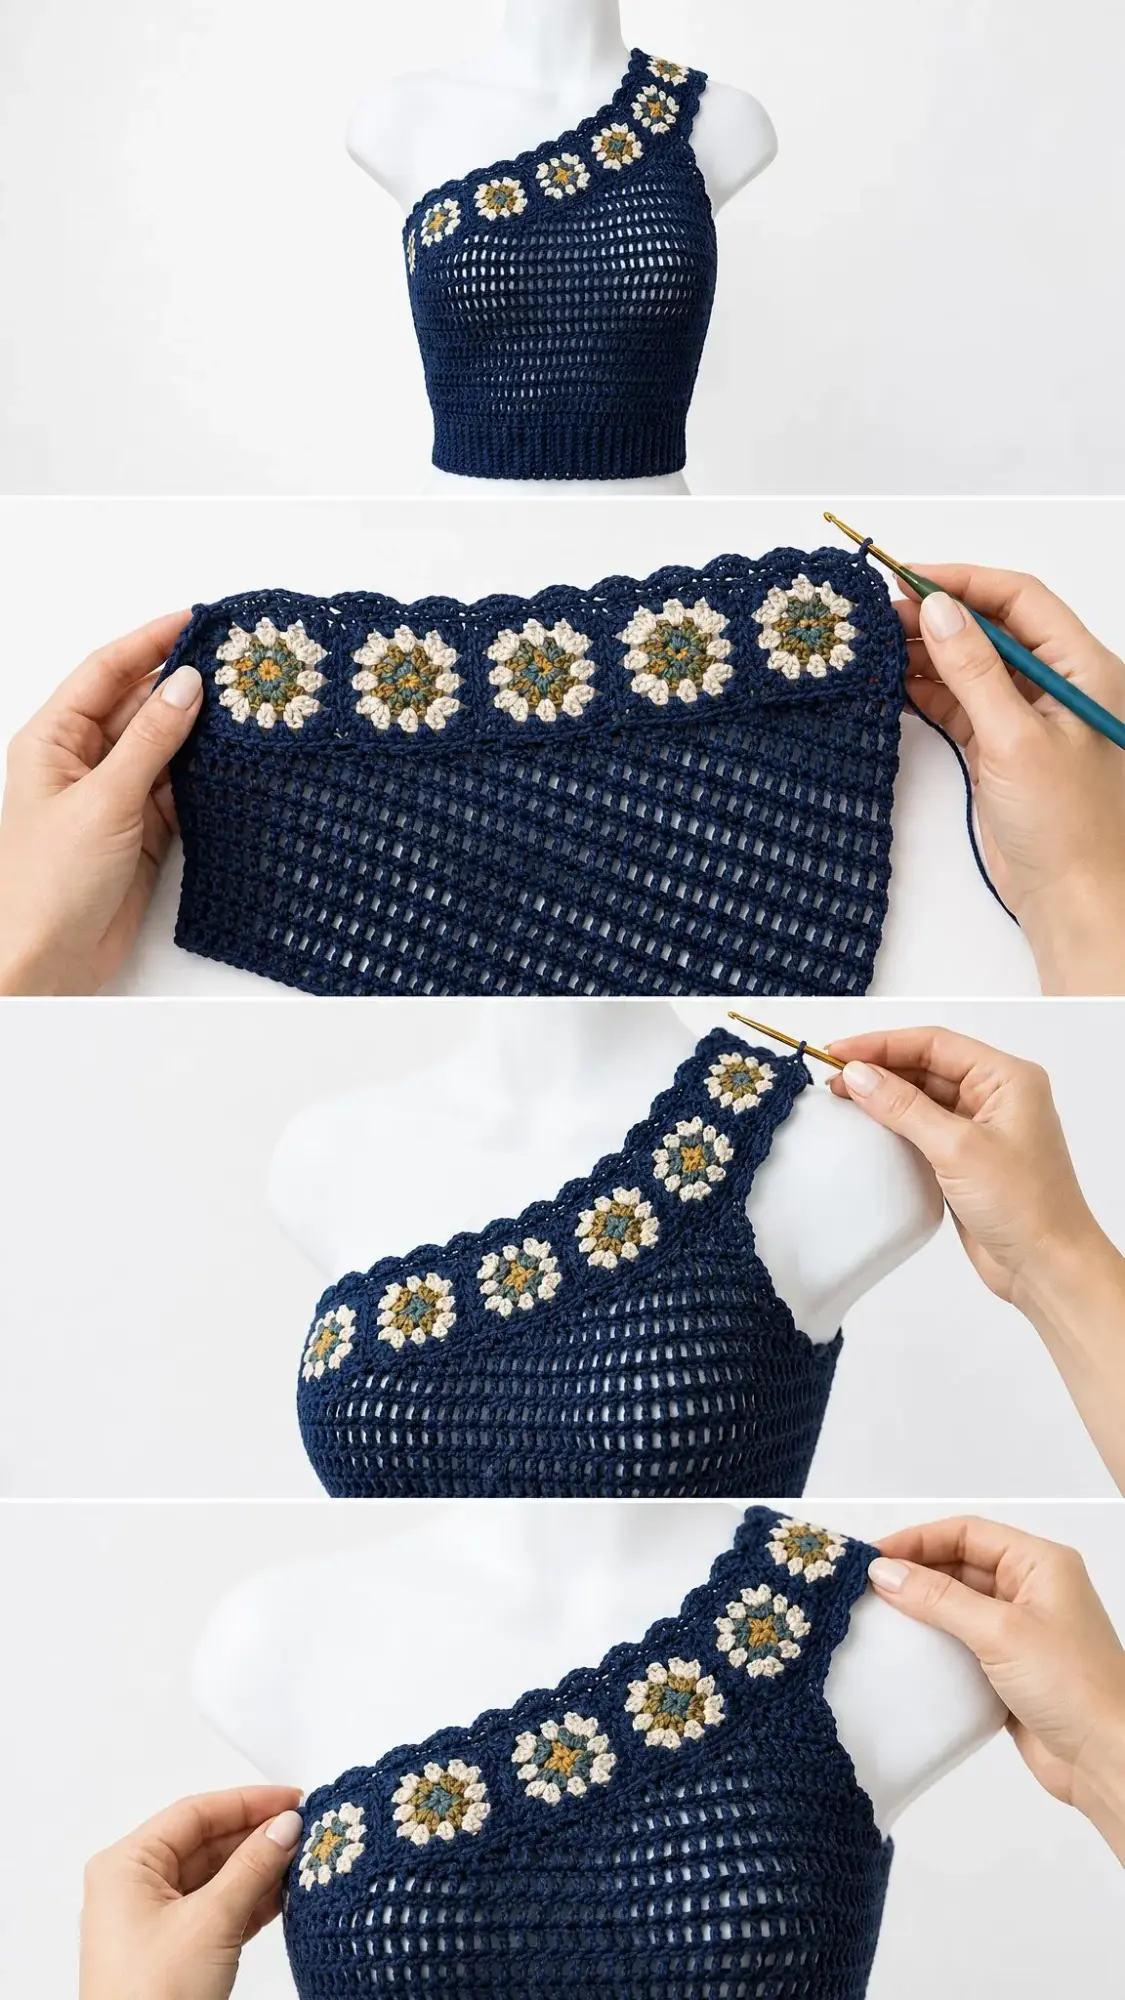
The construction method is straightforward once you understand the flow. You will start with a bottom ribbing section worked flat, then build upward in joined rounds of open mesh to create the bodice. The floral strap is made separately as individual granny squares joined into a strip, then sewn diagonally across the top. This modular approach means you can adjust the fit as you go.
Quick Facts:
Materials You Will Need
Gather these supplies before you begin. Having everything ready makes the process much smoother.
Yarn:
Yarn Suggestions:
Choose a smooth DK cotton or cotton linen blend with bounce. Avoid heavy, slippery yarns unless you are willing to shorten the bodice and strap after blocking.
Hooks:
Notions:
Gauge
Getting gauge right is essential for a fitted garment like this top. Take time to swatch before diving in.
Garment fit depends on both stitch and row gauge, so check both measurements.
Abbreviations (US Terms)
Let me walk you through all the abbreviations used in this pattern. If you are coming from UK crochet terms, note that US single crochet (sc) equals UK double crochet (dc), and US double crochet (dc) equals UK treble (tr).
Special Stitches
These techniques appear throughout the pattern, so familiarize yourself with them before starting.
Back Loop Slip Stitch Ribbing: Insert hook through back loop only, yarn over, pull through the stitch and loop on hook in one motion. Keep loops relaxed so the rib stays elastic. This creates that stretchy, ribbed texture at the bottom band.
Open Mesh Round: Work double crochet (dc) into the next dc or marked stitch, chain 1 (ch 1), skip 1. On the next mesh round, place dc into each dc and ch 1 over each ch 1 space to keep the vertical columns open. This creates the airy, breathable mesh fabric you see in the bodice.
3 dc Cluster for Motif: Work 3 dc into the same indicated space. This is a granny cluster, not a decrease. You are simply grouping three double crochets together in one spot.
Invisible Join: Cut yarn, pull tail through final stitch, thread needle, insert under both loops of first stitch, then back through the last stitch to imitate a stitch. This creates a seamless finish that is nearly invisible.
Pattern Notes
Read through these notes before you begin. They will save you confusion later.
For Left Handed Crocheters: Work the pattern as written. Your fabric will grow in the opposite direction. Place the diagonal strap by trying the top on and pinning the lower end at the front left high bust and the upper end over the opposite shoulder.
Section 1: Ribbed Lower Band
With 4 mm hook and navy, chain 13.
Row 1: Sl st in 2nd ch from hook and each ch across. Turn. (12 sl sts)
Rows 2 through 96: Ch 1, back loop sl st in each st across. Turn. (12 sl sts)
Bring short ends together without twisting. Sl st or mattress stitch through both layers to join into a ring. This seam counts as the back left side marker.
Checkpoint: Band measures 30 inches (76 cm) around relaxed and 2 inches (5 cm) tall.
Section 2: Bodice Set Up and Mesh
Now you will build the mesh bodice on top of your ribbed band. Work in joined rounds.
| Rnd | Instruction | Count |
|---|---|---|
| 1 | Ch 1. Work 144 sc evenly around upper edge of ribbing: 3 sc over every 2 rib rows. Join. | 144 sc |
| 2 | Ch 3, dc in each st around. Join. | 144 dc |
| 3 | Ch 4 (counts as dc, ch 1), sk 1, dc in next st, ch 1, sk 1, dc in next st; rep from around. Join to 3rd ch. | 72 dc + 72 ch 1 sps |
| 4 | Ch 4, dc in next dc, ch 1, dc in next dc; rep from around, keeping ch 1 sps above ch 1 sps. Join. | 72 dc + 72 ch 1 sps |
| 5 | Ch 3, dc in each dc and ch 1 sp around. Join. | 144 dc |
| 6 through 14 | Rep Rnds 3 through 5 three more times. | 144 sts each rnd |
| 15 | Ch 1, sc in each st and ch 1 sp around. Join. | 144 sc |
Section 3: Granny Flower Motifs
Make 10 motifs using the 3.75 mm hook. Weave tails as you go or leave long navy tails for seaming the strip.
| Rnd | Color + Instruction | Count |
|---|---|---|
| 1 | Dusty blue center: MR, ch 3, 11 dc in ring. Pull ring closed; join. | 12 dc |
| 2 | Golden ring: ch 3, 2 dc in same st, 3 dc in each st around; join. | 36 dc |
| 3 | Cream petals: join between any 3 dc groups. Ch 3, 2 dc in same sp, 3 dc in each space between groups around; join. | 12 clusters / 36 dc |
| 4 | Navy square: join in any sp. (3 dc, ch 2, 3 dc) in corner sp, 3 dc in each of next 2 sps; rep from 3 more times; join. | 48 dc + 4 corner ch 2 sps |
| 5 | Navy border: ch 1, sc in each dc, 3 sc in each corner ch 2 sp; join invisibly. | 60 sc |
Block each square to 2.75 inches (7 cm). Join 10 squares into one straight strip by whipstitching one full side of each adjacent pair. Keep all flower centers facing RS.
Strap Checkpoint: Joined strip measures about 27.5 inches (70 cm) long and 2.75 inches (7 cm) wide before final edging.
Section 4: Strap Edging
With navy and 3.75 mm hook, join at one long edge of the strip. Ch 1, sc evenly around the full strip, placing 3 sc in each outside corner and 1 sc in each visible border st. Join invisibly.
Optional Second Edging Round for a Bolder Scallop: Sl st in next st, ch 3, sk 1; rep from around, easing as needed so the strip lies flat.
Section 5: Place and Sew the Strap
This is where the magic happens. Take your time with placement.
Lay bodice with seam at back left side. Mark top edge into quarters: front center after 36 sts, right side after 72 sts, back center after 108 sts.
Pin lower front end of floral strip across the front high bust from approximately st 18 to st 46. Angle strip over the wearer’s right shoulder.
Pin back end from approximately st 82 to st 112 along the back upper edge. The strip should sit diagonally and hold the top snug without pulling the mesh upward.
Try on first! Shorten by removing one motif or lengthen by adding one motif before sewing.
Using navy and a tapestry needle, sew both long edges of the strap to the bodice where they overlap. Leave the shoulder section unsewn.
Fit Checkpoint: After sewing, top edge should feel secure at the upper back and high bust. The front diagonal should cross above the bust apex and the back diagonal should sit high enough to prevent slipping.
Section 6: Upper Edge Finishing
Join navy at back upper edge. Work 1 round of sc evenly around exposed bodice top edge and along sewn strap edges, placing 2 sc in each inside corner where strap meets bodice. Join invisibly.
For extra hold, sew clear elastic inside the upper back edge only, stretching it slightly as you stitch. Do not gather the mesh.
Size Customization
This pattern can be adjusted to fit different body measurements. Here is how to modify each element:
Bust Circumference: Add or subtract rib rows in multiples of 4. Then pick up 3 sc over every 2 rib rows. Final body stitch count must be divisible by 2 for the mesh.
Body Height: Add or remove repeats of Rnds 3 through 5. Each repeat changes height by about 1 inch (2.5 cm).
Strap Length: Add or remove one motif for about 2.75 inch (7 cm) change. Pin and try on before sewing.
Strap Width: Work one extra navy edging round around the motif strip for about 0.25 inch (6 mm) extra width.
Troubleshooting Common Issues
Top Slides Down: Add light elastic to upper back edge. Shorten strap by one motif or sew it higher on the back.
Mesh Grows After Blocking: Steam lightly instead of wet blocking. Shorten bodice by one 3 round repeat next time.
Ribbing Twists: Before seaming, lay band flat and confirm every rib ridge faces the same direction.
Motifs Ripple: Block squares to equal size before joining. Use a smaller hook for edging if the border flares.
Neckline Sits Too High: Move lower front strap end 4 to 8 sts toward the side before final sewing.
Finishing and Blocking
Weave in all ends on the WS, changing direction at least once for security.
Pin ribbing flat without stretching. Pin strap flowers square and even.
Mist with water or steam from above. Do not press the mesh flat with the iron.
Let dry completely before removing pins.
Care Instructions
Final Measurements Checklist
| Area | Target |
|---|---|
| Lower band | 30 in / 76 cm around; 2 in / 5 cm tall |
| Body above band | About 5.25 in / 13.5 cm tall |
| Strap strip | 27.5 in / 70 cm long; 2.75 in / 7 cm wide |
| Finished top | Approx. 8 in / 20.5 cm at high front edge |
Use the stitch counts and checkpoints as progress markers while you crochet. Small changes in cotton yarn, tension, and blocking can noticeably affect fit.
You Did It!
Thank you so much for choosing this pattern for your next crochet project. I really hope you love making this boho top as much as I loved designing it. The finished piece is such a statement maker, and I know you are going to get compliments every time you wear it.
If you make this top, I would absolutely love to see it! Tag me on Instagram or share a photo in my Facebook group. Seeing your finished projects truly makes my day.
Go ahead and save this pattern to your Pinterest boards so you can find it easily when you are ready to start. And if you have any questions or want to share your progress, drop a comment below. Happy hooking!
Want a Quick & Easy Printable Version?
Get a clean, beautifully formatted PDF of this pattern — easy to follow step by step, ready to print or save on any device. No scrolling, no distractions, just the pattern.
Get the Printable PDF →