
This is hands down one of the MOST impressive crochet projects you can make, and it works up faster than you’d think! We’re talking about a stunning sculptural seashell bralette with gold bead details and a matching high-waist ruffle bottom that looks like it belongs on a runway. You can finish the entire set in about 10 to 14 hours, which means you could have it ready for your next beach trip or mermaid-themed party. Trust me, when people see this, they won’t believe you made it yourself!
Get the Ad-Free PDF Pattern
You can find the free pattern below, or you can purchase the ad-free printable PDF from my shop.
Get the Printable PDF →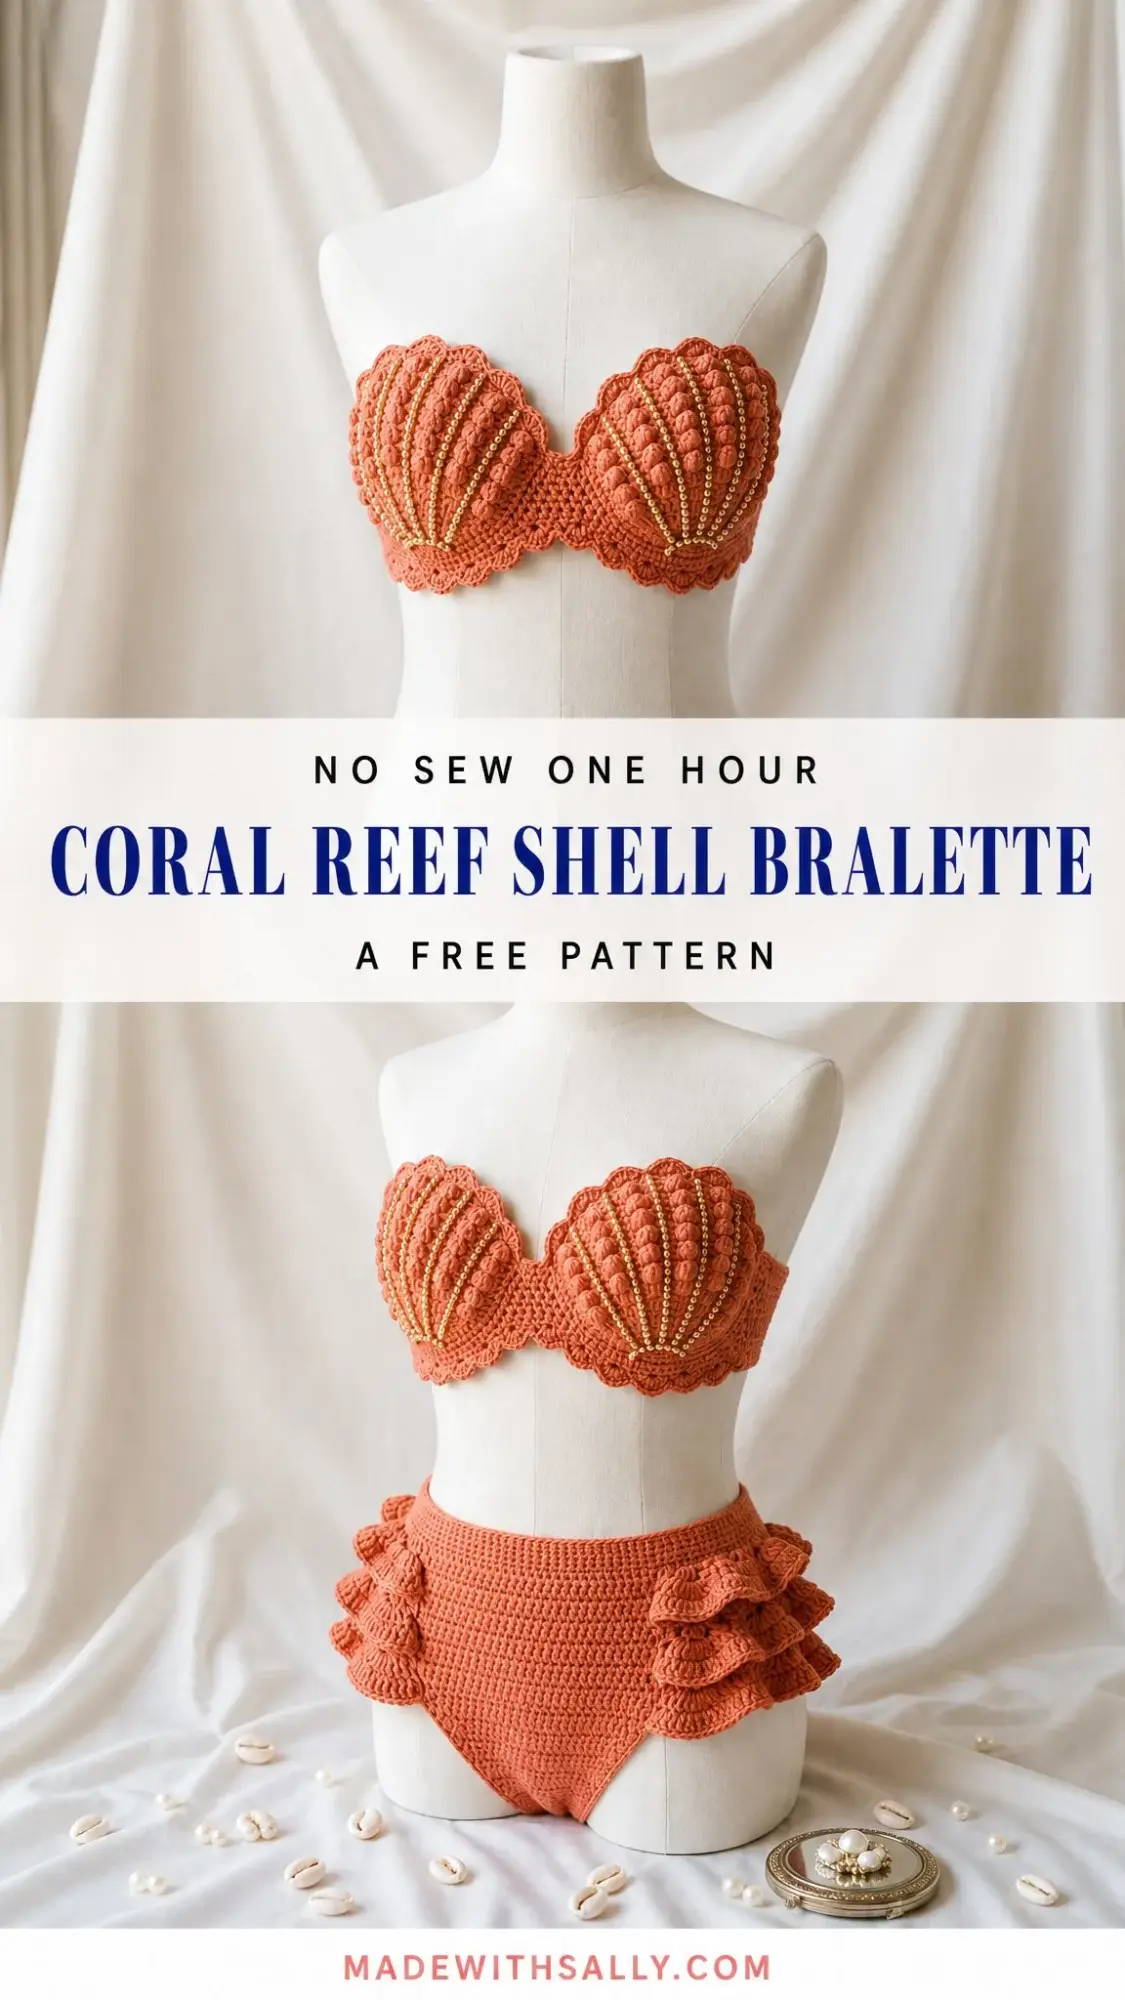
What Makes This Shell Bralette So Special
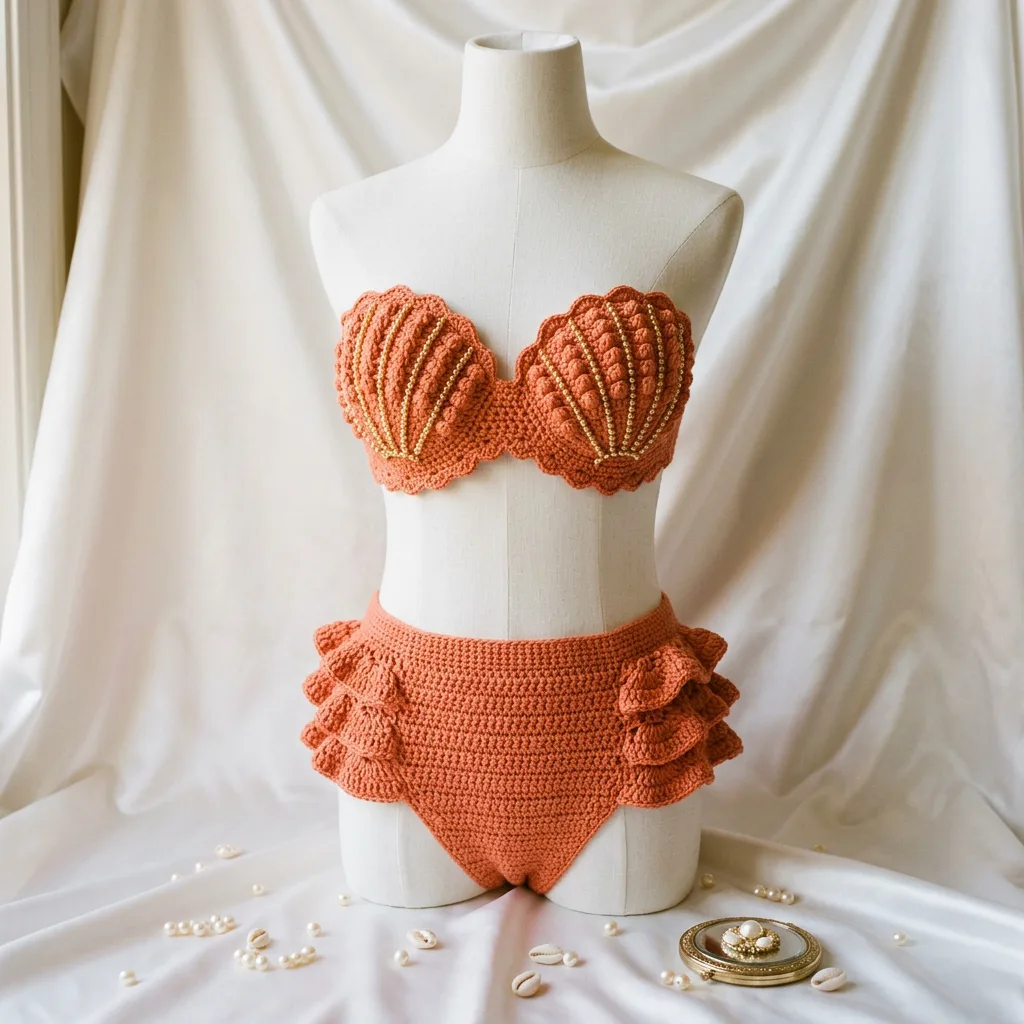
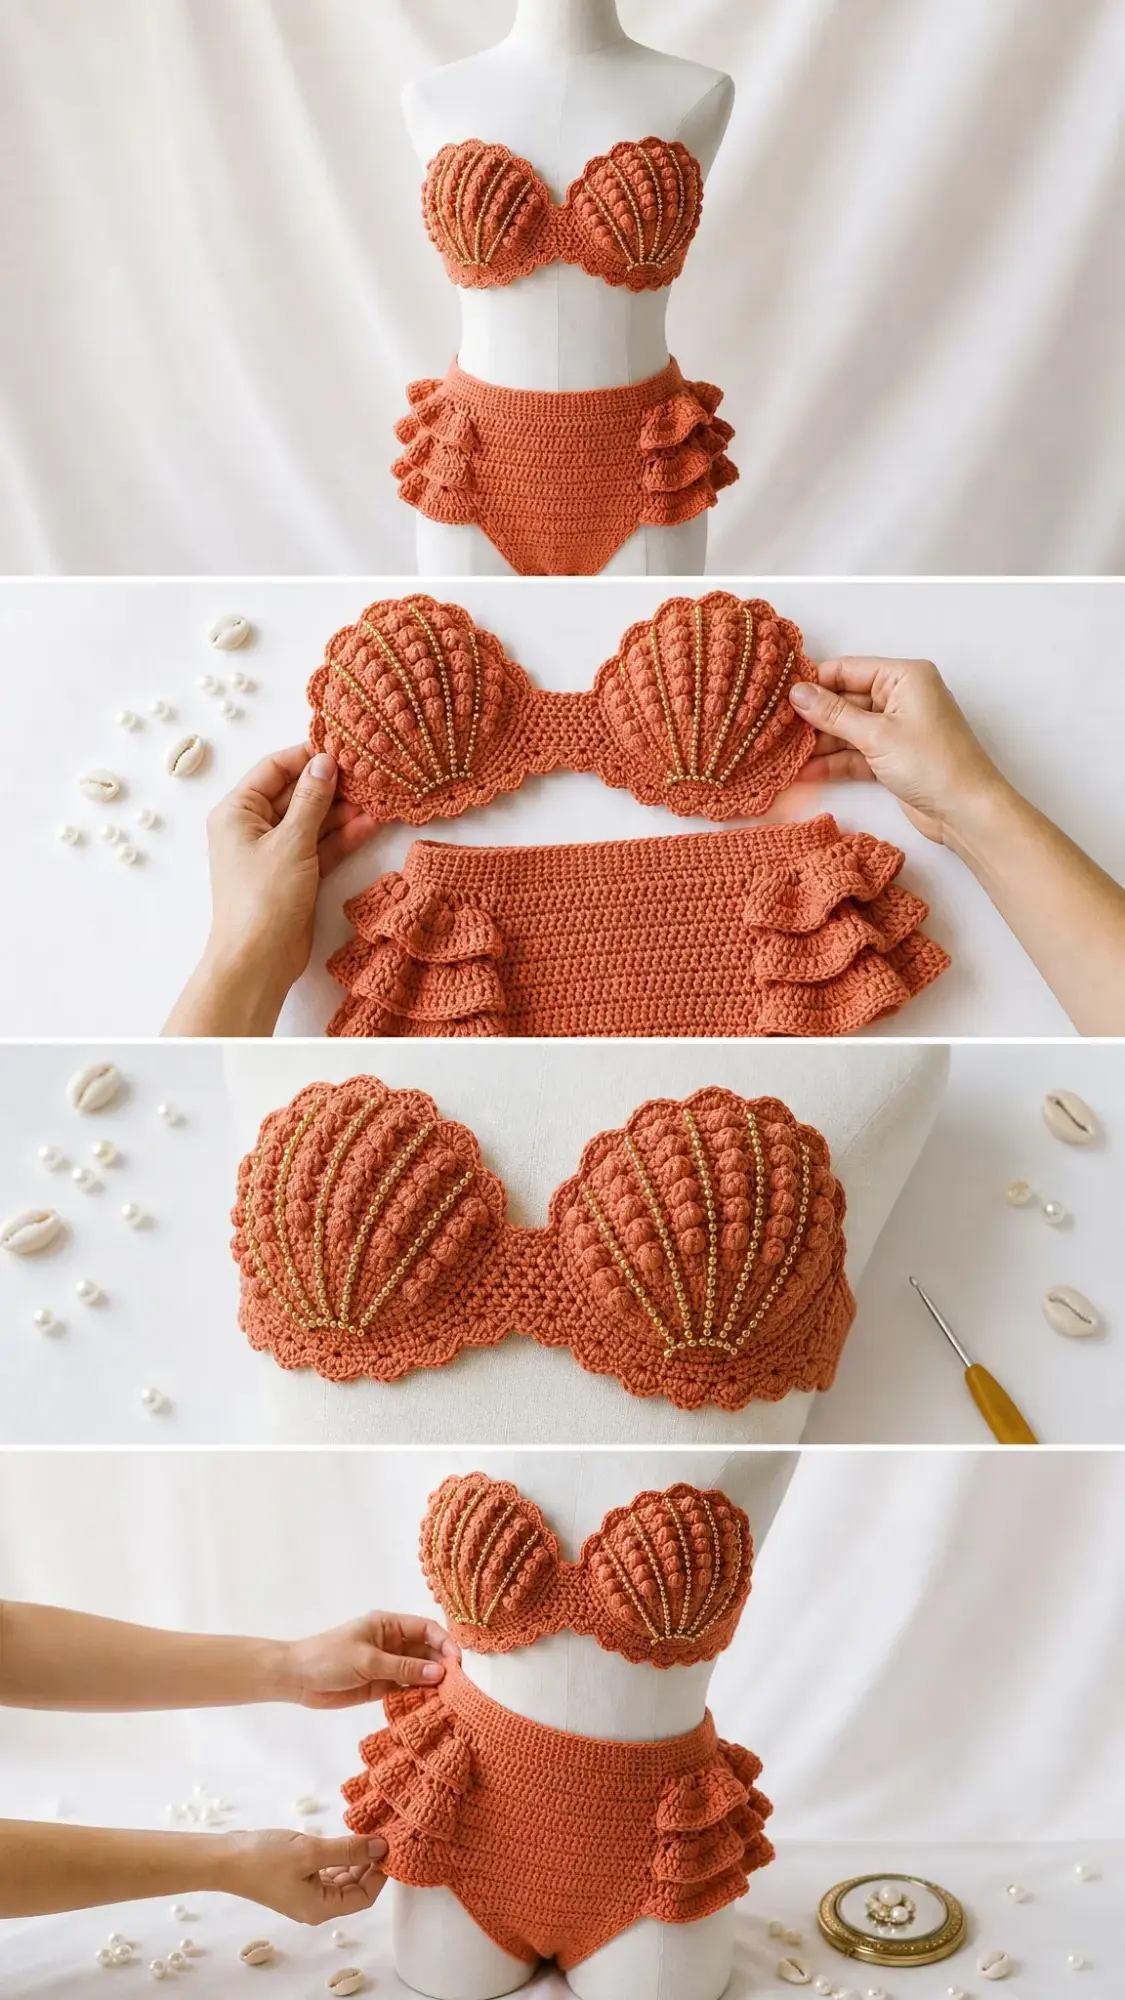
This coral reef shell bralette set is a showstopper from every angle. The design features two raised shell cups with radiating gold bead ribs that catch the light beautifully. Each cup is worked in a semicircle shape with increases that create that perfect scallop shell silhouette. The matching high-waist bottom has stacked hip ruffles that add movement and drama to the whole look.
The fabric is worked tightly in cotton, which means the pieces hold their shape beautifully. Unlike floppy swimwear attempts, this set has structure and stays put. The firm texture comes from using a smaller hook with worsted weight cotton and maintaining consistent tension throughout.
Skill level: This pattern is rated intermediate. You’ll be working shaped semicircle cups with precise stitch counts, surface crochet ribs, bead placement, and garment fitting. If you’ve made a few projects and feel comfortable with shaping and following detailed instructions, you can absolutely handle this.
Materials You’ll Need
Before you start, gather everything so you can work without interruption.
Yarn: 430 to 520 yards (393 to 475 meters) total of worsted or light worsted cotton in coral. The pattern suggests Lily Sugar’n Cream Solids, Paintbox Yarns Cotton Aran, or WeCrochet Dishie. Look for a firm cotton with good stitch definition. Avoid very stretchy acrylic for the cup shells because it won’t hold the sculptural shape.
Hook: US G/6 (4.0 mm), or whatever size you need to match gauge.
Notions:
Gauge (Don’t Skip This!)
Gauge is mandatory for this fitted design. Work a 5 inch (13 cm) square in single crochet (sc), block it lightly, then measure the center 4 inches (10 cm). You need to match 16 sc and 18 rows = 4 inches (10 cm) before you start the actual project.
If your gauge is off, the cups won’t fit properly and the whole set will be too big or too small. Adjust your hook size up or down until you hit that magic number.
Stitch Abbreviations and Definitions
Let me walk you through every stitch you’ll use in this pattern.
Chain (ch): The foundation stitch. Yarn over, pull through the loop on your hook.
Slip stitch (sl st): Insert hook, yarn over, pull through both the stitch and the loop on hook in one motion.
Single crochet (sc): Insert hook, yarn over, pull up a loop (2 loops on hook), yarn over, pull through both loops.
Half double crochet (hdc): Yarn over, insert hook, pull up a loop (3 loops on hook), yarn over, pull through all 3 loops.
Double crochet (dc): Yarn over, insert hook, pull up a loop, yarn over, pull through 2 loops, yarn over, pull through remaining 2 loops.
Increase (inc): Work 2 stitches in the same stitch.
Decrease (dec): Single crochet 2 together. Insert hook in next stitch, pull up loop, insert hook in following stitch, pull up loop (3 loops on hook), yarn over, pull through all 3.
RS/WS: Right side and wrong side of your work.
UK crocheters: US sc = UK dc. US hdc = UK htr. US dc = UK tr.
Special Stitches
Bobble: Yarn over, insert hook in stitch, pull up loop, yarn over and pull through 2 loops. Repeat in same stitch until 5 partial double crochets are on hook. Yarn over and pull through all loops, chain 1 to close.
Surface slip stitch rib: Hold yarn behind fabric. Insert hook from front to back at marked point, pull loop to front, insert hook at next marked point, pull loop through fabric and loop on hook. Keep loops loose so the shell does not pucker.
Beaded rib: String beads before starting. Slide 1 bead close to the hook every other surface slip stitch, trapping it on the front of the ridge.
Crab stitch: Working left to right (opposite of normal), insert hook in next stitch to the right, pull up loop, yarn over, pull through both loops. This creates a nice rope-like edge.
Bralette Shell Cups (Make 2)
Work in turned rows. The chain 1 at the start of hdc rows does not count as a stitch. Keep the right side facing after odd rows.
| Row | Instruction | Count |
|---|---|---|
| 1 | Magic ring, ch 2, work 7 hdc in ring. Pull ring into a shallow fan. Turn. | 7 |
| 2 | Inc in each st across. | 14 |
| 3 | [Hdc in next st, inc in next st] 7 times. | 21 |
| 4 | [Hdc in next 2 sts, inc in next st] 7 times. | 28 |
| 5 | [Hdc in next 3 sts, inc in next st] 7 times. | 35 |
| 6 | [Hdc in next 4 sts, inc in next st] 7 times. | 42 |
| 7 | [Hdc in next 5 sts, inc in next st] 7 times. | 49 |
Checkpoint: One cup should measure approximately 6.25 inches (16 cm) across the outer arc and 4.25 inches (11 cm) from lower center to top arc. If yours is significantly different, check your gauge.
Shell Edge
With RS facing and working across Row 7: [skip 2 sts, 5 dc in next st, skip 2 sts, sl st in next st] 8 times, sc in final st. Fasten off. Each cup has 8 scallops across the top arc.
Lower Cup Edge
Join yarn at one lower corner. Work 17 sc evenly along the lower foundation edge to the other lower corner. Fasten off, leaving a 12 inch (30 cm) tail for seaming to the bridge.
Raised Ribs and Beads
This is where the magic happens! Mark 7 rib lines on each cup: one center line from lower center to top center, then 3 evenly spaced lines on each side.
Surface slip stitch from lower center toward the outer arc on each line. Add a bead every other surface slip stitch. The center rib uses 11 to 13 beads. Side ribs use 8 to 11 beads. Secure tails on the wrong side.
Left-handed note: Work the same counts. Your surface ribs will lean the opposite direction. Mirror the bead placement so the two cups match.
Center Bridge
| Row | Instruction | Count |
|---|---|---|
| 1 | Ch 9; sc in 2nd ch from hook and across. Turn. | 8 sc |
| 2-4 | Ch 1, sc across. Turn. | 8 sc |
Seam one lower inner corner of each cup to the bridge. Cups should sit with the scalloped arcs angled upward and the lower sc edges level.
Back Band
| Row | Instruction | Count |
|---|---|---|
| 1 | Ch 18; sc in 2nd ch from hook and across. Turn. | 17 sc |
| 2-79 | Ch 1, sc across. Turn. | 17 sc each row |
Checkpoint: Band measures approximately 4.25 inches (11 cm) tall and 17.5 inches (44.5 cm) long. Seam the short ends to the outer lower sides of the cups. Add a row of crab stitch along the top and bottom band edges.
Closure Options
For a lace-up back, ch 130 and weave through both back edges. For a smooth band, sew in swim elastic along the top inside edge and add 3 hook-and-eye closures.
Bottom Front Panel
Work front and back flat from crotch upward. Chain 1 does not count as a stitch. Place a marker on the RS of each piece.
| Row | Instruction | Count |
|---|---|---|
| 1 | Ch 13; sc in 2nd ch from hook and across. Turn. | 12 |
| 2-6 | Ch 1, sc across. Turn. | 12 |
| 7-27 | Ch 1, inc in first st, sc to last st, inc in last st. Turn. | Increase 2 each row; Row 27 = 54 |
| 28-37 | Ch 1, sc across. Turn. | 54 |
Bottom Back Panel
| Row | Instruction | Count |
|---|---|---|
| 1 | Ch 15; sc in 2nd ch from hook and across. Turn. | 14 |
| 2-4 | Ch 1, sc across. Turn. | 14 |
| 5-30 | Ch 1, inc in first st, sc to last st, inc in last st. Turn. | Increase 2 each row; Row 30 = 66 |
| 31-40 | Ch 1, sc across. Turn. | 66 |
Checkpoint: Front top edge approximately 13.5 inches (34 cm). Back top edge approximately 16.5 inches (42 cm). Seam the 12 front crotch stitches to the center 12 stitches of the back crotch edge. Leave 1 back stitch unused at each side of the gusset.
Joining the Sides
With RS together, seam front and back side edges from waist down for 5.5 inches (14 cm). Leave the curved lower edges open for legs. Turn RS out.
Waistband
| Round | Instruction | Count |
|---|---|---|
| 1 | Join at side seam. Sc across front top 54 sts and back top 66 sts. Join with sl st. | 120 sc |
| 2-8 | Ch 1, sc in each st around, join. | 120 sc each round |
| 9 | Crab stitch around. Fasten off. | 120 sts |
Checkpoint: Waistband approximately 30 inches (76 cm) around before elastic. Insert swim elastic inside the waistband if more hold is desired.
Leg Openings
For each leg, join at inner crotch. Work 60 sc evenly around the opening using about 3 sc for every 4 row-ends on the curved edges. Join, then work 1 round crab stitch. Each opening measures approximately 15 inches (38 cm) before stretch.
Hip Ruffles (Make 4)
Row 1: Ch 31, sc in 2nd ch and across. (30 sc)
Row 2: Ch 3, 2 dc in each st across. (60 dc)
Row 3: Ch 1, sc across. (60 sc)
Fasten off.
Sew 2 ruffles to each hip, stacked with the upper ruffle overlapping the lower by 1/2 inch (1.25 cm).
Finishing Your Shell Bralette Set
Weave in all ends on the wrong side. Steam lightly without pressing the raised ribs flat. Pin the cups so the scallops are even, then allow to dry fully. Sew beads securely with doubled thread if the set will be worn often.
Size Customization Tips
For a wider bralette: Add 4 back-band rows for every 1 inch (2.5 cm) of extra circumference.
For a narrower bralette: Remove rows in multiples of 4.
For more cup coverage: Add Row 8 as [hdc in next 6 sts, inc in next st] 7 times. (56 hdc), then work 9 scallops across the top edge.
For the bottom waist: Add or remove 4 stitches total by adding or removing one increase row on the front and one on the back. Keep the front and back top edges adding to an even total so the waistband and elastic sit smoothly.
Troubleshooting Common Issues
Cup puckers: Surface ribs are too tight. Remove and rework them with taller, looser loops.
Cup flares: Use fewer beads or block the shell flatter. Heavy beads can pull the arc outward.
Waist rolls: Add swim elastic and keep waistband rounds firm.
Leg opening pulls: Pick up more leg stitches in multiples of 4, then rework crab stitch.
Ruffle too stiff: Block ruffle strips over a rounded edge and reduce hook tension on dc row.
Care Instructions
Hand wash in cool water with mild soap. Press water out in a towel. Do not wring. Dry flat away from direct sun. Store folded with tissue between beadwork and fabric. If used near water, rinse promptly and dry completely before storage.
Professional Finishing Tips
Use rustproof pins while fitting. Keep beads away from closures and high-friction areas. For wearable comfort, line the cups and bottom with swim lining or soft cotton jersey after blocking. Tack lining by hand around edges, leaving stretch at the waistband and leg openings.
Final Thoughts on This Coral Reef Shell Bralette Crochet Pattern
You now have everything you need to create this stunning sculptural shell bralette and matching ruffle bottom set. The combination of textured stitches, gold bead accents, and thoughtful construction makes this a truly impressive handmade piece. Whether you’re making it for yourself, as a gift, or even to sell, this crochet pattern delivers a professional-looking result that will turn heads.
Thank you so much for choosing to make this pattern! I genuinely hope you love the finished piece as much as I do. If you give it a try, I would absolutely love to see your finished shell bralette. Tag me on Instagram or share a photo on Facebook. Seeing your makes truly makes my day!
Don’t forget to pin this coral reef shell bralette pattern to your Pinterest boards so you can find it easily when you’re ready to start. And if you make it, please drop a comment below. I love hearing how your projects turn out and seeing what colors you choose!
Want a Quick & Easy Printable Version?
Get a clean, beautifully formatted PDF of this pattern — easy to follow step by step, ready to print or save on any device. No scrolling, no distractions, just the pattern.
Get the Printable PDF →