
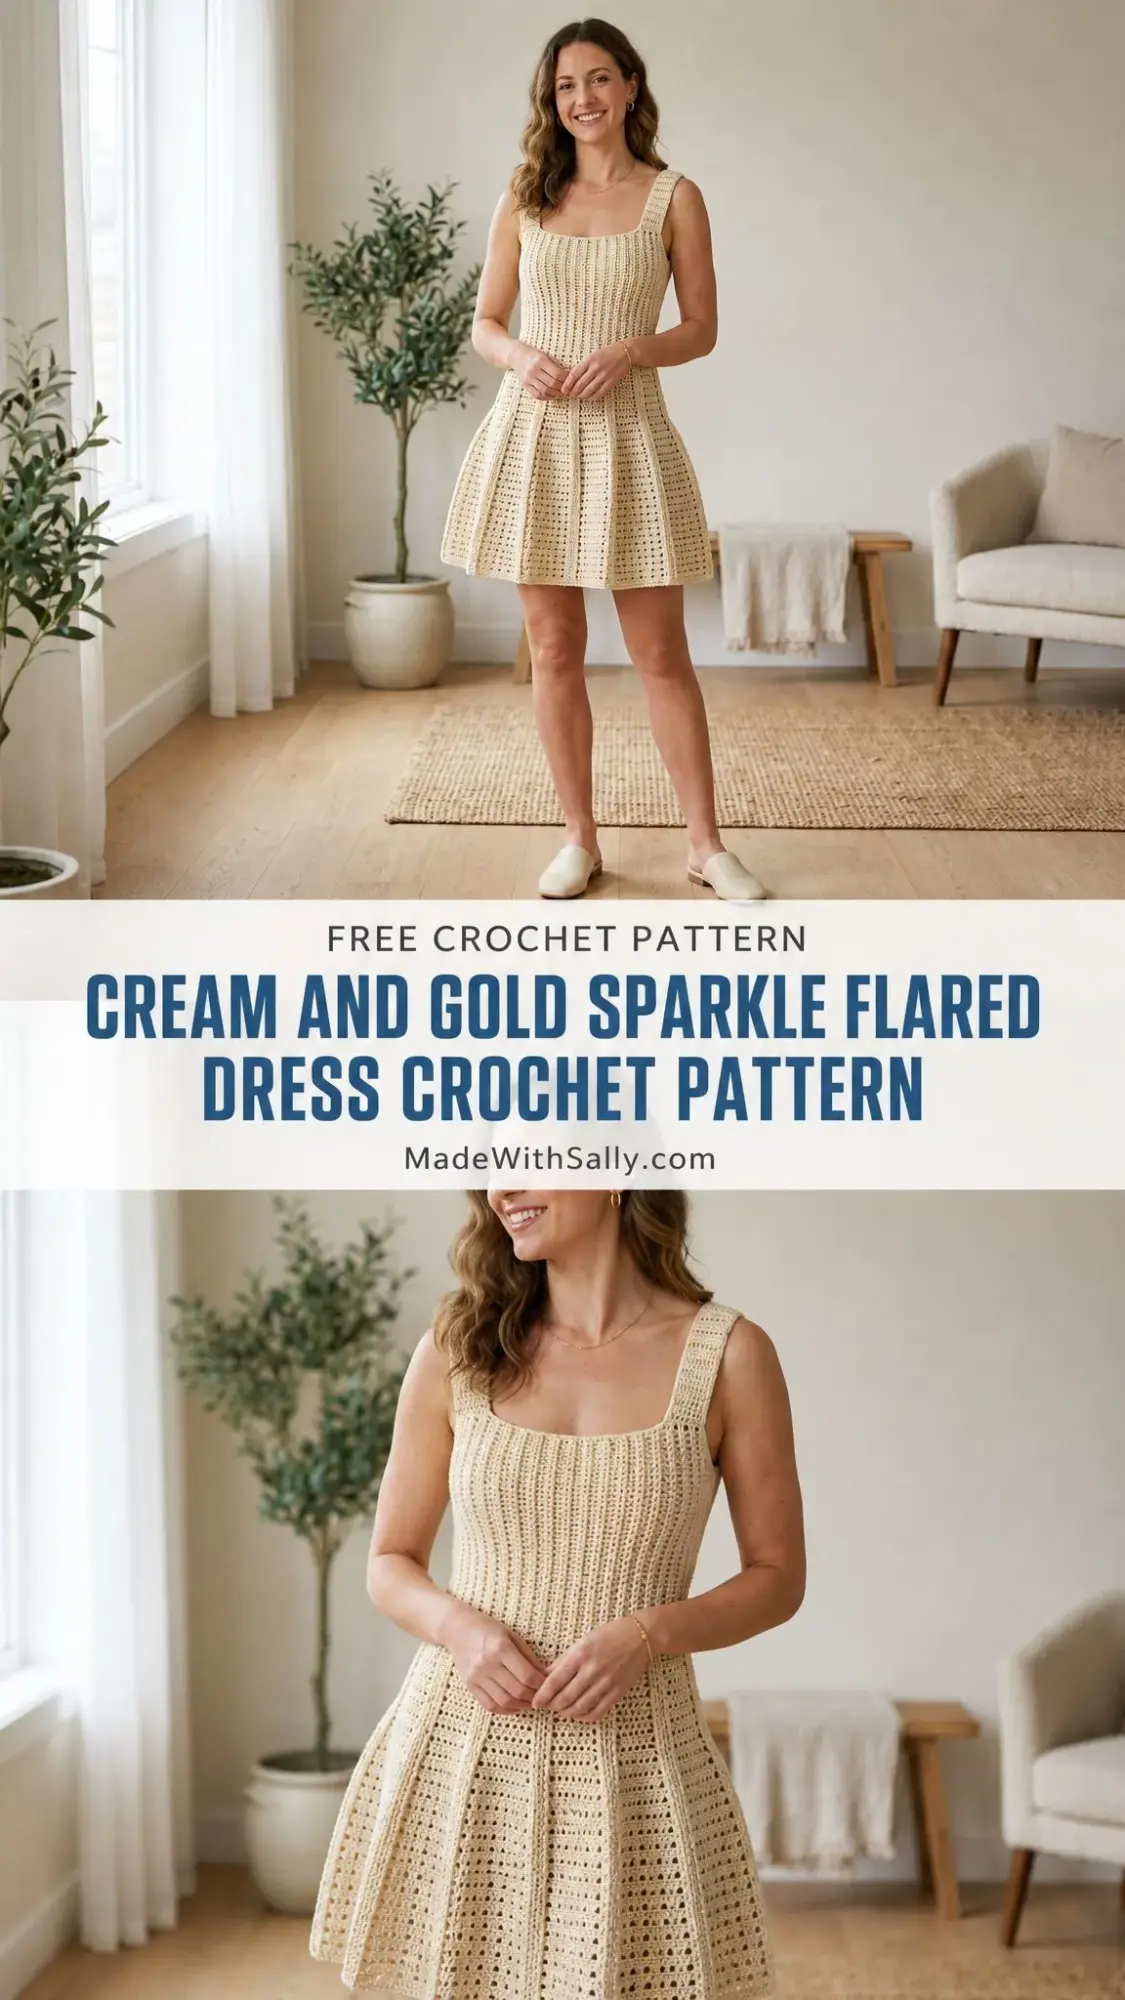
Go dig through your stash right now. I know you have that special skein of cream cotton tucked away, waiting for the perfect project. This is it. This flared dress combines a structured ribbed bodice with a dramatically flared skirt that moves beautifully when you walk. The construction is genuinely interesting, too. You will work the bodice top down using post stitches for that gorgeous vertical ribbing, then flip directions and work the skirt downward from the hip with strategic increases that create those pleated panel lines.
I will be honest with you about the difficulty level. This pattern sits firmly in the intermediate to advanced category. You need to be comfortable with front post and back post double crochet, working in the round, and keeping track of stitch markers at multiple points. If you have completed at least one fitted top or sweater before, you can absolutely handle this. The techniques themselves are not complicated. The challenge is in the attention to detail and maintaining consistent tension throughout.
The finished result is worth every hour you put in. That subtle gold sparkle from the metallic thread catches light in the most beautiful way, making this dress perfect for summer events, garden parties, or anywhere you want to feel a little bit fancy.
Pattern Overview and Finished Measurements
This crochet dress pattern creates a retro tennis dress silhouette with a square neckline at both front and back. The bodice hugs your curves thanks to the ribbed stitch pattern, while the skirt flares out dramatically from the hip. Eight increase panels spaced evenly around the skirt create vertical lines that mimic traditional pleating.
Finished Size (Small, US 2 to 4):
The pattern includes size customization notes for Medium and Large at the end.
Materials You Will Need
Yarn A: Cream cotton DK weight yarn, approximately 800 yards / 730 meters. Choose a smooth, tightly plied cotton or cotton blend for the best stitch definition.
Yarn B: Fine gold metallic thread in lace or cobweb weight, approximately 800 yards / 730 meters. This gets held together with Yarn A throughout the entire pattern.
Both yarns are worked together as one strand from start to finish. Do not separate them at any point.
Suggested Yarn Options:
Hook: US Size E-4 / 3.5 mm crochet hook (adjust to meet gauge)
Notions:
Gauge (Please Do Not Skip This)
Bodice gauge: 18 stitches and 12 rows = 4 inches / 10 cm in the ribbing stitch pattern, worked in the round with both yarn strands held together.
Skirt gauge: 16 stitches and 10 rounds = 4 inches / 10 cm in the half double crochet texture, worked in the round.
Gauge is mandatory for this garment. Even a small deviation will significantly alter the finished measurements. Make a swatch of at least 6 x 6 inches, wash it, block it, and measure it before starting.
Abbreviations and Stitch Definitions
Let me walk you through every stitch abbreviation used in this pattern. If you are newer to garment construction, bookmark this section.
ch: chain
sl st: slip stitch
sc: single crochet
dc: double crochet, which means yarn over, insert hook, pull up a loop, yarn over and pull through two loops, yarn over and pull through remaining two loops
hdc: half double crochet, which means yarn over, insert hook, pull up a loop, yarn over and pull through all three loops at once
BLO: back loop only, working into just the back loop of the stitch instead of both loops
FPDC: front post double crochet. This is the key stitch for the bodice ribbing. Yarn over, insert your hook from front to back to front around the post (the vertical part) of the stitch below, yarn over and pull up a loop, then complete as a regular double crochet. This creates a raised vertical ridge on the front of your work.
BPDC: back post double crochet. Same technique but you insert your hook from back to front to back around the post. This pushes the stitch to the back and creates the recessed column between the FPDC ridges.
dc2tog: double crochet two together, a decrease that combines two stitches into one
st(s): stitch(es)
rnd: round
RS: right side
WS: wrong side
sm: slip marker
pm: place marker
t-ch: turning chain
Special Techniques
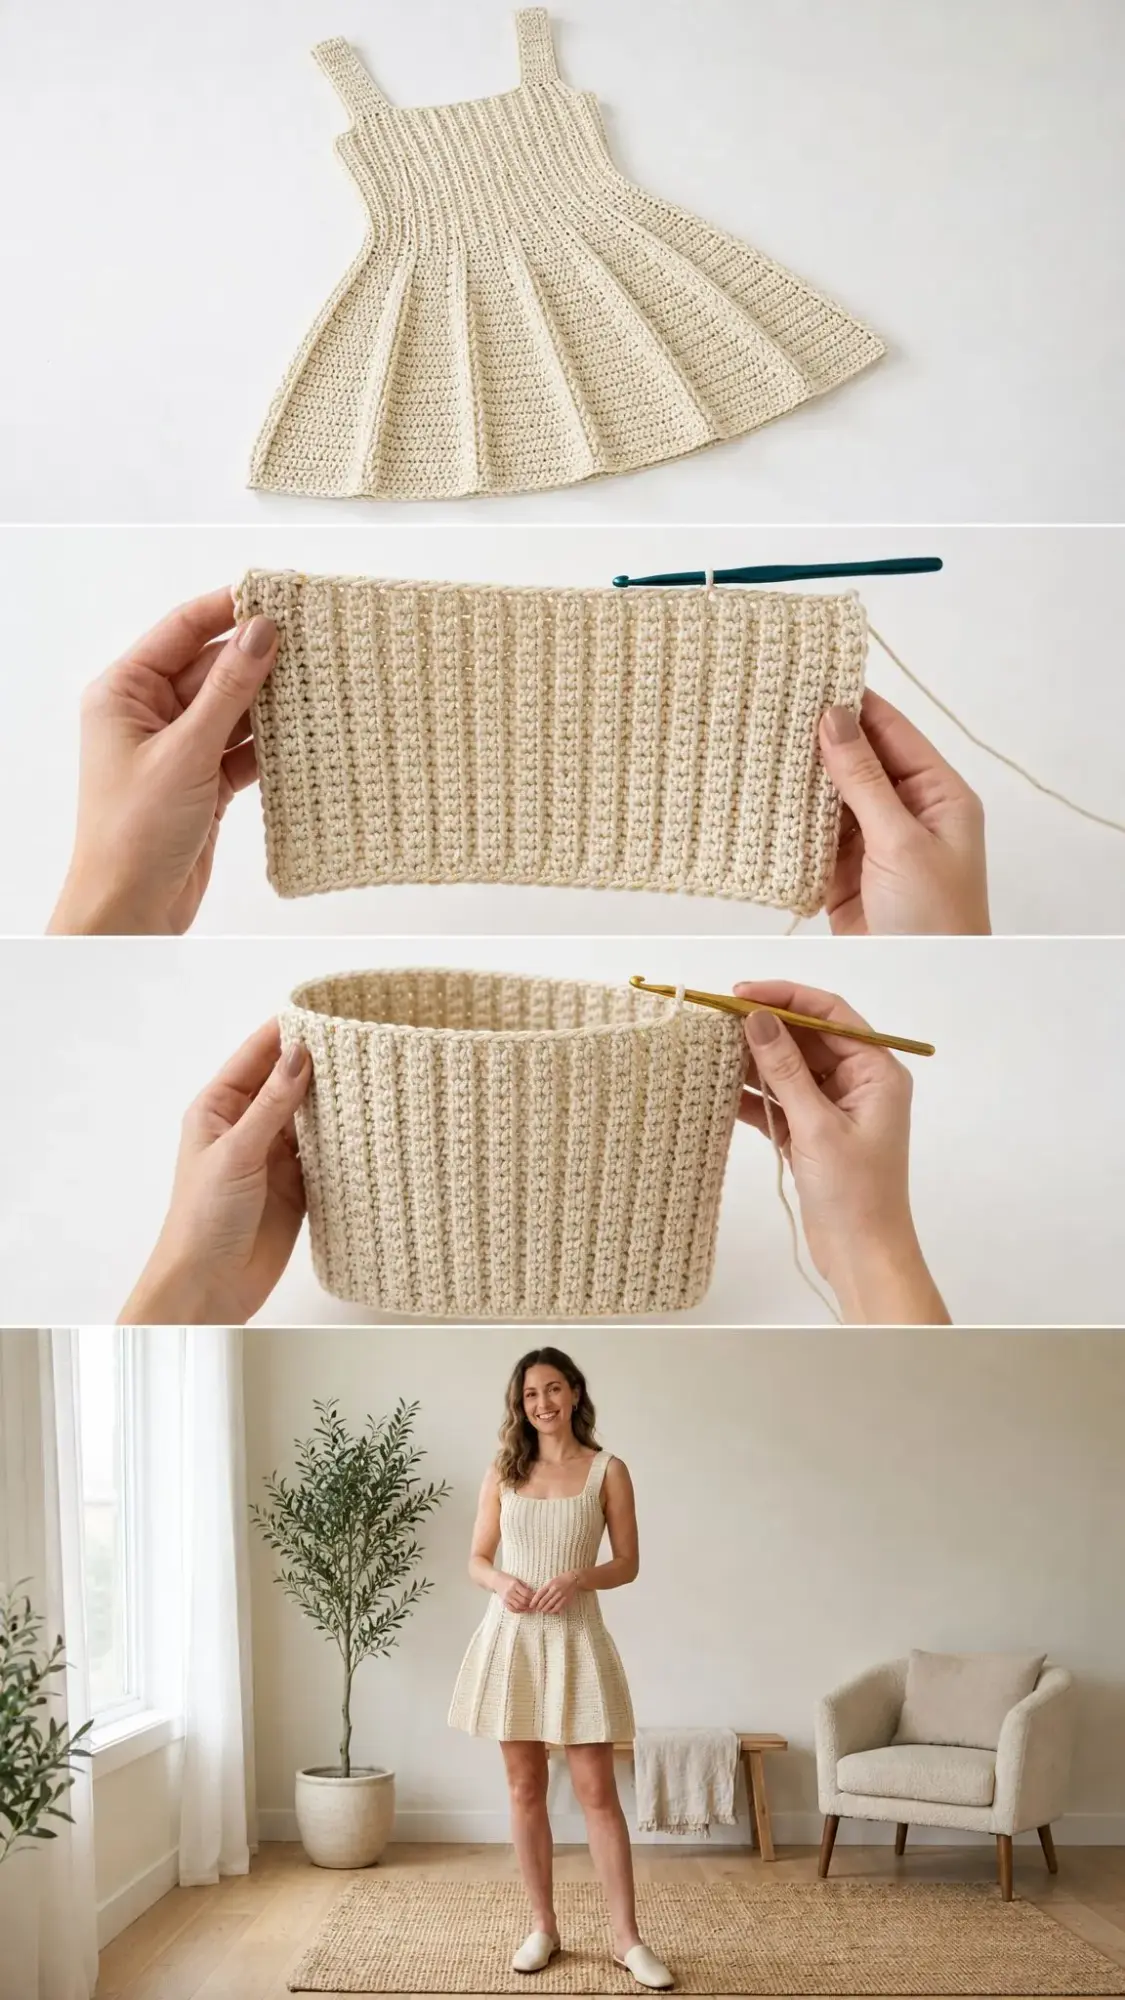
Ribbing Pattern: The bodice uses alternating FPDC and BPDC stitches worked around the posts of the stitches directly below. This creates those beautiful vertical ridges you see in the photos. The key is consistency. Every FPDC must be worked around another FPDC post, and every BPDC around another BPDC post.
Panel Increase: In the skirt, you will work 2 dc into the same stitch at each of 8 marked panel points. This adds 8 stitches total per increase round and creates the flare.
Skirt Texture: The skirt body uses hdc worked in the back loop only. This creates a subtle horizontal ridge and maintains the airy, slightly open texture visible in the finished garment.
Pattern Instructions
Section 1: Bodice
The bodice is worked top down. You will create two shoulder straps, join them across the neckline, work the front and back panels separately through the armhole depth, then join everything into a seamless tube.
Strap Setup
Each strap is 12 stitches wide.
Front Left Strap:
Foundation chain: Ch 14.
Row 1 (RS): Starting in the 3rd ch from hook, work 1 dc in each ch across. Turn. (12 dc)
Row 2 (WS): Ch 2 (does not count as st), work FPDC around each post across. Turn. (12 sts)
Row 3 (RS): Ch 2, work FPDC around FPDC posts and BPDC around BPDC posts across. Turn. (12 sts)
Rows 4 through 8: Repeat Rows 2 and 3 alternately, ending on a RS row. (12 sts each row)
Your strap should measure approximately 3 inches. Place on holder.
Front Right Strap:
Repeat Front Left Strap Rows 1 through 8 identically. Do not fasten off.
Join Straps for Front Bodice Panel
With RS facing, place both straps side by side.
Setup Row (RS): Work across Right Strap in pattern (12 sts), ch 24 for the front neckline, work across Left Strap in pattern (12 sts). Turn. (48 working sts/positions)
Row 1 (WS): Ch 2, work BPDC across the 12 sts of left strap section, work 1 dc in each of the 24 chain stitches, work BPDC across the 12 sts of right strap section. Turn. (48 sts)
Row 2 (RS): Ch 2, work FPDC across each post, maintaining column alignment over straps and establishing alternating FPDC/BPDC columns across the center 24 sts. Turn. (48 sts)
Rows 3 through 18: Continue in the 1×1 FPDC/BPDC ribbing pattern across all 48 sts. (48 sts each row)
Place front panel on holder.
Back Bodice Panel
Work identically to the front panel.
Back Left Strap: 8 rows. (12 sts)
Back Right Strap: 8 rows. (12 sts)
Back Setup Row: Join straps with ch 24. (48 sts/positions)
Back Rows 1 through 18: Same as front. (48 sts each row)
Checkpoint: Each panel should measure approximately 6 inches from neckline base to lower edge.
Join Front and Back Into the Round
Join Round: Work across 48 front sts in ribbing pattern, ch 4 for left underarm, work across 48 back sts in ribbing pattern, ch 4 for right underarm, sl st to first st to join. (104 sts)
Place markers at the beginning of the round and at the center of each underarm chain.
Rnd 1: Work in ribbing pattern across front (48 sts), work FPDC/BPDC into the 4 underarm ch sts, work across back (48 sts), work into 4 underarm ch sts, sl st to join. (104 sts)
Rnds 2 through 8: Work even in ribbing pattern. (104 sts each rnd)
Waist Shaping
Place markers at st 1 (left side seam), st 26 (center front), st 53 (right side seam), st 78 (center back).
Rnd 9 (Dec Rnd 1): Work dc2tog at each of the 4 markers. (100 sts)
Rnd 10: Work even. (100 sts)
Rnd 11 (Dec Rnd 2): Work dc2tog at each marker. (96 sts)
Rnd 12: Work even. (96 sts)
Rnd 13 (Dec Rnd 3): Work dc2tog at each marker. (92 sts)
Rnd 14: Work even. (92 sts)
Rnd 15 (Dec Rnd 4): Work dc2tog at each marker. (88 sts)
Rnd 16: Work even. (88 sts)
Checkpoint: Bodice should measure approximately 10 inches from shoulder.
Hip Expansion
Rnd 17 (Inc Rnd 1): Inc at center front and center back markers only. (90 sts)
Rnd 18: Work even. (90 sts)
Rnd 19 (Inc Rnd 2): Inc at center front and center back. (92 sts)
Rnd 20: Work even. (92 sts)
Rnd 21 (Inc Rnd 3): Inc at center front and center back. (94 sts)
Rnd 22: Work even. (94 sts)
Rnd 23 (Inc Rnd 4): Inc at center front and center back. (96 sts)
Rnd 24: Work even. (96 sts)
Rnd 25 (Inc Rnd 5): Inc at center front and center back. (98 sts)
Rnd 26: Work even. (98 sts)
Rnd 27 (Inc Rnd 6): Inc at center front and center back. (100 sts)
Rnd 28: Work even. (100 sts)
Checkpoint: Bodice measures approximately 14 inches from shoulder. This is the hip join point.
Fasten off and weave in ends.
Section 2: Skirt
The skirt is worked downward from the hip edge. Place markers at stitches 1, 13, 25, 38, 50, 63, 75, and 88 for the 8 panel increase points.
Skirt Rnd 1: Join yarn at st 1. Ch 2 (counts as first hdc), hdc in BLO in each st around, sl st to join. (100 sts)
Skirt Rnd 2 (Inc Rnd): Ch 2, hdc in BLO to first marker, 2 hdc in marked st, continue working hdc in BLO and increasing at each of the 8 markers. (108 sts)
Skirt Rnd 3: Work even in hdc BLO. (108 sts)
Continue the pattern of increase rounds on even numbered rounds and even rounds on odd numbered rounds:
Rnd 4: Inc at 8 markers. (116 sts)
Rnd 5: Even. (116 sts)
Rnd 6: Inc. (124 sts)
Rnd 7: Even. (124 sts)
Rnd 8: Inc. (132 sts)
Rnd 9: Even. (132 sts)
Rnd 10: Inc. (140 sts)
Rnd 11: Even. (140 sts)
Rnd 12: Inc. (148 sts)
Rnd 13: Even. (148 sts)
Rnd 14: Inc. (156 sts)
Rnd 15: Even. (156 sts)
Rnd 16: Inc. (164 sts)
Rnd 17: Even. (164 sts)
Rnd 18: Inc. (172 sts)
Rnd 19: Even. (172 sts)
Rnd 20: Inc. (180 sts)
Rnd 21: Even. (180 sts)
Rnd 22: Inc. (188 sts)
Rnd 23: Even. (188 sts)
Rnd 24: Inc. (196 sts)
Rnd 25: Even. (196 sts)
Rnd 26: Inc. (204 sts)
Rnd 27: Even. (204 sts)
Rnd 28: Inc. (212 sts)
Rnd 29: Even. (212 sts)
Rnd 30: Inc. (220 sts)
Rnd 31: Even. (220 sts)
Rnd 32: Inc. (228 sts)
Rnd 33: Even. (228 sts)
Rnd 34: Even. (228 sts)
Hem Finish:
Rnd 35: Sl st in each st around. (228 sts)
Fasten off.
Section 3: Finishing
Neckline Edging: Join yarn at any point along the neckline. Work 1 round of sc evenly around the entire opening, sl st to join. Fasten off.
Armhole Edging: Work 1 round of sc evenly around each armhole opening. Fasten off.
Blocking Your Finished Dress
Wet blocking is essential for this garment. Soak the finished dress in cool water with gentle detergent for 15 to 20 minutes. Press out excess water without wringing. Lay flat and shape the bodice to the correct measurements. Pin the skirt hem in a circular shape, distributing fullness evenly. Allow 24 to 48 hours to dry completely.
Size Customization Notes
Medium: Increase strap foundation chain to 16 (14 working sts). Use 28 chains for neckline bridge. Full circumference after joining: 120 sts. Work waist decreases to 108 sts, hip increases to 116 sts.
Large: Increase strap foundation chain to 18 (16 working sts). Use 32 chains for neckline bridge. Full circumference: 136 sts. Work waist decreases to 124 sts, hip increases to 132 sts.
For length adjustments, add or remove rows in the bodice between the armhole join and waist shaping. Each 2 rows adds approximately 0.67 inches.
Care Instructions
Hand wash in cool water with gentle detergent. Do not machine wash. Lay flat to dry. Do not tumble dry. If pressing is needed, use a pressing cloth and low heat to protect the metallic thread.
Thank you so much for choosing this pattern for your next project. I truly hope you love making this dress as much as I loved designing it. If you complete one, I would absolutely love to see it! Tag me on Instagram or share a photo in my Facebook group.
If this pattern is calling your name but you are not quite ready to start today, go ahead and pin it to your Pinterest boards so you can find it later. And please leave a comment below when you make yours. I love hearing how projects turn out and seeing your yarn choices!
