
This is hands down one of the PRETTIEST crochet projects I have ever designed. I am not exaggerating when I say this butterfly brooch gets compliments every single time I wear it out. And here is the best part. It looks incredibly intricate, but you are basically crocheting circles and joining them together.
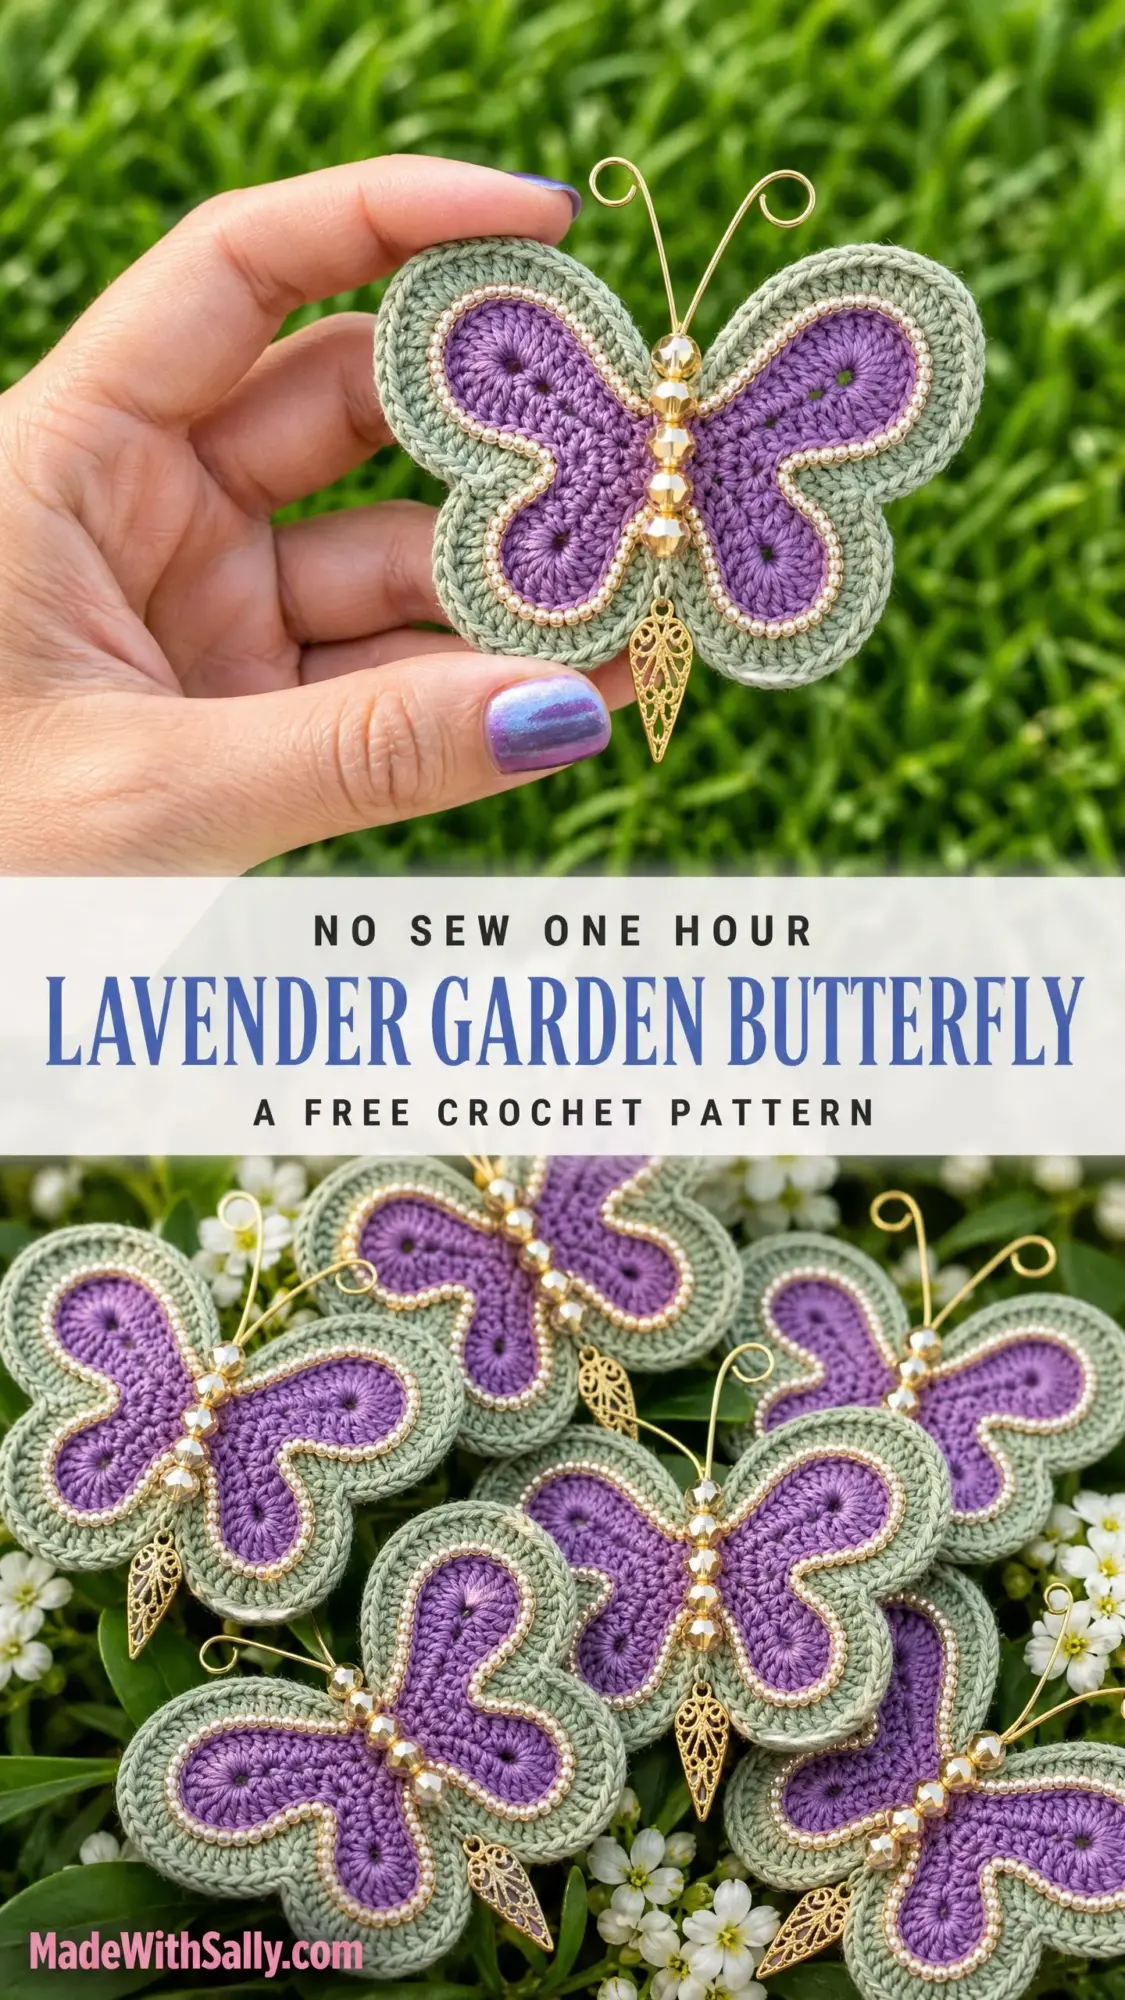
If you have been wanting to try beadwork or wire embellishments but felt intimidated, this is your gateway project. The construction is simple enough for an adventurous beginner, and the finishing touches are where the magic happens. You will feel like a jewelry designer by the end.
Give yourself an afternoon or a cozy weekend, and you will have a stunning wearable piece or a gift that looks like it came from a boutique. Let me walk you through every single step.
About This Butterfly Brooch Crochet Pattern
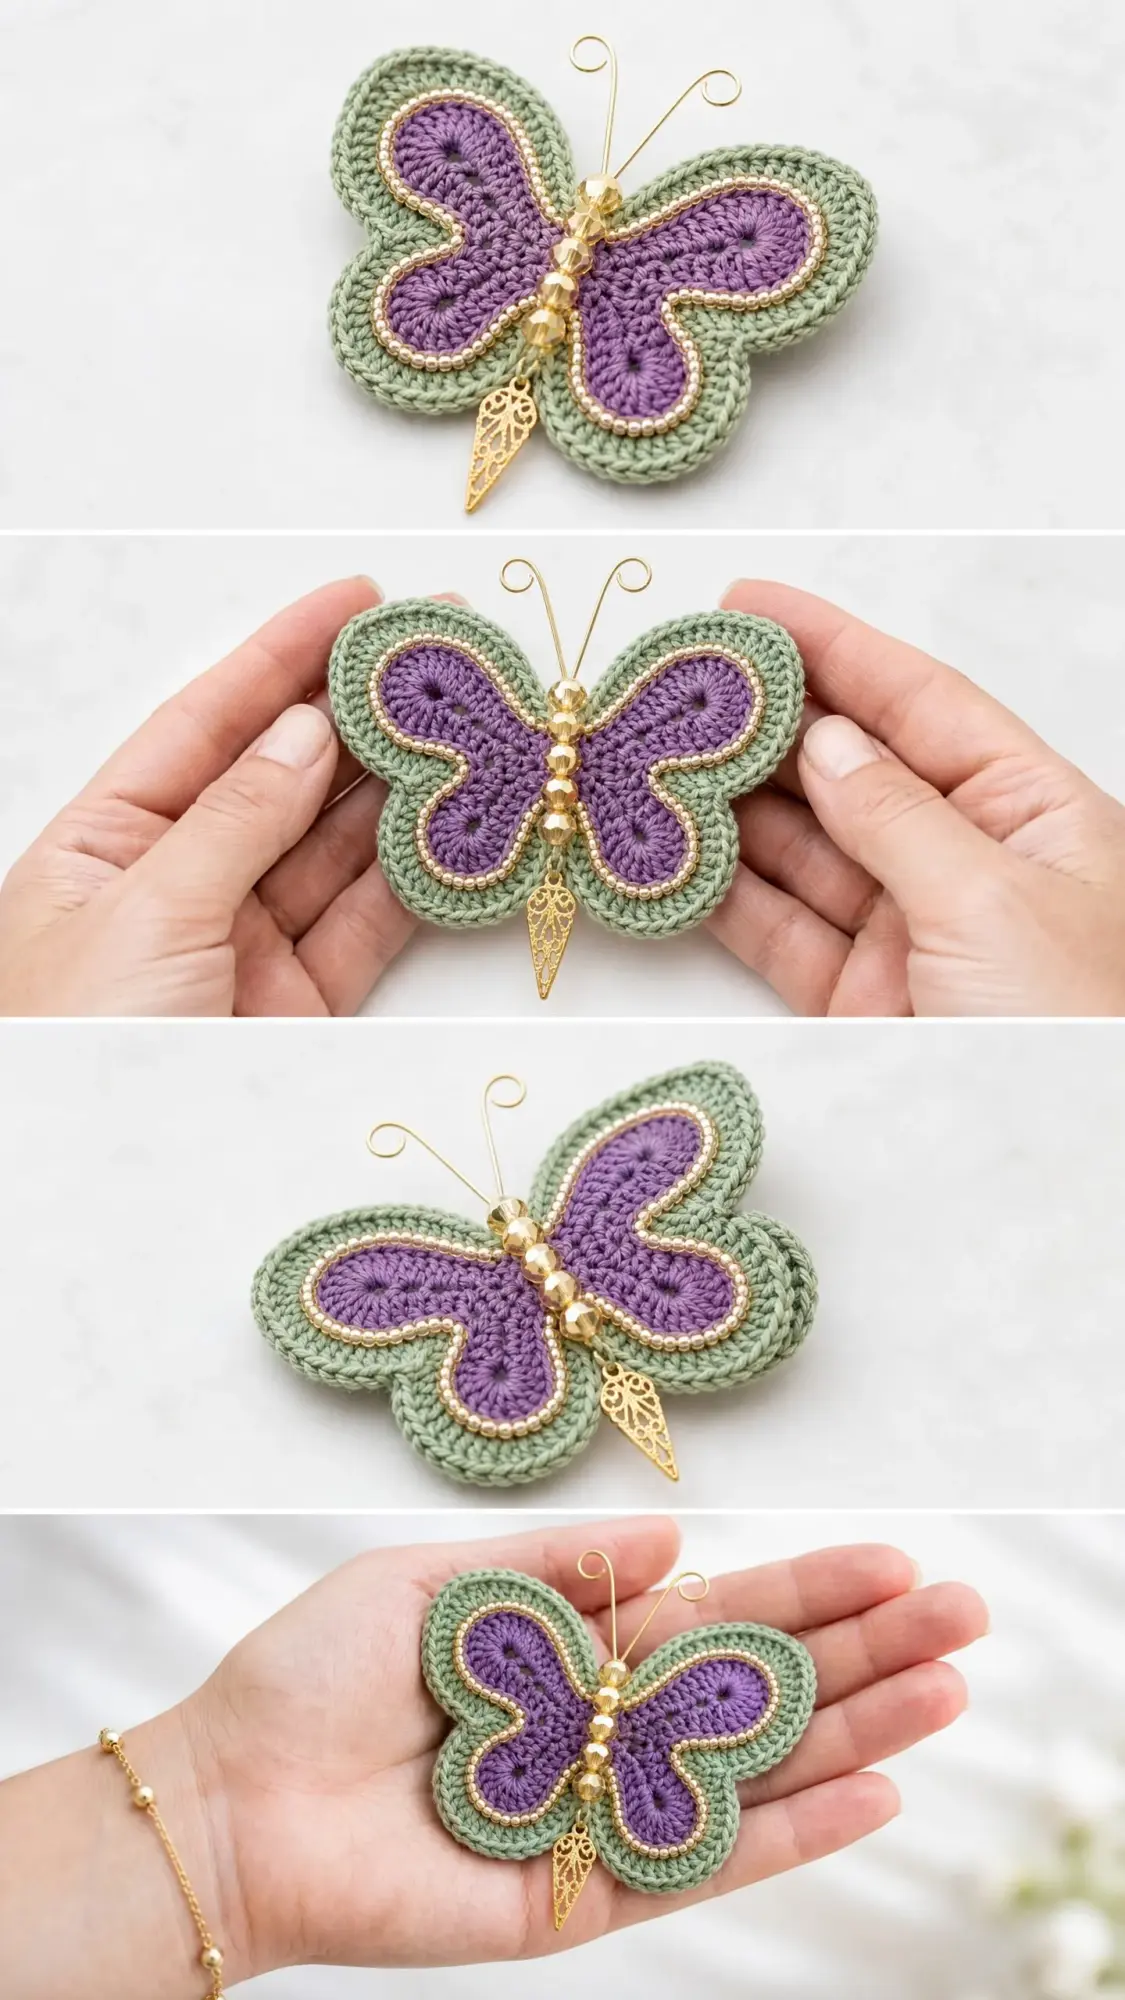
This butterfly brooch features four rounded wing sections worked as simple circles, then joined and layered for a dimensional padded effect. The front layer showcases beautiful purple inner wing appliques bordered with gold seed beads. A column of faceted crystal beads forms the body, gold wire antennae curl elegantly at the top, and a filigree pendant dangles at the bottom like a delicate tail.
The finished butterfly measures approximately 4.5 inches wide by 3.75 inches tall (not including the antennae), making it the perfect size for a statement brooch, hat decoration, or bag accessory. The padded construction gives it a satisfying dimensional quality that photographs beautifully and catches the light.
Skill level: Intermediate. You should be comfortable working in the round, joining motifs, and crocheting through two layers at once. The beadwork and wire work are simple hand sewing and plier techniques. No advanced crochet skills required, just patience and attention to detail during finishing.
Time estimate: Approximately 4 to 6 hours including all assembly and embellishment.
Materials You Will Need
Gather everything before you start. Having all your supplies ready makes the finishing steps much smoother.
Yarn
Yarn Suggestions
Any smooth cotton or cotton blend in sport to light DK weight works beautifully. Avoid fuzzy or textured yarns because they will hide your stitch definition and make bead attachment frustrating.
Option 1: Paintbox Yarns Simply DK (100% cotton, 137 yards per 50 g skein). Use Pistachio for Color A and Violet for Color B. This gives crisp stitch definition perfect for small motifs.
Option 2: Drops Safran (100% cotton, 175 yards per 50 g skein). A lightweight sport cotton with a smooth surface that accepts beads easily. Use shade 11 Mint for Color A and shade 07 Violet for Color B.
Option 3: Lion Brand 24/7 Cotton in sport weight (100% cotton, 186 yards per 100 g skein). Widely available and consistent in tension. Use Sage for Color A and Iris for Color B.
Hook
Notions
Gauge
5 sc (single crochet) = 1 inch (2.5 cm)
5 rows of sc = 1 inch (2.5 cm)
More importantly, a completed single wing circle (Rounds 1 through 4 in Color A) should measure approximately 1.75 inches (4.5 cm) in diameter.
Gauge matters here because the finished brooch needs to be the right size to sit nicely on fabric and accommodate all the embellishments.
Abbreviations and Stitch Definitions
All instructions use US crochet terms.
Special Stitches
Magic Ring (MR): Make a loop with the tail end of the yarn going behind the working yarn. Insert hook through the loop, yarn over with the working yarn and pull up a loop. Chain the required number of stitches. Work the specified stitches into the ring. Pull the tail to close the ring tightly before slip stitching to join.
Beaded Single Crochet (bsc): Before beginning a round or section that uses beads, pre string the required number of beads onto your working yarn or onto a separate length of thread that you loop around stitches as you go. To work a bsc, insert hook into stitch, slide one bead up close to the work, yarn over and pull up a loop (the bead sits on the RS of the work), yarn over and pull through both loops. 1 bsc made.
Shell Stitch: 5 dc worked into the same stitch or space, creating a fan shaped cluster.
Pattern Notes Before You Begin
Read through these notes before starting. They will save you confusion later.
1. The butterfly is constructed in four stages: (a) crocheting the four wing circles for the front layer and four for the back layer, (b) adding the purple inner wing design to the front layer circles only, (c) joining front and back layers with light padding and adding the pin finding, and (d) embellishing with beads, body, antennae, and tail pendant.
2. All circles are worked in continuous rounds unless a join is specified. Use a stitch marker to track the beginning of each round.
3. The front layer has the decorative purple inner wing and bead border. The back layer is worked entirely in Color A.
4. The inner wing purple sections are applied as a separately crocheted applique that is sewn onto each front wing circle. This produces the cleanest result.
5. Bead embellishment is added after the front and back layers are joined along the inner wing border using a hand needle and thread if beads are not pre strung onto yarn.
6. Antennae are made from wire and inserted between the layers at the top center before the final joining seam is closed.
7. Work loosely enough that the fabric remains pliable and the piece lies flat.
8. The four wing circles are: upper left, upper right, lower left, lower right. Upper circles are slightly larger than lower circles. The difference is created by working one additional round on each upper circle.
9. When a round ends with a slip stitch join, the next round begins with a chain that does not count as the first stitch.
Step by Step Crochet Pattern Instructions
Section 1: Wing Circles (Front Layer)
You will make 2 upper wing circles and 2 lower wing circles for the front layer. Each circle is worked in Color A (sage green).
Upper Wing Circle (make 2 for front, make 2 for back, 4 total per layer)
Round 1: MR, ch 1, work 8 sc into ring, pull tail to close, sl st to first sc to join. (8 sc)
Round 2: Ch 1, work 2 sc in each st around, sl st to first sc to join. (16 sc)
Round 3: Ch 1, (sc in next st, 2 sc in next st) around, sl st to first sc to join. (24 sc)
Round 4: Ch 1, (sc in next 2 sts, 2 sc in next st) around, sl st to first sc to join. (32 sc)
Round 5: Ch 1, (sc in next 3 sts, 2 sc in next st) around, sl st to first sc to join. (40 sc)
Fasten off, leaving a 12 inch tail for joining.
Checkpoint: Each upper wing circle should measure approximately 2.25 inches (5.7 cm) in diameter after blocking lightly.
Lower Wing Circle (make 2 for front, make 2 for back, 4 total per layer)
Round 1: MR, ch 1, work 8 sc into ring, pull tail to close, sl st to first sc to join. (8 sc)
Round 2: Ch 1, work 2 sc in each st around, sl st to first sc to join. (16 sc)
Round 3: Ch 1, (sc in next st, 2 sc in next st) around, sl st to first sc to join. (24 sc)
Round 4: Ch 1, (sc in next 2 sts, 2 sc in next st) around, sl st to first sc to join. (32 sc)
Fasten off, leaving a 12 inch tail for joining.
Checkpoint: Each lower wing circle should measure approximately 1.75 inches (4.5 cm) in diameter after blocking lightly.
Section 2: Joining Wing Circles into Pairs (Front and Back Layers)
Join one upper circle to one lower circle to make one wing half. Repeat for the other side. Do this for both front layer and back layer, making 2 front wing halves and 2 back wing halves.
To join two circles into one wing half:
Hold the upper circle and lower circle with RS facing up. Overlap the edges by approximately 5 stitches at the joining point (the inner lower edge of the upper circle meets the inner upper edge of the lower circle). Using Color A and a tapestry needle, whipstitch 5 stitches together firmly through the overlapping edge stitches. This join forms the slight pinch between upper and lower wing lobes.
You now have:
Section 3: Purple Inner Wing Applique (Front Layer Only)
Make 2 upper inner wing appliques and 2 lower inner wing appliques in Color B (purple).
Upper Inner Wing Applique (make 2)
Round 1: MR, ch 1, work 8 sc into ring, pull tail to close, sl st to first sc to join. (8 sc)
Round 2: Ch 1, work 2 sc in each st around, sl st to first sc to join. (16 sc)
Round 3: Ch 1, (sc in next st, 2 sc in next st) around, sl st to first sc to join. (24 sc)
Fasten off, leaving a 12 inch tail for sewing.
Lower Inner Wing Applique (make 2)
Round 1: MR, ch 1, work 8 sc into ring, pull tail to close, sl st to first sc to join. (8 sc)
Round 2: Ch 1, work 2 sc in each st around, sl st to first sc to join. (16 sc)
Fasten off, leaving a 12 inch tail for sewing.
Attaching Appliques to Front Wing Halves
Center each purple inner wing applique on its corresponding front wing circle (upper applique on upper circle, lower applique on lower circle), leaving a border of approximately 5 to 6 stitches of Color A visible all around. Using the tapestry needle and Color B tail, whipstitch the applique to the front wing circle around its entire outer edge. Weave in ends.
The purple applique should sit flat and slightly raised, centered on each wing lobe, with a clear sage green border all around.
Section 4: Gold Bead Border on Inner Wing Edge
Using a hand sewing needle and matching gold or yellow thread, sew gold seed beads around the outer edge of each purple inner wing applique. Space beads approximately 1 bead apart and catch both the purple applique edge and the green background to anchor each bead.
Aim for approximately 20 to 24 beads around each upper applique and 14 to 16 beads around each lower applique. Knot securely after every 5 to 6 beads to prevent unraveling.
This is the step that really makes the butterfly shine. Take your time here.
Section 5: Joining Front and Back Wing Halves
For each wing half (left side and right side), hold one front wing half and one back wing half with WS together and RS facing outward on both sides.
Using Color A and the crochet hook, work a joining round of sc through both layers simultaneously around the entire outer perimeter of the joined wing half, inserting the hook through both layers for each stitch.
Before closing the final few inches of the join, stuff the wing half very lightly with a small pinch of fiberfill or batting so the wing has gentle dimension without bulk. Close the join with a sl st and fasten off.
Repeat for the second wing half.
Checkpoint: Each completed padded wing half should measure approximately 3.75 inches (9.5 cm) tall by 2.25 inches (5.7 cm) wide.
Section 6: Antenna Preparation
Cut the gold wire into 2 equal lengths, each approximately 4 inches (10 cm). Using round nose pliers, curl one end of each wire into a small loop (approximately 0.25 inch or 6 mm diameter). Set aside.
Section 7: Assembling the Two Wing Halves and Inserting Antennae
Place the two completed padded wing halves side by side with the flat inner edges touching. The upper circles sit at the top and lower circles at the bottom. Hold both wing halves together at the center.
Insert the straight end of each antenna wire approximately 0.5 inch (1.3 cm) into the top center seam between front and back layers of the left and right wing halves respectively, angling them outward and upward.
Using a tapestry needle and Color A, sew the two wing halves together along their shared inner edges (the area spanning approximately 1 inch or 2.5 cm vertically at the center), encasing the wire antenna bases in the seam as you go. Sew firmly with several passes to secure antennae and stabilize the center body area.
Section 8: Body and Tail Embellishment
Body (Center Column of Beads)
Thread a hand sewing needle with doubled thread. Beginning at the base of the antennae wire entry point at the top center of the butterfly, sew 6 to 8 gold faceted 4 mm to 6 mm beads in a vertical column down the center of the butterfly, spaced evenly over approximately 1.25 inches (3 cm).
Each bead should be sewn through the center joining seam of the two wing halves, anchoring through both layers. Knot securely between every 2 beads.
Tail Pendant
Attach the gold filigree pendant to the bottom center of the body column by threading the pendant’s loop onto the needle thread and sewing it securely to the base of the body bead column at the lowest center point of the butterfly. Knot multiple times and bury the thread ends between layers.
Section 9: Attaching the Pin Finding
Before the final wing half joining seam was completed in Section 5, the bar pin or safety pin finding should have been sewn to the WS back layer of one wing half (centered horizontally, positioned in the upper third of the wing half so the brooch hangs at the correct angle when pinned).
If this step was skipped, carefully part the layers at the center back and use a hand sewing needle and strong thread to stitch the pin finding through the back layer fabric only at the upper center, taking 6 to 8 stitches through each pin bar hinge. Knot firmly.
Finishing and Blocking Your Butterfly Brooch
Weave in all remaining yarn ends using a tapestry needle, burying tails between front and back layers where possible.
To block: Mist the finished butterfly lightly with water using a spray bottle and gently reshape the wings so they lie flat and symmetrical. Pin to a foam blocking mat if needed and allow to dry fully before wearing. Do not submerge in water as the beads and wire are not water safe.
Once dry, gently bend the antenna wires to your desired angle (curled tips pointing upward and slightly outward).
Size Customization Tips
For a smaller brooch (approximately 3.5 inches wide): Work each wing circle with one fewer round (stop upper circles at Round 4 instead of Round 5, and lower circles at Round 3 instead of Round 4). Reduce bead counts proportionally.
For a larger wall hanging or ornament (approximately 6 inches wide): Add one additional round to each circle using the established increase pattern (sc in each st across to the last st before the increase marker, 2 sc in next st, repeat around). Increase bead spacing accordingly. Use bulkier yarn at an appropriate hook size and skip the pin finding, replacing it with a hanging loop of chain stitches at the top center.
For a stiffer finished piece: Use a slightly smaller hook than recommended (US C/2, 2.75 mm) to create denser fabric, or spray lightly with liquid fabric stiffener after blocking and allow to dry flat.
Care Instructions
Hand wash gently in cool water with mild soap if the piece needs cleaning, taking care not to submerge the wire or metal findings for extended periods. Reshape and air dry flat. Do not machine wash, tumble dry, or iron. Store flat or hanging to preserve the wing shape. Polish any tarnished gold wire or findings with a jewelry polishing cloth.
You Did It!
I hope you love making this Lavender Garden Butterfly as much as I loved designing it. There is something so satisfying about turning simple circles into a piece of wearable art. The beadwork and wire details look far more complicated than they actually are, and you now have a gorgeous brooch to show for your effort.
Thank you so much for choosing this pattern. It truly means the world to me when crafters trust my designs with their precious time and yarn. If you make this butterfly, I would absolutely love to see it! Tag me on Instagram or share a photo in my Facebook group. Seeing your finished projects is honestly the best part of my day.
If you enjoyed this crochet tutorial, save it to your Pinterest boards so you can find it again later. And please drop a comment below if you make one. I love hearing which color combinations you choose and seeing your creative twists on the design!
