
Last summer, I lost my favorite bracelet at a beach bonfire. It was this delicate little thing with turquoise beads that I had worn almost every day for three years. I searched the sand for an hour before giving up. On the drive home, already mourning my beloved accessory, I started sketching ideas for a replacement. Something bohemian. Something with that same ocean vibe. Something I could make myself so it would feel even more special.
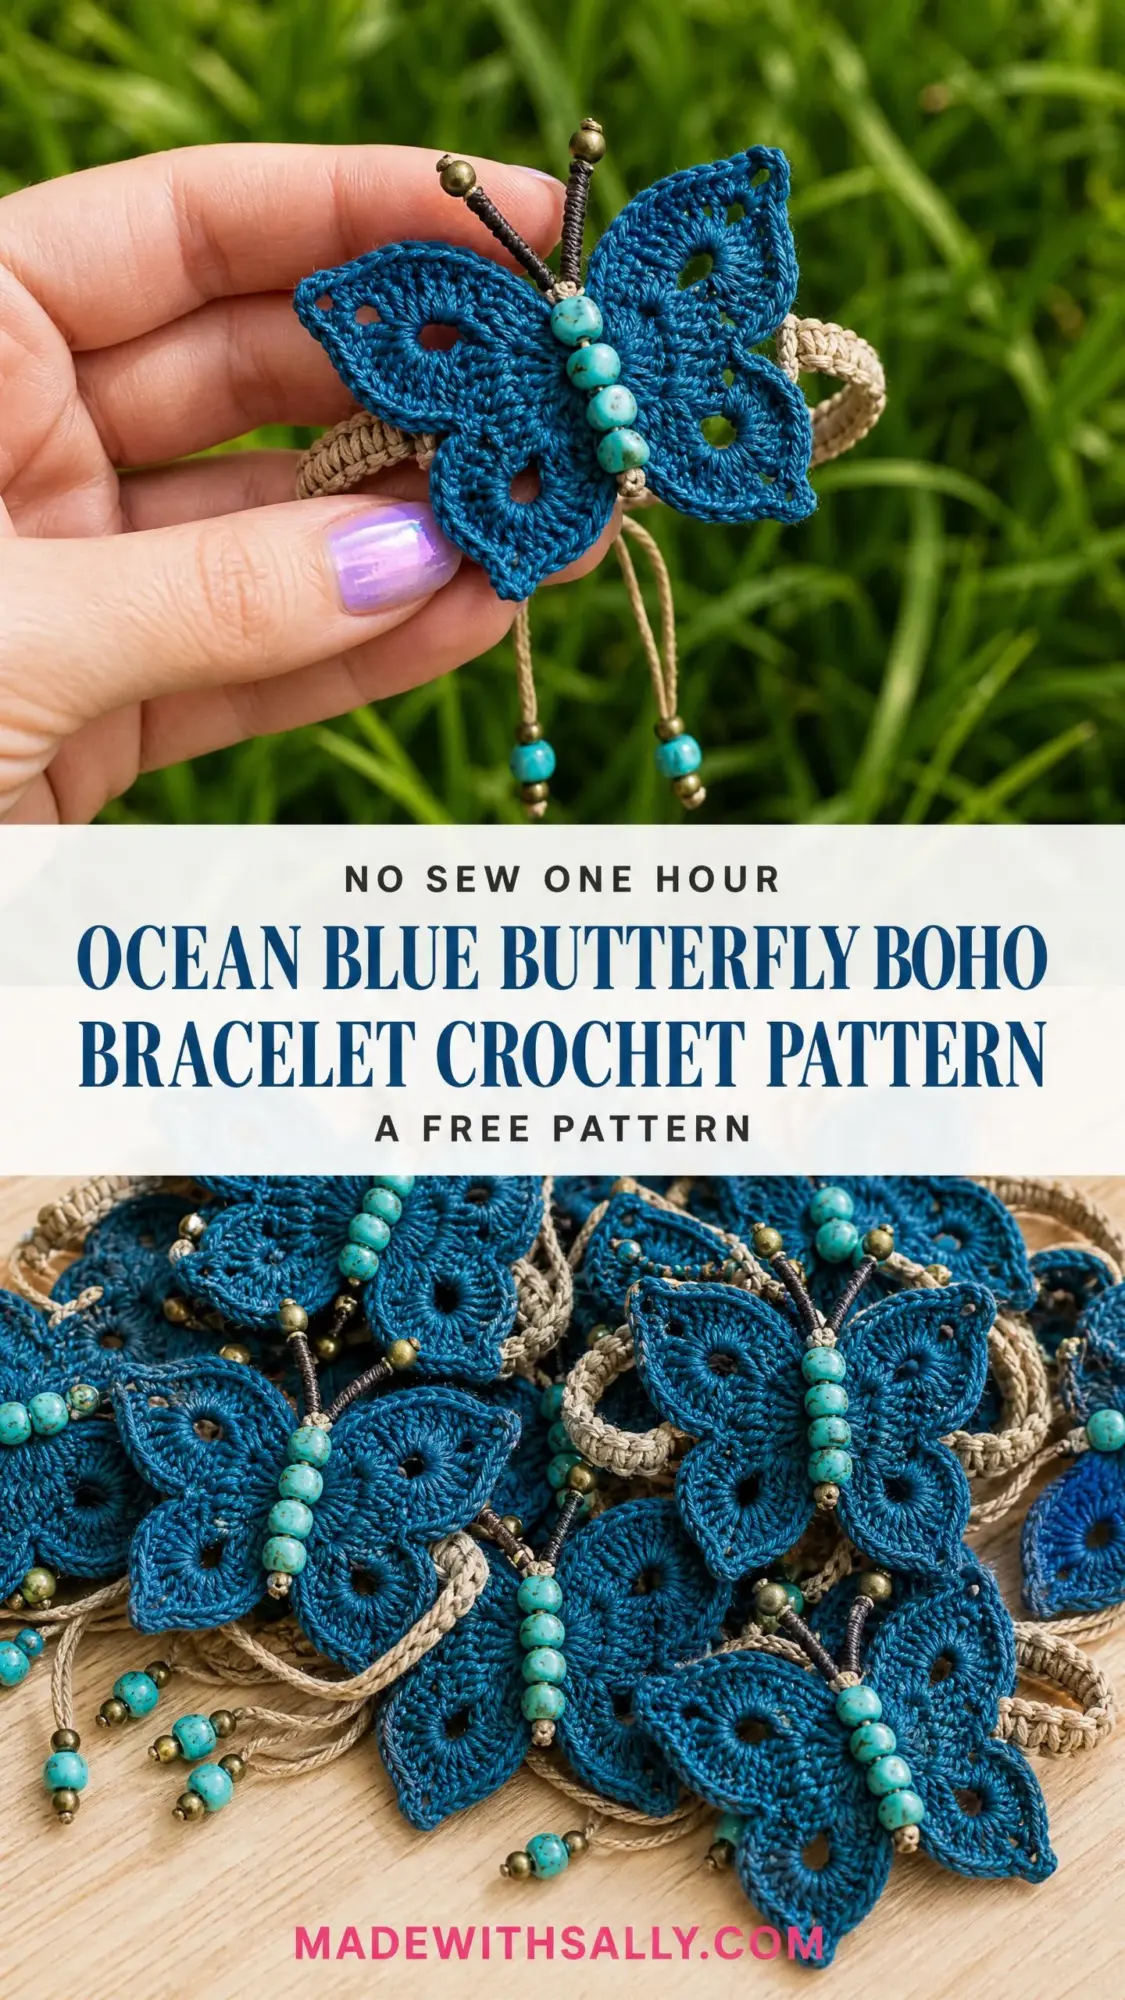
This butterfly bracelet is what emerged from that sandy loss. I wanted wings that looked like they could flutter away, a band that felt earthy and natural, and those gorgeous turquoise tones that remind me of the sea. The twisted antennae with their little brass tips? Those came from watching actual butterflies in my garden one morning while I was blocking the first prototype.
I have made about a dozen of these since then, gifting them to friends and keeping two for myself. Every single time someone asks where I got my bracelet, I get to say I made it. And now you can too.
About This Crochet Pattern
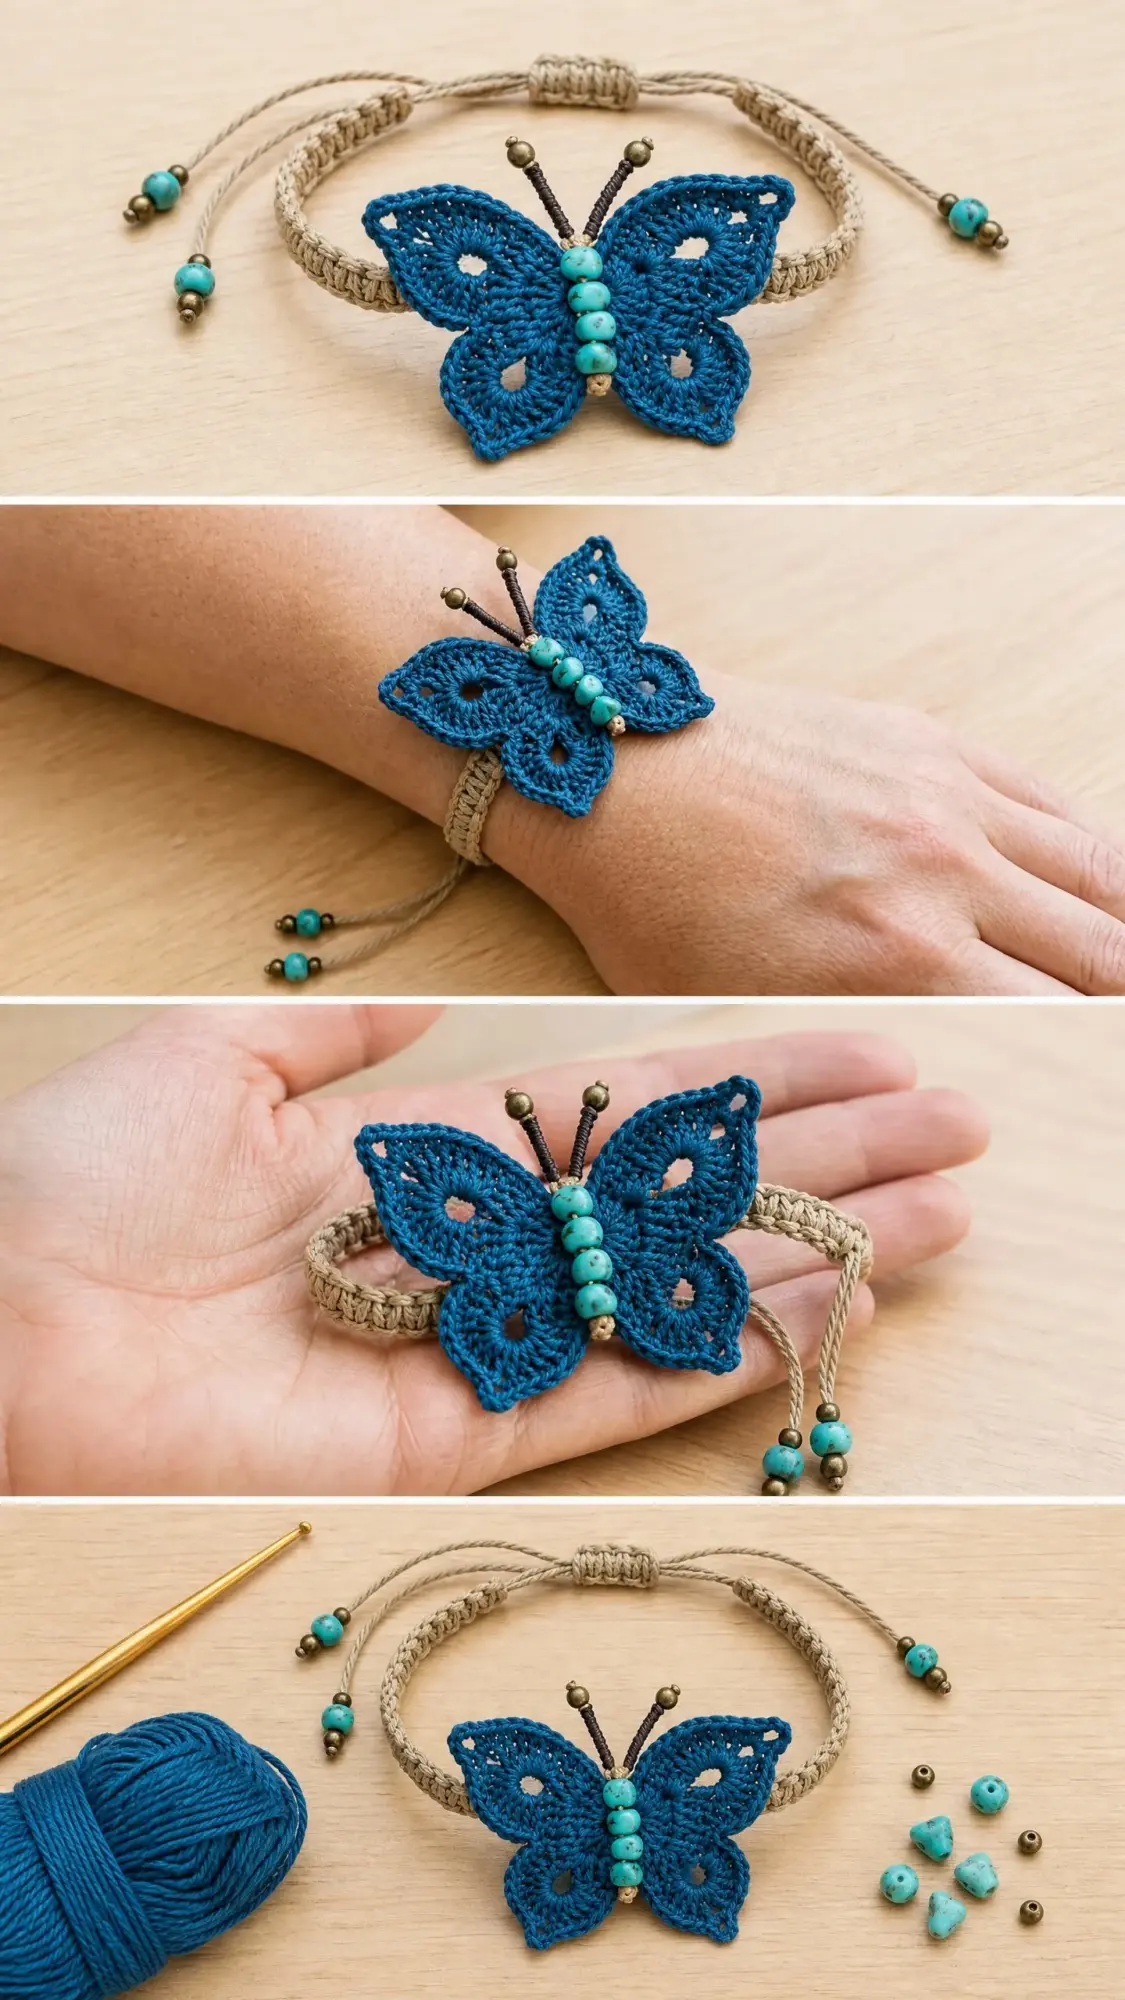
This Ocean Blue Butterfly Boho Bracelet combines two crafting techniques in one stunning accessory. You will crochet a delicate lace butterfly motif, then attach it to a simple macrame cord band with a sliding closure. The result is adjustable, comfortable, and absolutely eye-catching.
The butterfly features four distinct wings worked in rows using a combination of single crochet (sc), shell stitches, and decorative picots to create that beautiful open lace texture you see in the photos. The body is a small crocheted tube filled with stacked turquoise stone beads, and the antennae are twisted cord topped with brass beads.
Skill level: Intermediate. You should be comfortable working in rows, reading a multi-section pattern, and joining pieces together. The macrame portion is beginner-friendly and fully explained step by step.
Time estimate: 2 to 3 hours for an experienced crocheter. Give yourself a bit more time if you are new to bead finishing or macrame knots.
Finished Measurements
Butterfly motif: approximately 2.5 inches wide by 2 inches tall (6.5 cm by 5 cm)
Band: adjustable from approximately 6 inches to 8 inches in circumference (15 cm to 20.5 cm)
Band width: approximately 0.5 inches (1.3 cm)
Materials You Will Need
Yarn and Cord
Hook
Notions
Yarn Suggestions
DMC Petra Size 3 Crochet Thread in color 5995 (Turquoise Blue) works beautifully for this project. It is a smooth, tightly twisted cotton thread that holds the lace structure of the wings perfectly.
Aunt Lydia’s Classic Crochet Thread Size 10 in Peacock is another excellent choice. The mercerized cotton has a slight sheen that enhances the butterfly’s texture and photographs with a rich jewel tone.
Scheepjes Twisted Maxi Sugar Rush in any teal colorway gives the wings a slightly softer drape while still holding stitch definition.
Any smooth fingering weight cotton yarn or size 10 crochet thread will work well. Just avoid fuzzy or textured fibers, as they will obscure the lovely open lace details in the wings. The finished butterfly should be somewhat stiff to hold its wing shape, so I recommend blocking with light starch regardless of which yarn you choose.
Gauge
With US size B-1 (2.25 mm) hook and fingering weight thread:
7 single crochet stitches and 8 rows = 1 inch (2.5 cm)
The finished butterfly motif measures approximately 2.5 inches wide by 2 inches tall after blocking. Gauge is not critical for the band since the closure is fully adjustable.
Abbreviations
Before we dive in, let me explain every abbreviation you will encounter in this crochet tutorial.
Special Stitches and Techniques
Shell Stitch
Work 5 double crochet stitches all into the same stitch or chain space. This creates a fan shape and forms the outer curves of each wing. If you have never worked a shell before, do not worry. It is simply five dc stitches crowded into one spot.
Picot
Chain 3, then slip stitch into the first chain of those 3 chains to form a small decorative loop. This creates a tiny point along the outer wing edges.
Invisible Join
After the final stitch of a round, cut yarn leaving a 6-inch tail. Thread the tail onto a yarn needle. Insert the needle from front to back through both loops of the first stitch of the round. Then insert the needle back down through the back loop only of the last stitch of the round. Pull gently to tighten to match stitch size. This mimics a slip stitch join without the visible bump.
Magic Ring (MR)
Make a loop with the tail end crossing over the working end. Insert hook through the loop, yarn over, pull up a loop, chain 1 to secure. Work stitches into the center of the loop, then pull the tail to close the ring.
Twisted Cord Antenna
Cut 2 lengths of dark brown thread, each 8 inches long. Fold each in half. Attach the folded end to the butterfly head with a slip stitch or lark’s head knot. Twist both strands of each antenna tightly between your fingers in one direction until they begin to kink, then fold in half again so they twist back on themselves. Thread a brass bead onto the tip and secure with an overhand knot.
Pattern Notes Before You Begin
Please read these notes before starting. They will save you confusion later.
The butterfly is worked in three separate pieces: the upper two wings as one joined piece, the lower two wings as one joined piece, and a small body cylinder assembled over the beads. The pieces are then layered and joined.
All wing sections are worked flat in rows with a foundation beginning from a chain, then shaped with increases and shell stitches to create the wing curves.
The antennae are attached last, emerging from the top center of the body before the final bead is secured.
The macrame band is constructed separately from 1 mm waxed cotton cord using a simple square knot flat braid technique. Full instructions are included in the finishing section.
When counting stitches in shell stitch rows, count each double crochet of the shell as an individual stitch for your stitch count.
The tan cord band is not crocheted. It uses basic macrame technique.
The upper wings are slightly larger than the lower wings. This is intentional.
Step by Step Instructions
Upper Wings (make 1 piece)
The upper wings are worked as left and right halves, then joined at the center.
Left Upper Wing
Foundation: Ch 12.
Row 1 (RS): Sc in 2nd ch from hook and in each ch across. Turn. (11 sc)
Row 2 (WS): Ch 3 (counts as dc here and throughout), dc in same st, dc in next 3 sts, shell in next st (5 dc in same st), dc in next 3 sts, 2 dc in last st. Turn. (17 sts: 2 dc, 3 dc, 5 dc shell, 3 dc, 2 dc)
Row 3 (RS): Ch 1, sc in first 2 sts, hdc in next 2 sts, dc in next 2 sts, shell in center dc of shell, dc in next 2 sts, hdc in next 2 sts, sc in next 2 sts, picot in last st. Do not turn. (18 sts plus 1 picot)
Cut yarn and pull through loop to fasten off, leaving a 6-inch tail for joining. This is the outer edge of the left upper wing.
Right Upper Wing
Work exactly as Left Upper Wing through Row 3. Do not fasten off after Row 3. Leave loop on hook.
Join Upper Wings
Hold Left Upper Wing and Right Upper Wing with RS facing up and the foundation chain ends (inner edges) touching at center.
With hook still holding Right Upper Wing working loop, insert hook into the corresponding inner edge stitch of the Left Upper Wing at the foundation chain.
Sl st the two pieces together at the center inner edge, working 3 sl sts across to join the two wings at the body attachment point. (3 joining sl sts)
Fasten off, leaving a 10-inch tail for sewing to body later.
Checkpoint: The joined upper wing piece should measure approximately 2.5 inches wide and 1.25 inches tall. The outer edges should have a gentle scalloped curve from the shell stitch.
Lower Wings (make 1 piece)
Lower wings are slightly smaller and rounder than upper wings.
Left Lower Wing
Foundation: Ch 9.
Row 1 (RS): Sc in 2nd ch from hook and in each ch across. Turn. (8 sc)
Row 2 (WS): Ch 2 (counts as hdc), hdc in same st, hdc in next 2 sts, shell in next st (5 dc in same st), hdc in next 2 sts, 2 hdc in last st. Turn. (14 sts: 2 hdc, 2 hdc, 5 dc shell, 2 hdc, 2 hdc)
Row 3 (RS): Ch 1, sc in first 2 sts, hdc in next 2 sts, shell in center dc of shell, hdc in next 2 sts, sc in next 2 sts, picot in last st. Do not turn. (15 sts plus 1 picot)
Fasten off, leaving a 6-inch tail.
Right Lower Wing
Work exactly as Left Lower Wing through Row 3. Do not fasten off.
Join Lower Wings
Work as Join Upper Wings, sl st 3 times across the inner edge to join. (3 joining sl sts)
Fasten off, leaving a 10-inch tail for sewing to body later.
Checkpoint: The joined lower wing piece should measure approximately 2 inches wide and 0.75 inches tall.
Butterfly Body
The body encases the 5 turquoise beads in a small crochet tube.
Foundation: MR.
Round 1: Ch 1, work 6 sc into MR, pull ring closed, sl st to first sc to join. (6 sc)
Round 2: Ch 1, 2 sc in each st around, sl st to first sc to join. (12 sc)
Rounds 3 through 7: Ch 1, sc in each st around, sl st to first sc to join. (12 sc each round)
Note: Before closing Round 7, insert the 5 turquoise beads into the tube, stacking them vertically. If the beads do not fill the tube snugly, work one decrease round as follows before closing: (sc2tog) 6 times around. (6 sc) Pull beads into position and close.
Round 8 (closing round if no decrease needed): Ch 1, (sc2tog) 6 times around, sl st to join. (6 sc)
Fasten off, leaving a 12-inch tail for sewing the body to the wings and for attaching to the band.
Thread the tail onto a yarn needle and weave through the 6 remaining sts at the base, pull to cinch closed. Knot securely. Do not cut this tail yet. You will use it to attach the body to the wings.
Checkpoint: The finished body should be a small oval bead-filled tube approximately 0.75 inches tall and 0.4 inches wide, with visible turquoise beads through the gaps.
Assembly
Step 1: Lay the upper wing piece flat, RS up. Center the lower wing piece below it, RS up, so the joined inner edges of both pieces align vertically. The lower wings should sit about 0.3 inches below the bottom of the upper wings. Use a stitch marker or straight pin to hold alignment.
Step 2: Place the body tube vertically over the center join of both wing pieces, centered over the joined inner edges. The top of the body should reach approximately to the top center of the upper wings.
Step 3: Using the 12-inch tail from the body, sew the body to both wing pieces simultaneously with small whip stitches along the sides of the tube, catching the inner edge stitches of both the upper and lower wing joins. Pull snugly to secure the wings to the body. Knot securely inside the body. Weave in end.
Step 4: Using the remaining tails from the upper and lower wing pieces, tack the front faces of the wings lightly to the body tube at the join points to prevent the wings from drooping away from the body. Weave in all ends.
Antennae
Cut 2 lengths of dark brown thread, each 10 inches long. Fold each in half to create a doubled 5-inch length.
Using a lark’s head knot, attach each folded length to the top opening of the body tube, one on each side of center, catching the top stitches with the knot.
Twist both strands of each antenna firmly in one direction (clockwise) between your fingers until the thread begins to kink. Still holding the twisted strands, fold the twisted length back on itself and allow it to twist back on itself naturally to form a tight spiral cord. The finished antenna length should be approximately 1.25 inches.
Thread one brass bead onto the end of each antenna. Tie an overhand knot below the bead to secure. Trim ends below the knot to approximately 0.125 inches. Apply a tiny drop of clear fabric glue to the knot if desired.
Checkpoint: Both antennae should stand upright from the head of the butterfly and curve slightly outward, with brass bead tips at each end. Your butterfly motif is now complete.
Bracelet Band
The band is constructed from 1 mm waxed cotton macrame cord in natural tan. This section uses basic macrame technique and does not require crochet.
Cut 2 lengths of tan macrame cord, each 36 inches (91.5 cm) long.
Hold both lengths together and fold them at the midpoint so you have 4 working strands, each approximately 18 inches long.
Work a flat square knot sinnet (alternating square knots) using all 4 strands, with the 2 center strands as the core and the 2 outer strands as the working strands, for approximately 5 inches (12.5 cm). This is the main band length.
At the 5-inch mark, stop and set the sinnet aside. This will be the base of the bracelet to which the butterfly is attached.
Sliding Closure
Take the two loose ends of cord that emerge from each end of the sinnet. You will have 4 loose cord ends total (2 from each end of the band).
To form the sliding closure: cross the two ends of the sinnet so the band forms a loop (as it will sit on the wrist). Cut an additional 8-inch piece of cord. Using this separate piece, work 8 to 10 square knots around all 4 main cord strands where they cross, creating a sliding barrel knot cluster. This barrel knot cinches the two ends of the band together and slides to adjust circumference.
Trim the 4 remaining cord tails protruding from the bracelet ends to approximately 1.5 inches each. Thread beads onto each tail end: on each of the 4 tails, thread 1 brass bead and 1 turquoise bead, then tie an overhand knot below the beads to secure. Trim ends to approximately 0.25 inches below the knot. Seal with clear fabric glue if desired.
Attaching Butterfly to Band
Using the remaining yarn tails from the butterfly body or a new length of matching teal thread, sew the butterfly firmly to the center front of the band sinnet. Work multiple anchoring stitches through the base of the butterfly body and under the knots of the sinnet, passing the needle back and forth at least 6 times. Pull firmly with each stitch. The butterfly should not shift or rotate on the band.
Knot securely on the underside of the band. Weave in ends.
Checkpoint: After attaching the butterfly, hold the band up and confirm that the butterfly sits centered and flat against the top of the band. Tug gently on each wing to confirm the attachment is secure.
Size Customization Tips
To make the band larger or smaller, simply adjust the total sinnet length before forming the sliding closure. A sinnet of 4.5 inches creates a bracelet suitable for a 5.5-inch wrist. A sinnet of 6 inches suits a 7.5-inch wrist. The sliding closure adds approximately 1.5 to 2.5 inches of adjustability in either direction, so this bracelet fits most wrists without modification.
To make a larger butterfly for a statement cuff, work the wing foundation chains 2 to 4 chains longer and add one additional row to each wing section before working the shell and picot row. Adjust the body tube by working additional rounds of sc between Rounds 2 and 7 to accommodate more beads.
For a child-size bracelet, reduce the sinnet to 4 inches and use a smaller hook (US size 10 or 12 steel) with size 20 crochet thread.
Finishing and Blocking
Wet block the butterfly motif only. Do not wet block the macrame band or the beads. Mist the butterfly lightly with water or submerge briefly, squeeze gently in a towel to remove excess moisture, then pin the wings flat to a foam blocking board, shaping each wing into a smooth fan curve. Allow to dry completely, at least 4 hours or overnight.
For a stiffer wing that holds its shape better over time, dilute fabric stiffener or liquid starch 50/50 with water, brush lightly onto the wings with a small paintbrush while pinned, and allow to dry fully before removing pins.
Weave in all remaining yarn ends securely, making sure no ends are visible from the RS.
Care Instructions
Hand wash only in cool water with mild soap. Do not wring or twist. Press gently in a towel to remove water. Reshape wings if needed and lay flat to dry. Do not tumble dry, iron, or dry clean. Keep away from prolonged direct sunlight to preserve the teal color. Store flat or hanging, not folded, to prevent the wings from becoming misshapen.
Final Thoughts on This Butterfly Bracelet Crochet Pattern
This Ocean Blue Butterfly Boho Bracelet is one of those projects that looks far more complicated than it actually is. The combination of delicate crochet work with rustic macrame creates something truly special. Whether you make it for yourself or as a gift, this bracelet carries a handmade charm that store-bought jewelry simply cannot match.
I love wearing mine with sundresses in summer and cozy sweaters in fall. The adjustable closure means it fits perfectly every time, and the turquoise beads catch the light beautifully. If you have been wanting to try combining crochet with other fiber arts, this beginner friendly project is the perfect place to start.
Thank you so much for choosing this pattern. I hope you love making your butterfly bracelet as much as I loved designing it. If you try this crochet pattern, I would absolutely love to see your finished piece. Tag me on Instagram or share it in my Facebook group. Seeing your creations truly makes my day.
If you enjoyed this pattern, go ahead and pin it to your Pinterest boards so you can find it whenever the crafting mood strikes. And please drop a comment below if you make one. I would love to hear which color combination you chose and how it turned out for you.
