
I call this one "Little Sunshine," and it started in a dog-eared notebook I keep beside my favorite chair. A friend asked me to make something special for her newborn photography session, and she wanted flowers. Not just any flowers. She wanted her baby to be the flower.
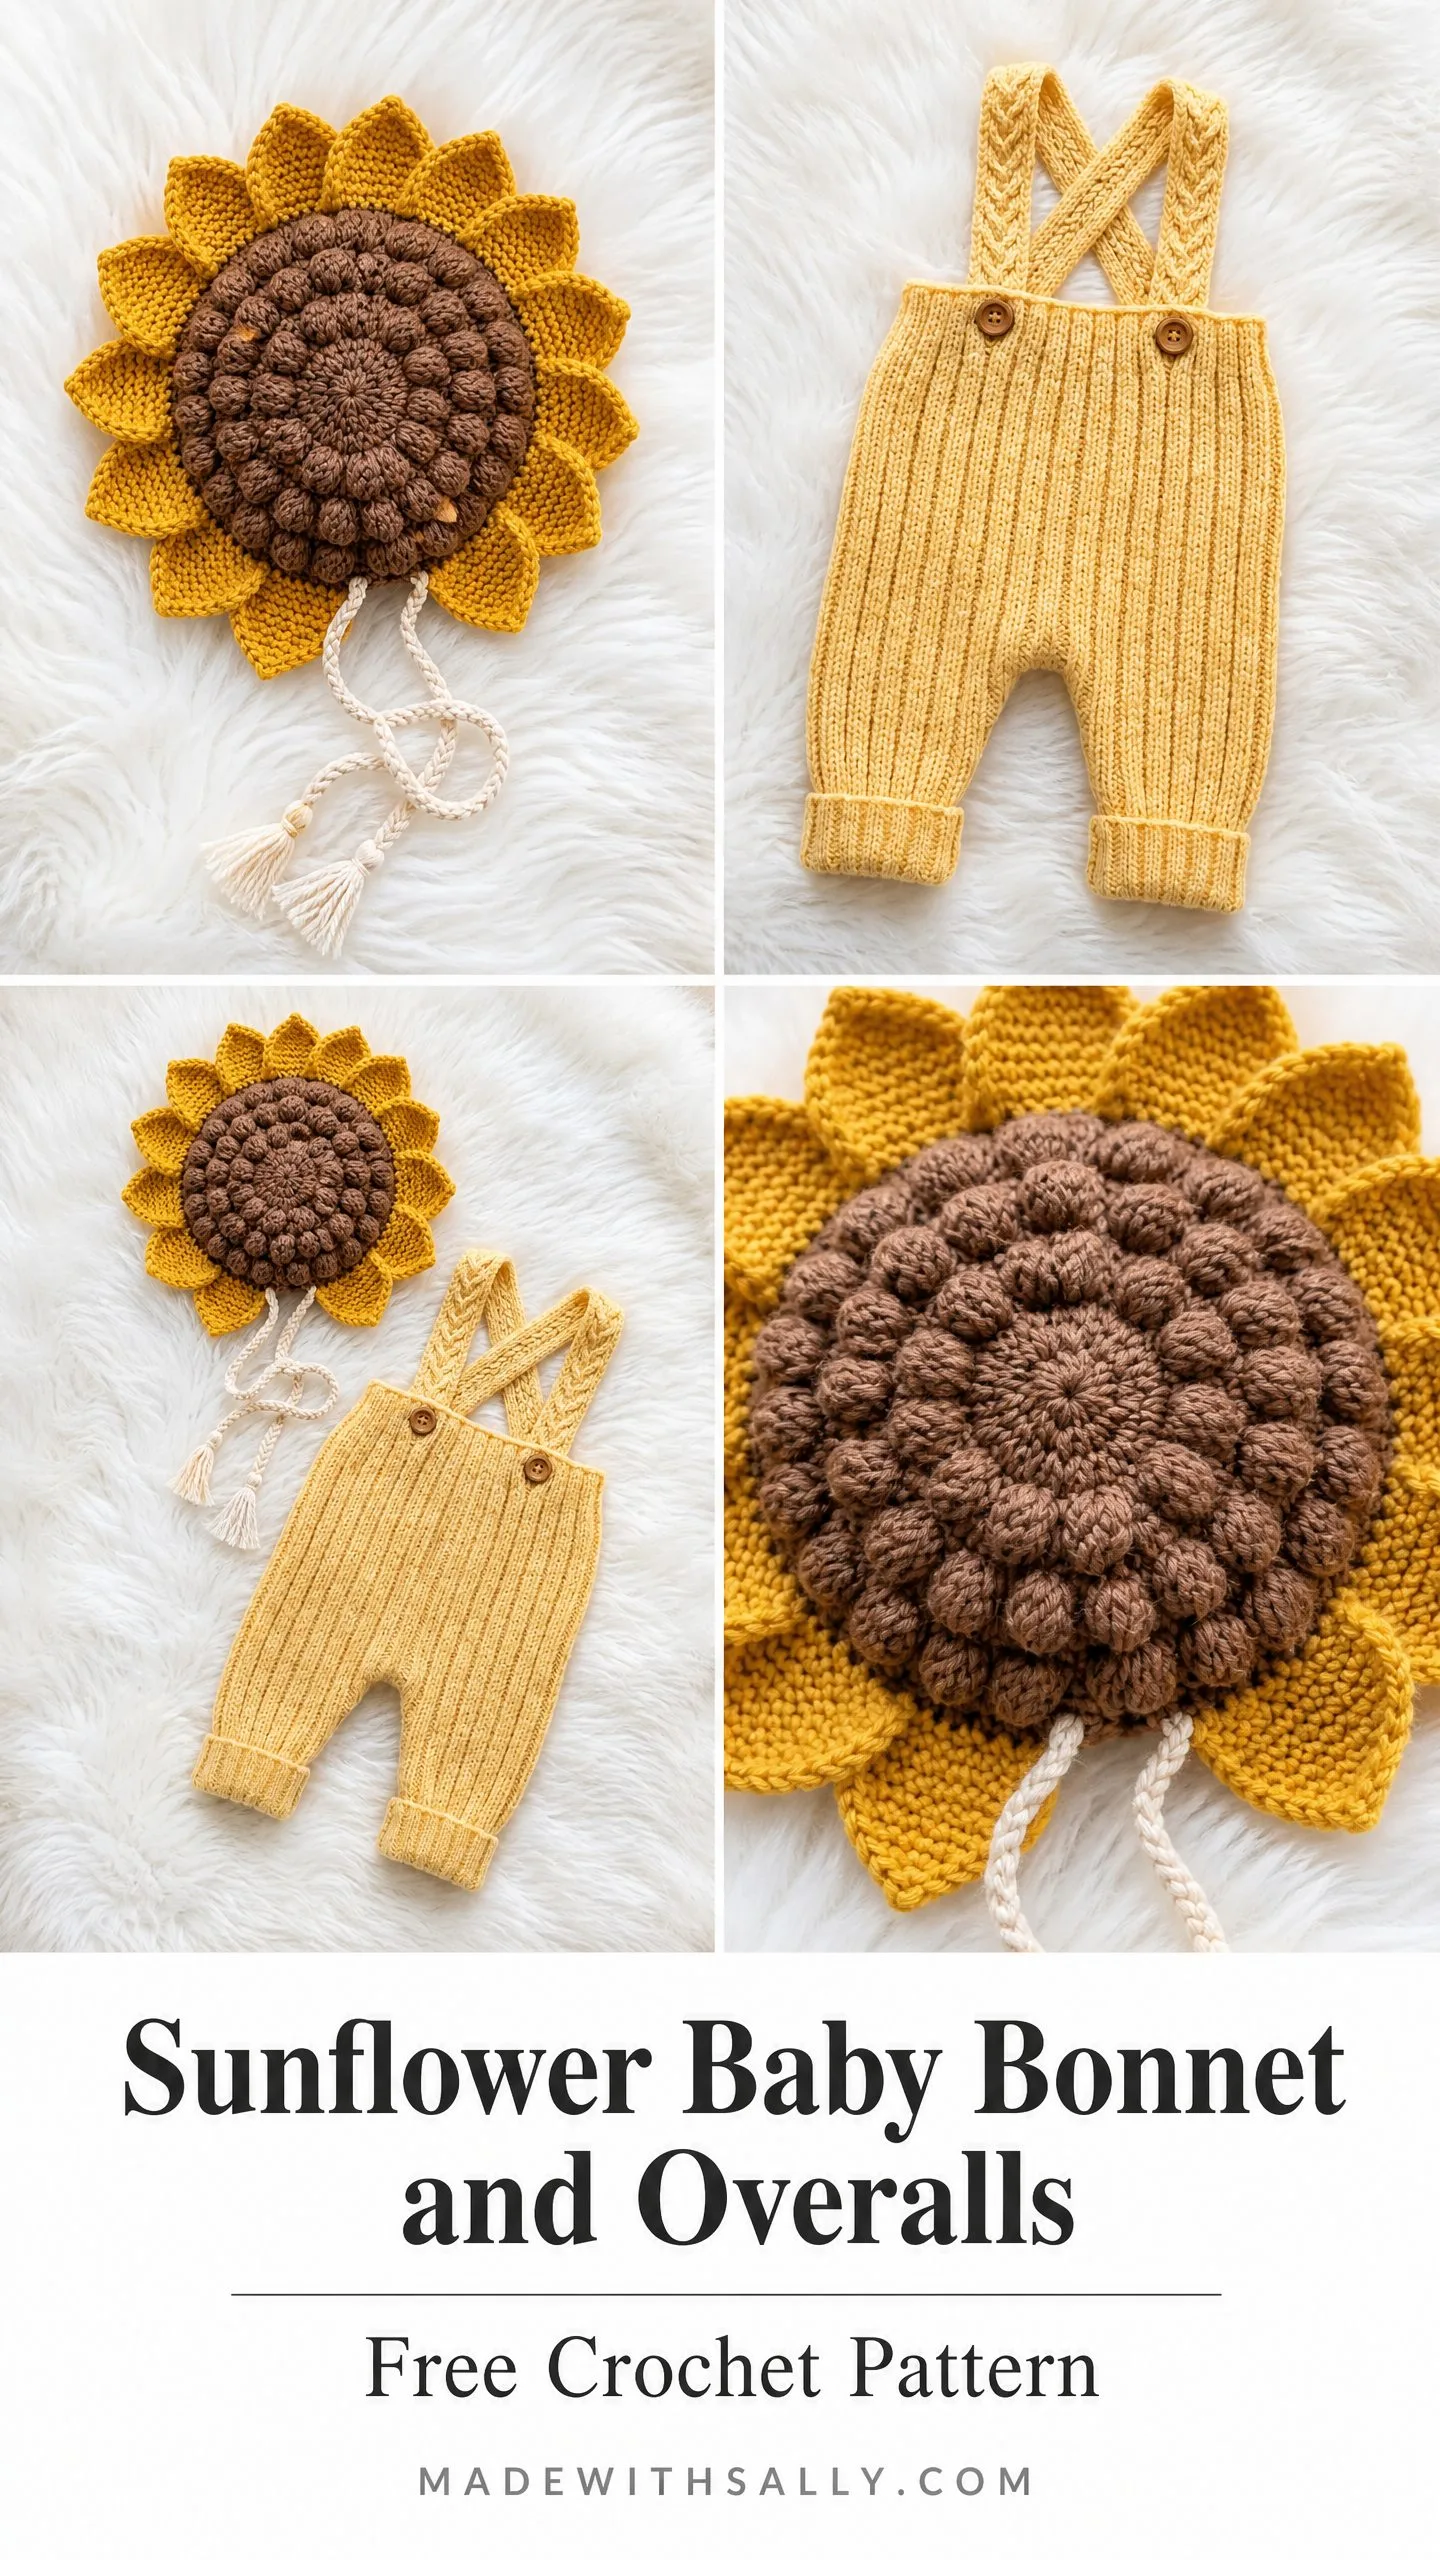
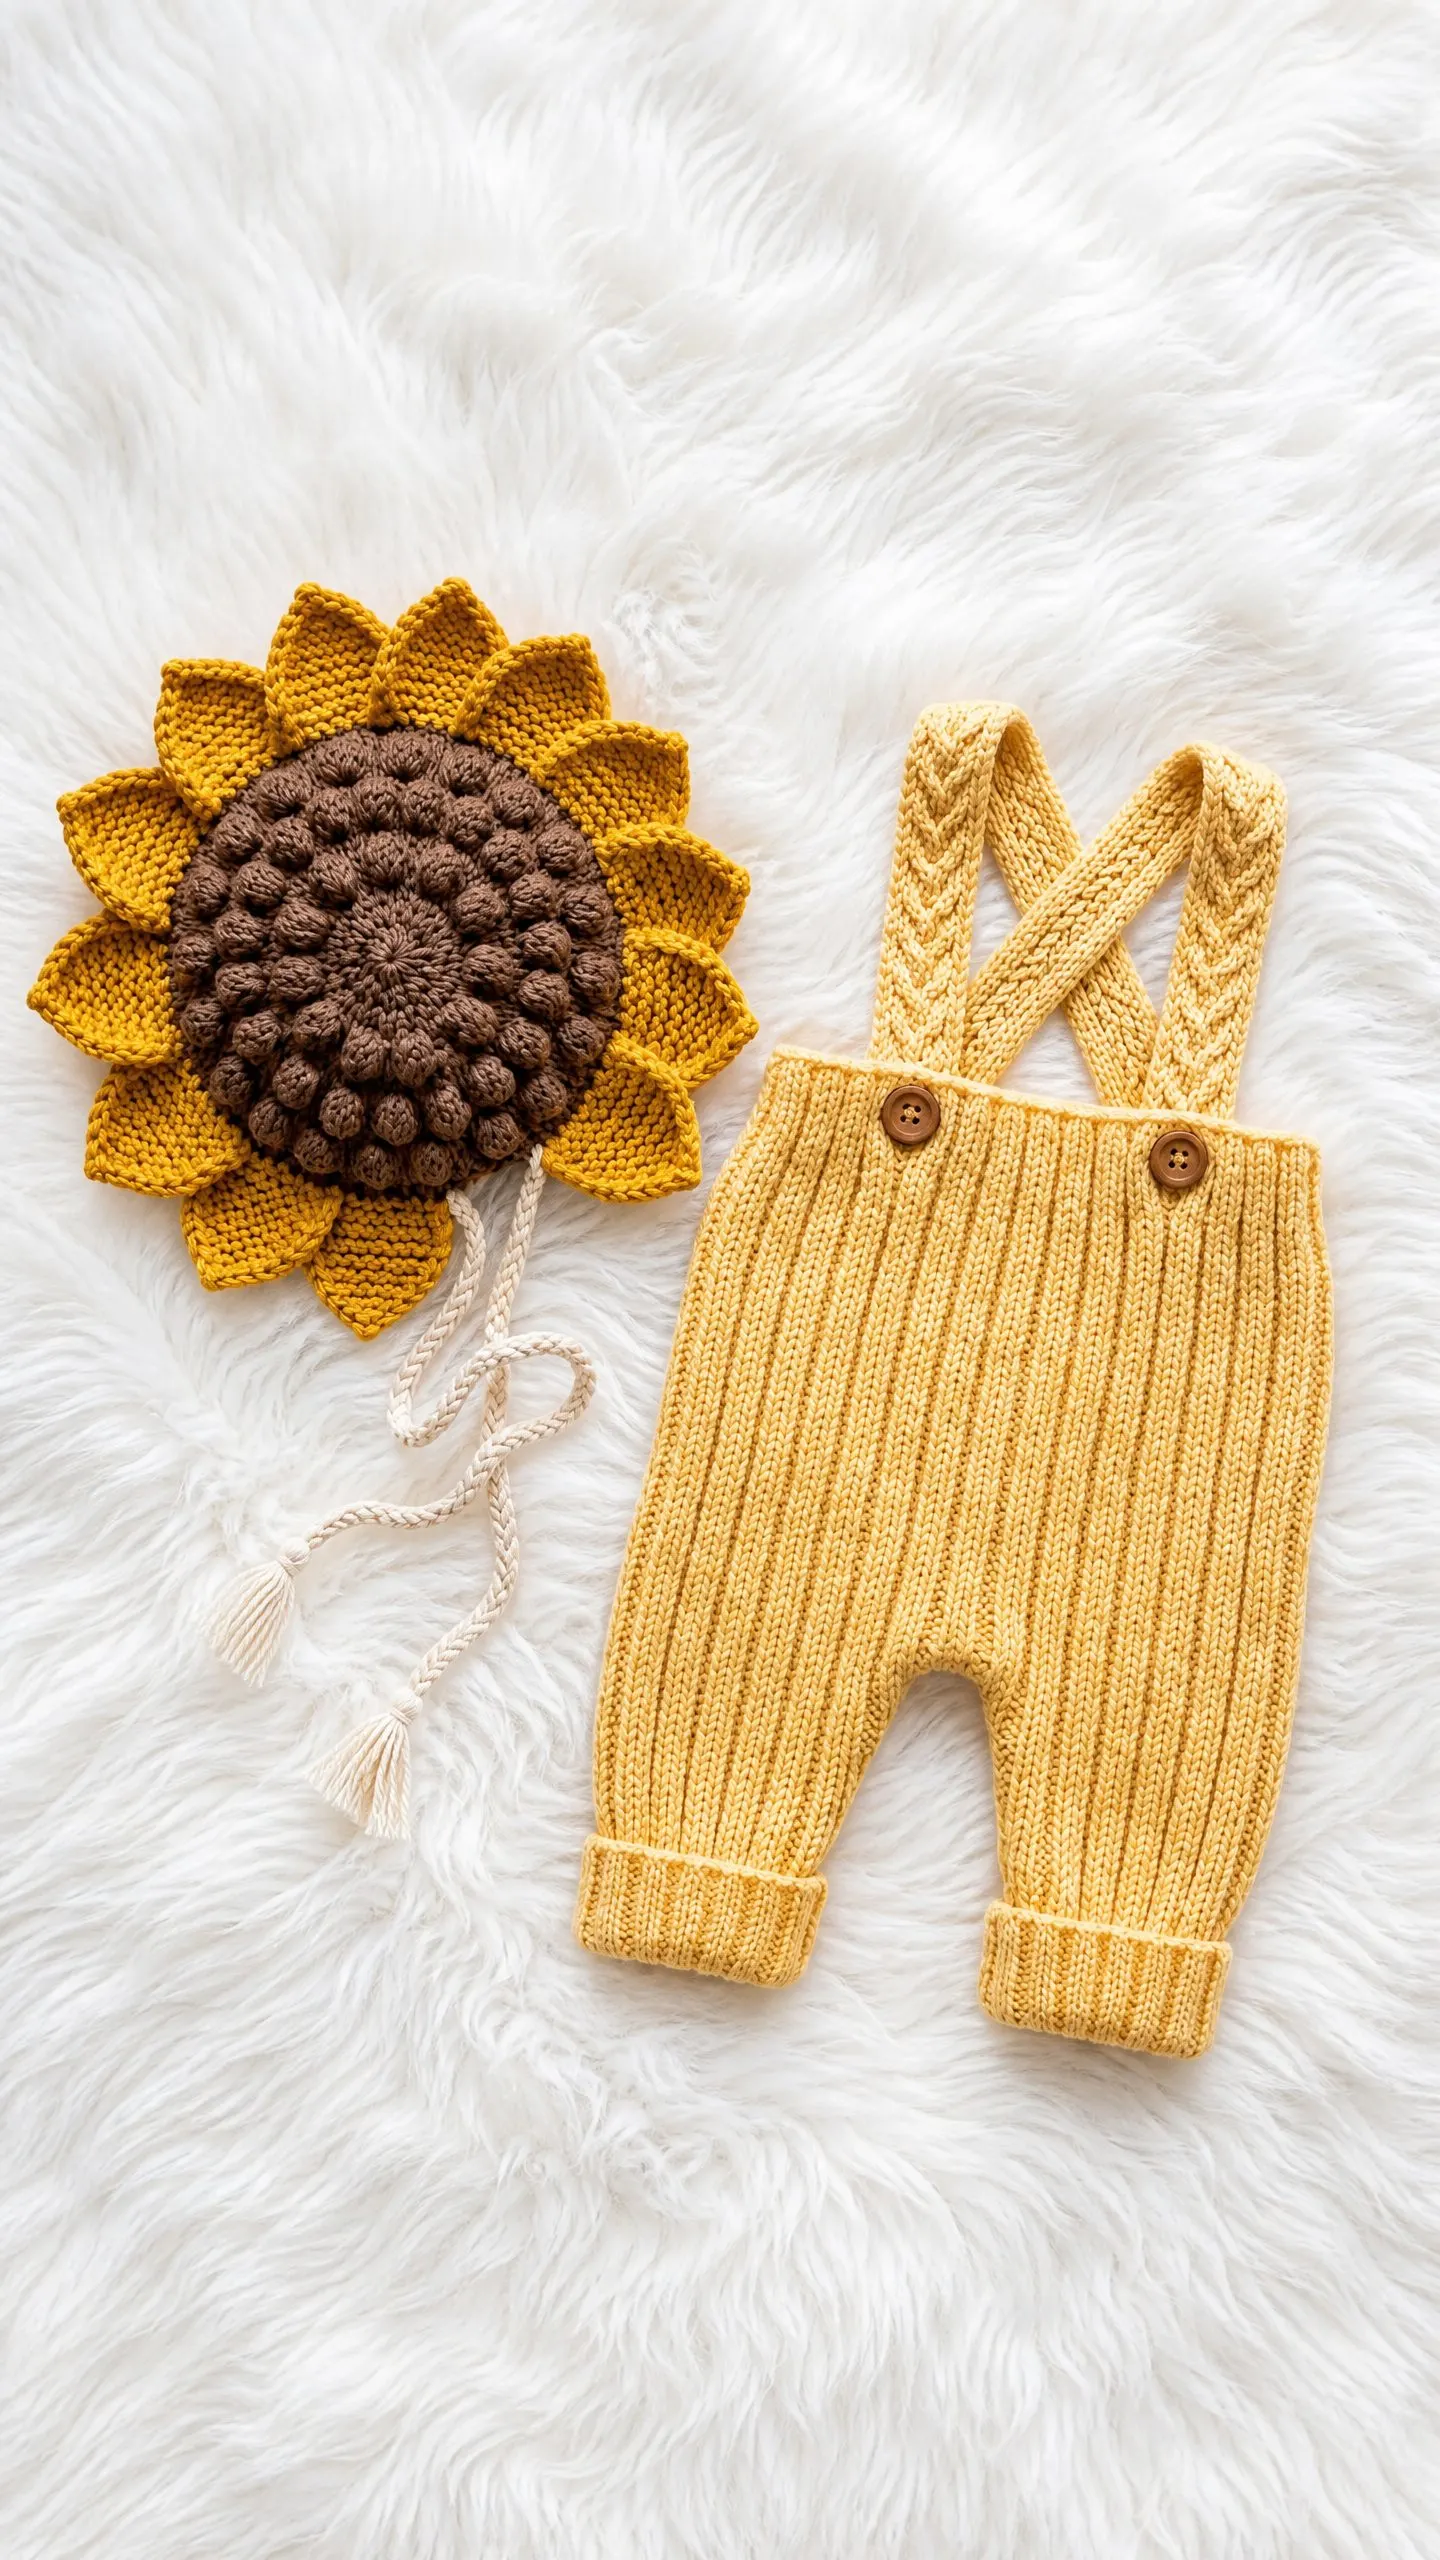
So I sketched this sunflower bonnet with its bumpy brown center and golden petals framing a tiny face. The matching overalls came next because every flower needs a stem, right? I made the first set for baby Marigold (yes, that was really her name), and the photos were absolutely precious.
Now I’m sharing this pattern with you. It’s become one of my most requested designs, and I think you’ll see why once you hold the finished pieces in your hands.
About This Crochet Pattern
This two-piece newborn set includes a structured sunflower bonnet and ribbed suspender overalls. The bonnet features a raised bobble-stitch center worked in warm brown, surrounded by layered yellow petals that fan out beautifully around a baby’s face. The overalls use a special back loop only technique that creates a knit-look ribbed texture without any knitting required.
The set is sized for newborns weighing approximately 7 to 10 pounds, making it perfect for those precious first photos. Both pieces work up relatively quickly once you get the hang of the stitches involved.
Skill level: Intermediate. You should be comfortable working in the round, creating bobble stitches, and basic garment construction. If you’ve never tried bobbles before, don’t worry. I’ll walk you through every step.
Time estimate: Plan for 3 to 4 hours on the bonnet and 5 to 7 hours on the overalls. The complete set takes roughly 8 to 11 hours total.
Finished Measurements
Bonnet: Approximately 12 inches (30.5 cm) in circumference, fitting a newborn head of 13 to 14 inches with stretch. The petal span measures about 7 inches (18 cm) across.
Overalls: Waist measures approximately 14 inches (35.5 cm) unstretched, stretching to about 18 inches (45.5 cm). Length from waist to hem is approximately 10 inches (25.5 cm) with an inseam of approximately 3 inches (7.5 cm).
Materials You’ll Need
Yarn (DK weight):
Hooks:
Notions:
Yarn suggestions: Lion Brand Pound of Love, Paintbox Yarns Simply DK, or Cascade 220 Superwash all work beautifully. Avoid fuzzy yarns since the bobble and rib textures need clear stitch definition.
Gauge
Bonnet (E-4 hook): 20 single crochet (sc) = 4 inches (10 cm); 22 rows = 4 inches (10 cm)
Overalls (F-5 hook): 18 stitches = 4 inches (10 cm); 20 rows = 4 inches (10 cm) in the ribbed pattern
Please swatch before beginning. Gauge matters a lot when making fitted garments for tiny humans.
Abbreviations and Special Stitches
Let me explain every stitch you’ll encounter:
sc = single crochet (insert hook, yarn over, pull up loop, yarn over, pull through both loops)
ch = chain
sl st = slip stitch
dc = double crochet
hdc = half double crochet
BLO = back loop only (insert your hook under just the back loop of the stitch, creating a ridge on the front)
sc2tog = single crochet two together, which is a decrease (insert hook in first stitch, pull up loop, insert hook in next stitch, pull up loop, yarn over and pull through all 3 loops)
fsc = foundation single crochet (creates a stretchy foundation row, explained in detail below)
bo = bobble stitch (the bumpy texture for the sunflower center)
How to Work the Bobble Stitch
This creates those adorable bumps in the flower center. Here’s the breakdown:
Yarn over, insert hook into the stitch, yarn over and pull up a loop, yarn over and pull through 2 loops. You’ve made one partial double crochet. Repeat this sequence 4 more times in the same stitch. You’ll have 6 loops on your hook total. Yarn over and pull through all 6 loops at once. Push the bobble to the right side of your work. That’s one bobble complete.
How to Work Foundation Single Crochet
This creates a foundation chain and first row simultaneously with better stretch than a regular chain.
Make a slip knot. Chain 2. Insert hook into the second chain from hook, yarn over and pull up a loop (2 loops on hook), yarn over and pull through 1 loop (that’s your foundation chain), yarn over and pull through remaining 2 loops. First fsc complete.
For each additional fsc: insert hook under the 2 loops of the foundation chain at the base of the previous stitch, yarn over and pull up a loop, yarn over and pull through 1 loop, yarn over and pull through remaining 2 loops.
How to Make the Braided Ties
Cut 9 strands of Color D, each 18 inches (45.5 cm) long. Hold all strands together and fold in half to create a loop. Divide the 18 working ends into 3 groups of 6 strands. Braid until about 1.5 inches (4 cm) from the ends. Tie a small overhand knot, then unravel the final inch of each group to create tassel fringe.
Pattern Notes Before You Begin
1. The ch 1 at the start of each round or row does NOT count as a stitch throughout this entire pattern.
2. All rounds are joined with a slip stitch unless stated otherwise.
3. Mark the first stitch of each round and move your marker up as you go.
4. The bonnet uses Color A for the cap dome, Color B for petals, and Color C for the bobble center.
5. The overalls are worked entirely in Color A.
6. Bobbles should always be pushed to the right side (the outside) of your work.
Sunflower Bonnet Pattern Instructions
Section 1: Bobble Center
Using Color C and E-4 (3.5 mm) hook.
Rnd 1: Magic ring, ch 1, work 6 sc into ring, join with sl st to first sc. (6 sc)
Rnd 2: Ch 1, work 2 sc in each st around, join. (12 sc)
Rnd 3: Ch 1, (sc in next st, 2 sc in next st) 6 times, join. (18 sc)
Rnd 4: Ch 1, (sc in next 2 sts, 2 sc in next st) 6 times, join. (24 sc)
Rnd 5: Ch 1, (bo in next st, sc in next st) 12 times, join. (12 bo, 12 sc = 24 sts)
Rnd 6: Ch 1, (sc in next st, bo in next st) 12 times, join. (12 sc, 12 bo = 24 sts)
Rnd 7: Ch 1, (bo in next st, sc in next 2 sts) 8 times, join. (8 bo, 16 sc = 24 sts)
Rnd 8: Ch 1, (sc in next st, bo in next st, sc in next st) 8 times, join. (16 sc, 8 bo = 24 sts)
Rnd 9: Ch 1, sc in each st around, join. (24 sc)
Fasten off Color C, leaving a 6-inch tail. Set aside.
Checkpoint: Your bobble center should measure approximately 3.5 inches (9 cm) in diameter.
Section 2: Cap Dome
Using Color A and E-4 (3.5 mm) hook.
Rnd 1: Magic ring, ch 1, work 6 sc into ring, join with sl st to first sc. (6 sc)
Rnd 2: Ch 1, work 2 sc in each st around, join. (12 sc)
Rnd 3: Ch 1, (sc in next st, 2 sc in next st) 6 times, join. (18 sc)
Rnd 4: Ch 1, (sc in next 2 sts, 2 sc in next st) 6 times, join. (24 sc)
Rnd 5: Ch 1, (sc in next 3 sts, 2 sc in next st) 6 times, join. (30 sc)
Rnd 6: Ch 1, (sc in next 4 sts, 2 sc in next st) 6 times, join. (36 sc)
Rnd 7: Ch 1, (sc in next 5 sts, 2 sc in next st) 6 times, join. (42 sc)
Rnd 8: Ch 1, (sc in next 6 sts, 2 sc in next st) 6 times, join. (48 sc)
Rnd 9: Ch 1, (sc in next 7 sts, 2 sc in next st) 6 times, join. (54 sc)
Rnd 10: Ch 1, (sc in next 8 sts, 2 sc in next st) 6 times, join. (60 sc)
Rnd 11: Ch 1, sc in each st around, join. (60 sc)
Rnd 12: Ch 1, sc in each st around, join. (60 sc)
Rnd 13: Ch 1, sc in each st around, join. (60 sc)
Do not fasten off.
Checkpoint: The cap dome should measure approximately 5.5 inches (14 cm) across.
Section 3: Brim Shaping
Still using Color A and E-4 hook. This creates the face opening.
Mark stitch 21 and stitch 60. The 20 stitches between these markers form the back neck edge. The remaining 40 stitches form the face opening.
Row 1 (RS): Working only across the 40-stitch front arc, ch 1, sc in each of next 40 sts, turn. (40 sc)
Row 2: Ch 1, sc2tog over first 2 sts, sc in next 36 sts, sc2tog over last 2 sts, turn. (38 sc)
Row 3: Ch 1, sc2tog over first 2 sts, sc in next 34 sts, sc2tog over last 2 sts, turn. (36 sc)
Row 4: Ch 1, sc in each st across, turn. (36 sc)
Fasten off Color A.
Section 4: Petals
Using Color B and E-4 hook.
Petal Layer 1 (Front Petals):
Join Color B to any stitch in Rnd 10 of the cap dome. You’ll work 15 petals total, each using 4 stitches as a base.
For each petal:
Row A: Ch 1, sc in next 4 sts of Rnd 10, turn. (4 sc)
Row B: Ch 1, 2 sc in first st, sc in next 2 sts, 2 sc in last st, turn. (6 sc)
Row C: Ch 1, 2 sc in first st, sc in next 4 sts, 2 sc in last st, turn. (8 sc)
Row D: Ch 1, sc in each st across, turn. (8 sc)
Row E: Ch 1, hdc in first st, dc in next 6 sts, hdc in last st, turn. (8 sts)
Row F: Ch 1, sc2tog, hdc in next 4 sts, sc2tog, turn. (6 sts)
Row G: Ch 1, sc2tog, sc in next 2 sts, sc2tog. (4 sts)
Fasten off. Repeat 14 more times around. (15 petals total)
Petal Layer 2 (Back Petals):
Join Color B to Rnd 9, offset by 2 stitches from the front petals. Work 15 petals using the same Rows A through G. These sit behind and between the front petals.
Section 5: Attaching the Bobble Center
Using a yarn needle and Color C, whipstitch the bobble center disk to the top center of the cap dome with bobbles facing outward.
Section 6: Neck Edge and Ties
Using Color A and E-4 hook, join yarn to the right corner of the back neck edge.
Row 1: Ch 1, sc evenly across the back neck edge (approximately 20 sc), then continue down the right side edge and up the left side edge (approximately 6 sc per side). (32 sc total)
Fasten off. Attach braided ties to each lower corner of the face opening.
Overalls Pattern Instructions
Section 1: Left Leg
Using Color A and F-5 (3.75 mm) hook.
Row 1 (Foundation): Work 32 fsc. (32 sts)
Row 2: Ch 1, turn, sc in BLO of each st across. (32 sc)
Rows 3 through 36: Repeat Row 2. (32 sc each row)
Fold so short edges meet, sl st together to form a tube. Fasten off.
Section 2: Right Leg
Repeat Section 1 exactly.
Section 3: Joining Legs and Body
Place both tubes side by side. Slip stitch 4 inner edge stitches of each leg together at the crotch.
Join yarn at the back of the joined body.
Rnd 1 of body: Ch 1, sc in BLO of each st around both legs, join. (56 sc)
Rnds 2 through 14: Ch 1, sc in BLO of each st around, join. (56 sc each rnd)
Do not fasten off.
Section 4: Front Bib
Join Color A to the center front 28 stitches.
Row 1 (RS): Ch 1, sc in BLO of next 28 sts, turn. (28 sc)
Rows 2 through 10: Ch 1, sc in BLO of each st across, turn. (28 sc each row)
Row 11 (button loop row): Ch 1, sc in BLO of next 5 sts, ch 2, sk next 2 sts, sc in BLO of next 14 sts, ch 2, sk next 2 sts, sc in BLO of last 5 sts, turn. (24 sc + 2 ch-2 sp)
Row 12: Ch 1, sc in BLO of next 5 sts, 2 sc in ch-2 sp, sc in BLO of next 14 sts, 2 sc in ch-2 sp, sc in BLO of last 5 sts, turn. (28 sc)
Row 13: Ch 1, sc in BLO of each st across. (28 sc)
Fasten off.
Section 5: Back Waist Edge
Join Color A to the 28 back waist stitches.
Row 1: Ch 1, sc in BLO of each of the 28 back sts, turn. (28 sc)
Row 2: Ch 1, sc in BLO of each st across. (28 sc)
Fasten off.
Section 6: Cuff Fold-Over
Fold the bottom 4 rows of each leg upward to the outside. Tack in place with a few whipstitches.
Section 7: Suspender Straps (Make 2)
Using Color A and F-5 hook.
Row 1 (Foundation): Work 4 fsc. (4 sts)
Row 2: Ch 1, turn, sc in BLO of each st across. (4 sc)
Rows 3 through 60: Repeat Row 2. (4 sc each row)
Fasten off, leaving a 12-inch tail.
Each strap should measure approximately 12 inches long.
Section 8: Attaching Straps
Position Strap 1 at the top right corner of the front bib, running over the right shoulder and crossing diagonally to the left side of the back waist.
Position Strap 2 at the top left corner, crossing to the right side of the back.
Sew the crossing point together at the back. Sew each strap end to the back waist corners. Attach wooden buttons through both the strap ends and bib at the button loop positions.
Finishing and Blocking
Weave in all ends securely. Wet blocking is strongly recommended.
For the bonnet, shape over a balloon or bowl to maintain roundness. Fan out petals and pin them flat. Allow 12 to 24 hours to dry.
For the overalls, smooth flat and straighten the rib columns. Pin cuffs in place.
Sew on wooden buttons after blocking when the fabric is completely dry.
Care Instructions
Hand wash in cool water with gentle detergent. Press gently in a towel and reshape to dry flat. If using superwash wool or acrylic, machine washing on delicate in a mesh bag is fine. Never tumble dry on high heat.
I hope you love making this Little Sunshine set as much as I loved designing it. There’s something so satisfying about watching those petals come together and imagining them framing a sweet baby face. Thank you for choosing this pattern for your next project.
If you make this sunflower baby bonnet and overalls crochet pattern, I would absolutely love to see your finished set. Tag me on Instagram or share in my Facebook group. Your versions always make my day brighter.
Save this pattern to your Pinterest boards so you can find it whenever inspiration strikes. And please drop a comment below if you give it a try. I read every single one.
