
THIS is the bag project you have been waiting for! I am SO excited to share this cheerful tote with you because it looks absolutely stunning but comes together faster than you would think. We are talking about 12 to 18 hours of satisfying crochet time for a bag that will have everyone asking where you bought it.
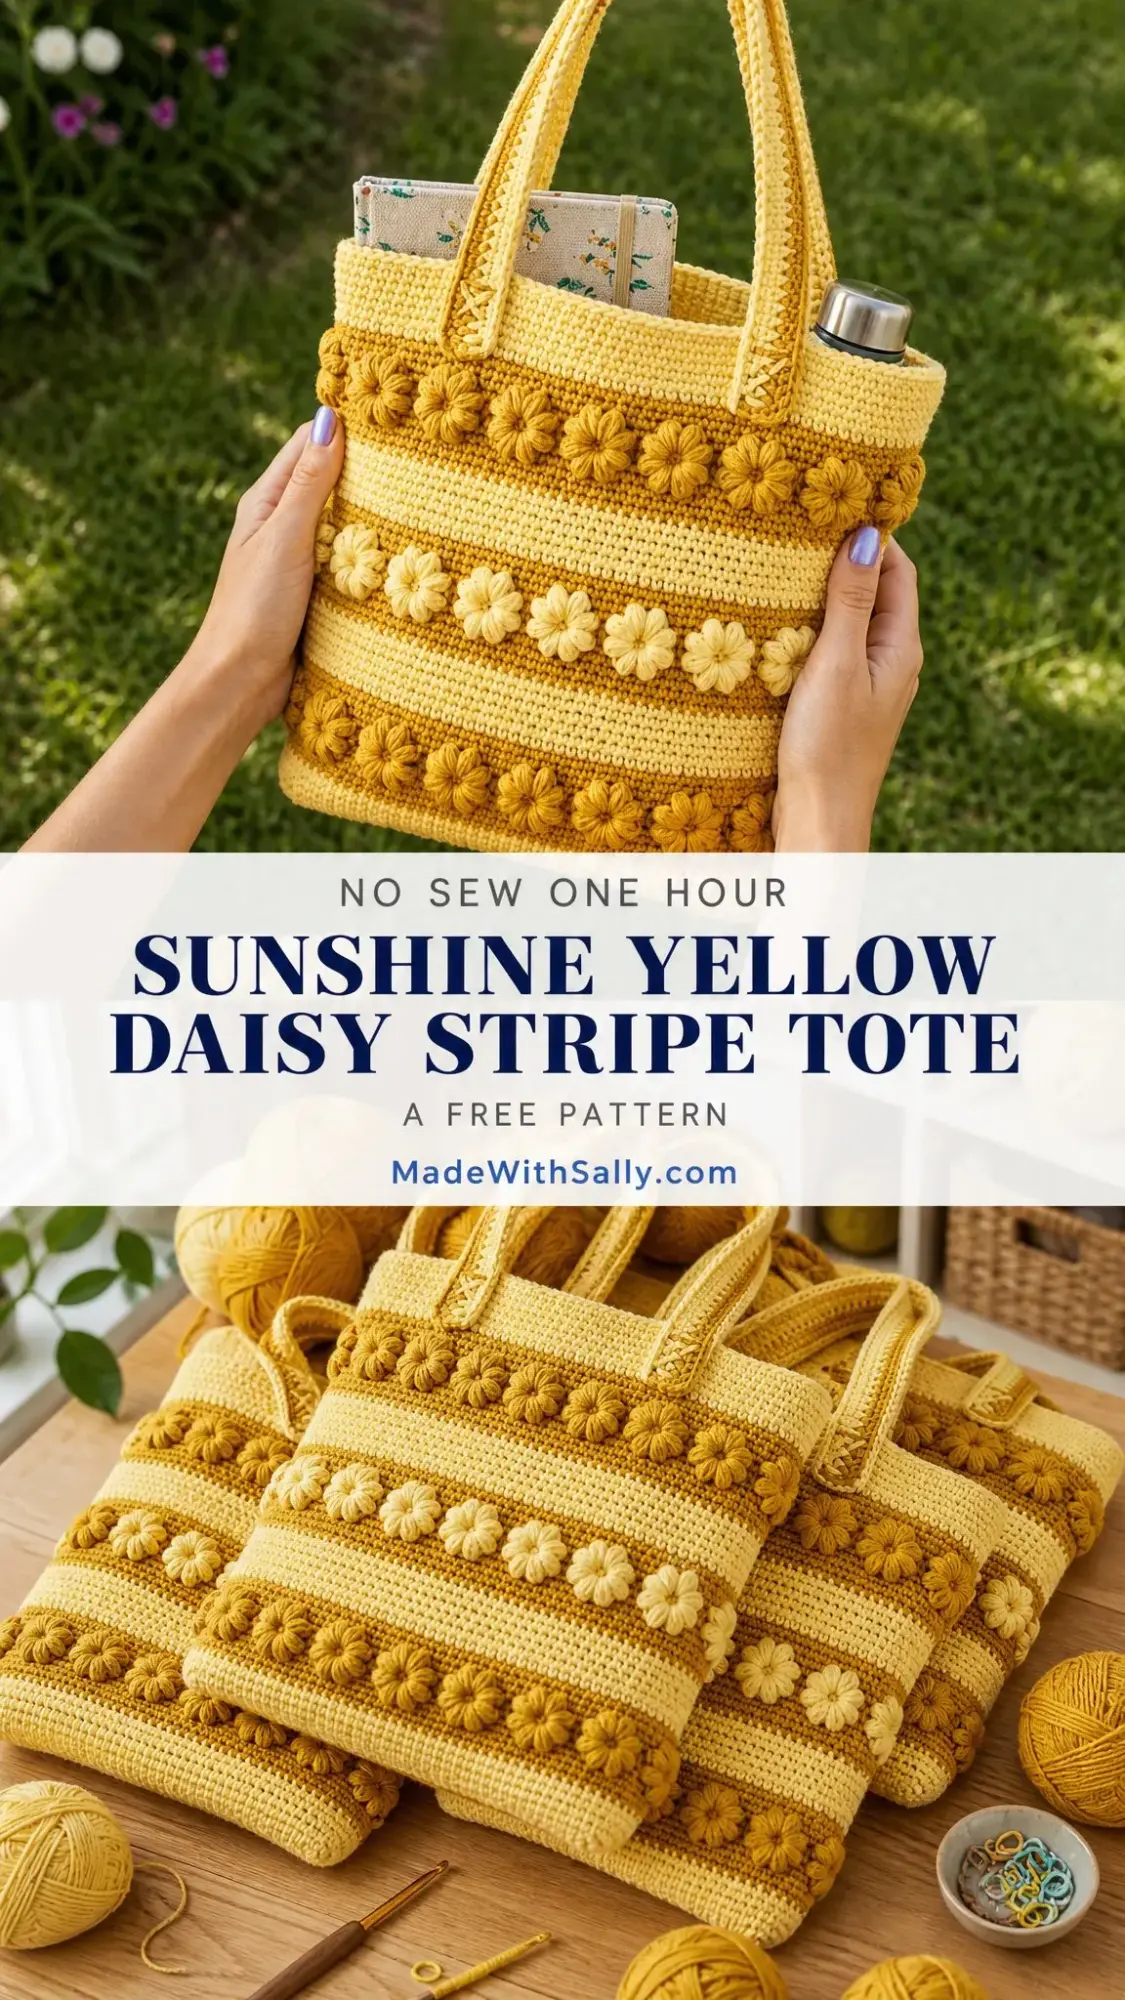
The dimensional daisy flowers are the real showstopper here, and I promise they are not as tricky as they look. Each little puff flower takes just a few minutes once you get the hang of it. If you can work a magic ring and pull up loops, you can absolutely make these adorable blooms.
Whether you need a new project bag, a farmers market tote, or the perfect handmade gift, this sunny yellow beauty checks all the boxes. Let me walk you through every single step so you can create your own gorgeous daisy stripe tote from start to finish.
Why You Will Love This Crochet Tote Bag Pattern
This pattern hits that sweet spot between impressive results and manageable construction. The main body is just single crochet (sc) worked in the round, which means no complicated stitch patterns to memorize. Single crochet is simply inserting your hook into a stitch, yarning over, pulling up a loop, yarning over again, and pulling through both loops on your hook. That is it!
The magic happens with the color changes and those gorgeous three dimensional daisy puff flowers. You get visual interest from the stripe sequence without any confusing colorwork techniques. The flowers are made separately and sewn on afterward, so you can work at your own pace without worrying about messing up the bag structure.
The finished tote measures approximately 14 inches wide by 13 inches tall by 5 inches deep, which is roomy enough for all your daily essentials. Think water bottle, book, wallet, phone, and still room to spare. The shoulder length handles add about 11 inches of drop, making it comfortable to carry over your shoulder or in the crook of your arm.
Materials You Will Need
Gather these supplies before you start. Having everything ready makes the process so much smoother.
Yarn:
Hooks:
Notions:
Yarn Suggestions That Work Beautifully
Any worsted weight yarn (weight category 4) that achieves gauge will work wonderfully. Here are three options I recommend:
Lion Brand Pound of Love in Buttercup and Mustard gives you excellent stitch definition and is machine washable. The daisy puffs sit cleanly on the surface with this yarn.
Paintbox Yarns Simply Worsted in Vanilla Cream and Mustard Yellow produces a smooth, consistent fabric with tidy color changes.
Caron Simply Soft in Sunshine and Autumn Maize creates a softer, drapier tote if you prefer less structure.
Quick tip: avoid yarns with high stretch content because they can cause the bag walls to sag when you load it up with your stuff. Cotton or cotton blend yarns produce a stiffer result and work great for heavy duty totes.
Gauge Information
Getting gauge right matters for this project because it affects the final size and how well any optional lining will fit.
With J-10 hook and single crochet worked in the round:
14 stitches and 16 rounds equal 4 inches by 4 inches (10 cm by 10 cm)
To make a gauge swatch: Chain (ch) 20. Single crochet in second chain from hook and in each chain across. (19 sc) Turn. Chain 1, single crochet in each stitch across for 20 rows. Block lightly and measure the center 4 inches by 4 inches. Adjust your hook size if needed.
A tighter gauge gives you a smaller, stiffer bag. A looser gauge gives you a larger, drapier bag. Either can be lovely depending on your preference!
Abbreviations and Stitch Definitions
Let me break down every abbreviation you will encounter in this crochet tutorial:
Special Stitch: The Daisy Puff Flower
This is the star of the show! Each flower creates a small dimensional bloom with a center ring and six rounded petals. Do not let the length of these instructions intimidate you. Once you make two or three, your hands will know exactly what to do.
Step 1: Using the I-9 hook (or J-10 if preferred) and Yarn B (or Yarn A for the center flower band), make a magic ring.
Step 2: Chain 1. Work 6 single crochet into the magic ring. Pull the tail to close the ring. (6 sc)
Step 3: Slip stitch into the first sc to join. This is your flower center.
Step 4: To make the first petal, chain 1. Insert hook into the same stitch as the join. Yarn over and pull up a loop to approximately 3/4 inch in height. (2 loops on hook.) Insert hook into the same stitch again. Yarn over and pull up another loop to the same height. (3 loops on hook.) Insert hook into the same stitch a third time. Yarn over and pull up a third loop to the same height. (4 loops on hook.) Yarn over and draw through all 4 loops on hook. Chain 1 to close the petal. This forms one puff petal.
Step 5: Slip stitch into the next sc of the center ring.
Step 6: Repeat Steps 4 and 5 five more times, working one puff petal into each of the remaining 5 sc of the center ring. (6 petals total)
Step 7: Slip stitch into the base of the first petal to close the flower. Fasten off, leaving a 10 inch tail for sewing.
Each finished flower measures approximately 1.25 inches in diameter.
Important Pattern Notes Before You Begin
Read through these tips before you start crocheting. They will save you confusion later!
1. The bag body is worked in continuous rounds from the bottom up. Do not join at the end of each round unless instructed. Use a stitch marker to mark the first stitch of each round and move it up as you work.
2. Color changes are made at the end of the last stitch before the new color begins. Work the last single crochet of the old color until 2 loops remain on the hook, then yarn over with the new color and pull through both loops.
3. All flower motifs are worked separately and sewn onto the finished bag body. They are not crocheted into the fabric.
4. The bag is worked with the right side facing outward throughout. The smooth V of each single crochet stitch should face outward.
Step by Step Crochet Pattern Instructions
Section 1: Oval Base
The base is worked flat in joined rounds, expanding outward to form an oval measuring approximately 13.5 inches by 4.5 inches.
With Yarn A and J-10 hook, chain 20.
Round 1: Single crochet in the second chain from the hook and in each of the next 17 chains. (18 sc along the top.) Work 3 sc into the last chain (this is the first curved end). Now working along the underside of the foundation chain, single crochet in each of the next 17 chains. Work 2 sc into the same stitch as the first sc of the round (this is the second curved end). Place marker in first stitch. Join with slip stitch to first sc. (40 sc)
Round 2: Chain 1. Single crochet in the first stitch. Single crochet in each of the next 17 stitches. Work 2 sc in each of the next 3 stitches (the three stitches at the first curved end). Single crochet in each of the next 17 stitches. Work 2 sc in each of the next 2 stitches (the two stitches at the second curved end). Join with slip stitch to first sc. (46 sc)
Round 3: Chain 1. Single crochet in first stitch. Single crochet in each of the next 17 stitches. [Work 2 sc in next stitch, sc in next stitch] 3 times (6 stitches worked at first curved end). Single crochet in each of the next 17 stitches. [Work 2 sc in next stitch, sc in next stitch] 2 times (4 stitches worked at second curved end). Join with slip stitch. (52 sc)
Round 4: Chain 1. Single crochet in first stitch. Single crochet in each of the next 17 stitches. [Work 2 sc in next stitch, sc in each of next 2 stitches] 3 times. Single crochet in each of the next 17 stitches. [Work 2 sc in next stitch, sc in each of next 2 stitches] 2 times. Join with slip stitch. (58 sc)
Round 5: Chain 1. Single crochet in first stitch. Single crochet in each of the next 17 stitches. [Work 2 sc in next stitch, sc in each of next 3 stitches] 3 times. Single crochet in each of the next 17 stitches. [Work 2 sc in next stitch, sc in each of next 3 stitches] 2 times. Join with slip stitch. (64 sc)
Round 6: Chain 1. Single crochet in first stitch. Single crochet in each of the next 17 stitches. [Work 2 sc in next stitch, sc in each of next 4 stitches] 3 times. Single crochet in each of the next 17 stitches. [Work 2 sc in next stitch, sc in each of next 4 stitches] 2 times. Join with slip stitch. (70 sc)
Fasten off Yarn A. Do not cut if continuing immediately.
Checkpoint: Your oval base should measure approximately 13.5 inches by 4.5 inches. It should lie flat without buckling or cupping. If it cups upward, your tension is too tight and you should try a larger hook. If it ruffles, your tension is too loose and you should try a smaller hook.
Section 2: Bag Body
The body is worked in continuous rounds from the top of the base upward. Place a stitch marker in the first stitch of Round 1 and move it up each round.
At the end of Round 6 of the base, do not fasten off. Stop joining at the end of rounds and begin working in continuous spiral rounds.
All rounds: Single crochet in each stitch around unless otherwise stated. (70 sc each round)
Stripe and color sequence for the bag body:
Total body rounds: 52 rounds. Total body height: approximately 13 inches based on gauge.
After Round 52, at the end of the last Yarn A round, slip stitch into the next stitch to close the final round neatly. Fasten off and weave in ends.
Checkpoint: Your bag should stand approximately 13 inches tall from base to opening. The opening perimeter should measure 70 stitches around.
Section 3: Top Edging
With Yarn B and J-10 hook, join yarn to any stitch at the top opening.
Round 1: Single crochet in each stitch around the top opening. Join with slip stitch. (70 sc)
Round 2: Chain 1. Single crochet in each stitch around. Join with slip stitch. (70 sc)
Fasten off Yarn B. Weave in ends.
Section 4: Handles (Make 2)
Each handle is worked as a flat strip, then folded lengthwise and seamed to form a firm rounded cord.
With Yarn B and J-10 hook, chain 7.
Row 1: Single crochet in second chain from hook and in each chain across. Turn. (6 sc)
Row 2: Chain 1. Single crochet in each stitch across. Turn. (6 sc)
Repeat Row 2 until the strip measures 24 inches. Fasten off, leaving a 24 inch tail for seaming and attachment.
Fold the strip in half lengthwise so the two long edges meet. Using the long tail and a yarn needle, slip stitch or whip stitch along the entire long open edge to close the tube. The handle should now be approximately 3/4 inch wide and firm.
Repeat for second handle.
Handle Attachment:
On the front panel of the bag, count in from each side edge 3.5 inches toward center. Mark two attachment points.
At each attachment point, place one end of a handle on the inside of the bag, aligning the raw end with the top edge. The handle end should overlap the top edge by approximately 2 inches downward on the inside.
Using Yarn B threaded on a yarn needle, stitch each handle end securely using a rectangular reinforcement stitch: stitch across the full width of the handle, stitch down one side, stitch across again, stitch up the other side, then stitch an X across the rectangle.
Repeat for all four handle ends.
Section 5: Daisy Puff Flowers
Make the following flowers using the special stitch instructions above:
Total flowers: 45
Flower Placement:
Pin all flowers in place before sewing to ensure even distribution.
To attach each flower: Thread the yarn tail onto a yarn needle. Position the flower on the right side of the bag fabric with the center ring flat against the surface. Stitch through the center ring into the bag fabric using small secure stitches. Stitch around the perimeter of the center ring, catching between each petal base. Weave the tail to the inside and secure with two knot stitches. Trim the tail.
Size Customization Tips
Want to make this tote bag pattern your own? Here are easy modifications:
For a wider bag: Increase the foundation chain by multiples of 2. Recalculate flower count by dividing your new stitch count by 4 to 5.
For a taller bag: Add additional rounds to the body. Each 4 rounds adds approximately 1 inch of height.
For a shorter bag: Reduce rounds from Rounds 39 through 52 in complete 4 round stripe units.
For adjusted handles: Shorten or lengthen the handle strip rows. Each 4 rows adds approximately 1 inch of length.
Finishing and Care Instructions
Weave in all remaining yarn ends securely on the wrong side.
Wet blocking: Submerge the finished bag in cool water. Gently squeeze out excess water without wringing. Shape by hand, ensuring the base lies flat and the sides are straight. Stuff loosely with plastic bags to maintain shape while drying. Allow to dry completely for 24 to 48 hours.
Care: Hand wash in cool water with mild detergent. Reshape and dry flat away from direct heat. If your yarn allows machine washing, use a gentle cycle in a mesh bag with cold water. Air dry flat.
You Did It!
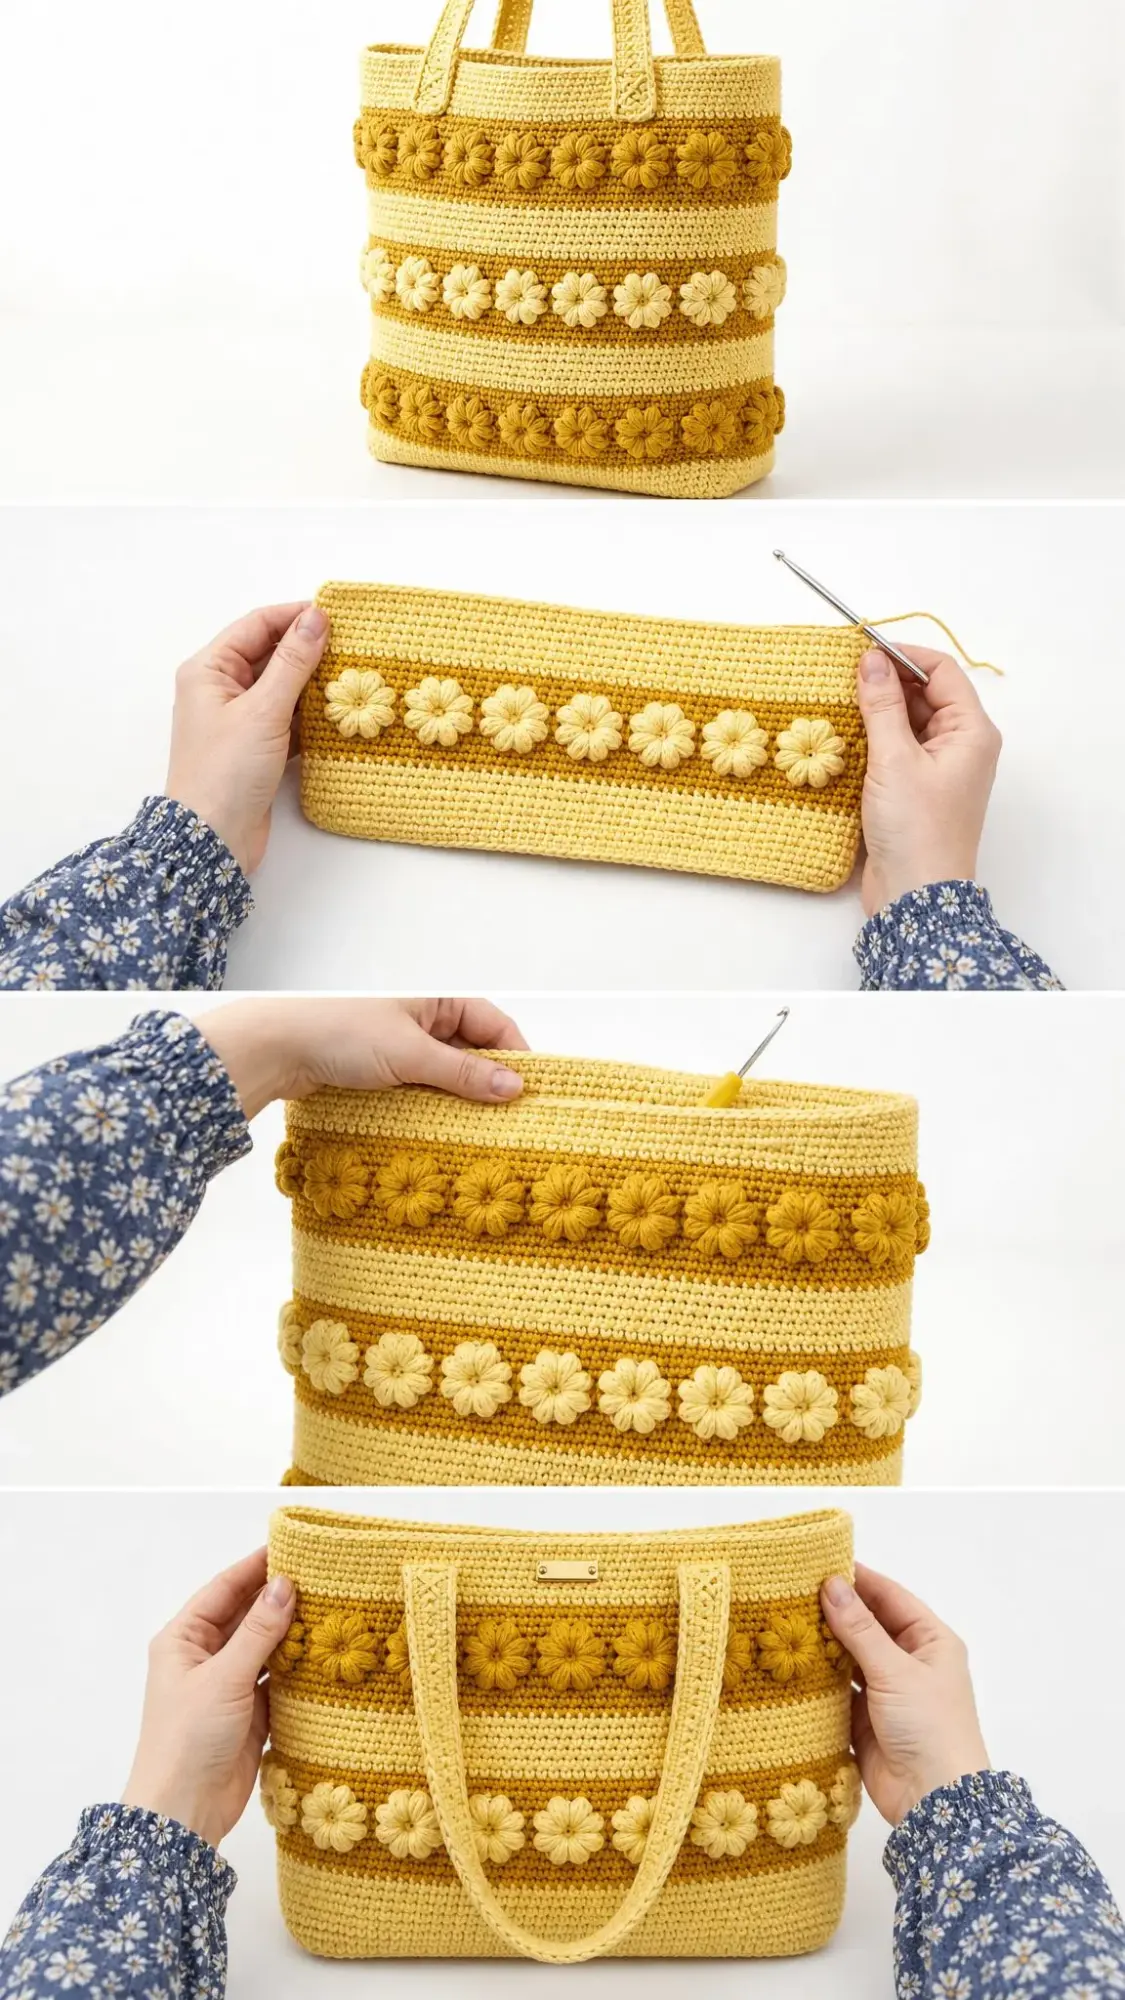
I hope you love making this sunshine yellow daisy stripe tote as much as I loved designing it. The combination of simple single crochet stripes with those adorable dimensional flowers creates something truly special. This bag is perfect for everyday use, and it makes an incredible handmade gift that anyone would treasure.
If you found this crochet pattern helpful, I would love for you to save it to your Pinterest boards so you can find it easily when you are ready to start. And please drop a comment below if you make one! I absolutely love seeing your finished projects and hearing about any modifications you tried.
