
The Story Behind This Stunning Bag
I call this one the Gatsby Tote. It started as a sketch in an old notebook from years ago when I was obsessed with Art Deco architecture and those gorgeous geometric patterns from the 1920s. I wanted to capture that era’s elegance in yarn form, but the design sat untouched for ages because I honestly wasn’t sure I could pull it off.
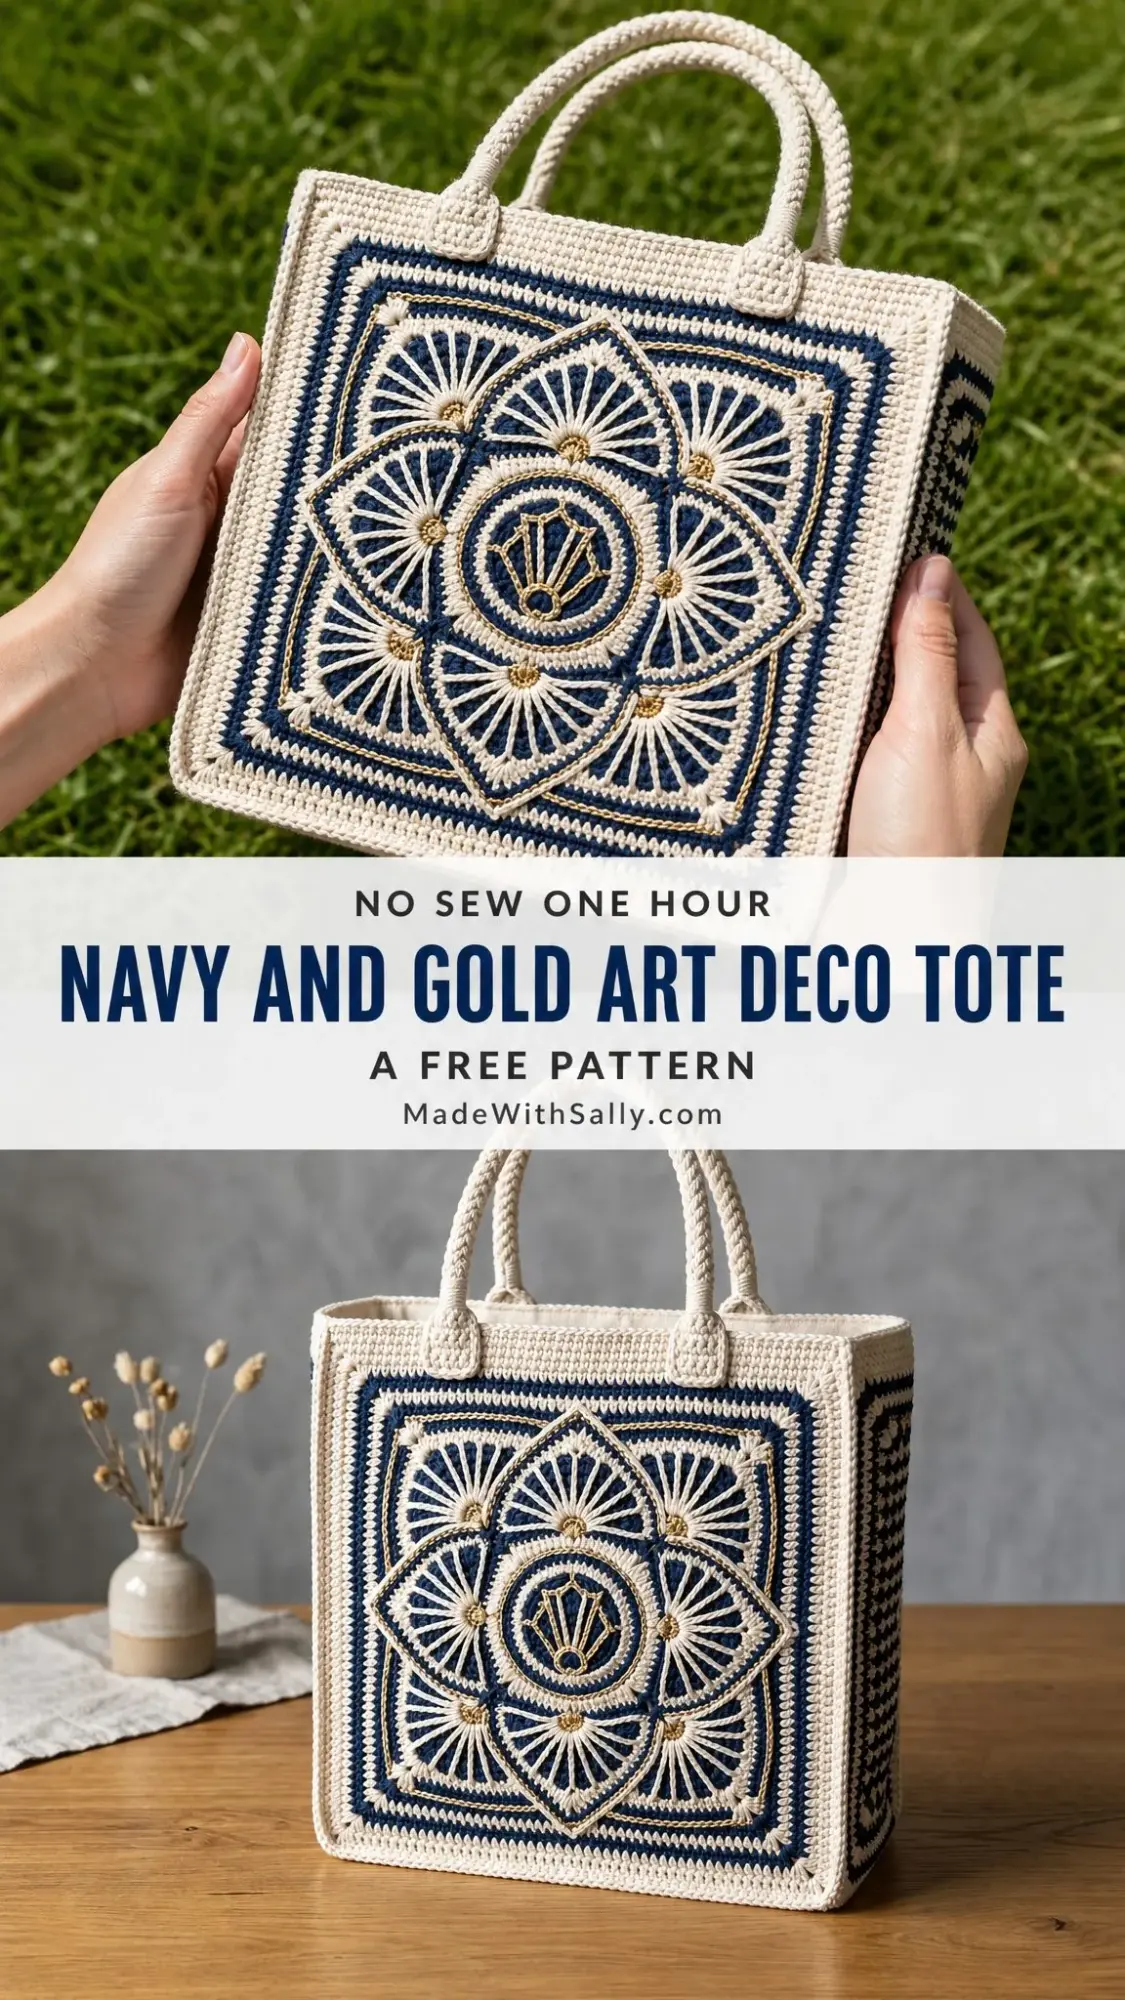
Last winter, I finally dusted off that notebook and got to work. After countless swatches, frogging sessions, and late nights figuring out the overlay technique, this bag came to life. The mandala motif with its radiating spokes, the structured boxy shape, the subtle gold metallic accents. It’s everything I imagined and more.
Now I’m sharing it with you. Fair warning: this is an advanced project that requires patience and experience with colorwork. But if you’re ready for a challenge that results in a truly show-stopping handmade bag, keep reading.
About This Art Deco Tote Crochet Pattern
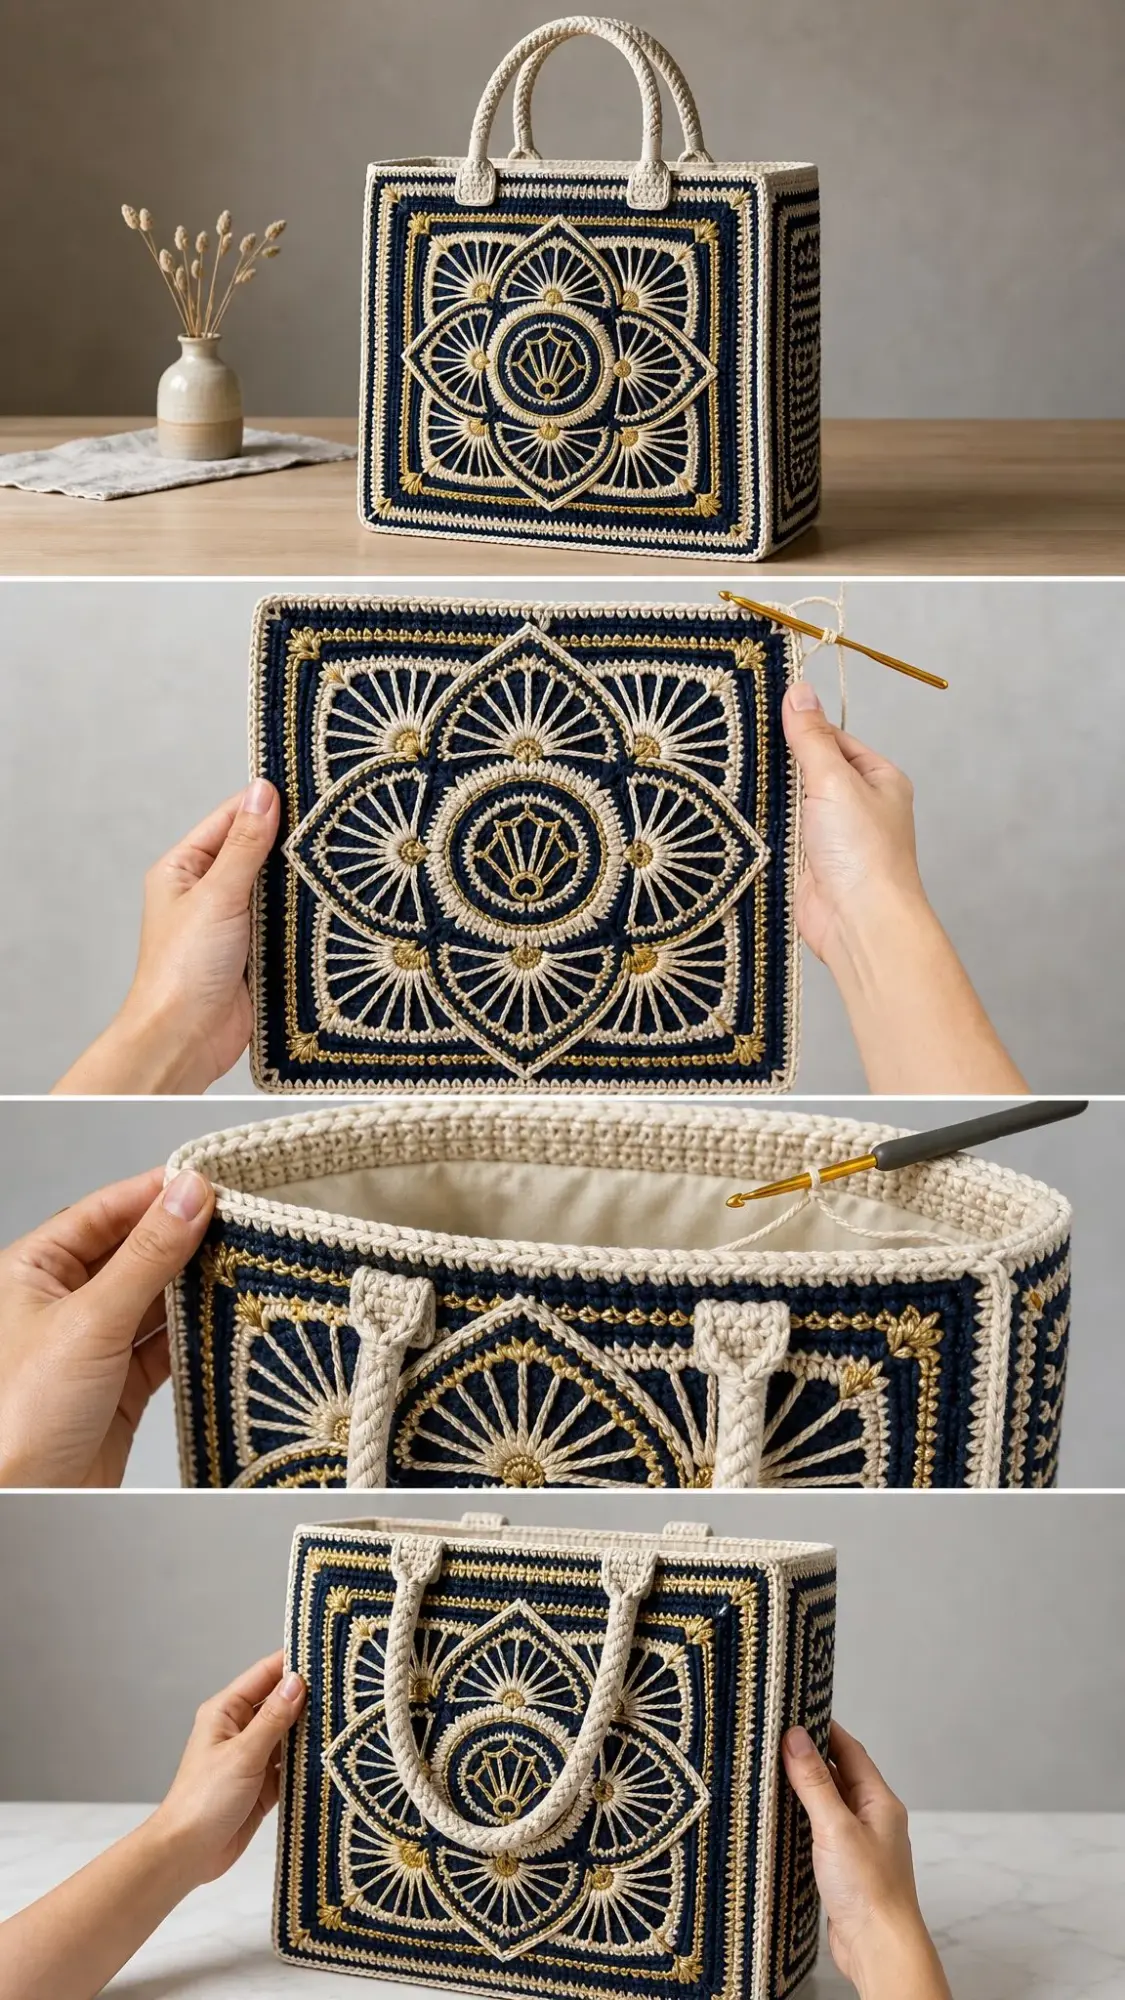
This structured tote bag features a large-scale Art Deco mandala motif worked in navy, cream, and gold on both the front and back panels. The design uses a combination of tapestry crochet for the colorwork background and overlay crochet for those beautiful dimensional spoke elements that really make the pattern pop.
The bag has a rigid, boxy silhouette achieved by crocheting each panel separately and joining them together. The side panels feature a charming checkerboard pattern in navy and cream. The result is a sophisticated everyday bag that stands upright on its own and looks like it could have come from a high-end boutique.
Skill Level: Advanced. This crochet tutorial requires comfort with tapestry crochet, overlay crochet, working from a colorwork chart, joining panels seam-to-seam, and constructing a three-dimensional box structure. If you’re newer to colorwork, I’d recommend practicing with some simpler tapestry projects first.
Time Estimate: 40 to 60 hours for an experienced crocheter working at a steady pace.
Finished Measurements
Your completed Navy and Gold Art Deco Tote will measure:
Materials Needed
Yarn
Color A (Cream or natural white): approximately 600 yards (549 m) of sport or DK weight 100% cotton
Color B (Navy blue): approximately 400 yards (366 m) of sport or DK weight 100% cotton
Color C (Metallic gold): approximately 150 yards (137 m) of sport or DK weight 100% cotton or cotton-metallic blend
Yarn Suggestions
Here are some options I recommend:
Option 1: Lion Brand 24/7 Cotton in White, Navy, and Gold Metallic. This yarn has excellent stitch definition and holds its shape beautifully.
Option 2: Paintbox Yarns Cotton DK in Paper White and Midnight Blue, paired with Paintbox Yarns Metallic DK in Gold. This combination gives a crisp, polished result.
Option 3: Drops Safran in Off White and Dark Navy, paired with Drops Glitter or Rico Essentials Cotton DK Metallise in Gold.
Substitution tip: Choose a tightly spun cotton or cotton-blend DK or sport weight yarn with low halo and good stitch definition. Avoid fuzzy fibers as they obscure the Art Deco linework.
Hooks
Notions
Gauge
22 stitches x 24 rows = 4 inches x 4 inches (10 cm x 10 cm) in single crochet (sc) with Color A using US E-4 (3.5 mm) hook, after blocking.
Gauge is critical for this project. Each panel must reach the specified dimensions for the box construction to align properly. Make a swatch of at least 6 x 6 inches (15 x 15 cm), block it flat, and measure the interior 4 x 4 inch area.
Abbreviations (US Terms)
Before we dive into the step by step instructions, here are all the abbreviations you’ll need:
Special Stitches
Tapestry Single Crochet (TSC)
This technique lets you carry the non-working yarn inside the stitches as you work across, creating the colorwork blocks.
Step 1: Before inserting hook, lay the non-working yarn horizontally across the top of the previous row’s stitches.
Step 2: Insert hook into the next stitch, going under both loops as normal, and also under the carried yarn.
Step 3: Pull up a loop with the working yarn.
Step 4: Yarn over and draw through both loops on hook to complete the single crochet.
Step 5: The carried yarn is now encased inside the stitch. Continue without twisting yarns unless directed to switch colors.
Step 6: To switch colors, work the last pull-through of the sc before the color change with the new color.
Overlay Spoke Stitch (OSS)
This stitch is the key element of the Art Deco mandala spokes radiating from the center. It creates those beautiful dimensional lines. Work this on right-side rows only.
Step 1: Identify the target stitch in the round indicated in the pattern (this will be several rounds below).
Step 2: Insert hook from front to back into that target stitch, going through the fabric.
Step 3: Yarn over with the working yarn (Color A or Color C as directed).
Step 4: Pull up a loop to the height of the current working round, elongating it so it lies flat on the fabric surface without puckering. Typically this loop is pulled up approximately 1 to 1.5 inches (2.5 to 3.8 cm).
Step 5: Yarn over and draw through both loops on hook.
Tip: Work OSS loosely. If the fabric behind puckers, pull the stitch slightly longer before completing it.
Front Post Double Crochet (fpdc)
Step 1: Yarn over.
Step 2: Insert hook from front to back to front around the vertical post of the indicated stitch in the row below.
Step 3: Yarn over and pull up a loop (3 loops on hook).
Step 4: Yarn over and draw through 2 loops (2 loops on hook).
Step 5: Yarn over and draw through remaining 2 loops.
Twisted Rope Cord (for handles)
Step 1: Cut 12 strands of Color A, each 80 inches (203 cm) long.
Step 2: Hold all 12 strands together and fold in half so you have 24 strands total, each 40 inches long. Knot one folded end.
Step 3: Secure the knotted end to a stationary point (door handle works great).
Step 4: Twist the bundle clockwise firmly and continuously until the cord begins to kink back on itself when tension is slightly released.
Step 5: Fold the twisted cord in half, bringing the two free ends together. Allow the cord to twist around itself counterclockwise naturally.
Step 6: Smooth out any lumps and knot the free ends together.
Finished handle length before attachment: approximately 18 inches (45.5 cm). Make 2 cords.
Pattern Notes Before You Begin
1. The bag is constructed in six flat panels: Front, Back, Left Side, Right Side, and Bottom. All panels are worked flat in rows.
2. The front and back panels feature the Art Deco mandala motif worked in tapestry crochet with overlay spoke stitches applied afterward.
3. Color changes in tapestry crochet are made on the last yarn over of each sc. Do not cut yarn when changing between Color A and Color B within a row.
4. All panels use a ch-1 turning chain that does NOT count as a stitch.
5. When working the colorwork chart, read RS rows (odd-numbered) from right to left, and WS rows (even-numbered) from left to right.
6. In the pattern, "XA" means X stitches in Color A (cream), and "XB" means X stitches in Color B (navy).
Front and Back Panel (Make 2 Identical)
The front panel is 77 stitches wide x 78 rows tall in tapestry sc.
Foundation
With Color A, ch 79. (This gives 77 working stitches after turning.)
Row 1 (RS): Sc in second ch from hook and in each ch across. (77 sc)
Do not cut yarn. Turn.
Rows 2 through 6: Ch 1, sc across (all Color A). (77 sc per row)
Outer Navy Border Frame
Rows 7 through 11: Ch 1. 5A, 67B, 5A. (77 sc per row)
Secondary Cream Frame
Rows 12 through 16: Ch 1. 5A, 5B, 57A, 5B, 5A. (77 sc per row)
Mandala Field Colorwork
For all rows 17 through 62, the first 10 stitches are: 5A, 5B, and the last 10 stitches are: 5B, 5A.
Outer ring (Rows 17 through 22): Full row: 5A, 5B, 57B, 5B, 5A. (77 sc each row)
Diamond ring transition:
Row 23: 5A, 5B, 3B, 51A, 3B, 5B, 5A. (77 sc)
Row 24: 5A, 5B, 3B, 5A, 41B, 5A, 3B, 5B, 5A. (77 sc)
Row 25: 5A, 5B, 3B, 5A, 3B, 35A, 3B, 5A, 3B, 5B, 5A. (77 sc)
Row 26: 5A, 5B, 3B, 5A, 3B, 5A, 25B, 5A, 3B, 5A, 3B, 5B, 5A. (77 sc)
Row 27: 5A, 5B, 3B, 5A, 3B, 5A, 3B, 15A, 3B, 5A, 3B, 5A, 3B, 5B, 5A. (77 sc)
Row 28: 5A, 5B, 3B, 5A, 3B, 5A, 3B, 5A, 5B, 5A, 3B, 5A, 3B, 5A, 3B, 5B, 5A. (77 sc)
Row 29: Same as Row 27. (77 sc)
Row 30: Same as Row 26. (77 sc)
Checkpoint: After Row 30, your panel should measure approximately 5 inches (12.7 cm) tall.
Row 31: Same as Row 25. (77 sc)
Row 32: Same as Row 24. (77 sc)
Row 33: Same as Row 23. (77 sc)
Center field (Rows 34 through 45): Full row: 5A, 5B, 57B, 5B, 5A. (77 sc each row)
Center medallion circle:
Row 46: 5A, 5B, 22B, 13A, 22B, 5B, 5A. (77 sc)
Rows 47 through 49: 5A, 5B, 20B, 17A, 20B, 5B, 5A. (77 sc each row)
Row 50: 5A, 5B, 22B, 13A, 22B, 5B, 5A. (77 sc)
Rows 51 through 56: Full row: 5A, 5B, 57B, 5B, 5A. (77 sc each row)
Diamond ring close (mirror):
Row 57: Same as Row 33. (77 sc)
Row 58: Same as Row 32. (77 sc)
Row 59: Same as Row 31. (77 sc)
Row 60: Same as Row 30. (77 sc)
Row 61: Same as Row 29. (77 sc)
Row 62: Same as Row 28. (77 sc)
Checkpoint: After Row 62, your panel should measure approximately 10.3 inches (26.2 cm) tall.
Closing the Frames
Rows 63 through 67: Ch 1. 5A, 5B, 57A, 5B, 5A. (77 sc per row)
Rows 68 through 72: Ch 1. 5A, 67B, 5A. (77 sc per row)
Rows 73 through 78: Ch 1. 77A. (77 sc per row)
Fasten off. Weave in all ends. Your finished panel should measure approximately 14 inches (35.5 cm) wide x 13 inches (33 cm) tall.
Make a second identical panel.
Overlay Spoke Stitches on Front and Back Panels
After both panels are complete, apply the overlay spoke stitches to each panel on the right side.
The mandala has 8 primary spokes radiating from the center at compass positions (top, bottom, left, right, and four diagonals). Additionally, there are 4 petal shapes formed by groups of 7 spokes per petal.
The center of the mandala is at stitch 39 of row 39.
Outer Spoke Ring (Using Color A)
Work 8 sets of 7 spokes each (56 overlay stitches total).
Top petal group:
With Color A and RS facing, join yarn at the surface at row 50, stitch 39 (center). Work OSS inserting hook into row 23 at stitch 39 (straight vertical spoke). Then work 6 more OSS fanning left and right: insert into row 24 at stitches 35 and 43; row 25 at stitches 31 and 47; row 26 at stitches 28 and 50. Fasten off.
Bottom petal group: Mirror of top petal, working into rows 56 through 62 in mirrored positions. Fasten off.
Left petal group: Join at stitch 17 level, row 39. Fan 7 spokes from left edge toward center. Fasten off.
Right petal group: Mirror of left petal on the right half. Fasten off.
Diagonal Secondary Spokes (Using Color C)
Work shorter overlay spokes in the four diagonal positions between the cardinal petals. Each diagonal grouping uses 5 OSS pulled from approximately 4 to 6 rows below the surface. These gold spokes form the diagonal cross arms. Fasten off.
Center Accent Motif
With Color C and RS facing, join at center of panel at stitch 39, row 46. Work a dc cluster by picking up the center oval area with surface slip stitches and working 6 dc in a small ring to form the central gem shape visible in the center oval. Sl st to close. Fasten off.
Tip: Use stitch markers to identify the center point and each spoke anchor before working. Aim for symmetry and visual balance rather than absolute grid perfection.
Side Panels (Make 2 Identical)
Each side panel is 22 stitches wide x 78 rows tall in a checkerboard pattern.
Foundation chain: With Color A, ch 24. (22 working stitches.)
Row 1 (RS): Sc in second ch from hook and in each ch across in tapestry pattern: 2A, 2B, rep to end (11 repeats). (22 sc)
Row 2 (WS): Ch 1. 2B, 2A, rep to end (11 repeats). (22 sc)
Rows 3 through 78: Continue alternating Row 1 and Row 2 pattern. (22 sc per row)
Fasten off. Weave in all ends.
Finished side panel: approximately 4 inches (10 cm) wide x 13 inches (33 cm) tall. Make 2.
Bottom Panel
Foundation chain: With Color A, ch 79. (77 working stitches.)
Row 1 (RS): Sc in second ch from hook and in each ch across. (77 sc)
Rows 2 through 22: Ch 1, sc across. (77 sc per row)
Fasten off. Weave in all ends.
Finished bottom panel: approximately 14 inches (35.5 cm) x 4 inches (10 cm).
Optional reinforcement: Cut a piece of plastic canvas to 13.5 x 3.75 inches and slip it inside the finished base between the bottom panel and the lining.
Assembly
All seams are worked on the right side using sc join method with Color A.
Step 1: Join front panel to left side panel.
Hold panels with right sides facing outward. Align the left vertical edge of the front panel with the front vertical edge of the left side panel. Join Color A at the bottom corner. Sc evenly along the edge, working one sc per row end through both panels. (78 sc along seam) Fasten off.
Step 2: Join back panel to left side panel.
Repeat Step 1 joining the back edge of the left side panel to the left vertical edge of the back panel. (78 sc along seam) Fasten off.
Step 3: Join front panel to right side panel.
Repeat joining the right edge of the front panel to the front edge of the right side panel. (78 sc along seam) Fasten off.
Step 4: Join back panel to right side panel.
Repeat joining right side panel back edge to back panel right edge. (78 sc along seam) Fasten off.
Step 5: Join bottom panel.
Hold bottom panel centered under the open box bottom. Pin into place with stitch markers at corners. Join Color A at any corner. Work sc join along all four edges of the bottom, working through the bottom edge of each wall and the corresponding edge of the bottom panel simultaneously. Front and back bottom edges: 77 sc each. Left and right bottom edges: 22 sc each. Total bottom seam: approximately 198 sc plus 4 corner stitches. Fasten off.
Checkpoint: After assembly, your bag should stand upright and measure approximately 14 inches wide, 13 inches tall, and 4 inches deep.
Top Border
Round 1: With Color A, join at any corner of the top opening. Work sc evenly around: Front top edge 77 sc, Right side top edge 22 sc, Back top edge 77 sc, Left side top edge 22 sc. Total: 198 sc. Sl st to join.
Round 2: Ch 1. With Color B, sc in each st around. Sl st to join. (198 sc)
Round 3: Ch 1. With Color A, sc in each st around. Sl st to join. (198 sc)
Round 4: Ch 1. With Color B, sc in each st around. Sl st to join. (198 sc)
Round 5: Ch 1. With Color A, sc in each st around. Sl st to join. (198 sc)
Fasten off both colors. Weave in all ends.
Handles (Make 2)
Make 2 twisted rope cords following the instructions in Special Stitches above.
Alternative crocheted cord:
With Color A (or 3 strands held together), ch 100.
Row 1: Sc in second ch from hook and in each ch across. (99 sc)
Row 2: Ch 1, sc across. (99 sc)
Fasten off. Fold the strip in thirds lengthwise and whipstitch the long edge closed.
Attachment
Position handle attachment points at 5 inches from each side edge on the top border. Each handle end is spaced approximately 4 inches apart (center to center). Insert the handle end down through the inside of the top border by approximately 2 inches. Fold back and whipstitch firmly. For additional security, work a row of sc through the base of the folded handle end and the top border from the inside, working back and forth 4 to 6 rows. Repeat for all 4 handle attachment points.
Finishing Tips
Block all panels before assembly for the cleanest results. Weave in all ends securely on the wrong side, running ends at least 1 inch in two directions. If adding a fabric lining, cut pieces to match each panel with 1/2 inch seam allowance and hand-sew in place after assembly.
You Did It!
Congratulations on completing this Navy and Gold Art Deco Tote crochet pattern. I know it was a challenging project, but the result is truly a work of wearable art. Every time you carry this bag, you’re carrying something you made with your own hands, and that’s pretty amazing.
Thank you so much for making one of my patterns. I genuinely love seeing your finished projects, so please tag me on Instagram or share in our Facebook group. Nothing makes my day quite like seeing these designs come to life in your hands.
If you loved this crochet tutorial and want to come back to it later, go ahead and save it to your Pinterest boards. And I’d absolutely love to hear from you in the comments below if you make this bag. Tell me about your color choices, your victories, and yes, even your frustrations. We’re all in this together, and your experience might help another crocheter taking on this project. Happy hooking!
