
Last Valentine’s Day, I found myself standing in a boutique, staring at a gorgeous handbag with a price tag that made me physically wince. It had this romantic gathered shape, a pretty bow, and delicate details that screamed special occasion. I walked away empty-handed but couldn’t stop thinking about it.
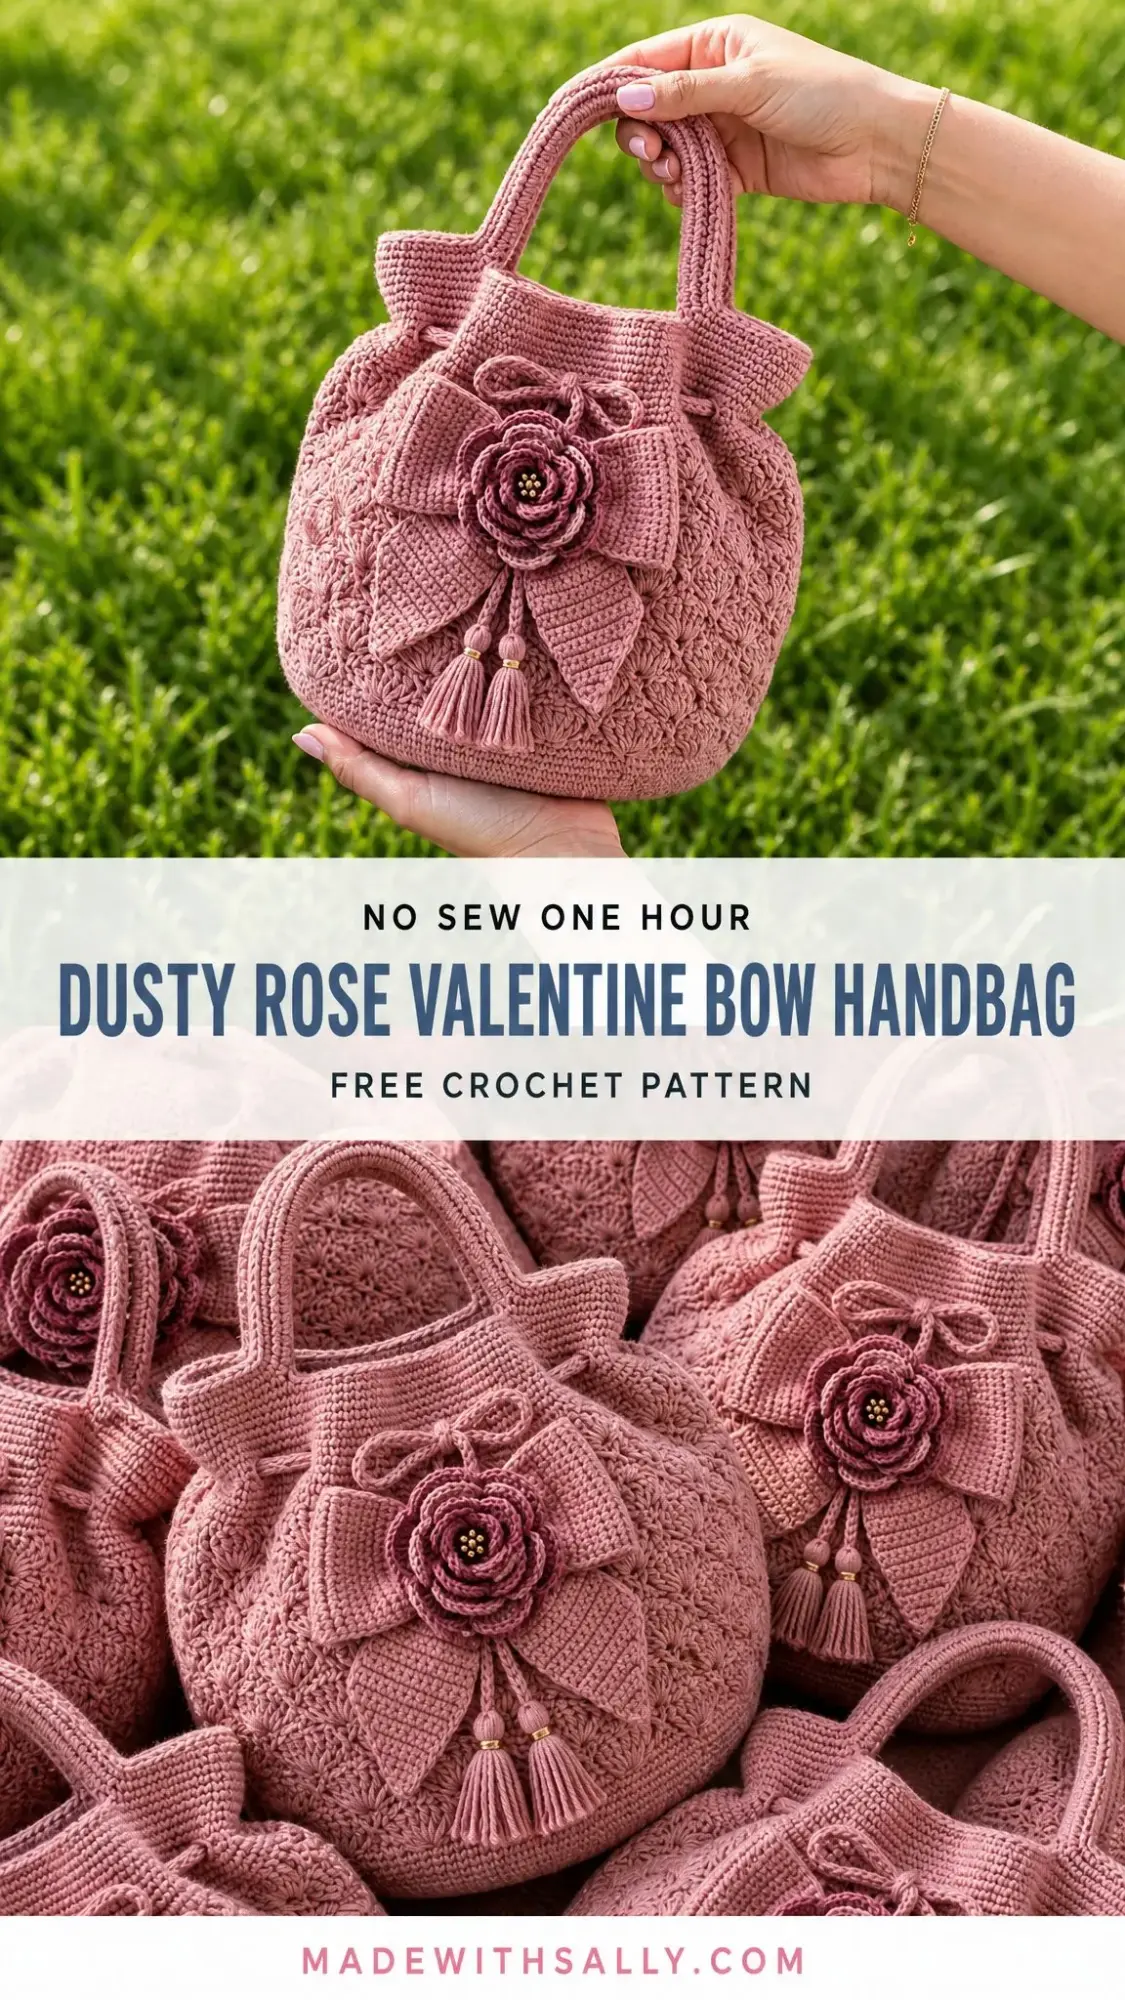
So I did what any determined crocheter would do. I grabbed my hooks and spent weeks designing my own version. The result? This Dusty Rose Valentine Bow Handbag that honestly turned out better than the one I saw in that shop.
I’m so excited to share this pattern with you because it combines everything I love: a firm base that actually keeps its shape, a textured shell surface that looks intricate but isn’t scary, and those beautiful decorative touches like the layered rose and tassels. Whether you’re making it for yourself or as a gift for someone special, this bag is going to turn heads.
About This Crochet Handbag Pattern
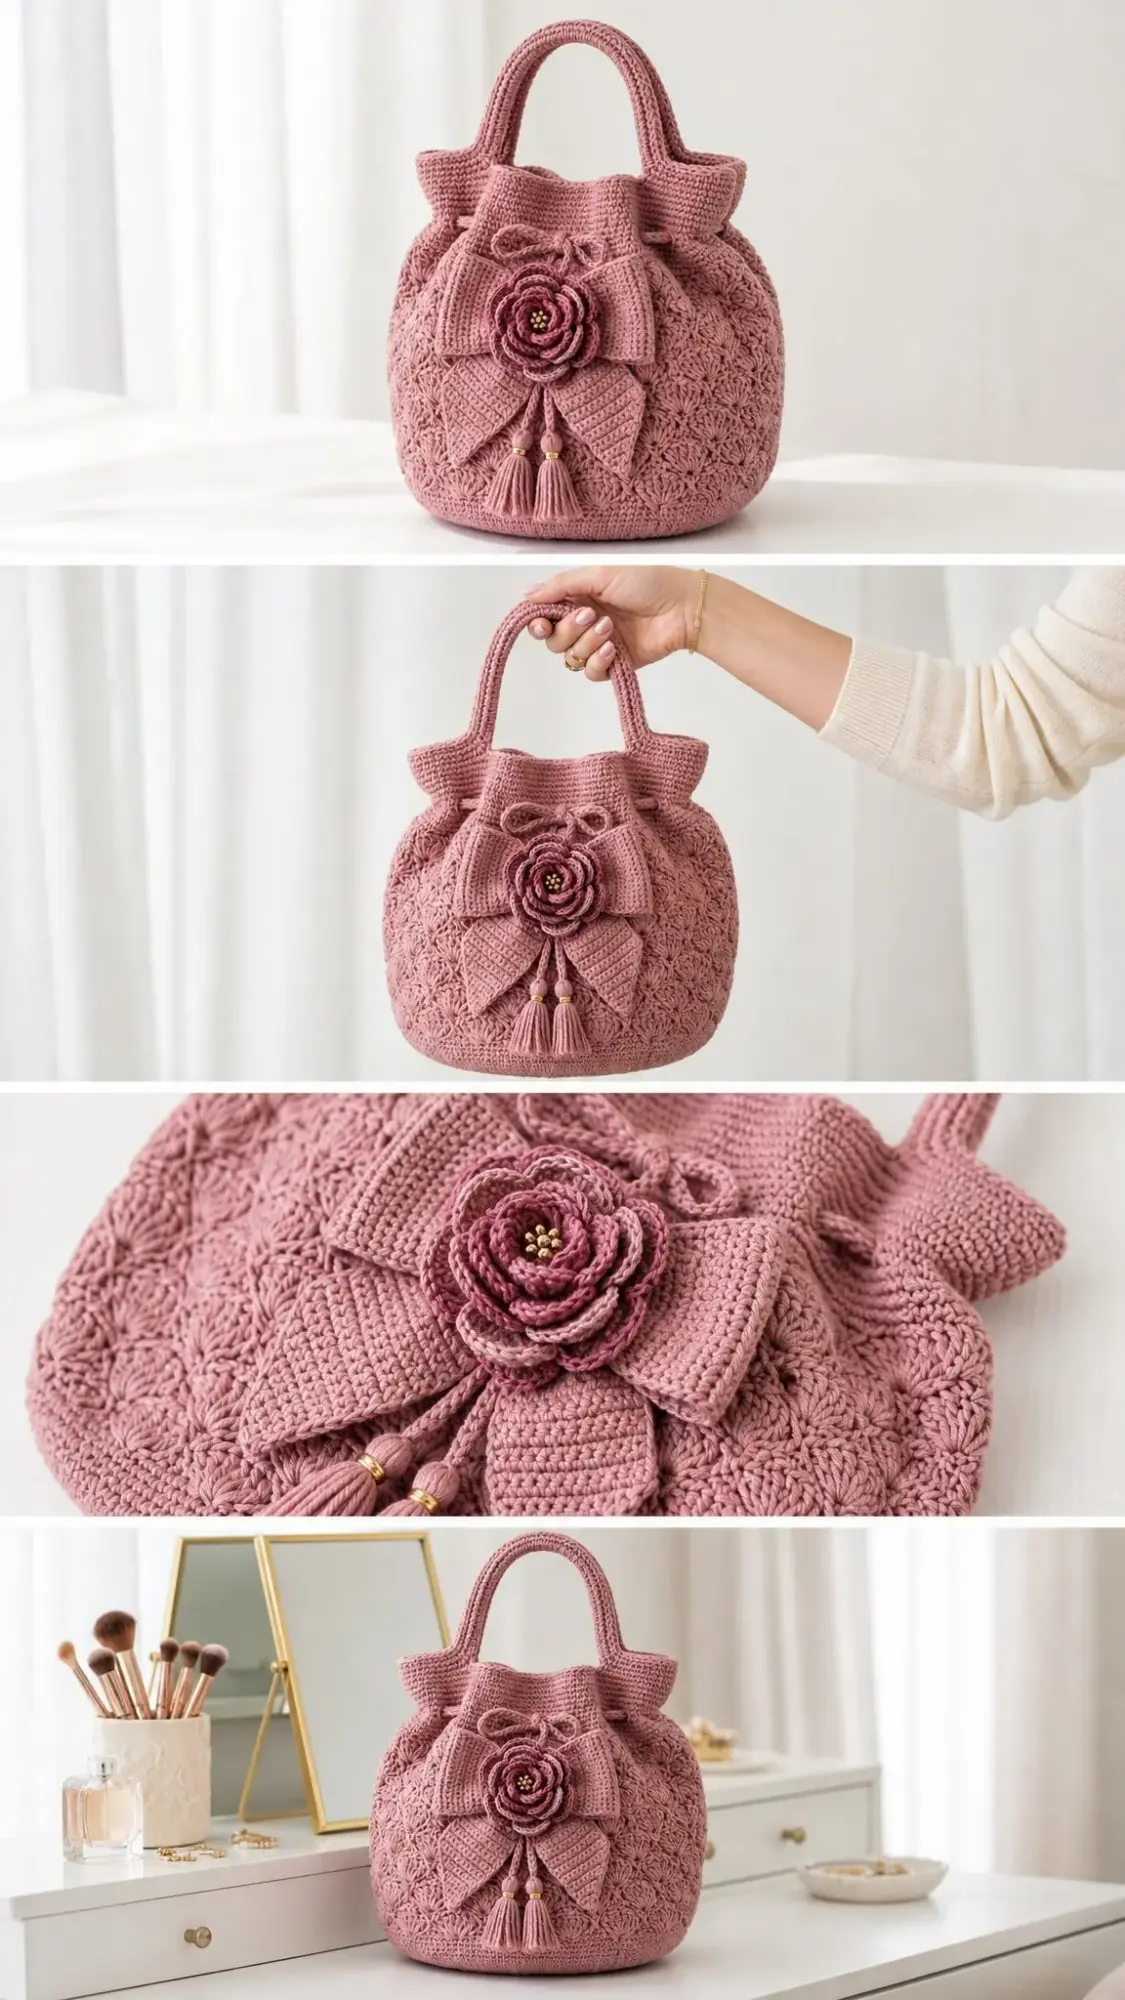
This romantic bucket-style handbag features a firm oval base, soft gathered sides, a raised shell texture, a padded handle, a drawstring bow, a layered rose, and two tassel ties with bead accents. The construction method is straightforward: you work from the bottom up in continuous rounds, then crochet the decorative pieces separately and sew them on after shaping the body.
Skill Level: Intermediate. You should be comfortable reading round instructions, maintaining stitch counts, working post stitches and puff stitches, and sewing on dimensional appliques. If those terms feel unfamiliar, don’t panic. I’ll walk you through the special stitches before we begin.
Time Estimate: Plan for 8 to 12 hours of stitching, plus drying time if you wet block or line the bag.
Finished Dimensions: Approximately 9 inches wide x 8 inches tall x 4 inches deep (23 x 20 x 10 cm), excluding the handle. The handle drop measures approximately 5 inches (13 cm).
Materials You’ll Need
Before you start, gather everything so you’re not hunting for supplies mid-project:
Yarn:
Hooks:
Notions:
Optional Extras:
Yarn Suggestions
I recommend choosing a firm, low-stretch cotton or cotton-blend yarn that holds texture well. Here are some options that work beautifully:
Lion Brand 24/7 Cotton offers crisp mercerized cotton with smooth stitch definition.
Paintbox Yarns Cotton Aran is 100% cotton aran with a large color range.
Hobbii Friends Cotton 8/8 provides sturdy 8/8 cotton with coordinated color families.
A quick word of caution: avoid very soft acrylics for the main bag unless you plan to line the body and add a base insert. The bag needs structure to hold its romantic shape.
Gauge
Getting gauge right matters for this project, especially for the base.
Body gauge after light blocking: 14 single crochet (sc) x 16 rounds = 4 inches (10 cm) with the larger hook.
Textured shell repeat: 6 repeats = 4 inches (10 cm) measured across the body after Round 14.
Please note that individual results may vary depending on your yarn, tension, hook size, and finishing technique. You may need to make small adjustments to achieve the closest possible result to the finished project shown.
Abbreviations and Stitch Guide
Let me walk you through the abbreviations you’ll encounter. This pattern uses US crochet terms.
BLO = back loop only
ch = chain
dc = double crochet (yarn over, insert hook, pull up loop, yarn over and pull through 2 loops twice)
hdc = half double crochet
inc = 2 sc in next stitch
rep = repeat
rnd = round
RS = right side
sc = single crochet (insert hook, pull up loop, yarn over and pull through both loops)
sc2tog = single crochet 2 together (a decrease)
sl st = slip stitch
sp = space
st(s) = stitch(es)
yo = yarn over
UK crocheters: US sc = UK dc, and US dc = UK tr.
Special Stitches
Texture Puff-Shell: This creates the beautiful raised texture on the body. Yarn over, insert hook in indicated stitch, yarn over and pull up a loop to the height of a double crochet, yarn over and pull through 2 loops. Repeat this partial double crochet twice more in the same stitch, then yarn over and pull through all 4 loops on hook. Chain 1 to close. This counts as 1 stitch.
Surface Slip Stitch: Hold working yarn at the back of the fabric. Insert hook from front to back to front along the desired path, pull up a loop, and slip stitch loosely across the surface. Do not pull tight or your fabric will pucker.
Reverse Single Crochet: Working left to right (the opposite direction from normal), insert hook in previous stitch, pull up a loop, yarn over and pull through both loops. This creates a firm corded edge that looks polished.
Adjustable Cord: Chain to length, then slip stitch in the back bump of each chain. For a thicker cord, work a second slip stitch row along the opposite side.
Left-handed note: Work the same instructions in the opposite direction. Place the front decoration after trying the bag on a flat surface so the bow and rose sit centered from your viewing angle.
Pattern Instructions
Base
Work in a continuous spiral using the larger hook. Chain 24.
Round 1: Single crochet (sc) in 2nd chain from hook and next 21 chains, 3 sc in last chain. Rotate to work along opposite side, sc in next 21 chains, 2 sc in first chain. Place marker. (48 sc)
Rounds 2-7: Sc around, increasing 8 stitches evenly on each round. Keep the increases spaced around the two curved ends, not along the straight sides.
Stitch counts by round:
Checkpoint: Your base should measure approximately 8 x 4 inches (20 x 10 cm) after Round 7. If it cups upward, loosen your tension or add blocking. If it waves, use a smaller hook for the base.
Body
Round 8: Working in back loop only (BLO), sc in each stitch around to turn the base upward. (96 sc)
Rounds 9-10: Sc in each stitch around. (96 sc)
Round 11: Sc in next stitch, ch 1, skip 1 stitch, Texture Puff-Shell in next stitch, ch 1, skip 1 stitch; repeat from around. (24 repeats / 96 stitches and spaces)
Round 12: Sc in each sc, ch-1 space, puff-shell, and ch-1 space around. (96 sc)
Rounds 13-28: Repeat Rounds 11-12 eight more times. End with a plain sc round. (96 stitches each round)
Body checkpoint: After Round 28, your bag body should be approximately 7 inches (18 cm) tall from the base edge and approximately 27 inches (69 cm) around before gathering. You should have 12 vertical texture columns on the front half and 12 on the back half.
Top Band and Eyelets
Round 29: Sc in next 10 stitches, sc2tog; repeat from 8 times. (88 sc)
Round 30: Sc in each stitch around. (88 sc)
Round 31: Dc in next stitch, ch 1, skip 1 stitch; repeat from around. Join with sl st to first dc. (44 dc + 44 ch-1 spaces)
Round 32: Ch 1, sc in each dc and ch-1 space around. Join. (88 sc)
Round 33: Reverse sc around the rim. Join and fasten off. (88 stitches)
Handle and Side Tabs
Handle: With larger hook, chain 60.
Row 1: Hdc in 2nd chain from hook and each chain across. (59 hdc)
Rows 2-4: Ch 1, turn, hdc in each stitch. (59 hdc)
Fold lengthwise around optional cord or 3 yarn strands and whipstitch the long edge closed for a padded look.
Handle edging: With smaller hook, sc evenly around handle, working 3 sc at each short end. Fasten off.
Side tabs (make 2): Chain 11.
Row 1: Sc in 2nd chain from hook and each chain across. (10 sc)
Rows 2-12: Ch 1, turn, sc in each stitch.
Fold over handle end and sew to inside top band at side seams.
Drawstring: Make two adjustable cords, each approximately 30 inches (76 cm). Weave both through eyelets in opposite directions so tails hang at front center.
Placement checkpoint: Handle ends sit inside the bag at the left and right side seams, centered over the side profile. Drawstring tails should hang evenly before tassels are added.
Bow, Rose, and Tassels
Large bow loops (make 2): Chain 18.
Row 1: Sc in 2nd chain from hook and each chain across. (17 sc)
Rows 2-11: Ch 1, turn, sc in each stitch. Fasten off, leaving tail.
Gather center of each rectangle, overlap slightly, and wrap with yarn to form two bow loops.
Bow tails (make 2): Chain 15.
Row 1: Sc in 2nd chain from hook and next 12 chains, 3 sc in last chain, rotate, sc in next 12 chains, 2 sc in first chain. (30 sc)
Round 2: Sc around, placing 2 sc in each of the 3 bottom-point stitches. (33 sc)
Fasten off. Pin under bow loops.
Layered rose: With smaller hook, chain 51.
Row 1: Sc in 2nd chain from hook and each chain across. (50 sc)
Row 2: Ch 3, turn, dc in same stitch, ch 1, skip 1 stitch, 2 dc in next stitch; repeat from across, ending with 2 dc in last stitch.
Row 3: Ch 1, turn, *(sc, hdc, 3 dc, hdc, sc) in next ch-1 space; repeat in each ch-1 space.
Fasten off, roll into a rose, and sew base layers securely.
Flower center: Add 5-7 small French knots or beads in gold or deep rose.
Tassels (make 2): Wrap yarn 24 times around a 4 inch (10 cm) card. Tie top, cut bottom loops, wrap neck 0.5 inch (1.3 cm) below top. Add bead or spacer above tassel. Attach to drawstring ends.
Decoration checkpoint: Bow spans approximately 6 inches (15 cm) across the front. Rose is centered on the bow wrap. Tassels hang below the bow, ending near the lower third of the bag.
Assembly and Finishing
Now comes the satisfying part: putting it all together.
Pin bow loops and tails to the front center, with the rose over the gathered wrap. Sew through several hidden points so the decoration stays dimensional but secure.
Sew the handle tabs firmly through the top band and handle ends. Reinforce each side with a second round of stitching for durability.
Insert plastic canvas base if using. For a polished finish, add a fabric lining and magnetic snap before sewing the lining to the inside rim by hand.
Weave in all ends on the inside. Steam lightly or wet block the body over a towel-stuffed form to round the sides without flattening the texture.
Care Instructions
Your beautiful handbag deserves gentle care:
Troubleshooting Common Issues
Base cups upward: Your increases are too tight or too close together. Loosen tension and space the 8 increases evenly around the curved ends.
Body flares: Switch to a smaller hook for the plain sc rounds or add the optional lining for structure.
Texture leans: Keep the sc after each puff-shell snug and place the plain sc round carefully into every ch-1 space.
Top opening too tight: Work Round 29 with fewer decreases. Decrease only 4 times for a 92-stitch opening.
Bow droops: Use smaller hook for bow pieces or stitch a felt backing behind the bow.
Customizing Your Handbag
Want to make this pattern your own? Here are some ideas:
To widen the bag, add base increase rounds until the final body count is a multiple of 4. Each extra 4 stitches adds one texture repeat.
To make the bag taller, add pairs of Rounds 11-12 before the decrease round.
To shorten or lengthen the handle, adjust the starting chain. Keep both side tabs the same length.
For a plainer bag, omit the front decoration and weave the drawstring to tie at one side.
Final Pattern Notes
Remember that ch-1 spaces and puff-shells count as stitches in the texture round. Do not join body rounds until Round 31 unless instructed. Move the round marker up at the end of every round to keep your place.
Maker Checkpoints
Use these measurements to verify your progress:
| After | Target |
|---|---|
| Round 7 | Base approximately 8 x 4 inches (20 x 10 cm), 96 sc |
| Round 28 | Body approximately 7 inches (18 cm) tall, 96 stitches |
| Round 33 | Opening approximately 24-25 inches (61-64 cm) around, softly gathered |
| Finish | Bag approximately 9 x 8 x 4 inches (23 x 20 x 10 cm) |
I truly hope you love making this Dusty Rose Valentine Bow Handbag as much as I loved designing it. If you found this crochet pattern helpful, please save it to your Pinterest boards so you can find it whenever you’re ready to start. And if you make one, I would absolutely love to see it! Drop a comment below or tag me in your photos. Happy crocheting!
