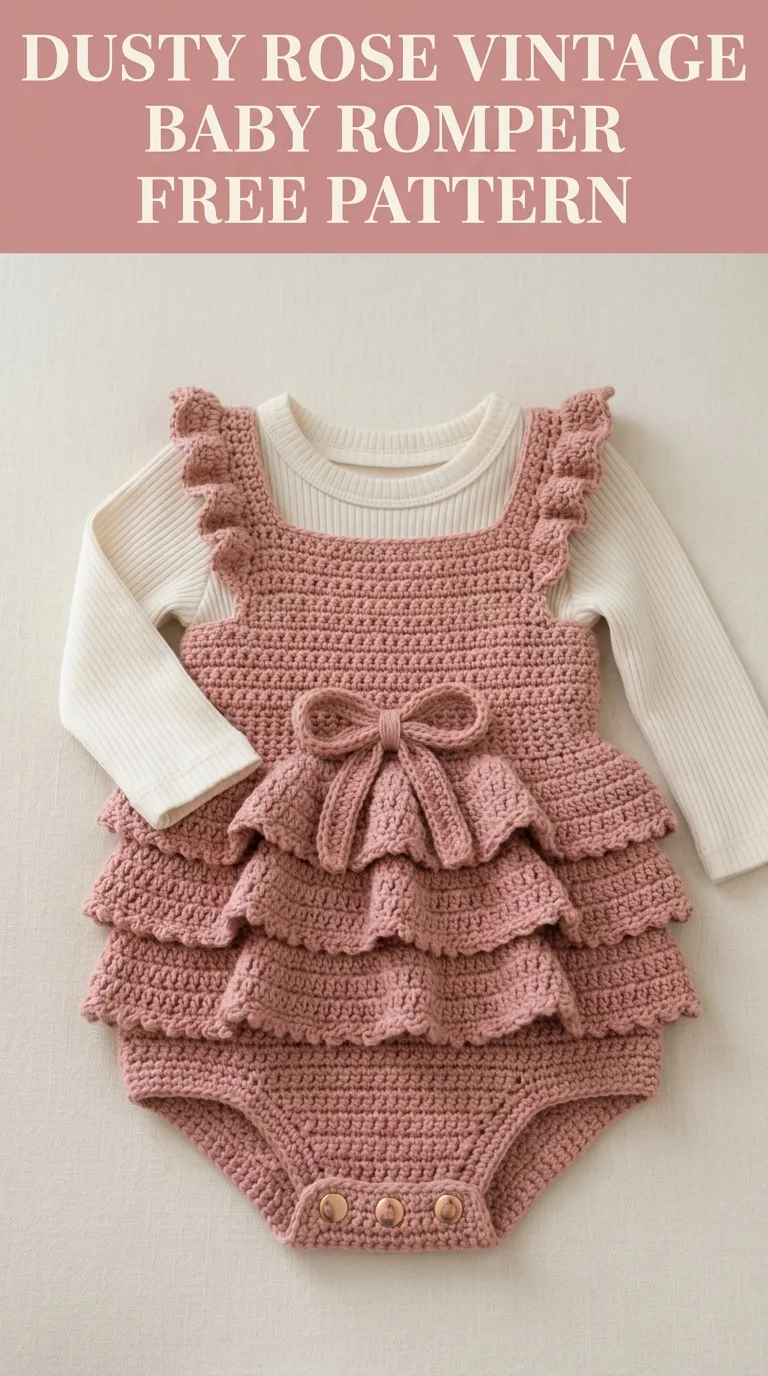
I designed this romper with one goal in mind: create something that looks like it belongs in a boutique window but actually works up in a weekend. The tiered ruffles, the sweet bow detail, the scalloped edges on those flutter straps. Every element came together exactly how I pictured it, and I am SO pleased with how it turned out! This vintage-inspired baby romper has become one of my absolute favorite makes, and I cannot wait to walk you through every single step.
About This Crochet Baby Romper Pattern
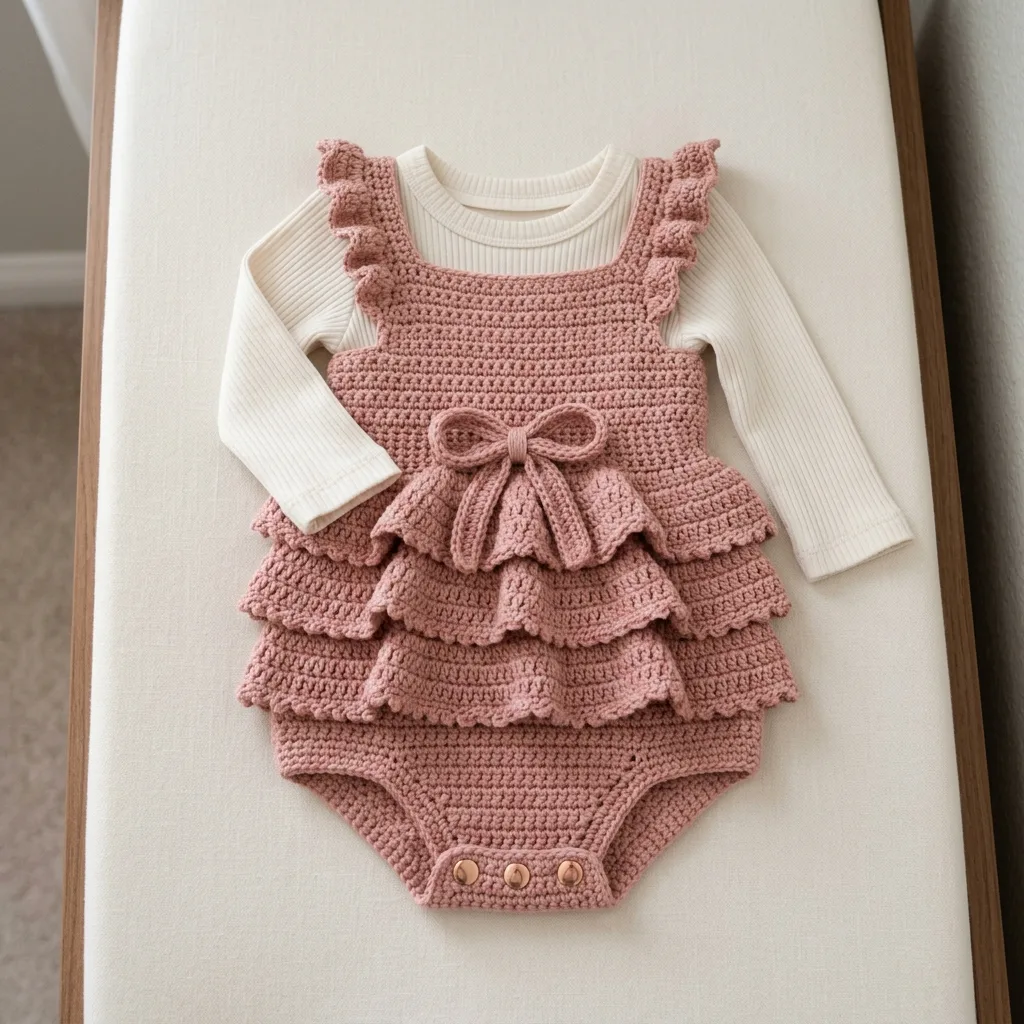
This dusty rose baby romper combines classic construction with charming vintage details. The bodice uses simple rows of half double crochet stitches for a dense, structured fabric. Three cascading ruffles create that adorable tiered skirt effect. Flutter straps with delicate scallop edging frame the neckline beautifully. And that crocheted bow at the waist? It ties the whole look together.
Skill level: Intermediate
Finished size: 6 to 12 months (approximately 18 inch chest, 14 inches from shoulder to crotch)
The construction is more straightforward than it appears. You will work the bodice flat, then join to work the skirt ruffles directly onto the body. The bottom portion forms a simple diaper cover shape with button closures for easy changes.
Materials Needed
Yarn:
Hook:
Notions:
Gauge
14 stitches and 10 rows in half double crochet equals 4 inches square using 4.0mm hook.
Please check your gauge! This ensures proper fit for baby. Too loose and the romper will stretch out. Too tight and it will not have the soft drape you want.
Abbreviations and Stitch Definitions
Let me break down every stitch you will use in this pattern.
Ch = Chain. Wrap yarn over hook, pull through loop on hook. This creates the foundation for your work.
Sl st = Slip stitch. Insert hook, yarn over, pull through stitch AND loop on hook in one motion. Used for joining and invisible movement.
Sc = Single crochet. Insert hook, yarn over, pull up a loop (2 loops on hook), yarn over, pull through both loops.
Hdc = Half double crochet. Yarn over, insert hook, yarn over, pull up a loop (3 loops on hook), yarn over, pull through all 3 loops at once.
Dc = Double crochet. Yarn over, insert hook, yarn over, pull up a loop (3 loops), yarn over, pull through 2 loops (2 loops remain), yarn over, pull through remaining 2 loops.
Inc = Increase. Work 2 stitches into the same stitch.
Dec = Decrease. Work 2 stitches together as one.
Sk = Skip. Pass over the indicated stitch without working into it.
RS = Right side. The front of your work.
WS = Wrong side. The back of your work.
Pattern Notes Before You Begin
This crochet tutorial breaks the romper into sections: back bodice, front bodice, straps, skirt ruffles, bottom panel, bow, and finishing. Work through each section in order.
The turning chain does NOT count as a stitch unless specifically noted.
When the pattern says "work in each stitch across," that means you should have the same stitch count at the end as the beginning of that row.
Mark your rows with scrap yarn or stitch markers. Trust me on this one. Counting rows in half double crochet fabric can get tricky, and you will thank yourself later.
Step by Step Crochet Pattern Instructions
Back Bodice Panel
Foundation: Ch 33.
Row 1 (RS): Hdc in 3rd ch from hook and in each ch across. (31 sts)
Row 2: Ch 2, turn. Hdc in each st across. (31 sts)
Rows 3 through 12: Repeat Row 2. (31 sts)
You should now have a rectangle measuring approximately 9 inches wide and 5 inches tall.
Shape Armholes:
Row 13: Ch 2, turn. Sk first 3 sts, hdc in next 25 sts, leave remaining 3 sts unworked. (25 sts)
Row 14: Ch 2, turn. Hdc2tog (decrease over first 2 sts), hdc in each st to last 2 sts, hdc2tog. (23 sts)
Row 15: Repeat Row 14. (21 sts)
Rows 16 through 20: Ch 2, turn. Hdc in each st across. (21 sts)
Do not fasten off. Set aside.
Front Bodice Panel
Work exactly as the back bodice through Row 20.
Fasten off. Weave in ends temporarily.
Joining Side Seams
Place front and back panels with right sides together. Using your tapestry needle and a length of yarn, whip stitch the side seams from the bottom edge up to the armhole shaping. Leave the armholes open.
Turn right side out. The bodice should now form a tube.
Flutter Straps (Make 2)
The straps attach at the front and back corners of the bodice. They feature a beautiful scalloped ruffle edge that gives this romper its vintage charm.
Foundation: Ch 41.
Row 1: Sc in 2nd ch from hook and in each ch across. (40 sts)
Row 2: Ch 1, turn. Sc in each st across. (40 sts)
Row 3: Ch 1, turn. Sc in each st across. (40 sts)
Scallop Edging (worked along one long edge):
Ch 1, do not turn. Working along the side edge of the strap, work the following:
*Sk first row edge, (5 dc in next row edge, sk next row edge, sl st in next row edge, sk next row edge) repeat to end of strap edge.*
This creates the ruffled scallop effect you see in the photo.
Fasten off, leaving a long tail for sewing.
Repeat for second strap.
Attaching Straps:
Position straps at the corners of the bodice, with scalloped edges facing outward. The straps should sit approximately 1 inch in from each side seam. Sew securely using whip stitch.
Tiered Ruffle Skirt
This is where the magic happens! You will work three separate ruffles directly onto the bodice, creating that gorgeous layered look.
First Ruffle (Top Tier):
Join yarn to the bottom edge of the bodice at the side seam.
Round 1: Ch 1. Working along the bottom edge of the bodice, sc evenly around, placing approximately 62 sc total. Sl st to first sc to join. (62 sts)
Round 2: Ch 3 (counts as dc). Dc in same st. 2 dc in each st around. Sl st to top of ch-3 to join. (124 sts)
Round 3: Ch 3. Dc in each st around. Sl st to join. (124 sts)
Round 4 (Scallop Edge): Ch 1. *Sc in next st, sk 1 st, 5 dc in next st (shell made), sk 1 st.* Repeat from * around. Sl st to first sc to join.
Fasten off.
Second Ruffle (Middle Tier):
Count down 4 rows from where you attached the first ruffle. Join yarn at the side seam on this row.
Round 1: Ch 1. Working into the front loops only of the stitches in this row, sc evenly around. Sl st to join. (approximately 62 sts)
Rounds 2 through 4: Repeat as for First Ruffle.
Fasten off.
Third Ruffle (Bottom Tier):
Count down another 4 rows. Join yarn and repeat the ruffle instructions.
Fasten off.
Bottom Diaper Cover Panel
You will now create the lower portion that forms the romper bottom.
Join yarn at the center back of the bodice, at the row just below where you attached the bottom ruffle.
Row 1: Ch 1. Working across the back only, sc in approximately 31 sts (half the bodice circumference). (31 sts)
Row 2: Ch 2, turn. Hdc in each st across. (31 sts)
Rows 3 through 8: Repeat Row 2. (31 sts)
Shape Leg Opening:
Row 9: Ch 2, turn. Hdc2tog, hdc to last 2 sts, hdc2tog. (29 sts)
Rows 10 through 13: Repeat Row 9, decreasing at each edge. (21 sts after Row 13)
Rows 14 through 16: Ch 2, turn. Hdc in each st across. (21 sts)
Create Button Tab:
Row 17: Ch 2, turn. Hdc in first 5 sts only. Turn.
Row 18: Ch 2. Hdc in each of 5 sts.
Buttonholes:
Row 19: Ch 2, turn. Hdc in first st, ch 1, sk 1, hdc in next st, ch 1, sk 1, hdc in last st.
Fasten off.
Front Panel Extension:
Return to the front bodice. Repeat the bottom panel instructions, but omit the buttonhole rows. Instead, work straight hdc rows to create a flat tab for button attachment.
Crocheted Bow
This sweet bow sits at the waistline and adds that perfect finishing touch.
Bow Loop (Make 2):
Ch 21.
Row 1: Hdc in 3rd ch from hook and in each ch across. (19 sts)
Rows 2 through 4: Ch 2, turn. Hdc in each st across. (19 sts)
Fasten off, leaving a long tail.
Fold each piece so the short ends meet. Sew ends together to form a loop.
Bow Center:
Ch 7.
Row 1: Sc in 2nd ch from hook and in each ch across. (6 sts)
Rows 2 through 6: Ch 1, turn. Sc in each st across. (6 sts)
Fasten off, leaving a long tail.
Assembly:
Stack the two loops on top of each other, pinching in the center. Wrap the small center piece around the middle, pulling tight to create the bow shape. Sew securely on the back.
Attach the bow to the front bodice at the waistline, just above where the first ruffle begins.
Finishing
Edging Around Armholes:
Join yarn at the underarm. Sc evenly around each armhole opening. Sl st to join. Fasten off.
Neckline Edging (optional):
If desired, work a round of sc around the entire top edge of the bodice for a polished look.
Attach Buttons:
Sew three buttons to the front tab, aligning with the buttonholes on the back tab.
Weave In All Ends:
Take your time here. A project this beautiful deserves neat, invisible finishing. Weave each tail through several stitches on the wrong side, then trim close.
Blocking:
Wet block or steam block gently to even out your stitches and help the ruffles lay beautifully.
Tips for Success
If your ruffles are curling: Your tension might be too tight. Try going up a half hook size for the ruffle rounds only.
If the bodice is too snug: Add 2 to 4 more foundation chains and adjust all stitch counts accordingly.
For a newborn size: Start with ch 29 instead of ch 33 and reduce ruffle stitch counts proportionally.
For washing: Use a gentle cycle in a mesh laundry bag, or hand wash. Lay flat to dry to maintain the ruffle shape.
Why Crocheters Love This Pattern
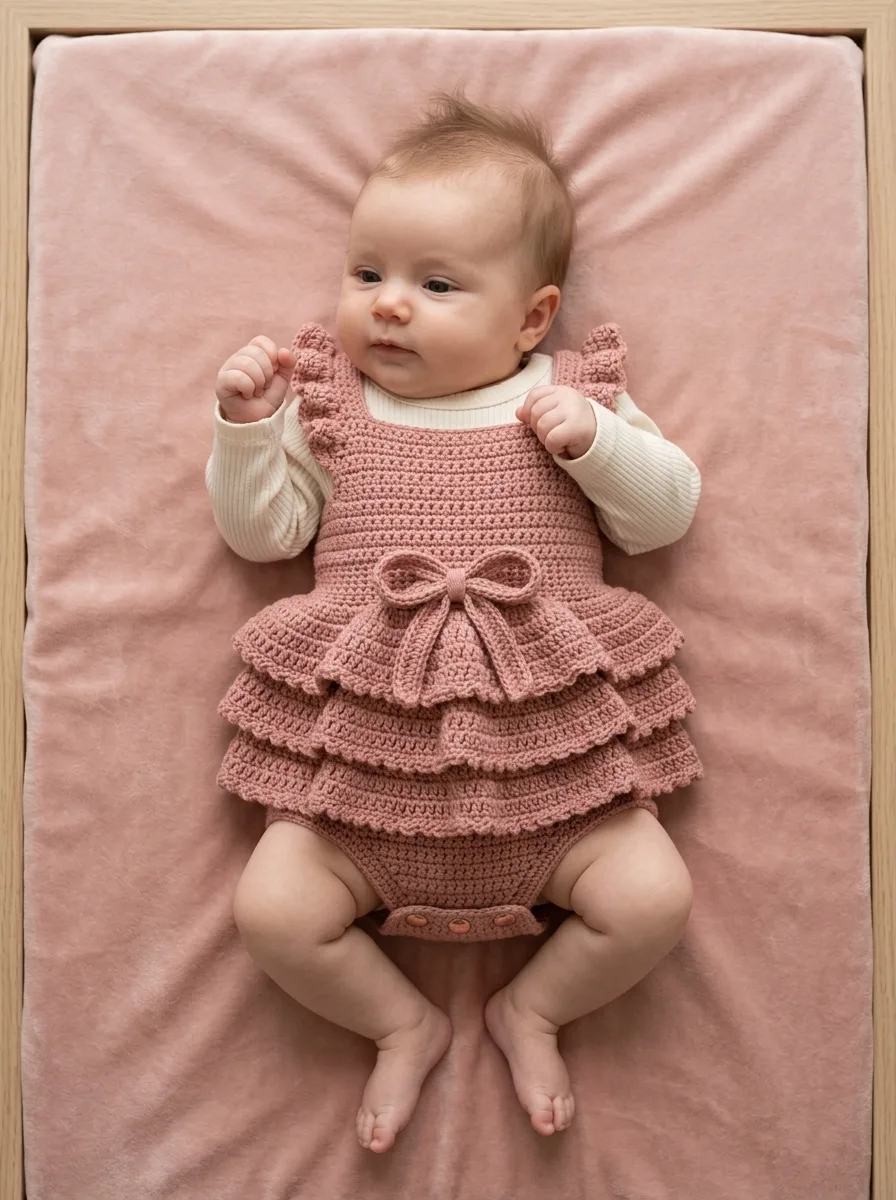
This step by step crochet pattern delivers impressive results without requiring advanced techniques. Every stitch you need, you probably already know. The construction makes sense once you work through it. And the finished romper? It photographs beautifully for those newborn sessions and makes an unforgettable baby shower gift.
The tiered ruffle design hides any small inconsistencies in tension, which makes this surprisingly beginner friendly for an intermediate pattern. If you can work half double crochet confidently and have made at least one or two garments before, you can absolutely handle this project.
Thank you so much for choosing this pattern! I truly hope you enjoy making this sweet vintage baby romper as much as I enjoyed designing it. If you create one, I would absolutely love to see it. Tag me on Instagram or share it in my Facebook group. Your makes genuinely brighten my day.
This dusty rose vintage baby romper pattern is definitely one to save! Pin it to your favorite crochet board on Pinterest so you can find it whenever inspiration strikes. And please drop a comment below if you give it a try. I love hearing which colors you choose and seeing how your versions turn out!
