
I’ve been on the hunt for a market bag pattern that actually holds its shape while still looking elegant. This Coral Camellia Net Market Bag is exactly what I was looking for, and I’m thrilled to share it with you today.
Get the Ad-Free PDF Pattern
You can find the free pattern below, or you can purchase the ad-free printable PDF from my shop.
Get the Printable PDF →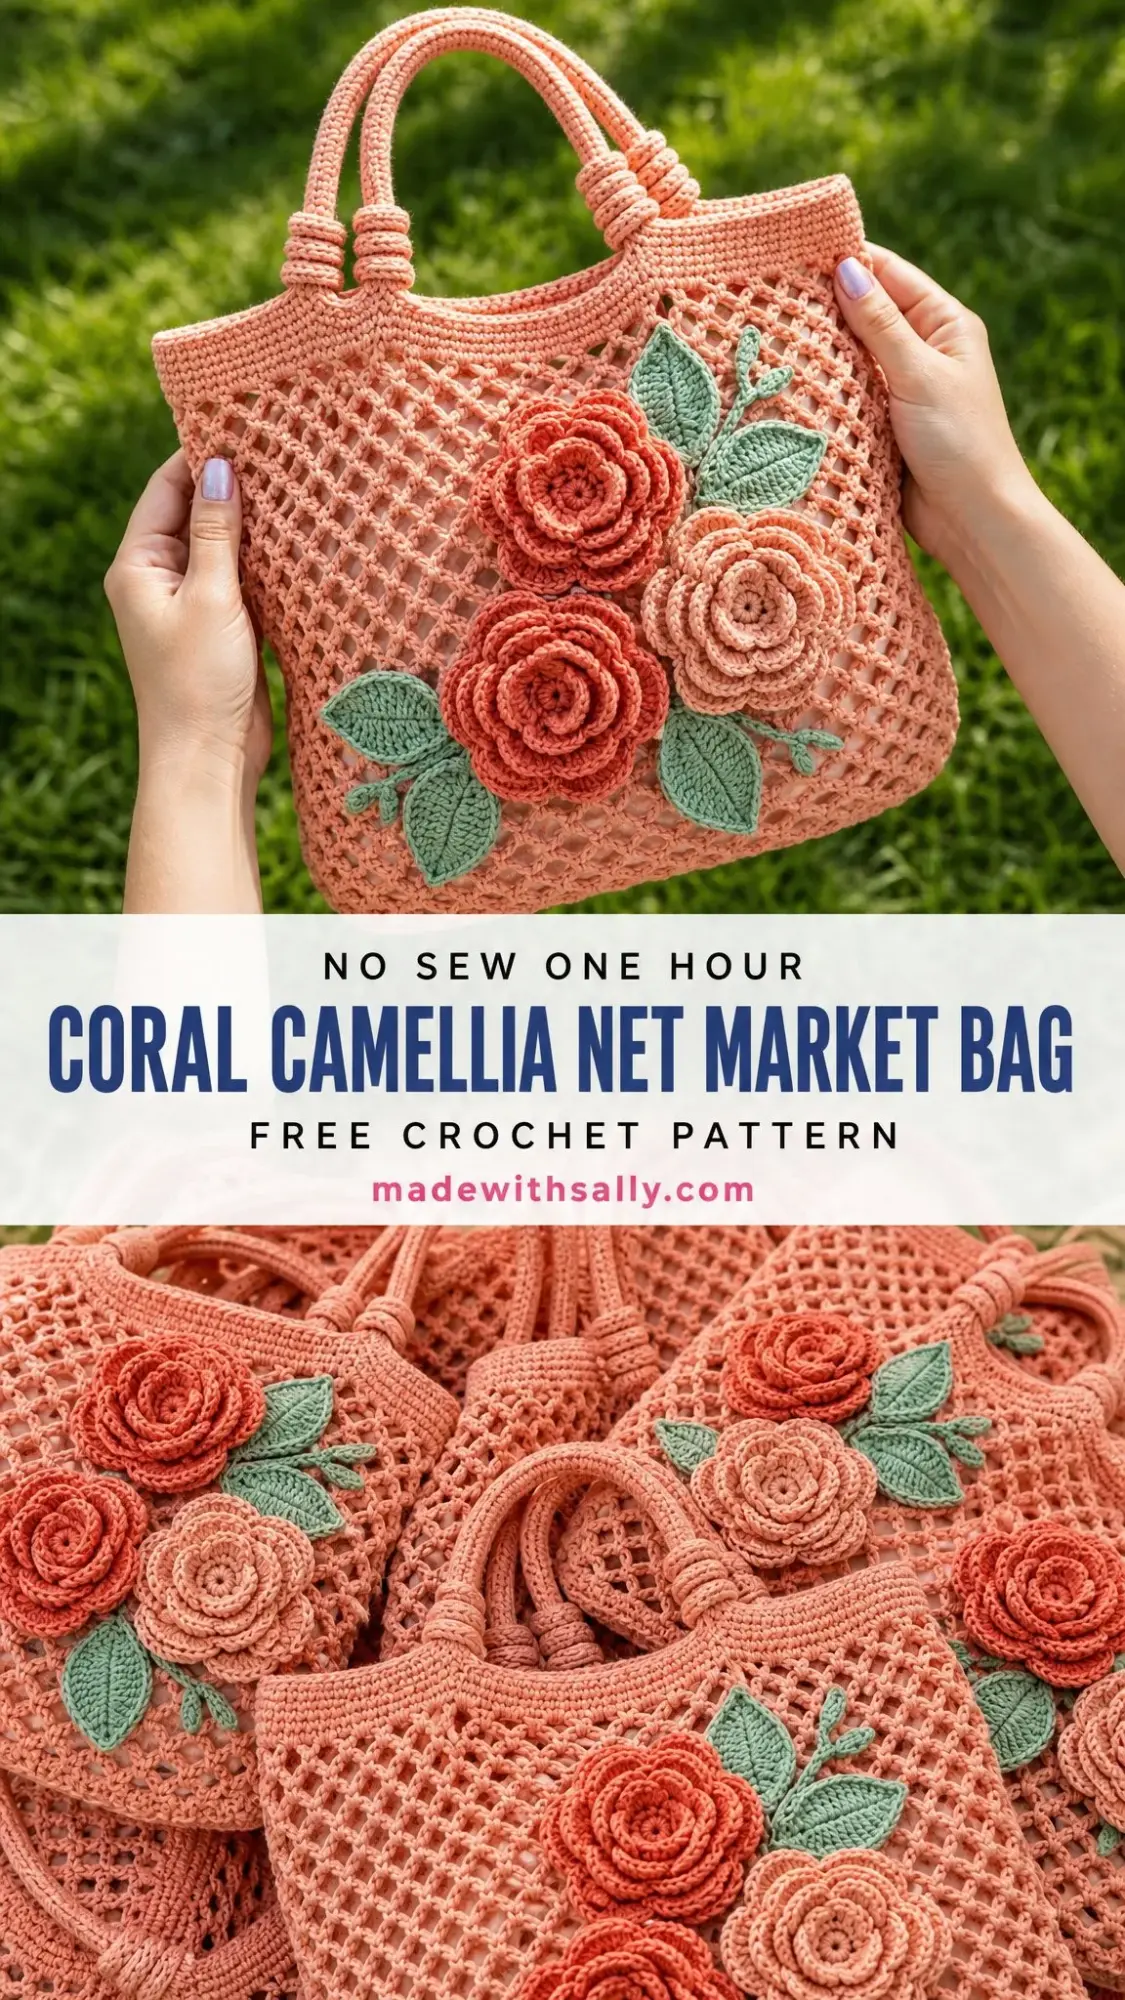
The combination of a structured mesh body with those gorgeous sculpted camellia flowers creates something that’s both practical and absolutely stunning. It’s the kind of bag that gets compliments at the farmer’s market.
Whether you’re shopping for produce or heading to the beach, this coral beauty works up in about 8 to 12 relaxed hours and uses skills you likely already have. Let me walk you through everything you need to make your own.
About This Coral Camellia Net Market Bag Pattern
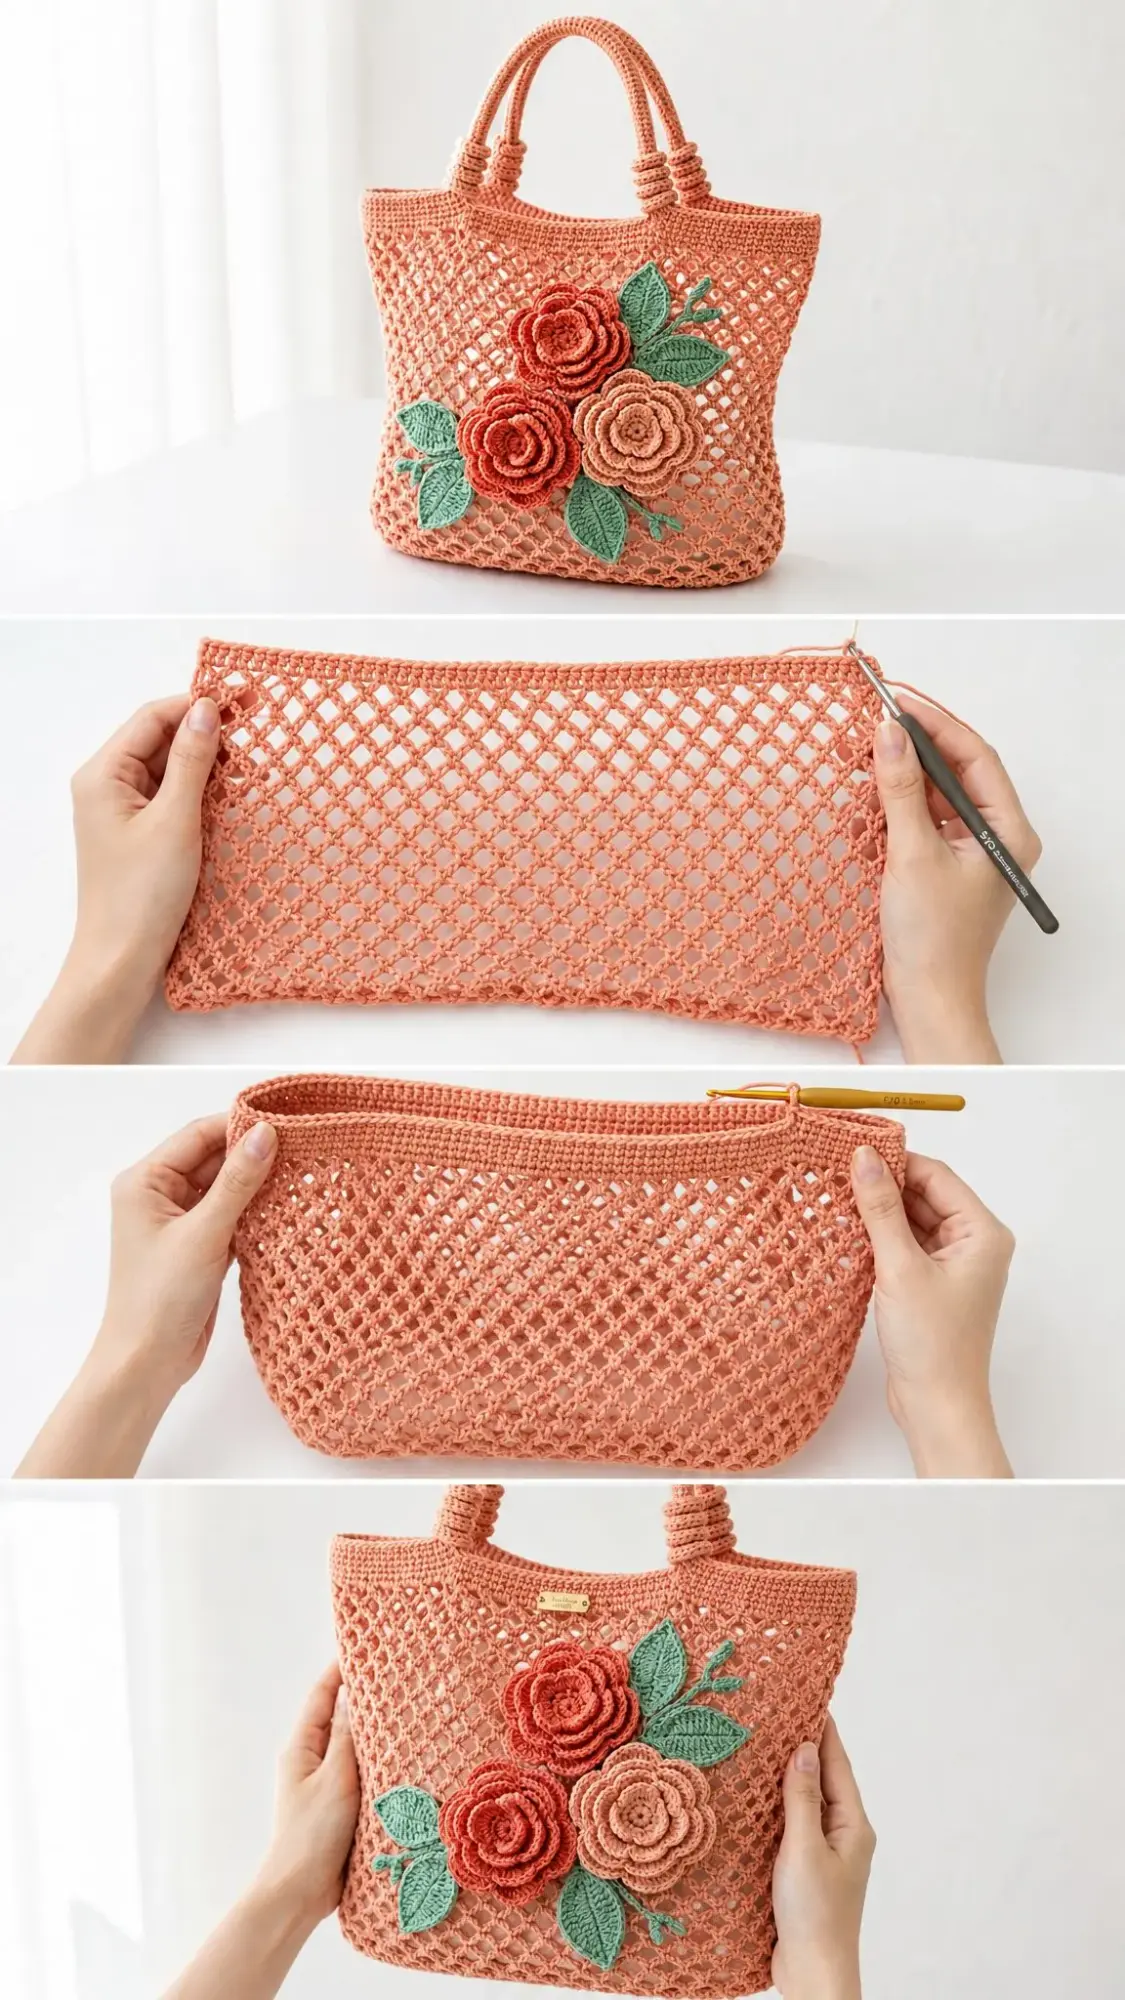
This crochet market bag features a soft structured design that starts from a solid oval base and works upward into an open diamond net body. The firm top band and double rounded handles give it stability, while the layered camellia style flower appliques add a romantic, handmade touch.
The finished bag measures approximately 11.5 inches wide, 10.5 inches tall to the top edge, and 3 inches deep. The handles rise about 6.5 inches above the rim, making it comfortable to carry over your shoulder or in hand.
Skill level is intermediate. You’ll work joined rounds, shaped oval increases, mesh repeats, surface assembly, padded handle wrapping, and layered floral motifs. If you’ve mastered basic stitches and are ready for something with a few more techniques, this project is perfect for you.
Materials You’ll Need
Gathering your supplies before you start makes the whole process smoother. Here’s everything you’ll need for this crochet bag pattern.
Yarn:
Hooks:
Notions:
Recommended Yarn Brands
If you’re wondering which specific yarns work well for this project, here are some excellent options:
Lily Sugar’n Cream offers a sturdy construction with crisp mesh definition. It’s accessible and affordable at most craft stores.
Paintbox Yarns Cotton Aran has a smooth finish and comes in a broad color range if you want to customize your bag colors.
Knit Picks Dishie provides strong cotton with neat stitch definition that shows off the mesh beautifully.
Important substitution note: Choose a firm, non stretch cotton or cotton blend worsted yarn. Avoid very soft acrylics for the bag body because the mesh and handles may stretch more than intended with use.
Gauge
Getting your gauge right ensures your bag turns out the proper size.
Solid single crochet (sc) gauge: 14 sc x 16 rounds equals 4 inches or 10 cm after blocking, using the 5 mm hook.
Mesh gauge: 4.5 mesh repeats x 9 mesh rounds equals 4 inches or 10 cm after blocking.
Take time to make a gauge swatch before starting. If your swatch is too small, go up a hook size. If it’s too large, go down a hook size.
Stitch Guide and Abbreviations
Let me break down all the stitches and abbreviations you’ll encounter in this crochet tutorial.
| Abbreviation | Meaning |
|---|---|
| beg | beginning |
| BLO | back loop only |
| ch | chain |
| dc | double crochet |
| hdc | half double crochet |
| rep | repeat |
| rnd(s) | round(s) |
| RS | right side |
| sc | single crochet |
| sl st | slip stitch |
| sp | space |
| st(s) | stitch(es) |
| yo | yarn over |
Special Stitches Explained
Mesh loop: Chain 5, skip the indicated stitches or space, then work a single crochet in the next stitch or space. Keep all chain 5 loops relaxed and even for consistent diamonds.
Reverse single crochet: With the right side facing, insert your hook into the stitch to the right, yarn over, pull up a loop, yarn over and pull through both loops. Continue moving right to left for a corded edge. This creates a beautiful finished border.
3 stitch picot: Chain 3, slip stitch in the first chain made. This creates a small decorative bump.
Small bobble: Yarn over, insert hook in stitch, yarn over, pull up a loop, yarn over, pull through 2 loops. Repeat this 3 times in the same stitch, then yarn over and pull through all 4 loops on the hook.
Pattern Notes Before You Begin
Keep these important notes in mind as you work:
Left handed crocheters: You may work the same stitch counts in the opposite direction. Place the flower cluster on the front after blocking so the arrangement sits where you like it.
Step by Step Instructions
Now let’s get into the actual pattern. Follow these instructions carefully for best results.
Part 1: Bag Base
The base creates a sturdy oval foundation for your bag.
Round 1: Chain 29. Single crochet in the 2nd chain from hook and in the next 26 chains, work 3 single crochet in the last chain. Work along the other side: single crochet in the next 26 chains, 2 single crochet in the same chain as the first single crochet. Join. (58 sc)
Round 2: Chain 1. Single crochet in the next 26 stitches, 2 single crochet in each of the next 3 stitches, single crochet in the next 26 stitches, 2 single crochet in each of the next 3 stitches. Join. (64 sc)
Round 3: Chain 1. Single crochet in the next 26 stitches, (single crochet in the next stitch, 2 single crochet in the next stitch) 3 times, single crochet in the next 26 stitches, (single crochet in the next stitch, 2 single crochet in the next stitch) 3 times. Join. (70 sc)
Round 4: Chain 1. Single crochet in the next 26 stitches, (single crochet in the next 2 stitches, 2 single crochet in the next stitch) 3 times, single crochet in the next 26 stitches, (single crochet in the next 2 stitches, 2 single crochet in the next stitch) 3 times. Join. (76 sc)
Round 5: Chain 1. Single crochet in the next 26 stitches, (single crochet in the next 3 stitches, 2 single crochet in the next stitch) 3 times, single crochet in the next 26 stitches, (single crochet in the next 3 stitches, 2 single crochet in the next stitch) 3 times. Join. (82 sc)
Round 6: Chain 1. Single crochet in the next 26 stitches, (single crochet in the next 4 stitches, 2 single crochet in the next stitch) 3 times, single crochet in the next 26 stitches, (single crochet in the next 4 stitches, 2 single crochet in the next stitch) 3 times. Join. (88 sc)
Round 7: Chain 1. Single crochet in the back loop only in each stitch around. Join. (88 sc)
Round 8: Chain 1. Single crochet in each stitch around. Join. (88 sc)
Checkpoint: After Round 8, your base should measure approximately 11.25 x 3 inches or 28.5 x 7.5 cm. It should be a long rounded rectangle or oval with a firm edge. If it cups, your stitches are too tight. If it waves, your stitches are too loose or your hook is too large.
Part 2: Net Body
This section creates the beautiful open mesh that gives the bag its characteristic market tote look.
Round 9: Chain 1, single crochet in the same stitch, chain 5, skip the next 3 stitches, single crochet in the next stitch; repeat from around, ending with chain 5, skip the last 3 stitches. Join to the first single crochet. (22 chain 5 loops)
Rounds 10 through 26: Slip stitch into the first chain 5 space, chain 1, single crochet in the same space, chain 5, single crochet in the next chain 5 space; repeat from around. Join. (22 chain 5 loops)
Checkpoint: After Round 26, your mesh section should measure approximately 8 inches or 20 cm from the base ridge. The diamonds should be open but not floppy. If your mesh looks uneven, check that your chain 5 loops are consistent throughout.
Part 3: Upper Band
The upper band adds structure and stability to your bag opening.
Round 27: Chain 1, (3 single crochet in the next chain 5 space, single crochet in the next single crochet); repeat from around. Join. (88 sc)
Rounds 28 through 32: Chain 1, single crochet in each stitch around. Join. (88 sc)
Round 33: Chain 1, reverse single crochet in each stitch around. Join and fasten off. (88 reverse sc)
Top edge checkpoint: The top circumference should measure approximately 25 to 26 inches or 63.5 to 66 cm before heavy loading. Steam lightly if the band flares outward.
Part 4: Handle Placement and Construction
Proper handle placement ensures your bag hangs evenly when carried.
Marking the attachment points: Lay the bag flat. Mark the center 28 stitches of the front and the center 28 stitches of the back. On each face, mark handle attachment points 10 stitches apart, centered on that face.
Make 2 rounded handles: With coral yarn and the 5 mm hook, make a firm cord approximately 17 inches or 43 cm long for each handle. You can use a 4 stitch crochet I cord, Romanian cord, or a tight foundation chain covered with one round of slip stitches. Make both handles the same length for symmetry.
Attach handles: Sew one handle to the front marked points and one to the back marked points, inserting each end 1 inch or 2.5 cm down inside the band. Stitch through the band and handle end several times for security.
Wrapped rings: For each handle base, join coral yarn around the handle just above the rim. Work 10 tight single crochet around the handle, turn the wrap slightly, and work 2 more rounds around the same area. Fasten off and weave in ends. Make 4 wraps total, one at each handle attachment point.
Part 5: Camellia Appliques
These stunning flowers transform your bag from simple to showstopping. Make 2 large flowers in deep coral and 1 medium flower in peach. Work flowers with the 4 mm hook for sculpted petals.
Large Layered Camellia (make 2):
Chain 53.
Row 1: Single crochet in the 2nd chain from hook and in each chain across. (52 sc)
Row 2: Chain 1, turn. In the first 8 stitches, work (single crochet, half double crochet, double crochet, half double crochet, single crochet) in each stitch. In the next 18 stitches, work (single crochet, half double crochet, 2 double crochet, half double crochet, single crochet) in each stitch. In the last 26 stitches, work (single crochet, half double crochet, 3 double crochet, half double crochet, single crochet) in each stitch. Fasten off, leaving a 16 inch or 40 cm tail.
Roll the strip from the smaller petal end toward the larger petal end. Stitch through the lower edge every few petals to secure. Shape into a 3 inch or 7.5 cm bloom.
Medium Camellia (make 1):
Chain 43.
Row 1: Single crochet in the 2nd chain from hook and in each chain across. (42 sc)
Row 2: Chain 1, turn. In the first 8 stitches, work (single crochet, half double crochet, double crochet, half double crochet, single crochet) in each stitch. In the next 16 stitches, work (single crochet, half double crochet, 2 double crochet, half double crochet, single crochet) in each stitch. In the last 18 stitches, work (single crochet, half double crochet, 3 double crochet, half double crochet, single crochet) in each stitch.
Roll and sew into a 2.5 inch or 6.5 cm bloom.
Part 6: Leaves and Tendrils
Make 6 leaves in sage green with the 4 mm hook.
Leaf pattern:
Chain 13. Single crochet in the 2nd chain, half double crochet in the next chain, double crochet in the next 7 chains, half double crochet in the next chain, single crochet in the next chain, 3 single crochet in the last chain. Work along the other side: single crochet in the next chain, half double crochet in the next chain, double crochet in the next 7 chains, half double crochet in the next chain, single crochet in the last chain. Join. Chain 1, slip stitch up the center ridge if desired for added definition. Fasten off with a sewing tail. (24 stitches around the outer edge)
Tendril pattern:
Chain 16, work 2 single crochet in the 2nd chain from hook and in each chain across. Fasten off. Make 3 short tendrils and tack them beneath the leaves.
Part 7: Assembly and Finishing
Position the flowers on the lower front of the bag, slightly right of center. Place two deep coral flowers overlapping diagonally, with the peach flower at the lower right.
Tuck the leaves behind the flowers so the tips point outward, creating a natural arrangement.
Sew each piece through the solid parts of the motif and the mesh intersections. Don’t attach only through loose chain spans, as this won’t hold securely.
Weave in all ends throughout the bag, flowers, and leaves.
Steam block lightly over a towel, shaping the base, upper band, handles, and petals with your fingers. Do not flatten the flowers completely, as you want them to maintain their dimensional, sculpted appearance.
Size Customization Options
Want to adjust this pattern? Here’s how:
For a wider bag: Add base rounds in the same increase rhythm until the final stitch count is divisible by 4.
For a taller bag: Add mesh rounds before Round 27.
For longer handles: Make cords longer before attaching and reinforce the ends with extra stitching.
Troubleshooting Common Issues
| Issue | Likely Cause | Fix |
|---|---|---|
| Mesh leans strongly | Join placement twisting | Start each mesh round in the first chain 5 space and smooth the tube before joining |
| Top band flares | Loose single crochet after mesh | Drop hook size for Rounds 27 through 33 or steam the band inward |
| Handles stretch | Yarn too soft or ends under secured | Use firm cotton cord and sew through the band several times |
| Flowers droop | Motifs attached only to chains | Sew through mesh intersections and add hidden tack stitches behind petals |
Care Instructions
Keep your beautiful market bag looking its best with proper care:
Final Thoughts on This Crochet Market Bag Pattern
This Coral Camellia Net Market Bag combines practical functionality with undeniable beauty. The structured mesh body holds everything from produce to beach essentials, while those sculpted camellia flowers make it uniquely yours.
Take your time with the flower construction, as rolling and securing them properly creates that lush, dimensional look that makes this bag so special. And don’t rush the handle attachment. Those secure connections ensure your bag lasts through many trips to the market.
I hope you love making this crochet bag pattern as much as I enjoyed putting this tutorial together. It’s the kind of project that feels satisfying every step of the way, from that first oval base to the final flower placement.
If you found this pattern helpful, I’d love for you to save it to your Pinterest boards so you can find it easily when you’re ready to start. And please drop a comment below if you make one. I absolutely love seeing your finished projects and hearing about any color combinations you tried!
Want a Quick & Easy Printable Version?
Get a clean, beautifully formatted PDF of this pattern — easy to follow step by step, ready to print or save on any device. No scrolling, no distractions, just the pattern.
Get the Printable PDF →