
I call this one the Coral Peony Bag, and it has quite the history in my pattern notebook. I sketched the original idea about three years ago after visiting a botanical garden in late spring. The peonies were absolutely bursting that day, and I kept thinking about how those layered, ruffled petals would translate into crochet.
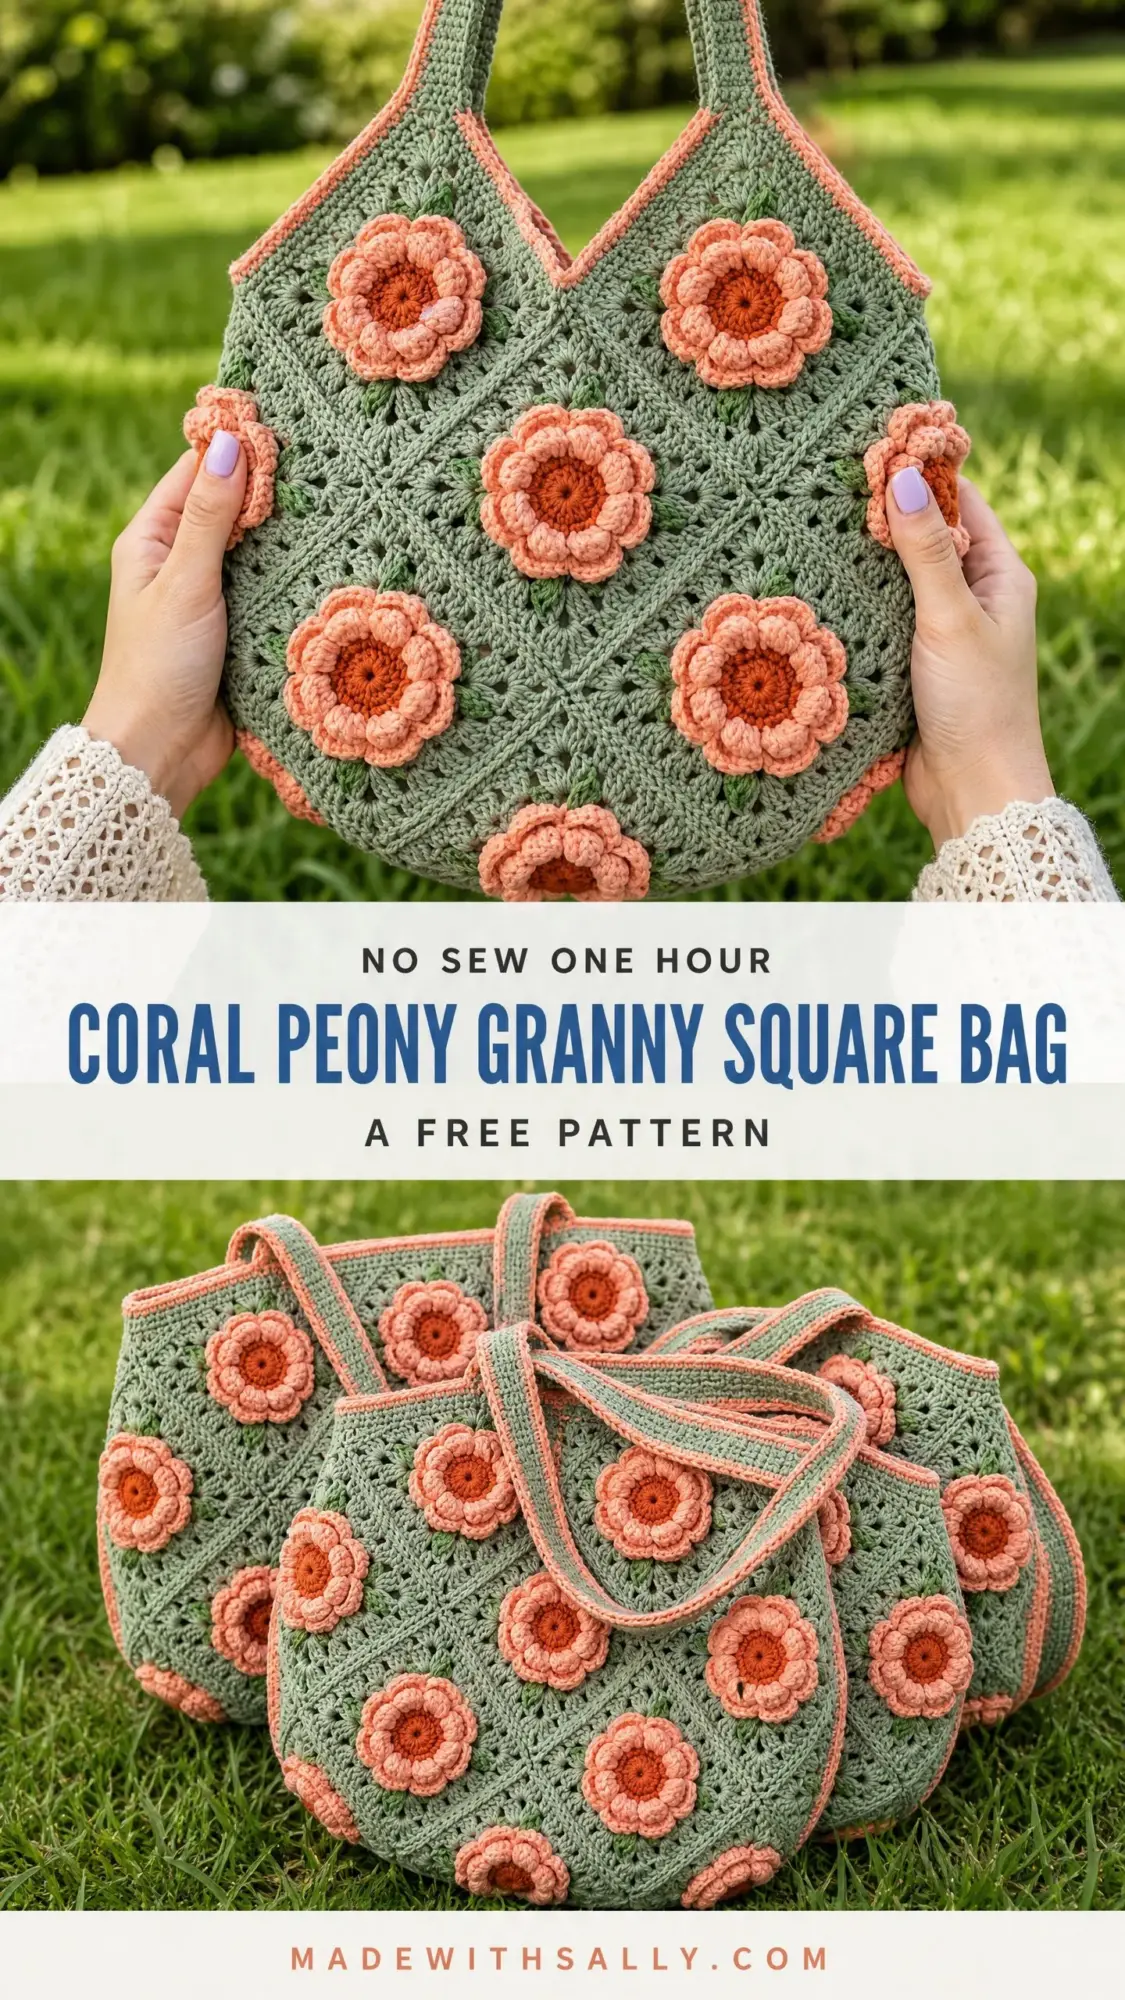
The sketch sat in my notebook for ages until last summer when I finally pulled it out and started swatching. I wanted something that felt vintage but still modern. Something with dimension and texture but not fussy construction. After a lot of frogging and several cups of tea, this bag finally came together exactly as I had imagined it.
The rounded teardrop silhouette, the three dimensional flowers, the soft sage and coral color story. It all feels like that spring garden visit captured in yarn. Now I am thrilled to finally share this pattern with you.
About This Crochet Pattern
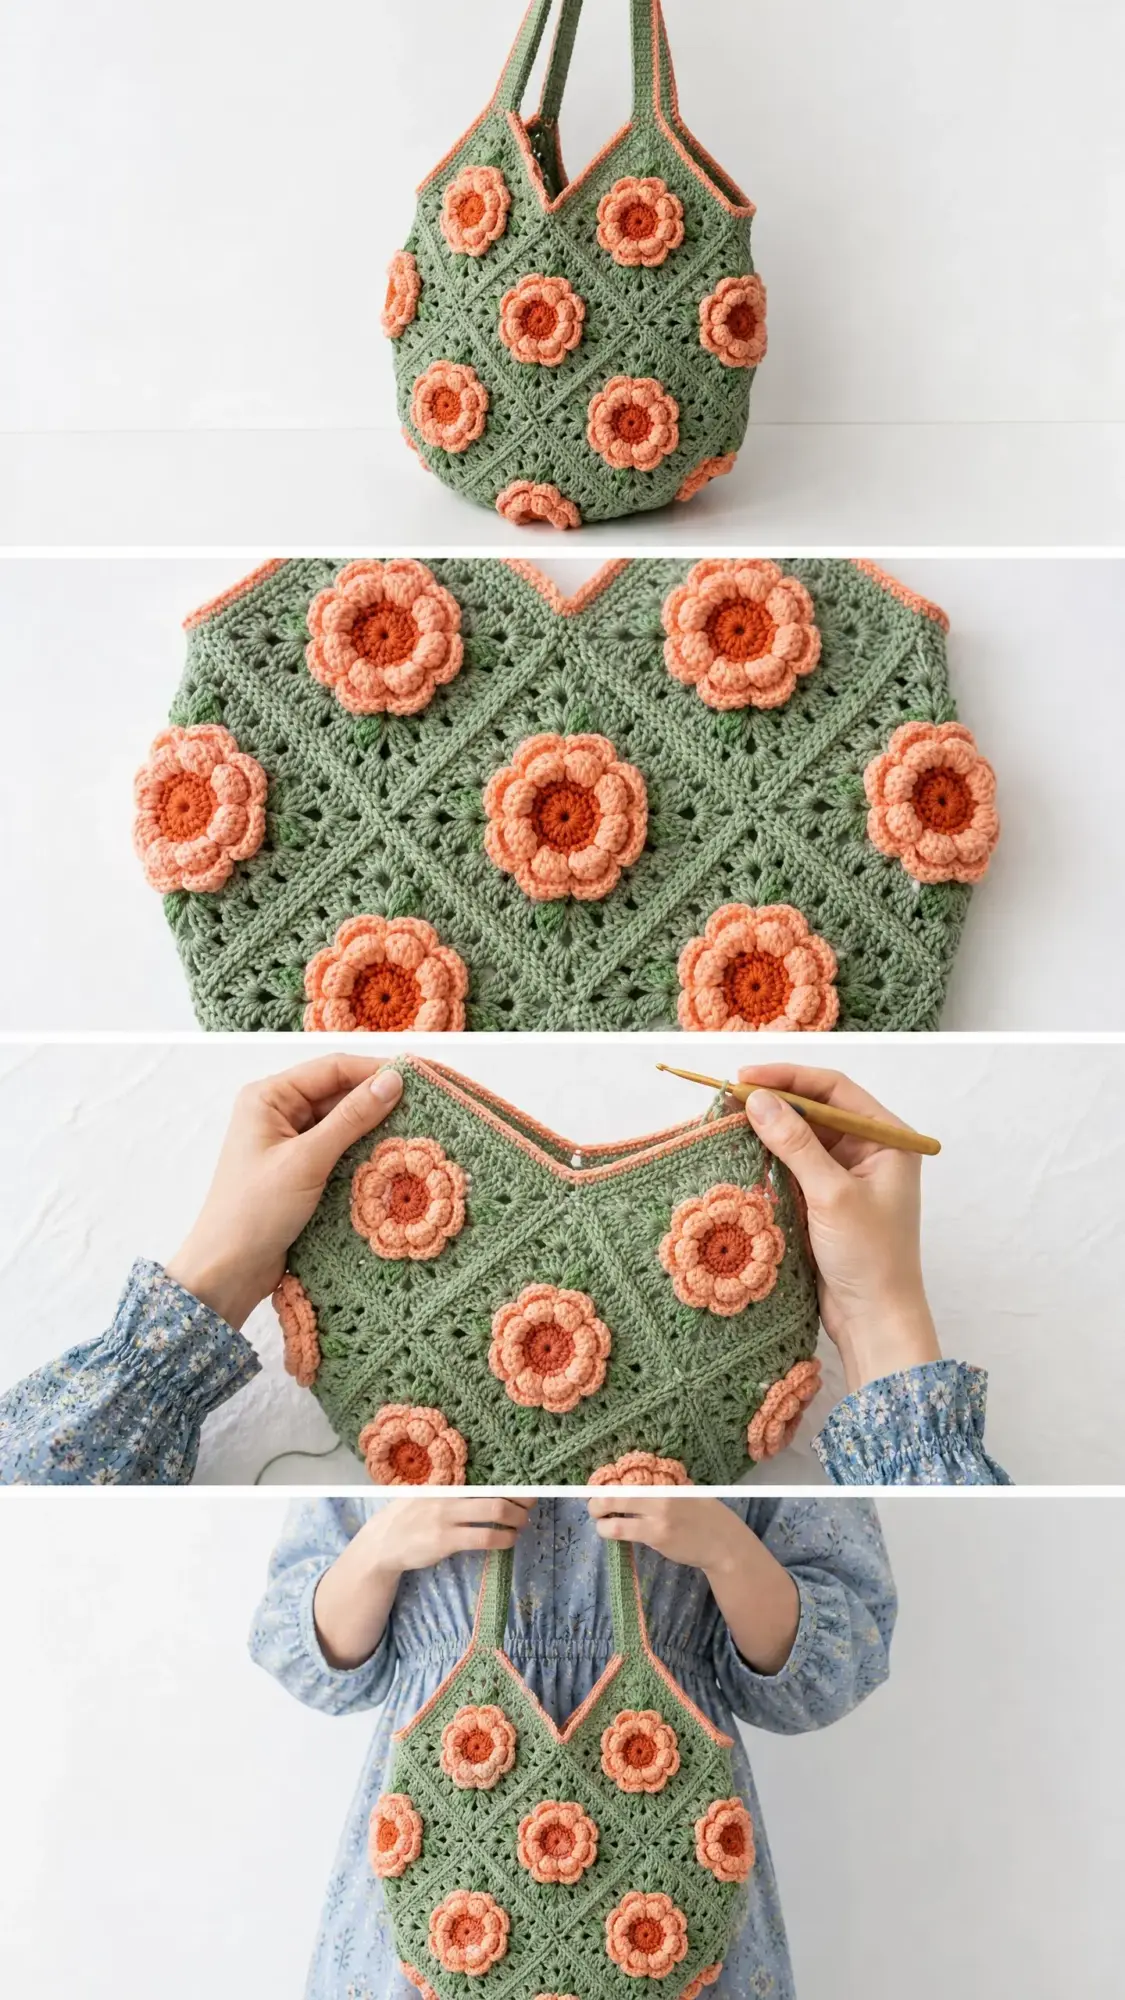
This rounded tote bag is constructed from sixteen classic granny squares arranged in a grid, seamed together, and shaped into a beautiful teardrop silhouette. Each square features an appliqued three dimensional peony style flower that you work separately and sew to the face of the square. The result is a bag with incredible texture and visual interest.
The construction is more straightforward than it looks. You will make individual granny squares, join them into two panels, seam the panels together, add a sturdy strap, and finish with those gorgeous layered flowers. The V shaped opening at the top is created by orienting the corner squares at an angle. No complicated shaping required.
This pattern uses worsted weight yarn in three colors: sage green as the main color, peach for the flower petals and trim, and burnt orange for the flower centers. The color combination feels fresh and modern, but you could easily swap in your own palette.
Skill Level
I would call this an intermediate pattern. You need to be comfortable with the standard granny square, joining squares together, working a flat slip stitch border, and constructing three dimensional applique flowers.
If you have never made a granny square before, I would suggest practicing one or two plain squares first before diving into this project. But honestly, if you can chain, double crochet (dc), and single crochet (sc), you have all the skills you need. The rest is just following the steps.
The trickiest part for most people is the flower construction. Those layered petals look complex, but I will walk you through every single round. Take it slow, and you will be amazed at what you create.
Finished Size
Bag body: approximately 14 inches wide by 13 inches tall (35.5 cm wide by 33 cm tall), excluding strap
Strap length: approximately 22 inches (56 cm) from top edge of bag to highest point of strap
Each granny square (blocked): approximately 3.5 inches by 3.5 inches (9 cm by 9 cm)
Materials
Yarn
Hook
US size J / 6.0 mm crochet hook
Notions
Yarn Suggestions
Lion Brand Yarn Pound of Love (worsted weight, 100% acrylic, 1020 yards per 16 oz skein): durable, widely available, and holds its shape well after blocking. Color suggestions: Olive for Color A, Peach for Color B, Pumpkin for Color C.
Paintbox Yarns Simply DK (used at a slightly looser tension with the J hook, or substitute a true worsted): smooth plied construction that shows stitch definition clearly in the granny cluster pattern. Available in Pistachio, Melon Sorbet, and Mandarin Orange as close color matches.
WeCrochet Swish Worsted (100% superwash merino, 220 yards per 100g skein): produces a polished, slightly drapey fabric that gives the bag a refined look. Suggested shades: Thyme, Peach, and Amber.
Substitution Note: Use any worsted weight yarn (approximately 200 yards per 100g) that achieves the listed gauge. Avoid very fuzzy or brushed yarns, which will obscure the granny stitch clusters and flower detail. Cotton or cotton blend yarns will produce a stiffer, more structured bag but will require a half size larger hook and will measure slightly smaller per square.
Gauge
One completed granny square (after blocking) = 3.5 inches by 3.5 inches (9 cm by 9 cm)
In standard granny square pattern with Color A using a J / 6.0 mm hook, 3 rounds produce one square measuring approximately 3.5 inches.
Gauge is critical for the bag to assemble correctly and reach finished dimensions. Adjust hook size as needed. If your square is too small, go up a hook size. If it is too large, go down a hook size.
Abbreviations
Special Stitches
3-dc Cluster (used in granny squares)
Yarn over, insert hook into indicated space, yarn over and pull up a loop, yarn over and pull through 2 loops (2 loops remain on hook). Yarn over, insert hook into same space, yarn over and pull up a loop, yarn over and pull through 2 loops (3 loops on hook). Yarn over, insert hook into same space, yarn over and pull up a loop, yarn over and pull through 2 loops (4 loops on hook). Yarn over and pull through all 4 loops on hook. One 3-dc cluster complete.
Join-as-you-go (JAYG) Flat Sl St Join
Hold two squares with right sides facing each other. Insert hook through the back loop only of the corresponding stitch on the front square and through the back loop only of the corresponding stitch on the back square simultaneously. Draw up the working yarn and pull through both loops. Continue across the edge, working one sl st through both back loops of each corresponding stitch pair. This creates a flat, raised seam on the wrong side.
Time Estimate
12 to 18 hours total, including time for blocking squares, assembling, and attaching flowers. This is a lovely weekend project if you spread it across several sitting sessions.
Step by Step Crochet Tutorial
Section 1: Granny Squares (Make 16)
Using Color A and a J / 6.0 mm hook.
Foundation Ring: ch 4, sl st to first ch to form a ring. Alternatively, use a magic ring.
Round 1: ch 3 (counts as first dc here and throughout), work 2 dc into ring (first corner cluster), ch 2, (work 3 dc into ring, ch 2) 3 times, sl st to top of beg ch-3 to join. (4 groups of 3 dc, 4 ch-2 corner spaces) [12 dc plus 4 ch-2 spaces]
Round 2: sl st into each of next 2 dc and into ch-2 corner sp, ch 3, work 2 dc into same corner sp, ch 2, work 3 dc into same corner sp (first corner made), ch 1, (work 3 dc into next ch-2 corner sp, ch 2, work 3 dc into same corner sp, ch 1) 3 times, sl st to top of beg ch-3 to join. (8 groups of 3 dc, 4 ch-2 corner spaces, 4 ch-1 side spaces) [24 dc plus 4 ch-2 spaces plus 4 ch-1 spaces]
Round 3: sl st into each of next 2 dc and into ch-2 corner sp, ch 3, work 2 dc into same corner sp, ch 2, work 3 dc into same corner sp, ch 1, work 3 dc into next ch-1 side sp, ch 1, (work 3 dc into next ch-2 corner sp, ch 2, work 3 dc into same corner sp, ch 1, work 3 dc into next ch-1 side sp, ch 1) 3 times, sl st to top of beg ch-3 to join. (12 groups of 3 dc, 4 ch-2 corner spaces, 8 ch-1 side spaces) [36 dc plus 4 ch-2 spaces plus 8 ch-1 spaces]
Fasten off Color A. Join Color B with sl st into any ch-2 corner sp.
Round 4 (Border Round): ch 1, work 1 sc into same corner sp, ch 1, work 1 sc into same sp (corner), work 1 sc into each dc and each ch-1 sp across to next corner sp, (work 1 sc, ch 1, work 1 sc into corner sp, work 1 sc into each dc and each ch-1 sp across) 3 times, sl st to first sc to join. [11 sc between corner ch-1 spaces per side; total 44 sc plus 4 ch-1 corner spaces]
Fasten off Color B. Weave in all ends. Block each square to 3.5 by 3.5 inches (9 by 9 cm).
Checkpoint: After completing and blocking all 16 squares, each square should measure 3.5 inches by 3.5 inches. All squares should have uniform cluster definition and flat corners.
Section 2: Panel Assembly
You will assemble two identical panels: one front panel and one back panel. Each panel is 4 squares wide and 2 squares tall.
Lay out 8 squares for the front panel:
Join squares using the JAYG flat sl st join method, working through back loops only of corresponding stitches along shared edges. Join bottom row squares first (3 vertical seams), then join the top center squares to each other and to the bottom row. The two angled corner squares are joined only along the two edges that contact adjacent squares.
Repeat this assembly for the back panel using the remaining 8 squares.
Checkpoint: Each assembled panel should measure approximately 14 inches wide by 7 inches tall after joining.
Section 3: Joining Front and Back Panels
Hold front and back panels with wrong sides together (right sides facing out).
Using Color A, join the front and back panels along the bottom edge and both side edges using the JAYG flat sl st join. Begin at the top right corner of one side, work down the right side edge, across the entire bottom edge, and up the left side edge. Stop at the top left corner. Do not join the top edges.
Fasten off and weave in ends.
Checkpoint: The joined bag body should now be a rounded bottom tote shape measuring approximately 14 inches wide and 13 inches tall.
Section 4: Strap
Using Color A and two strands held together for reinforcement, ch 9.
Row 1: sc into 2nd ch from hook and into each ch across. (8 sc)
Row 2: ch 1, turn, sc into each st across. (8 sc)
Rep Row 2 until strap measures 52 inches (132 cm) total length.
Last Row: ch 1, turn, sc across. Fasten off, leaving a 24-inch tail for sewing.
With Color B, work 1 row of sl st along each long edge of the strap for the peach trim detail. Fasten off and weave in ends.
Fold the strap in half to find the center point. Mark with a stitch marker. Position the center of the strap at the center of the bag’s top back edge. Pin the strap ends down along the inside of the bag opening, running the strap ends down approximately 2 inches inside the bag on each side.
Using the long tail and a yarn needle, whipstitch the strap securely to the top inside edges of the bag on both sides.
Section 5: Top Opening Border
With RS facing and Color B, join yarn at the top right corner of the bag opening.
Round 1: ch 1, work 1 sc into each sc and each ch-1 corner sp around the entire top opening. When working across the angled corner squares, work 2 sc into each dc-cluster corner that would otherwise create a gap. Continue until you reach the starting point. Sl st to first sc to join.
Round 2: ch 1, sl st into each sc around. Sl st to first sl st to join.
Fasten off Color B. Weave in ends.
Section 6: Peony Flowers (Make 16)
These flowers are what make this bag truly special. Take your time with them.
Layer 1 (Center):
With Color C, make a magic ring.
Round 1: ch 1, work 6 sc into ring, sl st to first sc to join. (6 sc)
Round 2: ch 1, work 2 sc in each st around, sl st to first sc. (12 sc)
Fasten off Color C.
Layer 2 (Inner Petals):
Join Color B with sl st to any st of the 12-sc round.
Round 3: (ch 3, work 2 dc into same st, ch 3, sl st into same st, sl st into next st) 6 times. (6 inner petals)
Do not fasten off.
Layer 3 (Outer Petals):
Working behind the inner petals and into the sts of Round 2:
Round 4: (ch 4, work 3 dc into same st, ch 4, sl st into same st, sl st into next st) 6 times. (6 outer petals)
Fasten off Color B, leaving a 12-inch tail for sewing.
Checkpoint: Each finished flower should have a firm, raised center disc surrounded by 6 inner petals and 6 outer petals.
Section 7: Attaching Flowers
Center one peony flower on each granny square, positioning it so the flower sits directly over the center cluster ring of the square.
Using the long Color B tail and a yarn needle, sew the flower to the square by stitching through the base of the center disc and catching the yarn of the square beneath. Work several stitches around the circumference of the center disc to secure it firmly. Do not sew through the petals.
Fasten off all tails on the wrong side and weave in securely.
Size Customization Tips
To make a smaller bag: reduce each granny square by working only 2 rounds with Color A before adding the Color B border. Each square will measure approximately 2.25 inches by 2.25 inches. The finished bag will be approximately 9 inches wide by 9 inches tall.
To make a larger bag: add a 4th pattern round to each granny square in Color A before the Color B border. Each square will grow to approximately 4.75 inches by 4.75 inches.
To add more squares: maintain the 4-square-wide configuration but increase rows. Each additional row of 4 squares adds approximately 3.5 inches to the bag height.
Finishing and Blocking
Before assembling, block all 16 squares individually by misting with water and pinning to blocking mats at exact 3.5 inch measurements until dry. This step is not optional. Unblocked squares will produce an uneven, puckered bag.
After full assembly and flower attachment, lightly mist the entire bag with water. Stuff the bag with plastic bags or a rolled towel to hold the rounded shape. Allow to air dry completely before use.
Weave in all ends securely on the wrong side, working the tail through at least 2 inches of adjacent stitches in two directions.
Care Instructions
Hand wash in cool water with a gentle wool safe soap. Do not wring. Press gently between towels to remove excess water. Reshape and stuff the bag, then allow to air dry flat. Do not machine wash or tumble dry. Store flat or stuffed with tissue paper to maintain the rounded shape.
Final Thoughts on This Coral Peony Granny Square Bag Pattern
I hope you love making this bag as much as I loved designing it. There is something so satisfying about watching those individual squares come together into something beautiful and functional. And those peony flowers! Every time I look at them, I am transported back to that spring garden visit that started it all.
This crochet pattern makes a wonderful gift for anyone who appreciates handmade beauty. It is also a fantastic project for using up partial skeins in coordinating colors. Do not be afraid to make it your own with different color combinations.
Thank you so much for choosing this pattern for your next project. I truly appreciate you being here. If you make this bag, I would absolutely love to see it! Tag me on Instagram or share a photo in my Facebook group. Seeing your finished projects is the best part of sharing patterns.
If this Coral Peony Granny Square Bag caught your eye, go ahead and pin it to your Pinterest boards so you can find it when you are ready to start. And please drop a comment below if you make one. I love hearing how your projects turn out and seeing the color combinations you choose!
