
Let me guess. You took one look at this gorgeous placemat and thought, "There is absolutely no way I can make that." The layered colors, the textured ribbing, the scalloped edges, that adorable little bee sitting right in the center. It looks like something only an expert could pull off.
Get the Ad-Free PDF Pattern
You can find the free pattern below, or you can purchase the ad-free printable PDF from my shop.
Get the Printable PDF →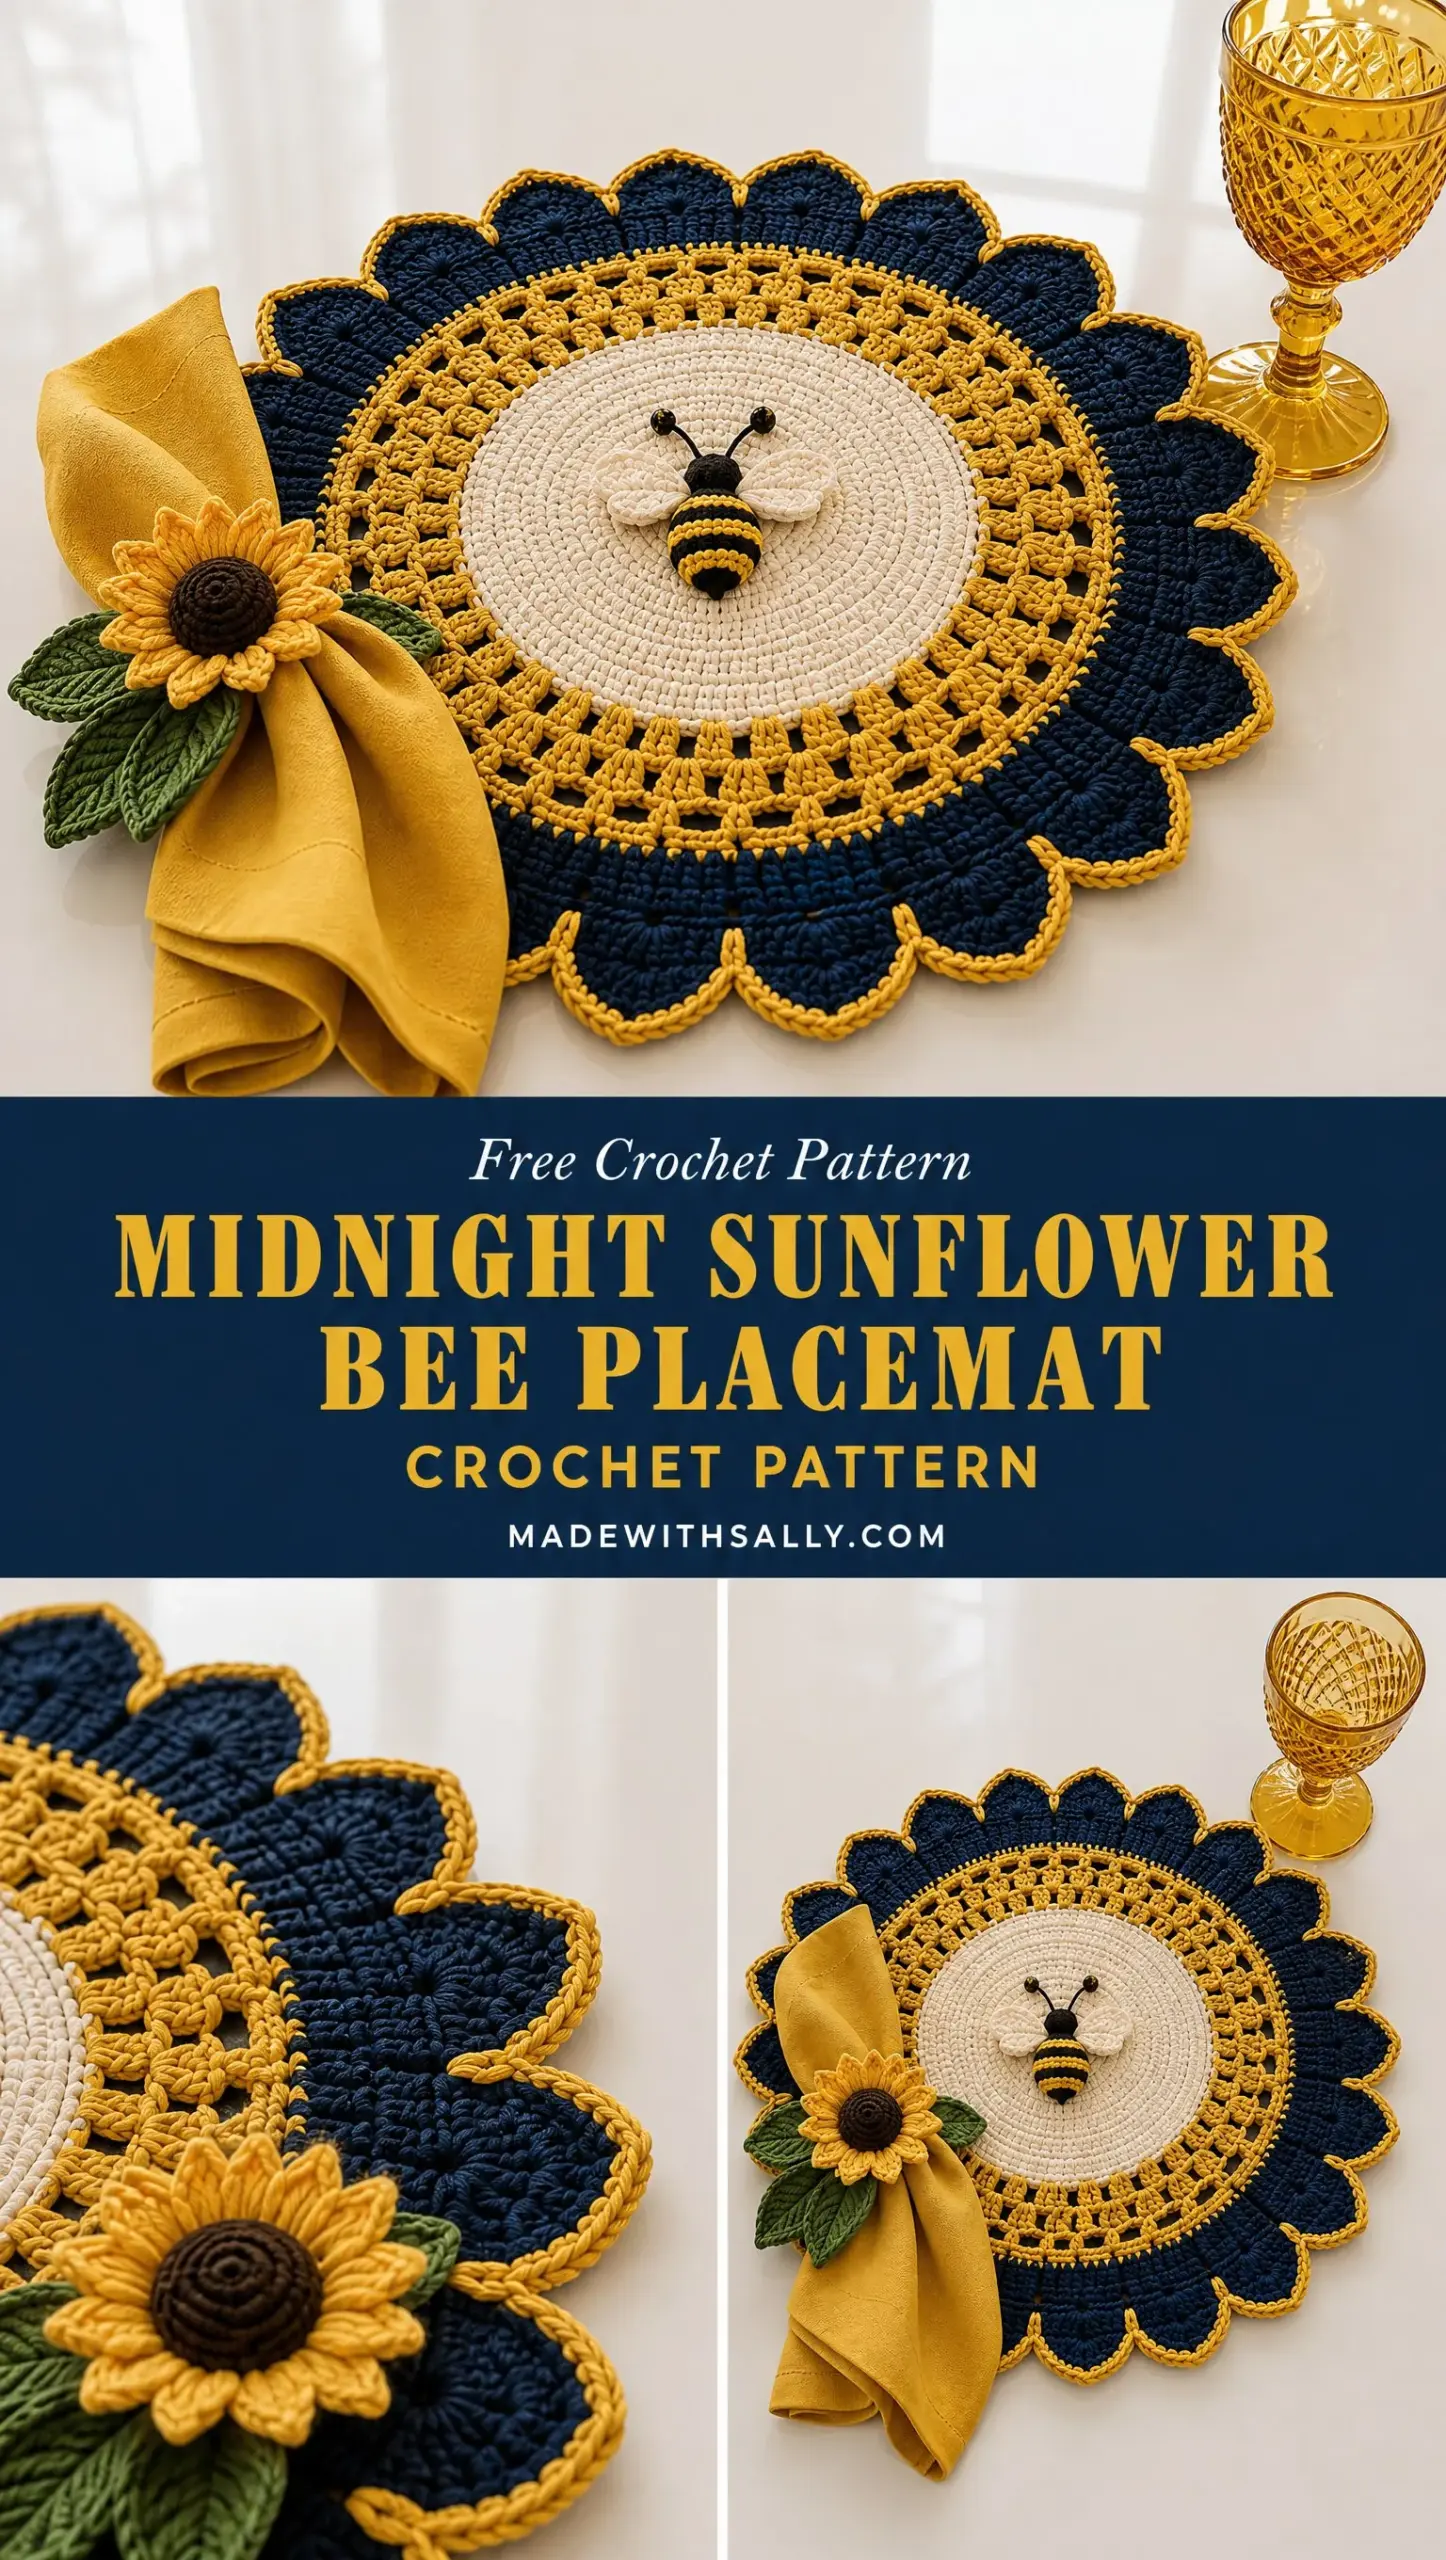
Here is the truth. If you can work double crochet in the round and you are willing to follow along step by step, you can absolutely make this. The construction is simpler than it appears. You are basically making circles that get bigger, changing colors a few times, and adding a sweet applique at the end.
Whether you have been crocheting for years or you are ready to push past basic dishcloths, this pattern will challenge you just enough without overwhelming you. I am going to walk you through every single round, explain the techniques along the way, and make sure you feel confident from the magic ring to the final gold trim.
Why This Placemat Works So Well
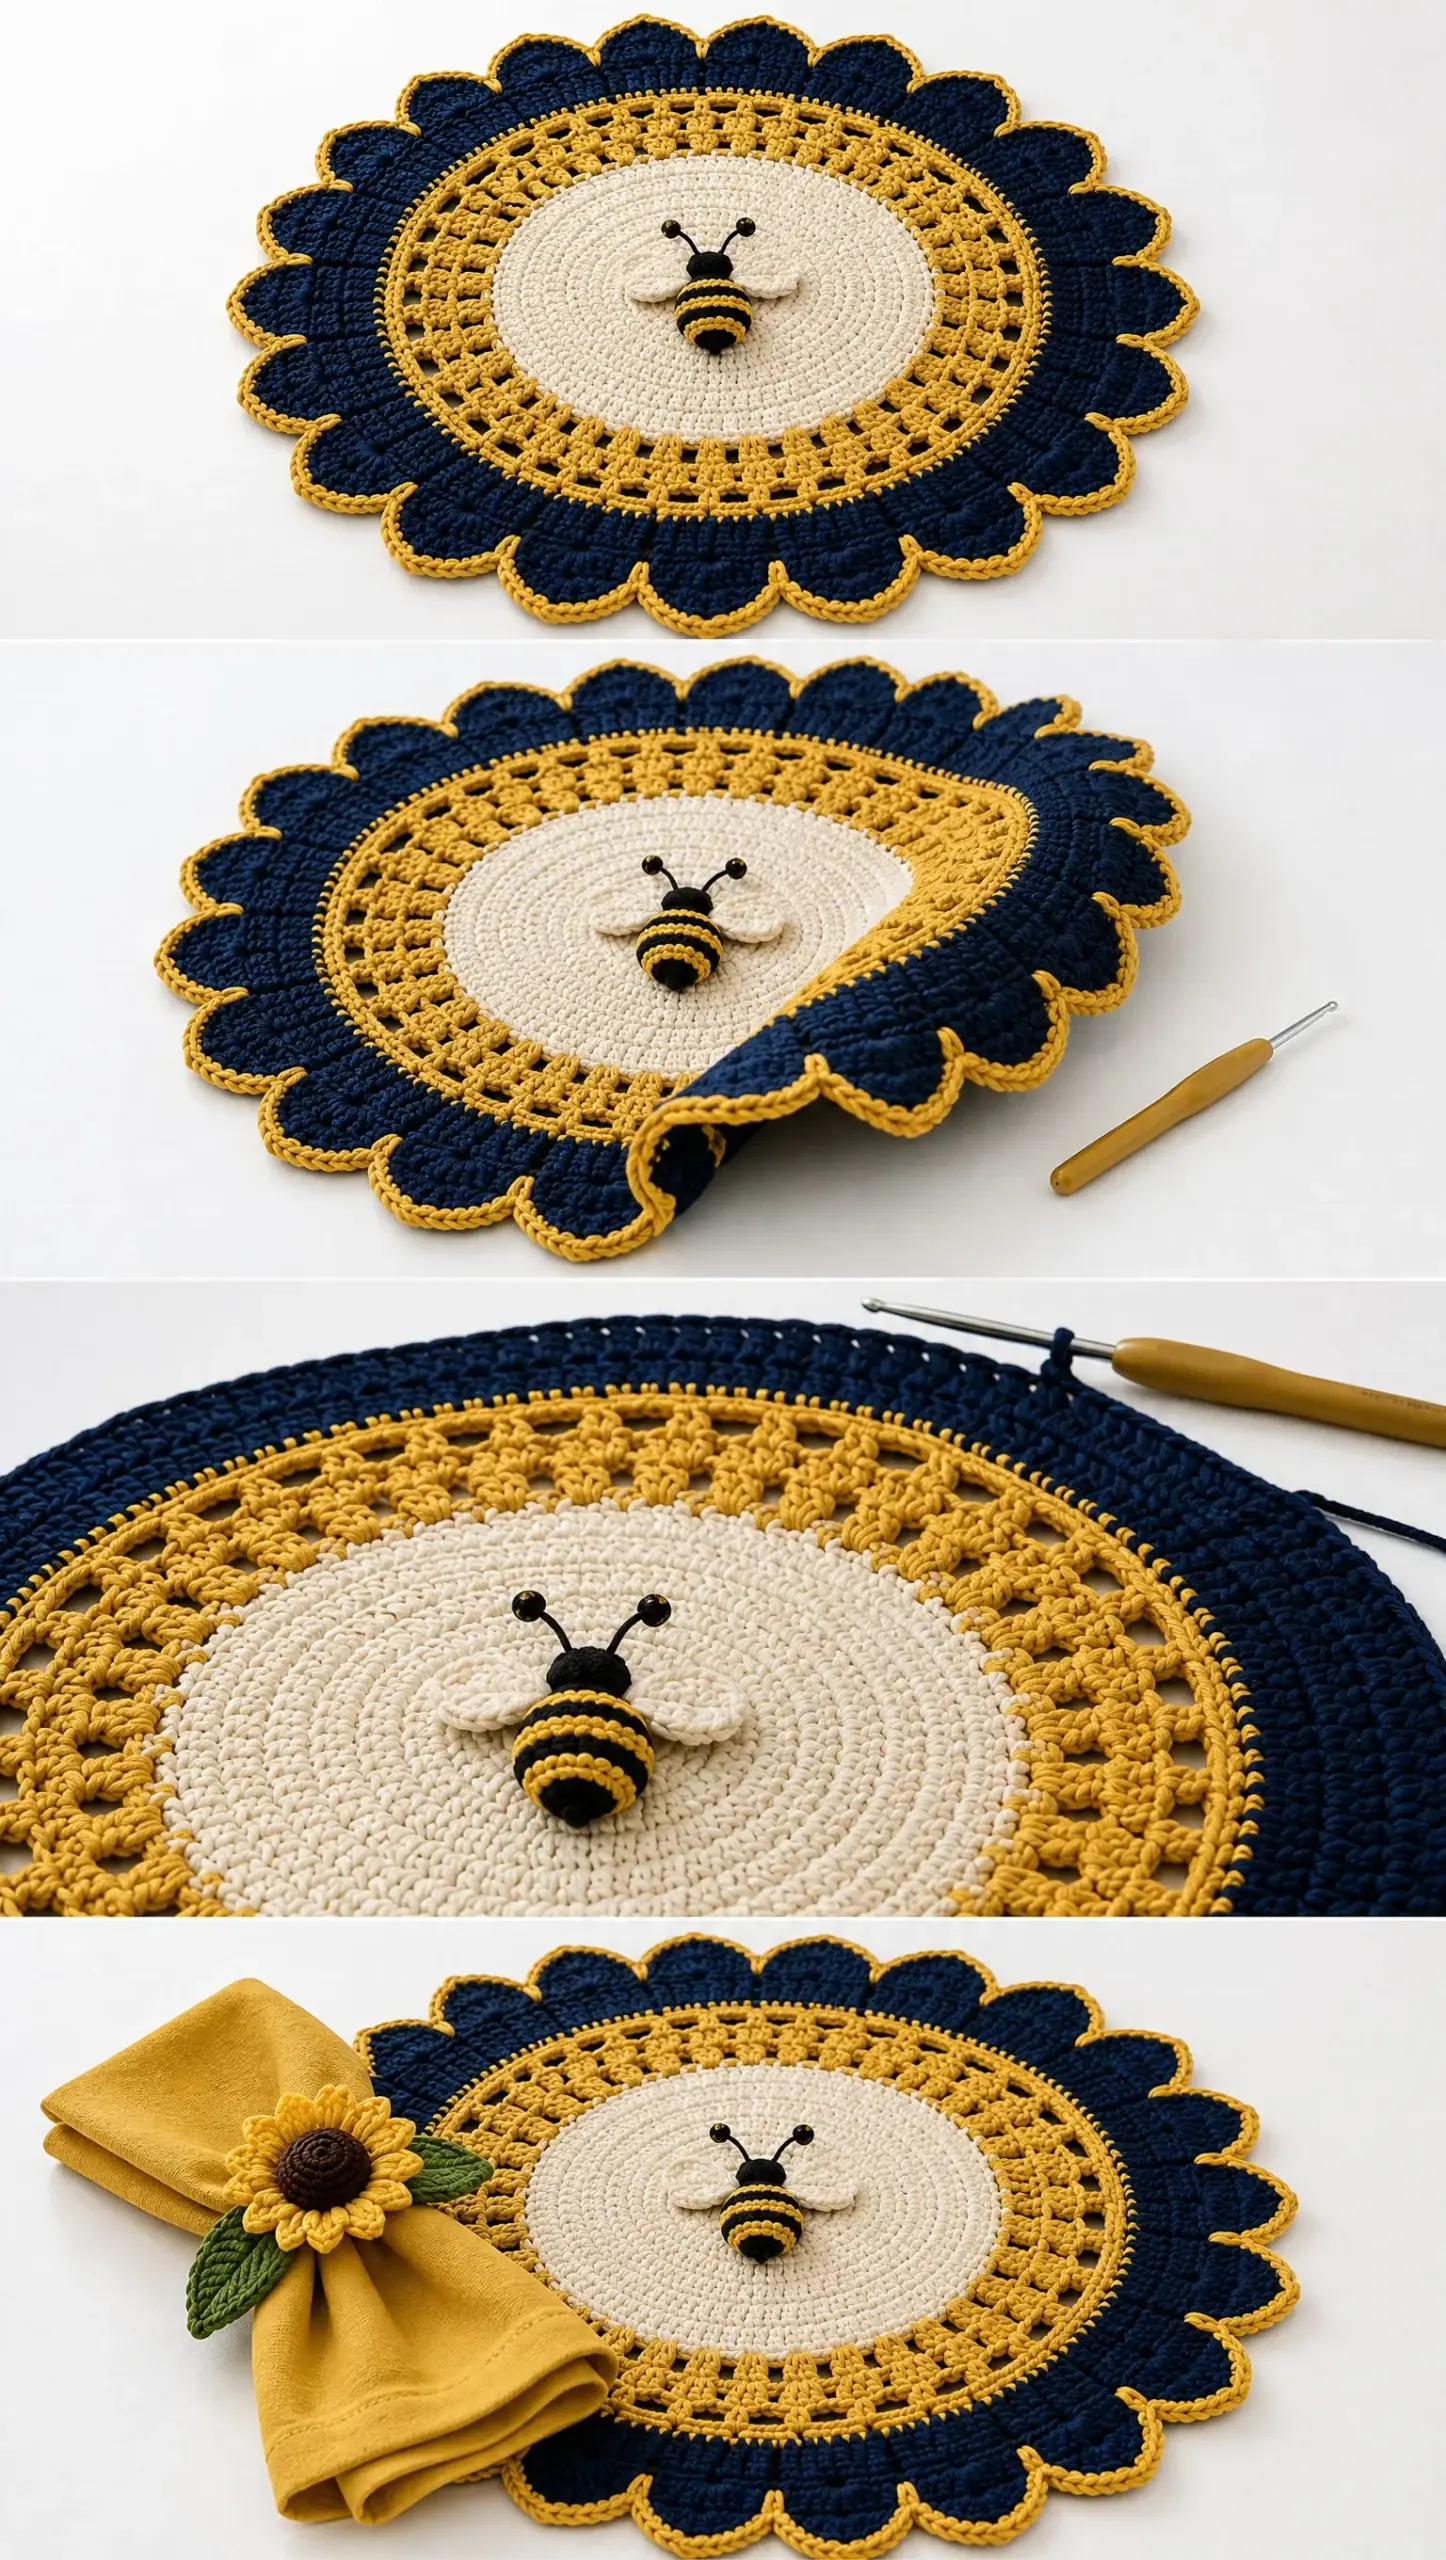
The Midnight Sunflower Bee Placemat is one of those projects that looks incredibly impressive on a table but comes together through simple, repetitive techniques. The design features a warm ivory center medallion, a mustard yellow openwork ring that creates a lacy halo effect, a deep navy ribbed band for texture, and finally those beautiful scalloped edges trimmed in gold.
At approximately 15 to 16 inches in diameter, this placemat is the perfect size for a dinner plate with a little breathing room around the edges. The cotton yarn makes it practical for everyday use since it can be hand washed and laid flat to dry. And that little crocheted bee in the center? It is the detail that takes this from pretty to absolutely charming.
Materials You Will Need
Gather these supplies before you begin:
Yarn:
Tools:
Gauge
Getting your gauge right ensures your placemat turns out the correct size. Work a small swatch first if you are concerned about sizing.
10 double crochet stitches and 5 rounds should measure approximately 2 inches.
If your swatch is larger, try going down a hook size. If it is smaller, go up a hook size.
Abbreviations and Stitch Definitions
Let me define every stitch you will encounter so there is no confusion:
Pattern Notes Before You Begin
This placemat is worked in joined rounds. This means you will slip stitch to join at the end of each round rather than working in a continuous spiral. Turn only when the instructions specifically tell you to do so.
For the cleanest finish on your placemat edge, use invisible joins when fastening off each color section. This creates a polished, professional look that makes your color changes nearly seamless.
Part 1: Ivory Bee Center
Grab your warm ivory yarn and let’s build the foundation of this beautiful placemat.
Round 1:
Make a magic ring (also called a magic circle or adjustable ring). If you have never made one, you create a loop with your yarn, insert your hook, pull up a loop, and work your stitches into that ring. When you pull the tail, the ring cinches closed with no hole in the center.
Chain 2. Work 12 double crochet (dc) into the ring. Join with a slip stitch (sl st) to the top of your starting chain.
Stitch count: 12 stitches
Round 2:
Chain 2. Work 2 dc in each stitch around. Join with sl st.
Stitch count: 24 stitches
Round 3:
Chain 2. Work the following repeat around the entire round: 1 dc in the next stitch, 2 dc in the next stitch. Repeat this pattern all the way around. Join with sl st.
Stitch count: 36 stitches
Round 4:
Chain 2. Work the following repeat around the entire round: 1 dc in the next 2 stitches, 2 dc in the next stitch. Repeat this pattern all the way around. Join with sl st.
Stitch count: 48 stitches
Rounds 5 through 8:
Continue increasing evenly in the same manner. Each round, you will add one more dc between your increases. So Round 5 would be 1 dc in 3 stitches then 2 dc in the next, Round 6 would be 1 dc in 4 stitches then 2 dc in the next, and so on.
Keep working until your ivory circle measures approximately 7 inches in diameter.
Fasten off ivory yarn and weave in your end.
Part 2: Mustard Openwork Ring
Now we are adding that gorgeous lacy yellow section that gives this placemat its sunflower halo effect. Attach your mustard yellow yarn to any stitch.
Round 9:
Chain 3. Work a dc in the same stitch. Chain 1, skip the next stitch, then work 2 dc in the next stitch. Continue this pattern all the way around: chain 1, skip 1, 2 dc in next. Join with sl st.
Round 10:
Slip stitch into the chain space you just created. Chain 3. Work 2 dc in each chain space around. Join with sl st.
Round 11:
Chain 4, skip 2 stitches, then sc into the next space. Repeat this pattern all the way around. This creates a lovely open lace texture that lets the ivory center peek through.
Round 12:
Work mustard dc stitches evenly around to create a firm transition band. This solid round stabilizes the lace section and prepares you for the color change to navy.
Part 3: Navy Ribbed Band
This is where we add beautiful texture. The front post half double crochet technique creates raised ribbing that catches the light and adds dimension. Attach your deep navy blue yarn.
Round 13:
Chain 2. Work hdc (half double crochet) around the entire round. Join.
Round 14:
Now we create the ribbing. Work a front post hdc around each stitch. To do this, yarn over, insert your hook from front to back around the post (the vertical part) of the stitch below, yarn over and pull up a loop, then yarn over and pull through all 3 loops. This pushes the stitch forward and creates that textured ridge.
Rounds 15 through 18:
Repeat the front post hdc rounds until your navy band measures approximately 2 inches wide. The ribbing should be clearly visible and have a satisfying textured feel.
Part 4: Navy Scalloped Edge with Gold Trim
Here comes the gorgeous scalloped border that makes this placemat look like a blooming flower.
Round 19:
Attach navy yarn. Chain 1. Work sc (single crochet) around the entire round. This creates an even base for your scallops.
Round 20:
Now create the scallops. Work the following repeat: Skip 2 stitches, work 7 dc all in the next stitch (this fans out to create your scallop), skip 2 stitches, sc in the next stitch. Repeat this pattern around the entire placemat.
Take your time on this round. The scallops should be evenly spaced and uniform in size.
Round 21:
Attach your mustard or gold yarn. Slip stitch around the scallop edges. This creates that metallic looking border you see in the finished piece, like the placemat has been edged in sunshine.
Fasten off and weave in all ends.
Part 5: Crochet Bee Applique
This sweet little bee is the heart of the design. She sits right in the center of your ivory medallion, looking like she just landed on a flower.
Body:
Using black yarn, chain 8.
Sc in the second chain from hook and across to the end. Work 3 rounds of sc, increasing at both ends to form an oval shape. Your bee body should be plump and about 1.5 inches long.
Bee Stripes:
Using your gold yarn, add two narrow gold rows across the body with surface slip stitches. To do this, hold your gold yarn behind the work, insert your hook through the body, pull up a loop, and slip stitch across to create a raised stripe. Make two stripes evenly spaced.
Wings:
Make two ivory oval shapes. Chain 6, then sc around both sides of the chain to form a small oval. You should have two wings roughly the same size. Sew one wing on each side of the bee body, angling them slightly upward.
Antennae:
Using black yarn, surface crochet two curved lines from the head end of the bee. End each antenna in a small knot by making a tiny cluster of stitches.
Assembly:
Sew the completed bee securely to the ivory center of your placemat. Make sure she is positioned where she will be visible even when a plate is placed on top.
Optional Sunflower Napkin Ring
Want to complete the table setting? This matching napkin ring is a beautiful addition.
Flower Center:
Using brown yarn, make a small circle by working sc rounds and increasing evenly. Stop when it measures about 1 inch across.
Petals:
Attach mustard yarn around the center. Work repeated long dc petals by chaining 3, working 2 dc in the next stitch, then chaining 3 and slip stitching to join. Continue around until you have a full ring of petals.
Leaves:
Make two green leaf shapes. Chain about 10, then sc around both sides of the chain, working extra stitches at the tip to create a point.
Attach the completed sunflower and leaves around a folded napkin for a coordinated look.
Finishing Your Placemat
Take time with these final steps since they make all the difference in your finished piece.
Weave in all ends using your tapestry needle. Thread each tail through several stitches on the back, then trim close to the work.
Block lightly by laying your placemat on a flat surface and gently shaping it into a perfect circle. Pin the edges if needed.
Shape your scallops evenly by adjusting each one so they are uniform in size and spacing.
Steam gently if needed, but avoid pressing down on the textured ribbing or you will flatten those beautiful front post stitches.
Care Instructions
Your finished placemat should be hand washed in cool water with a gentle detergent. Avoid wringing or twisting. Lay flat to dry on a clean towel, reshaping while damp if necessary.
Cotton yarn is durable and practical for table use, but machine washing can distort your careful blocking and flatten the textured stitches.
You Did It!
This Midnight Sunflower Bee Placemat crochet pattern brings together so many beautiful techniques in one stunning project. The ivory medallion, the mustard lace, the navy ribbing, and those gold edged scallops create an elegant botanical table setting that looks like it belongs in a magazine.
Thank you so much for trusting me to walk you through this project. I hope the step by step instructions made what looked complicated feel completely doable. If you make this placemat, I would absolutely love to see it! Tag me on Instagram or share a photo in our Facebook group.
Go ahead and save this pattern to your Pinterest boards so you can find it when you are ready to start. And if you make one, please leave a comment below telling me how it turned out. I read every single one and they truly make my day. Happy crocheting!
Want a Quick & Easy Printable Version?
Get a clean, beautifully formatted PDF of this pattern — easy to follow step by step, ready to print or save on any device. No scrolling, no distractions, just the pattern.
Get the Printable PDF →