
When I started sketching out this design, I had three goals in mind. I wanted a summer set that felt fresh and feminine, used a classic construction method that intermediate crocheters could handle with confidence, and featured a little something whimsical to make it feel special. The granny square base gave me that vintage boho vibe I was chasing, and once I added those white butterfly appliques scattered across the front? I honestly could not stop smiling.
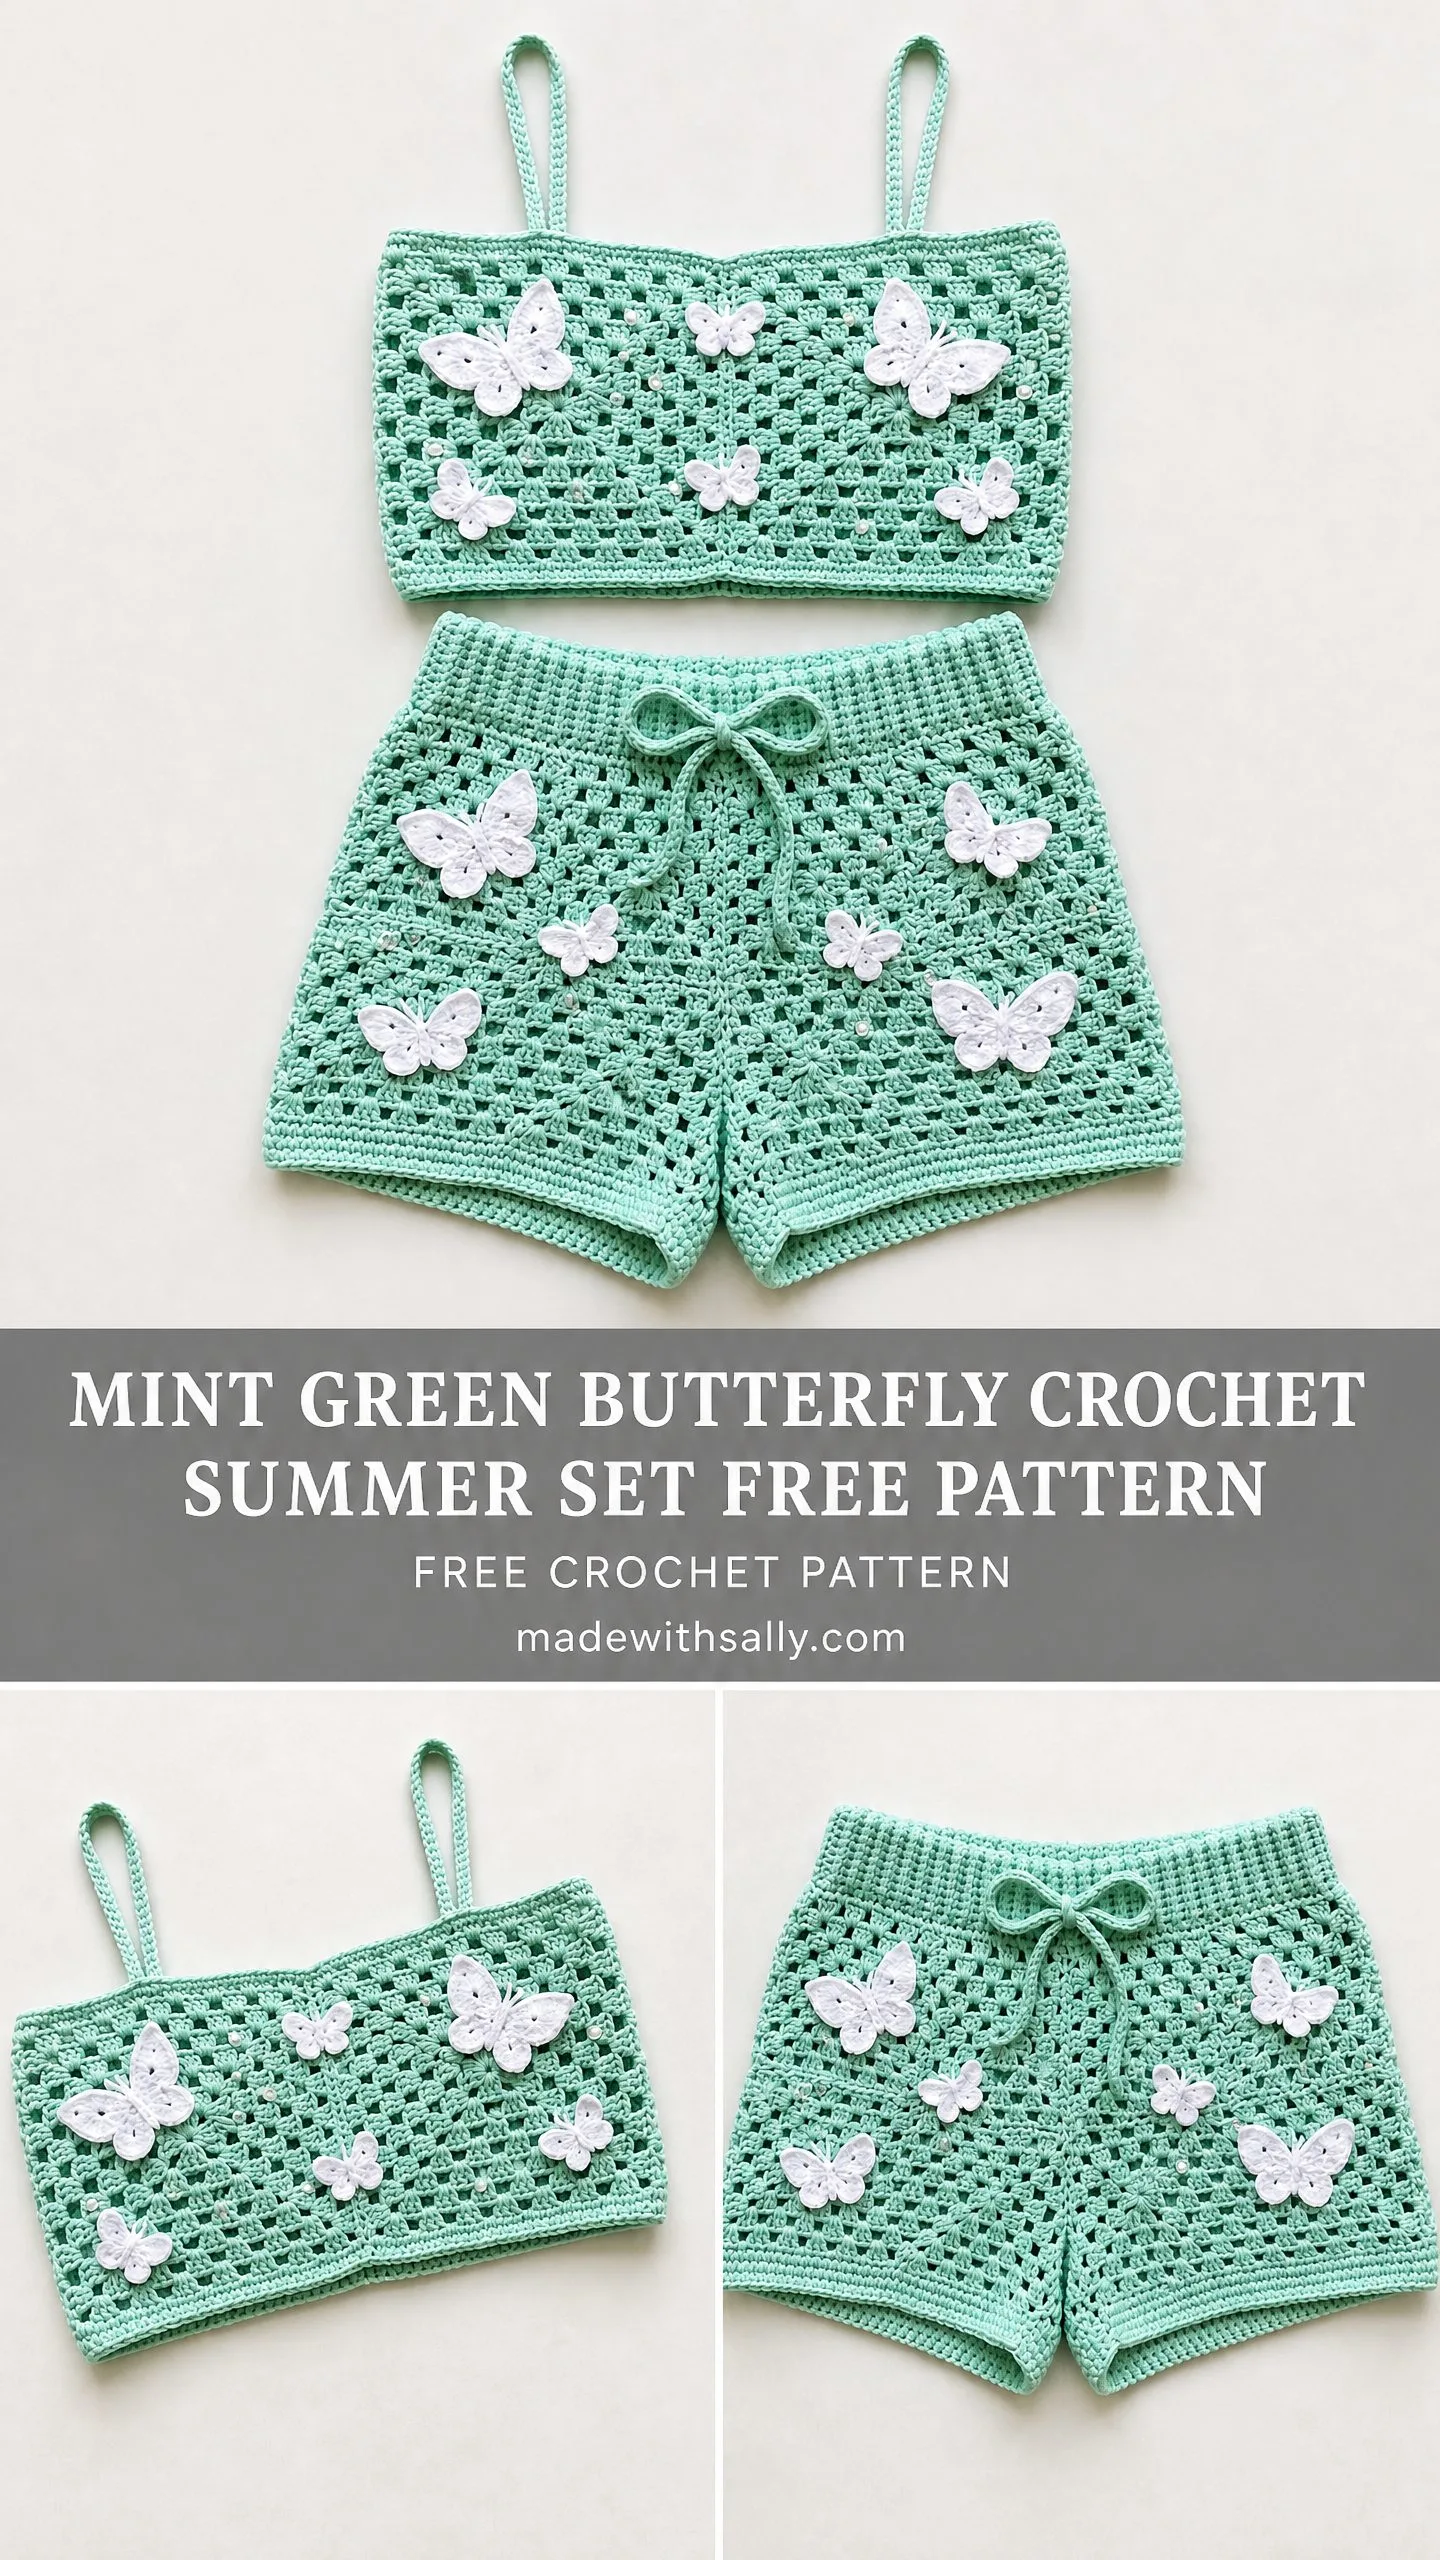
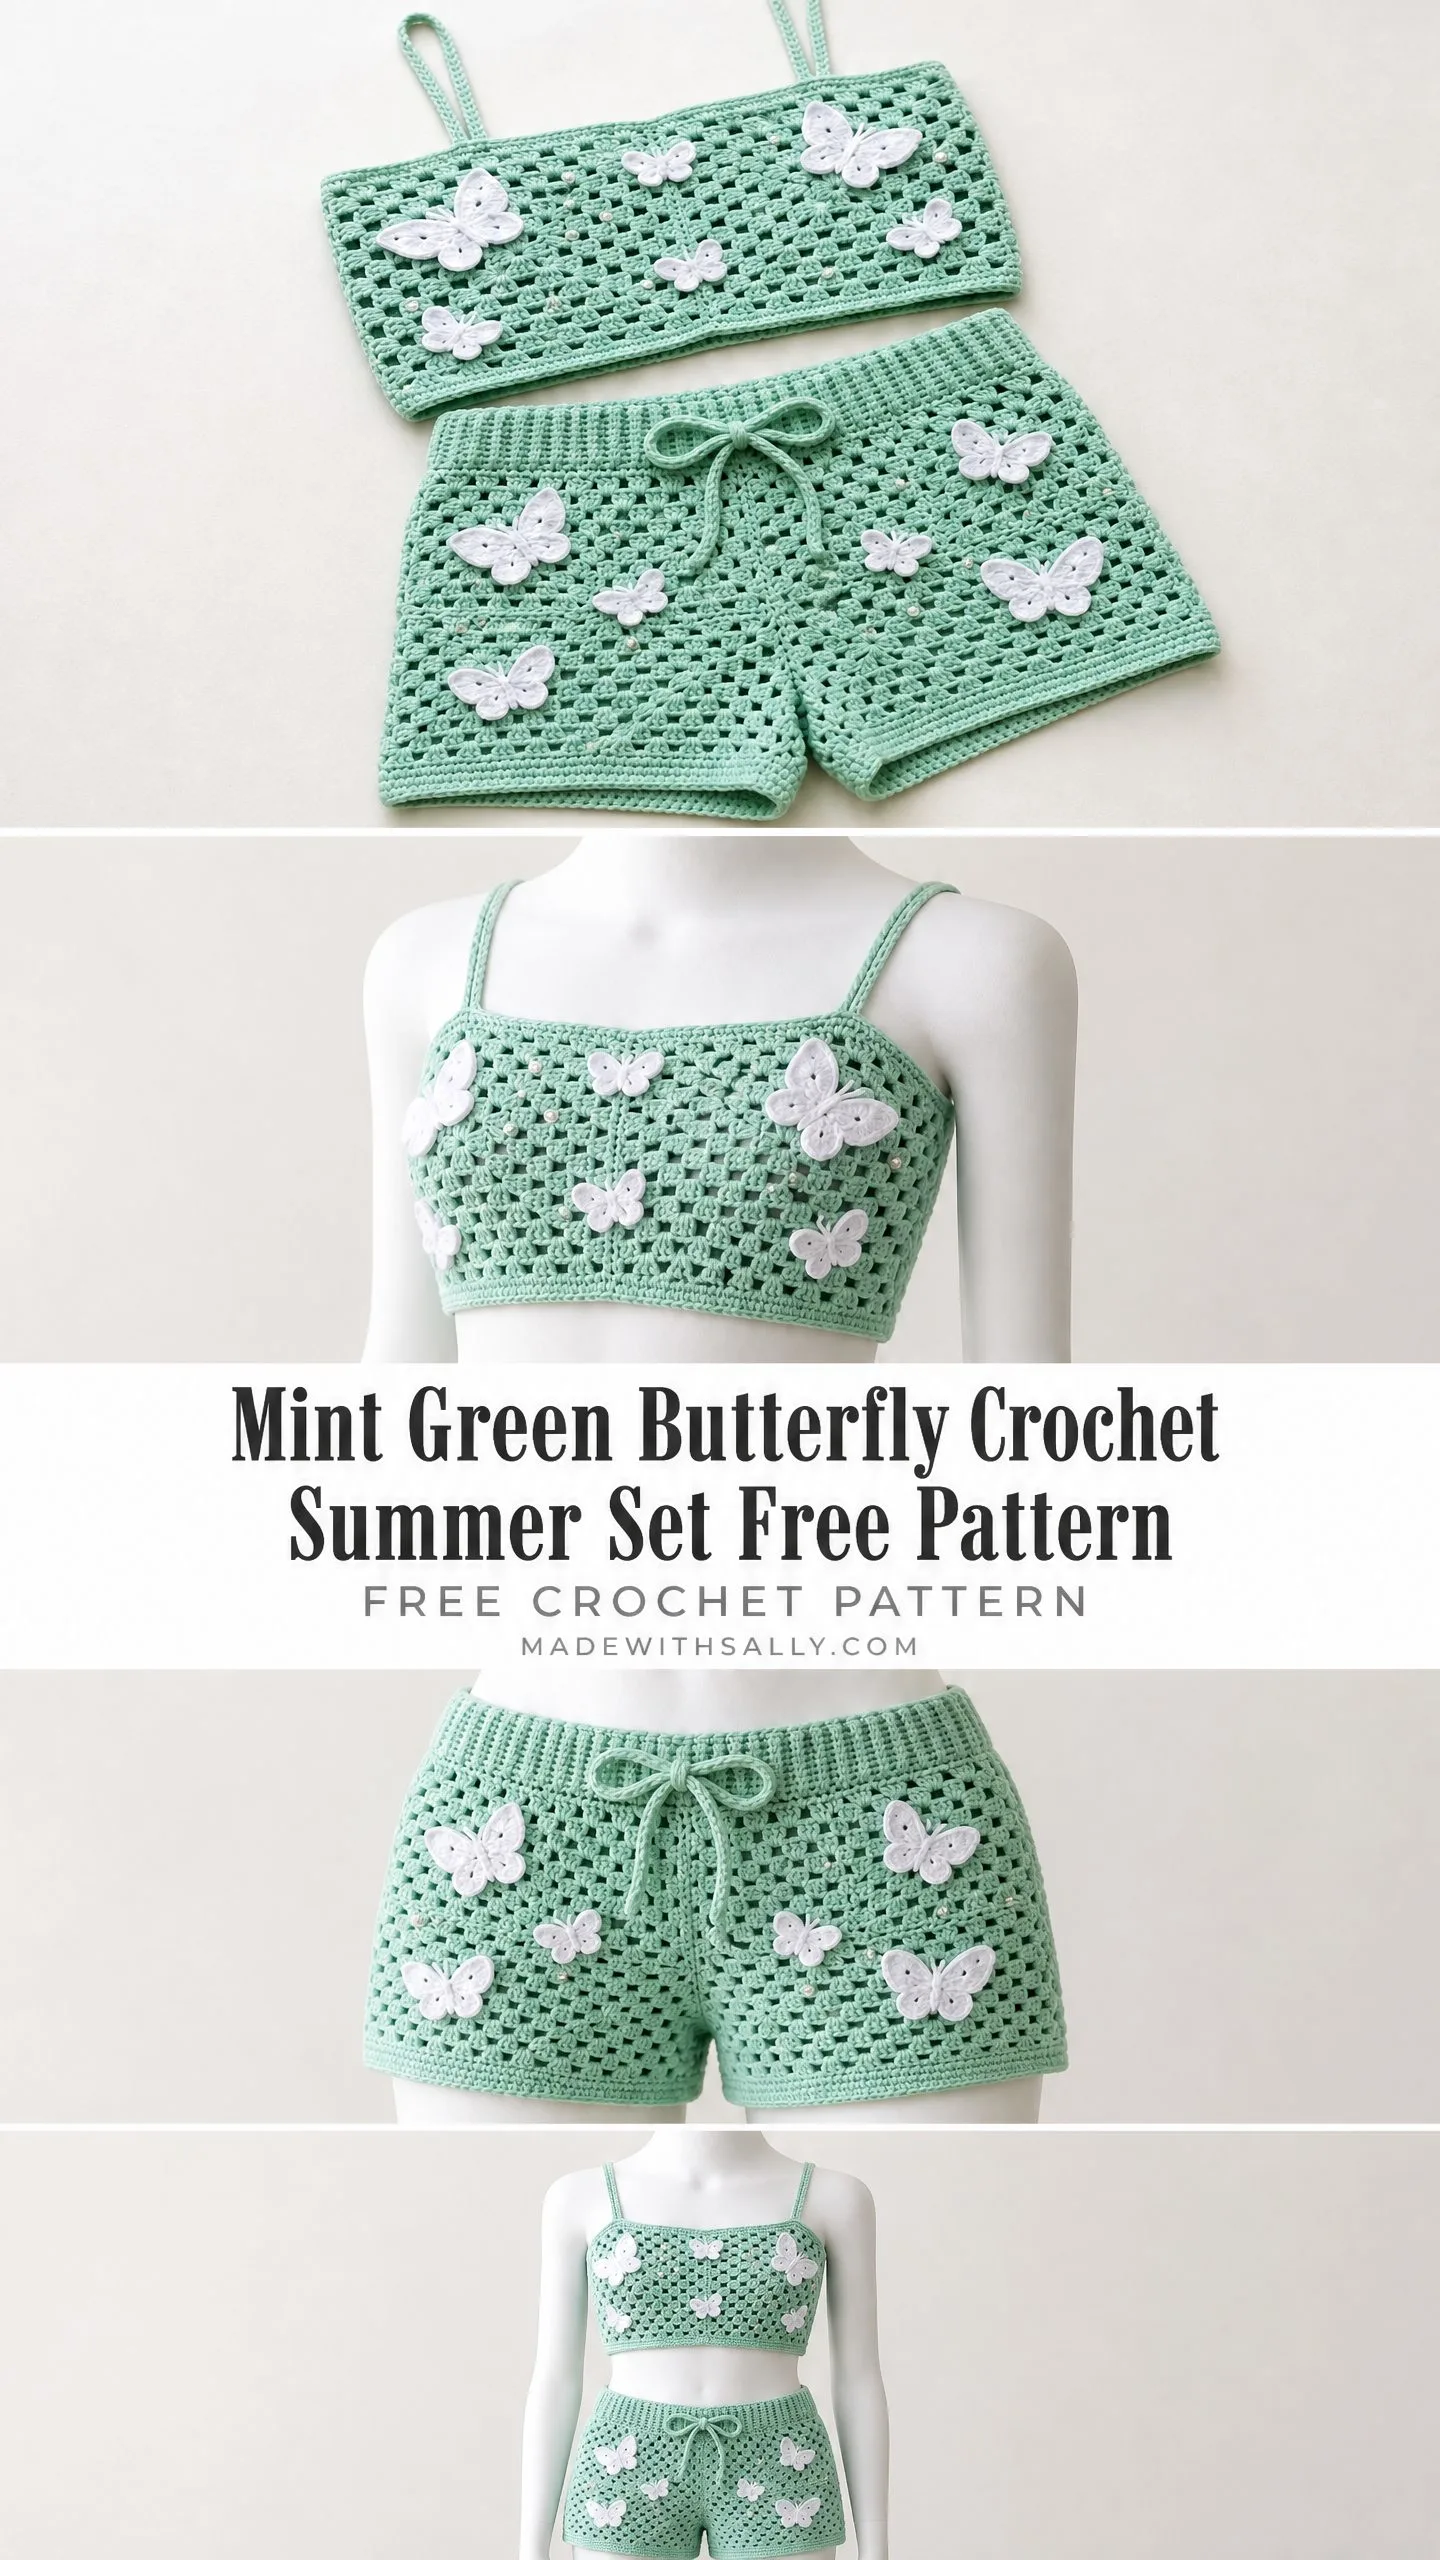
This two-piece set has been living in my head rent-free for months. A crop top with spaghetti straps paired with high-waisted drawstring shorts, all in that soft mint green that practically screams warm weather. The butterflies add dimension and personality without making the construction complicated.
I am SO pleased with how it turned out. If you have been wanting to try your hand at a wearable crochet project that goes beyond a simple scarf or hat, this is the one. Let me walk you through every single step.
What You Are Making
This Mint Green Butterfly Crochet Summer Set consists of two coordinating pieces. The crop top features a granny square front and back panel connected at the sides, with chain loop spaghetti straps at each shoulder. The shorts use the same granny square construction for the body, finished with a ribbed waistband and a cute drawstring tie at the center front.
White butterfly appliques are crocheted separately and sewn onto the front panels of both pieces. The backs remain plain, which keeps the look balanced and lets those butterflies really pop against the mint background.
The finished set has that relaxed, beachy aesthetic perfect for summer days, pool cover-ups, or casual warm-weather outings.
Skill Level
This pattern is written for intermediate crocheters. You should be comfortable with joining granny squares, working in the round, seaming crochet fabric, and creating small appliques. If you are a confident beginner who has made a few granny square blankets or bags, you can absolutely tackle this project. Just give yourself extra time and read through the full pattern before you start.
Time Estimate
Plan for approximately 20 to 30 hours of work for a size Small/Medium, depending on your speed. The butterfly appliques alone add roughly 3 to 5 hours, so factor that in when planning your timeline.
Finished Measurements
The pattern is written for size Small, fitting a bust of 32 to 34 inches (81 to 86 cm) and hips of 34 to 36 inches (86 to 91 cm).
Crop Top:
Shorts:
Size customization tips are included at the end of this pattern.
Materials You Will Need
Yarn:
Choose a yarn with good stitch definition so your granny squares look crisp and clear.
Recommended Yarns:
Cotton or cotton-blend yarns work best for summer wearables because they breathe well and hold their shape. Avoid yarns with high elasticity since granny square construction needs a stable fabric.
Hooks:
Notions:
Gauge
With US E-4 (3.5 mm) hook:
One completed granny square (4 rounds) = 4.25 inches (10.8 cm) square, blocked.
For reference, standard double crochet (dc) gauge is 16 dc and 8 rows = 4 inches (10 cm).
Gauge is critical for a fitted garment. Swatch at least two full granny squares and block them before you start. Adjust your hook size up or down as needed to match gauge.
Abbreviations
Let me define every stitch and term you will encounter in this pattern:
Special Stitches
Classic Granny Square (4 Rounds)
This is the building block for your entire set. Each finished square measures 4.25 inches (10.8 cm) after blocking.
Round 1: Make a MR. Ch 3 (counts as first dc here and throughout). Work 2 dc into MR. Ch 2. (3 dc, ch 2) 3 times into MR. Sl st to top of beginning ch-3 to join. Pull ring closed. (12 dc total, 4 ch-2 corner spaces)
Round 2: Sl st into next 2 dc and into corner ch-2 sp. Ch 3, work 2 dc into same corner ch-2 sp. Ch 2. Work 3 dc into same corner ch-2 sp. This completes the first corner. Ch 1. (Work 3 dc, ch 2, 3 dc into next corner ch-2 sp. Ch 1) 3 times. Sl st to top of beginning ch-3. (24 dc total, 4 ch-2 corners, 4 ch-1 sides)
Round 3: Sl st into next 2 dc and into corner ch-2 sp. Ch 3, work 2 dc into same corner sp. Ch 2. Work 3 dc into same corner sp. Ch 1. Work 3 dc into ch-1 side sp. Ch 1. (Work 3 dc, ch 2, 3 dc into next corner sp. Ch 1. Work 3 dc into ch-1 side sp. Ch 1) 3 times. Sl st to top of beginning ch-3. (36 dc total, 4 ch-2 corners, 8 ch-1 side spaces)
Round 4: Sl st into next 2 dc and into corner ch-2 sp. Ch 3, work 2 dc into same corner sp. Ch 2. Work 3 dc into same corner sp. Ch 1. (Work 3 dc into next ch-1 side sp. Ch 1) twice. (Work 3 dc, ch 2, 3 dc into next corner sp. Ch 1. (Work 3 dc into next ch-1 side sp. Ch 1) twice) 3 times. Sl st to top of beginning ch-3. Fasten off. (48 dc total, 4 ch-2 corners, 12 ch-1 side spaces)
Joining Granny Squares (Flat Join Method)
Hold two squares with wrong sides together so the right sides face out. Using your yarn needle and a length of Color A, whipstitch through the outermost loops of corresponding stitches and chain spaces along one edge. Work one whipstitch per stitch and one per chain space for an even seam. This creates a visible ridge on the wrong side only.
Butterfly Applique
The butterfly is worked in two parts: upper wings and lower wings, joined at the center body.
Upper Wings:
Ch 10.
Row 1: Sc in 2nd ch from hook, sc in next 2 ch, hdc in next 2 ch, dc in next 2 ch, (2 tr, ch 2, 2 tr) in last ch (this forms the wing tip). Working back along the opposite side of the foundation chain: dc in next 2 ch, hdc in next 2 ch, sc in next 3 ch. Sl st into same starting st to close. Do not fasten off.
Lower Wings:
Ch 7. Sc in 2nd ch from hook, sc in next 2 ch, hdc in next ch, dc in next ch, (2 tr, ch 1, 2 tr) in last ch (this is the smaller lower wing tip). Working back along the opposite side of this chain: dc in next ch, hdc in next ch, sc in next 3 ch. Sl st to base to close. Fasten off, leaving a 12-inch (30 cm) tail for sewing.
Body and Antennae:
With Color B, sl st to the center joining point of the upper wings. Ch 5, sl st back into 2nd ch from hook (this forms one antenna). Sl st to center again, ch 5, sl st back into 2nd ch from hook (second antenna). Fasten off and weave in ends on WS.
How Many Squares Do You Need?
Total granny squares needed: 24 in Color A
Total butterflies needed: 12 in Color B
Work all your granny squares first, block them to 4.25 inches (10.8 cm) square, then begin assembly.
Crop Top Instructions
Front Panel Assembly
Arrange 6 granny squares in a grid: 3 squares wide and 2 squares tall.
Step 1: Join the 3 squares in the top row. Lay the squares RS up in a horizontal line. Join square 1 to square 2 along their right/left edges. Join square 2 to square 3 along their right/left edges.
Step 2: Join the 3 squares in the bottom row in the same manner.
Step 3: Join the top row strip to the bottom row strip along their shared horizontal edges.
Checkpoint: Your completed front panel measures approximately 12.75 inches (32.4 cm) wide and 8.5 inches (21.6 cm) tall. After blocking, approximately 13 inches (33 cm) wide.
Back Panel Assembly
Repeat the front panel assembly using the remaining 6 crop top squares. The back panel is identical in size and has no butterfly appliques.
Joining Front and Back
Step 1: Hold front and back panels with WS together and RS facing out. Whipstitch the left side edge of the front panel to the left side edge of the back panel from bottom corner to top corner. Repeat for the right side edge. Your piece now forms a tube.
Step 2: Do not seam the top edges together. The top edges remain open to form the neckline and armhole openings.
Step 3: With RS facing, attach Color A with a sl st at the top right corner of the front panel. Work 1 sc into each dc and 1 sc into each ch-sp along the top edge of the front panel only. Continue the sc edging around the top edge of the back panel. (Approximately 51 sc across front top, 51 sc across back top)
Work 1 round of sc around each armhole gap separately to finish.
Spaghetti Straps
Make 4 straps total.
For each strap: With Color A and E-4 hook, ch 55. Sl st to first ch to form a loop, being careful not to twist. Work 1 round of sl st into each ch around the loop to reinforce. Fasten off, leaving a 12-inch (30 cm) tail. (55 ch, 55 sl st reinforcement)
Attach straps: Using your yarn needle, sew one end of each strap to the top inside edge of the front panel at the top two corners (approximately 0.75 inch or 2 cm in from the outer corner). Sew the other end to the corresponding position on the back panel.
Shorts Instructions
Front and Back Panels
Create the front panel exactly as you did for the crop top: 6 squares arranged 3 wide by 2 tall, joined together. Repeat for the back panel.
Assembly
Step 1: Whipstitch the left side edge of the front panel to the left side edge of the back panel from top corner to bottom corner. Repeat for the right side edge. Your piece now forms a tube approximately 25.5 inches (64.8 cm) in circumference.
Step 2: Lay the tube flat with seams at the sides. Mark the center bottom edge of both front and back panels. From the center of the bottom edge, measure 2.5 inches (6.5 cm) up toward the center on both panels. This is your crotch seam height.
Step 3: Whipstitch the center bottom edges together from the center outward, working 2.5 inches (6.5 cm) along each side. The remaining open sections become your two leg openings.
Leg opening finish: Attach Color A with sl st at one leg opening. Work 1 round of sc evenly around. Sl st to join. Fasten off. Repeat for the other leg. (Approximately 63 sc per leg opening)
Ribbed Waistband
The waistband adds approximately 2.5 inches (6.5 cm) to your shorts length.
With D-3 (3.25 mm) hook and Color A, ch 14.
Row 1: Sc in 2nd ch from hook and in each ch across. Ch 1, turn. (13 sc)
Row 2 onward: Sc in blo of each sc across. Ch 1, turn. (13 sc)
Repeat Row 2 until the strip measures approximately 25.5 inches (64.8 cm), matching the circumference of your shorts top edge. This takes approximately 128 rows.
Eyelet rows for drawstring: On Row 64 (center front position when assembled), work: sc in blo of first 5 sts, ch 2, sk 2, sc in blo of last 6 sts. (11 sc, 1 ch-2 sp)
On the following row: sc in blo of first 5 sts, sc 2 times into the ch-2 sp, sc in blo of last 6 sts. (13 sc)
Add a second eyelet 2 rows later using the same method.
Sl st the short ends of the waistband strip together to form a ring. Pin the bottom long edge to the top edge of your shorts body with eyelets at center front. Whipstitch in place.
Thread your ribbon or cord through both eyelets and tie in a bow.
Adding the Butterfly Appliques
Make 12 butterflies total using the butterfly applique instructions above.
Crop top placement: Scatter 6 butterflies across the front panel. Cluster a few in the upper left area, place one or two near the center, and add one or two near the right side. The arrangement should feel natural and whimsical, not perfectly symmetrical.
Shorts placement: Scatter 6 butterflies across the shorts front panel in a similar irregular arrangement.
To attach: Pin each butterfly in place on the RS. Thread the long tail onto your yarn needle. Sew through the center body point, catching the fabric beneath with 3 to 4 stitches. Take 1 to 2 stitches through each wing near the body to hold the wings slightly lifted and dimensional. Weave the tail to the WS and secure.
Optional: Sew a small seed bead or rhinestone to the center body of each butterfly for extra sparkle.
Size Customization Tips
To size up: Add more granny squares to each panel. One additional column (4 squares wide instead of 3) adds approximately 4.25 inches (10.8 cm) to width. One additional row adds the same to height. Adjust waistband length and strap length accordingly.
To size down: Use 2 squares wide by 2 squares tall for extra-small sizing, producing panels approximately 8.5 inches (21.6 cm) square.
For longer shorts: Add 1 row of squares to both panels and increase the inseam allowance.
To scale the entire garment: Use a larger hook with the same yarn for larger squares and a larger overall garment.
Blocking and Finishing
Wet blocking is recommended, especially for cotton yarns. Submerge each finished piece in cool water for 15 minutes. Gently squeeze out excess water without wringing. Roll in a clean towel to remove moisture. Lay flat on a blocking mat and pin to finished dimensions. Allow to dry completely (12 to 24 hours).
Pin the butterfly wings open while blocking to help them hold a slightly dimensional, open position.
Weave in all remaining ends on the WS, working tails in two directions for security.
Care Instructions
Machine wash on a gentle cycle in a mesh bag using cold water if using cotton-acrylic or pure acrylic yarn. Lay flat to dry. Do not tumble dry.
For pure cotton yarn, hand wash in cool water with gentle soap and lay flat to dry.
Do not iron directly on the fabric. If needed, hold a steam iron 1 to 2 inches above the surface.
I really hope you love making this summer set as much as I loved designing it. There is something so satisfying about watching those granny squares come together into a wearable piece, and those little butterflies add the sweetest finishing touch.
If you make this set, I would absolutely love to see it! Tag me on Instagram or share a photo in my Facebook group. Seeing your finished projects is honestly the best part of sharing patterns.
Save this pattern to your Pinterest boards so you can find it when you are ready to start, and drop a comment below if you give it a try. I cannot wait to hear how yours turns out!
